May 25, 2021
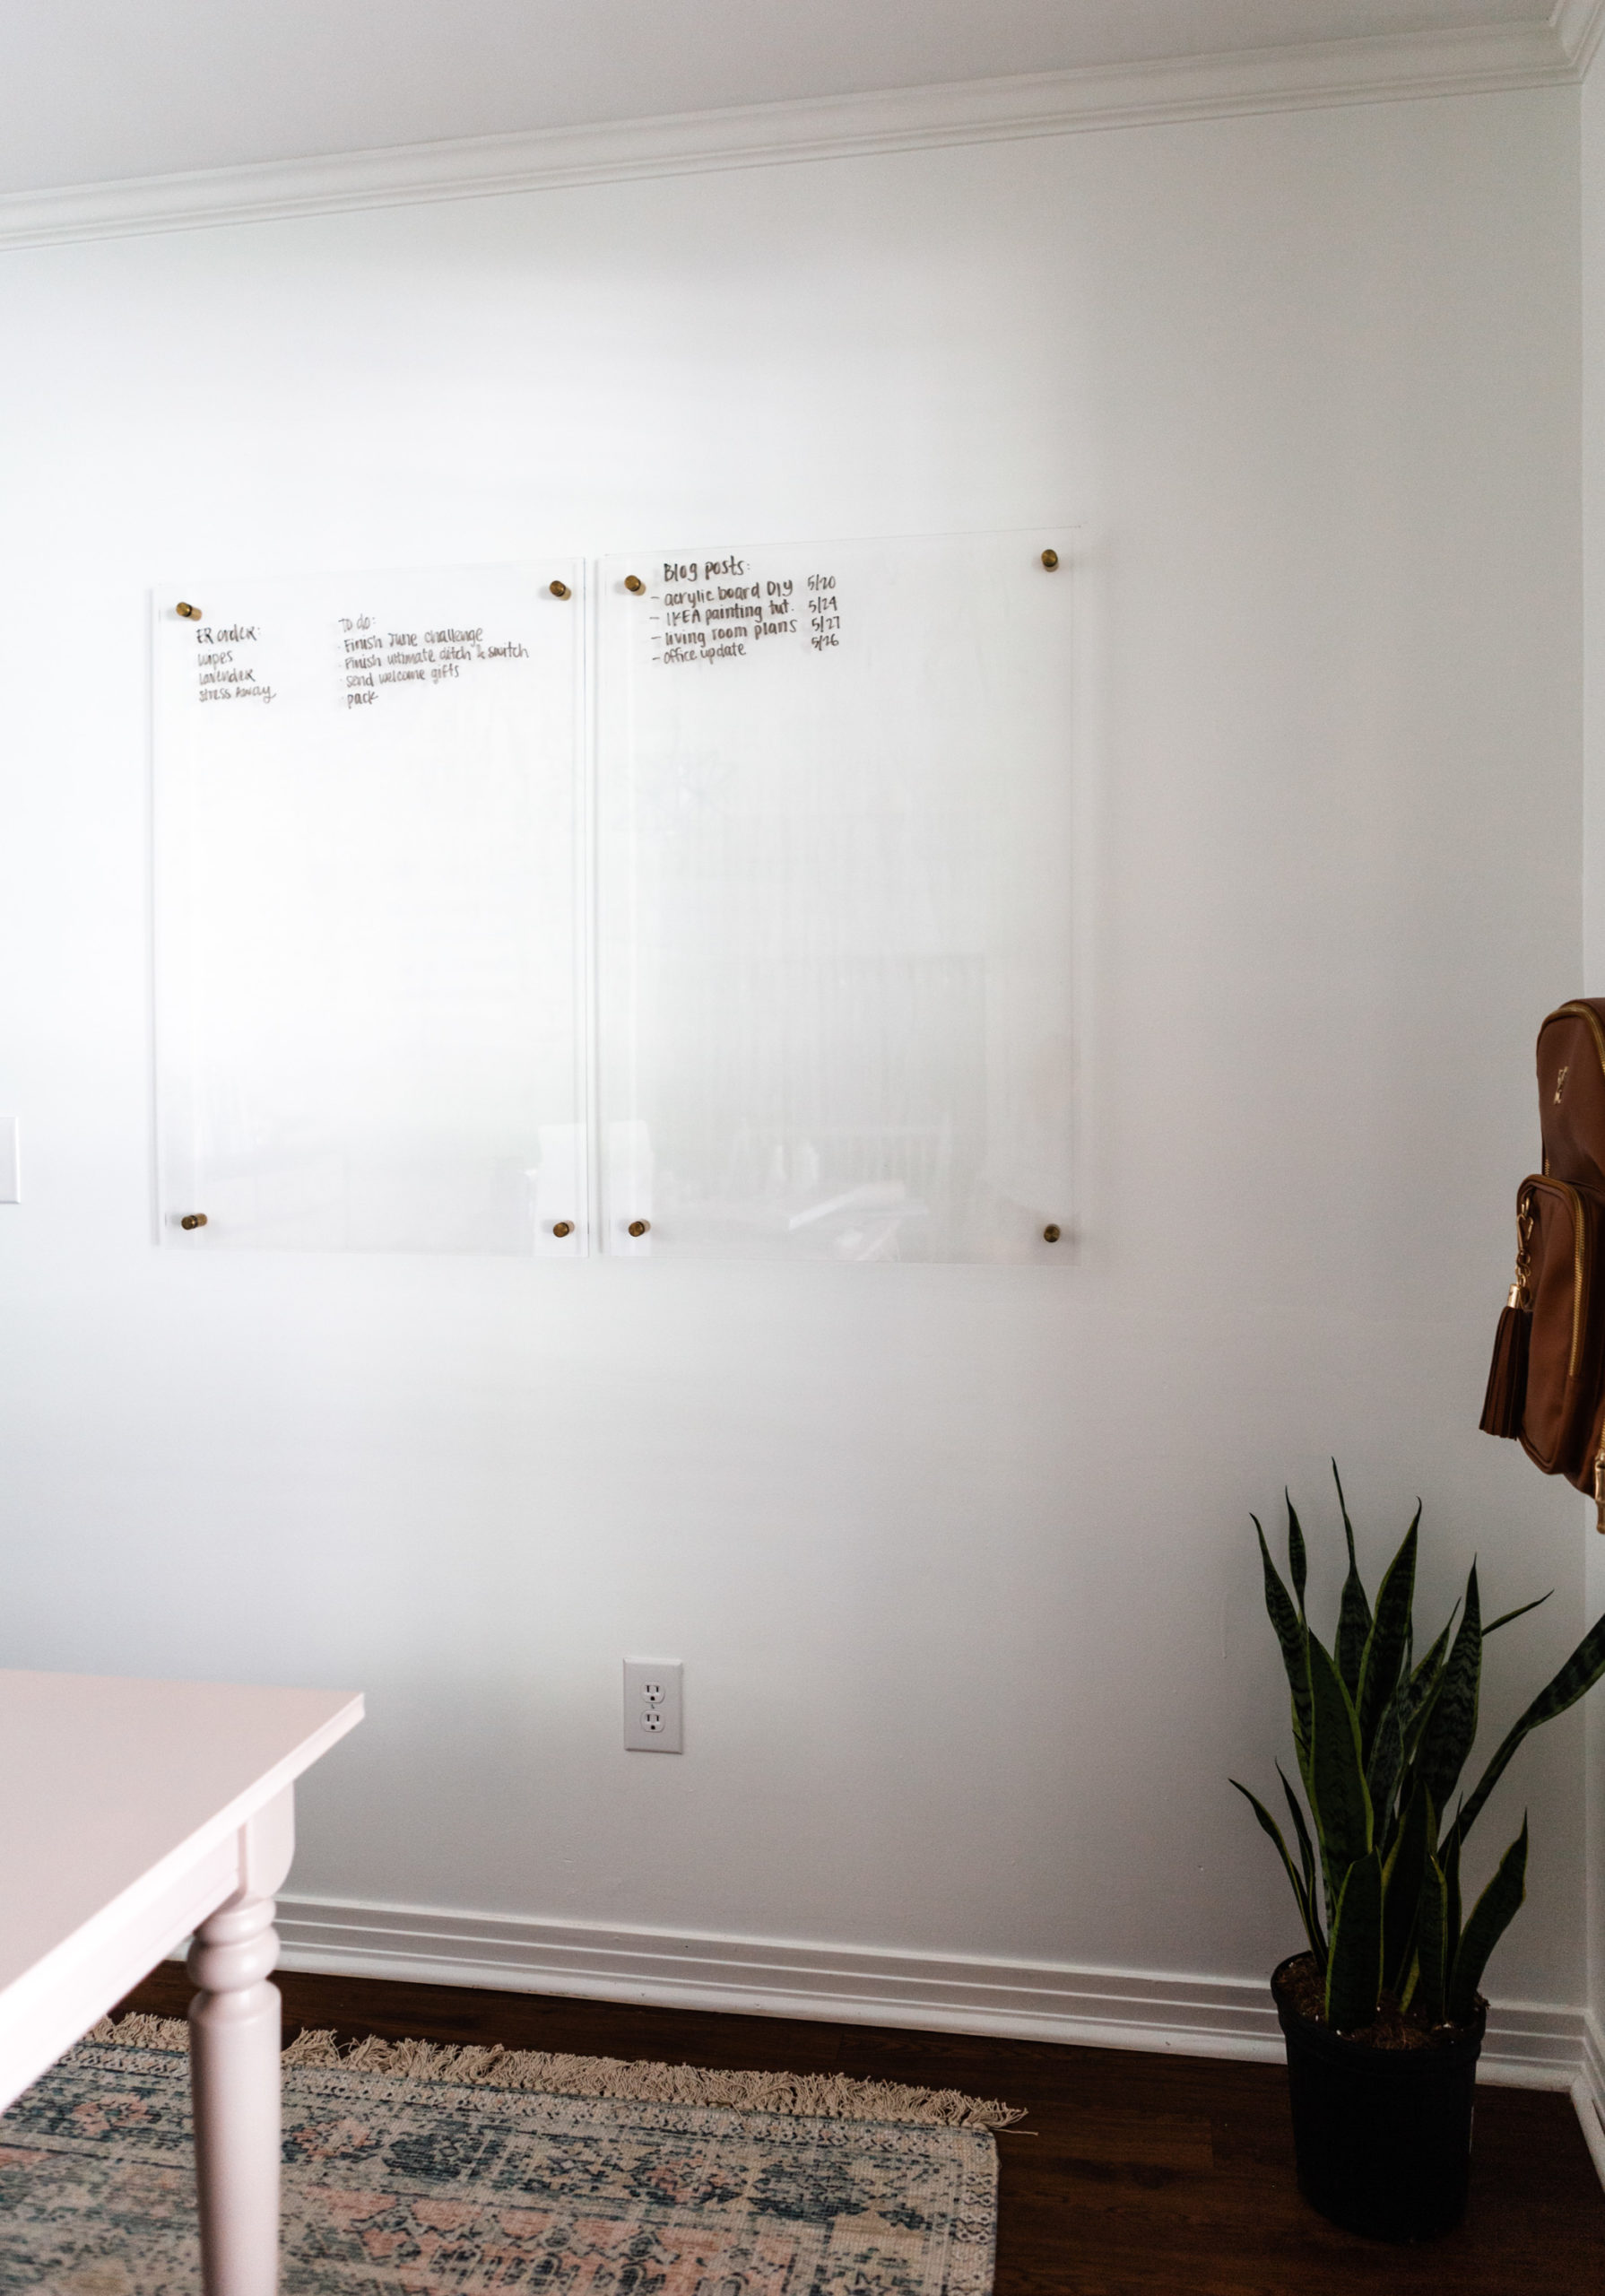
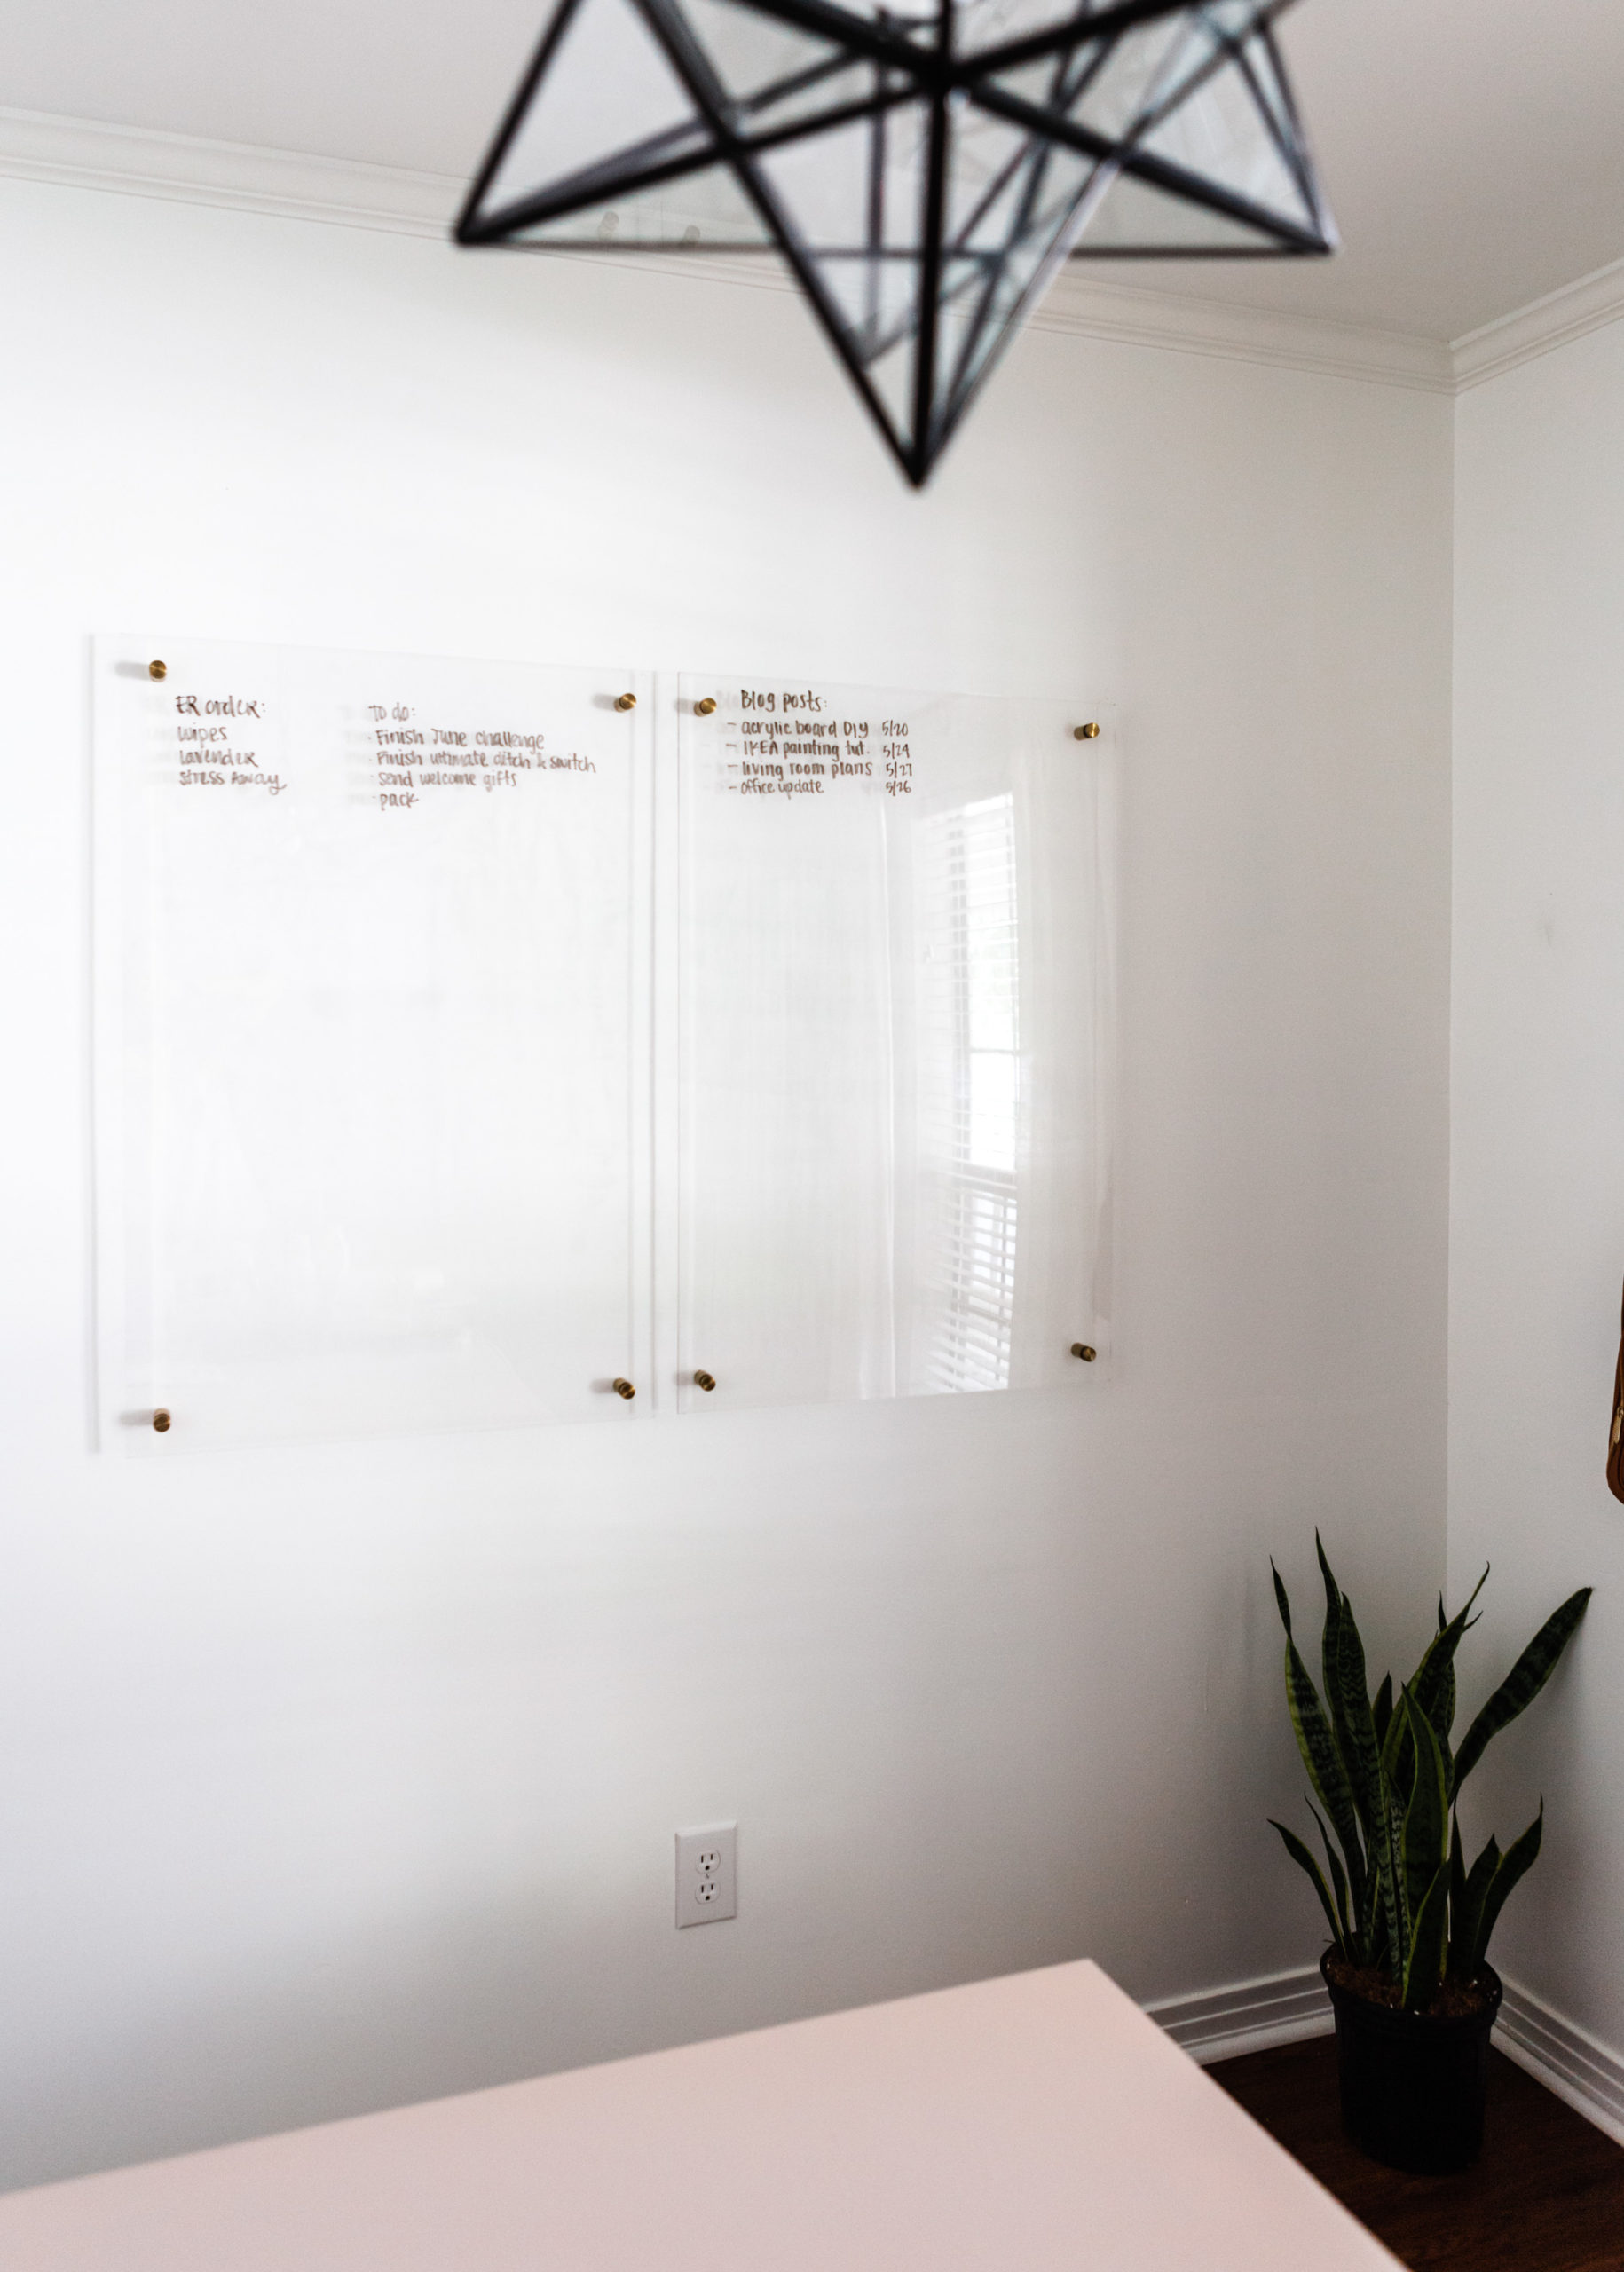
Something I really wanted to incorporate into the new office is a big writing space on the wall. I had a giant whiteboard in my office while working in the corporate world and I’d spend hours sitting in front of that board brainstorming and coming up with new ideas. It seems as though my best work makes their way to the surface when I can messily brain dump it all onto a giant space. Paper doesn’t cut it. I don’t know why. I need something bigger! As much as we loved and used our DIY chalkboard in the SC house and I loved the vintage feel it adds, it was quite a mess with the chalk. Here’s the thing though – whiteboards are ugly. There I said it. We needed something we could use whiteboard markers on that wasn’t an eyesore. We found a perfect solution!

I did some searching online to see if we could streamline things and order an acrylic board(s) and holy guacamole Batman those things are expensive! To save money, we decided to DIY one! The total cost for both of ours was $107 compared to the $200-$400 (on the lower end if you’re able to snag it on sale) that I found online. Here is what we did in case you want to make your own!
What You’ll Need:
- 2 acrylic boards – ours are 24×36″
- 8 standoff mounts – ours are 19x30mm
- Pencil
- Drill
- 5/16″ drill bit (or drill bit slightly smaller than whatever standoffs you ordered!)
- Square tool
- Level
- Wall anchors
What To Do:
- Keeping the paper ON the acrylic, mark 1.5″ in from each corner of the acrylic piece using a square tool with a pencil. Repeat for each corner. I shared how Stephen did it in a highlight on my Instagram!
- With a drill and drill bit, drill a hole in the acrylic sheet just large enough for the screw of the standoff cap to fit through. Repeat for each corner.
- Decided where you want to hang the boards on the wall.
- While one person holds the board against the wall, use a level to make sure it is level and then either use a pencil to mark on the wall inside of each hole you’ve drilled or use a smaller drill bit to mark each hole.
- Place anchors in the wall where you marked.
- Hold the base of the standoff against the anchor and screw it into place against the wall. Repeat this for each of the standoffs.
- Have one person hold the acrylic sheet against the standoff bases, aligning the holes, and have the other person screw the caps of the standoff through the holes in the acrylic into the bases.
- Write away! I haven’t tried these markers personally but according to the reviews, they’re awesome.
While we wait for the second set of our favorite drawers to arrive, we only have a few things left in the office to finish until it is “complete”. I will also be on the hunt for a few vintage/thrifted items to wrap it all up in a pretty bow. That’ll have to happen in the month of June when the budget has some wiggle room for it!
Here is what we’ve completed in the office so far and what we have left to do:
We removed the textured ceilingsWe went from Hershey brown paint to white using this method- Paint and hang shelves
Find storage solutions- Style shelves with what we have + vintage/thrifted items
Paint IKEA second hand table(post coming this week!)Hang acrylic whiteboards- Decorate the room with artwork + plants
I sincerely appreciate you all shopping through my affiliate links like the ones included in this post. I make a small commission when you purchase through these links at no extra cost to you. These funds help support my family and allow for us to produce better content for you all. I can’t thank you enough for supporting all that we do!
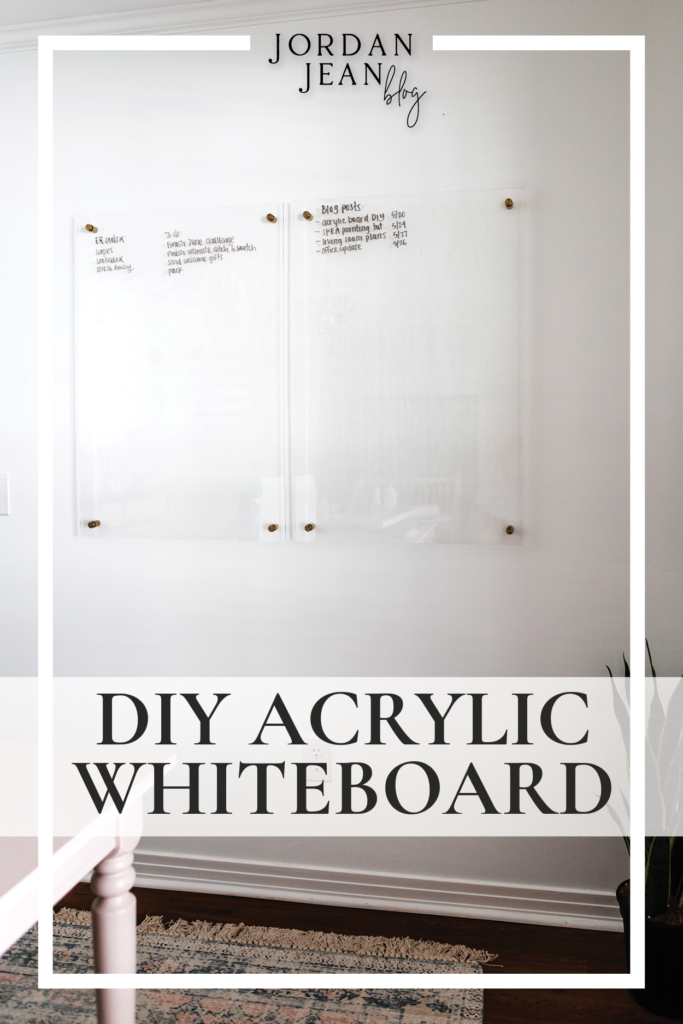
Pin this image to save the post for later:
jordan jean
Leave a Reply


[…] With its large size, you can have a giant whiteboard on your wall that provides plenty of writing and drawing space. Save time and money by investing in this affordable and practical project – get ready to make your workspace more vibrant and efficient today! jordanjean […]