March 13, 2021
Something that I want to do better at is sharing progress of our work on the house on here. I try my best to remember to share all of the steps on my Instagram with you but I will admit, sometimes we get on a roll and I forget to pick my phone up. It’s really important for me that I stress to you that these projects take time. They take money. They take a lot of patience. It’s really easy to look at someone that does this (for a living, in many cases) and see their final reveal and go down a fast downward spiral of how long you’re taking or how your work doesn’t look as good, etc. when all you see are points A and Z. Try not to compare, okay? Do what you love in your home at the speed and extent that best suites your family and budget.
We started in the office by removing the chair rail, patching it, and then removing the textured ceilings. I’m still in awe of how removing the texture from the ceilings makes the room feel so much bigger and like it’s NEW again! We shared our method for doing this HERE.
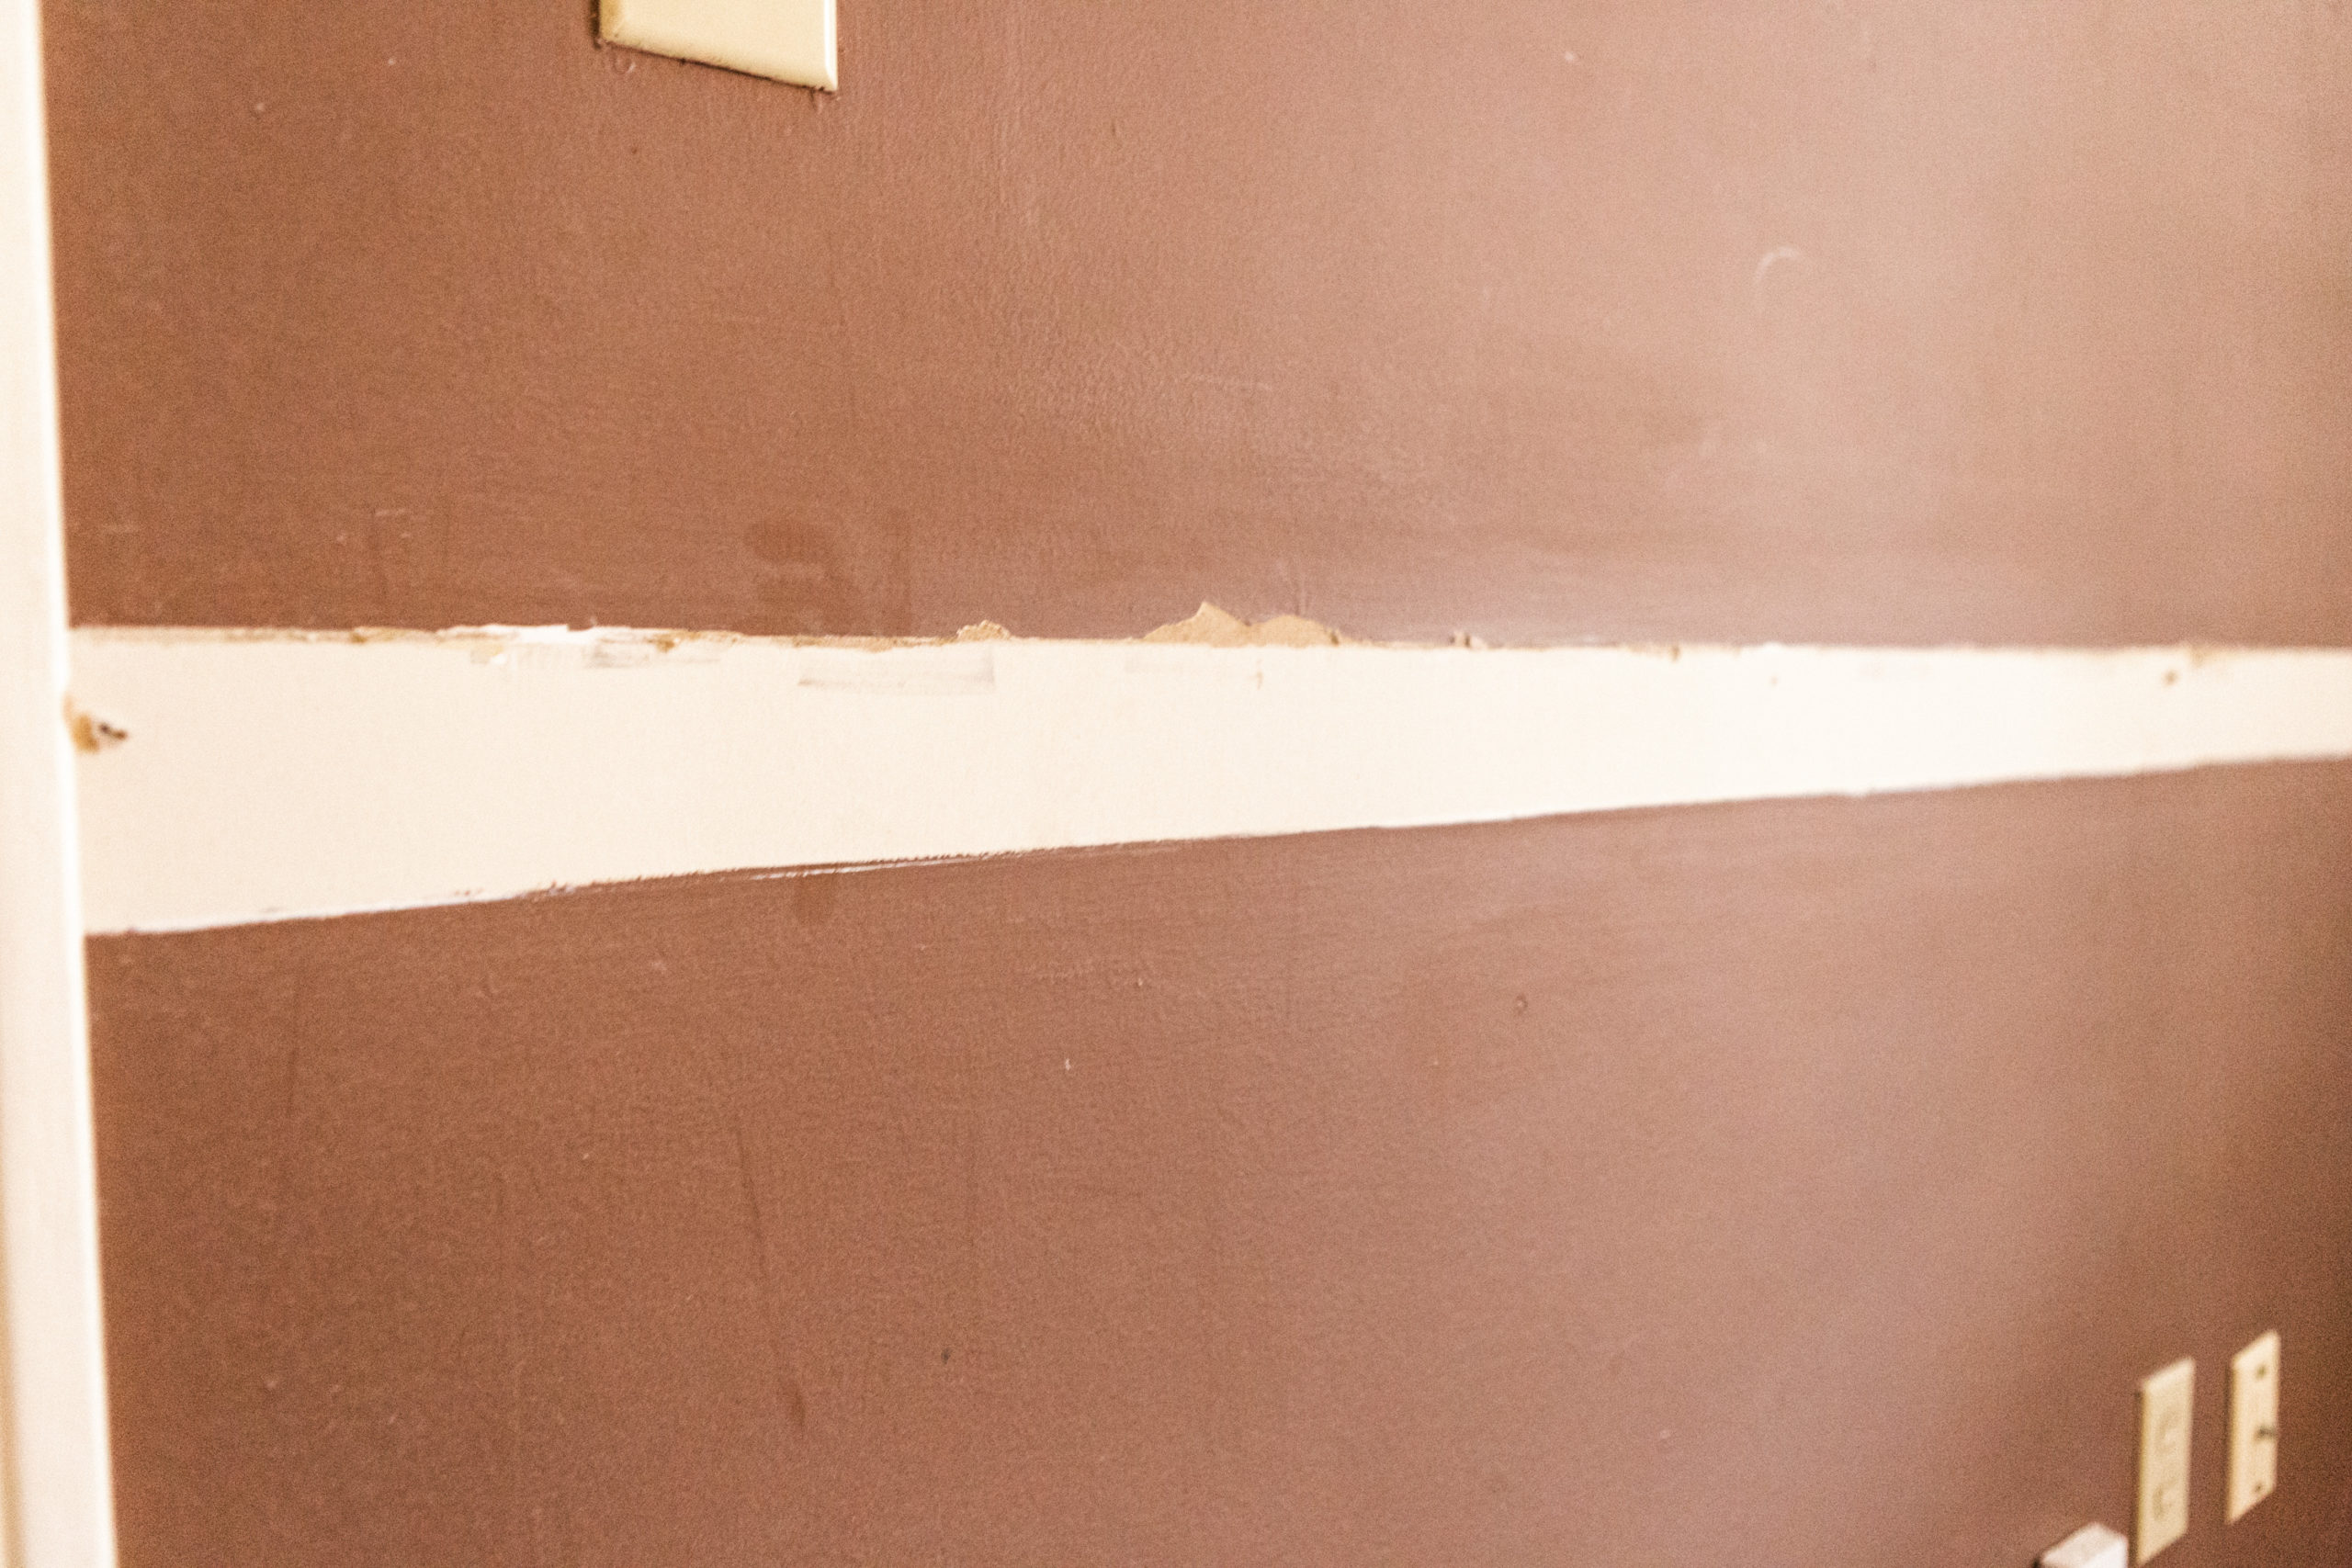
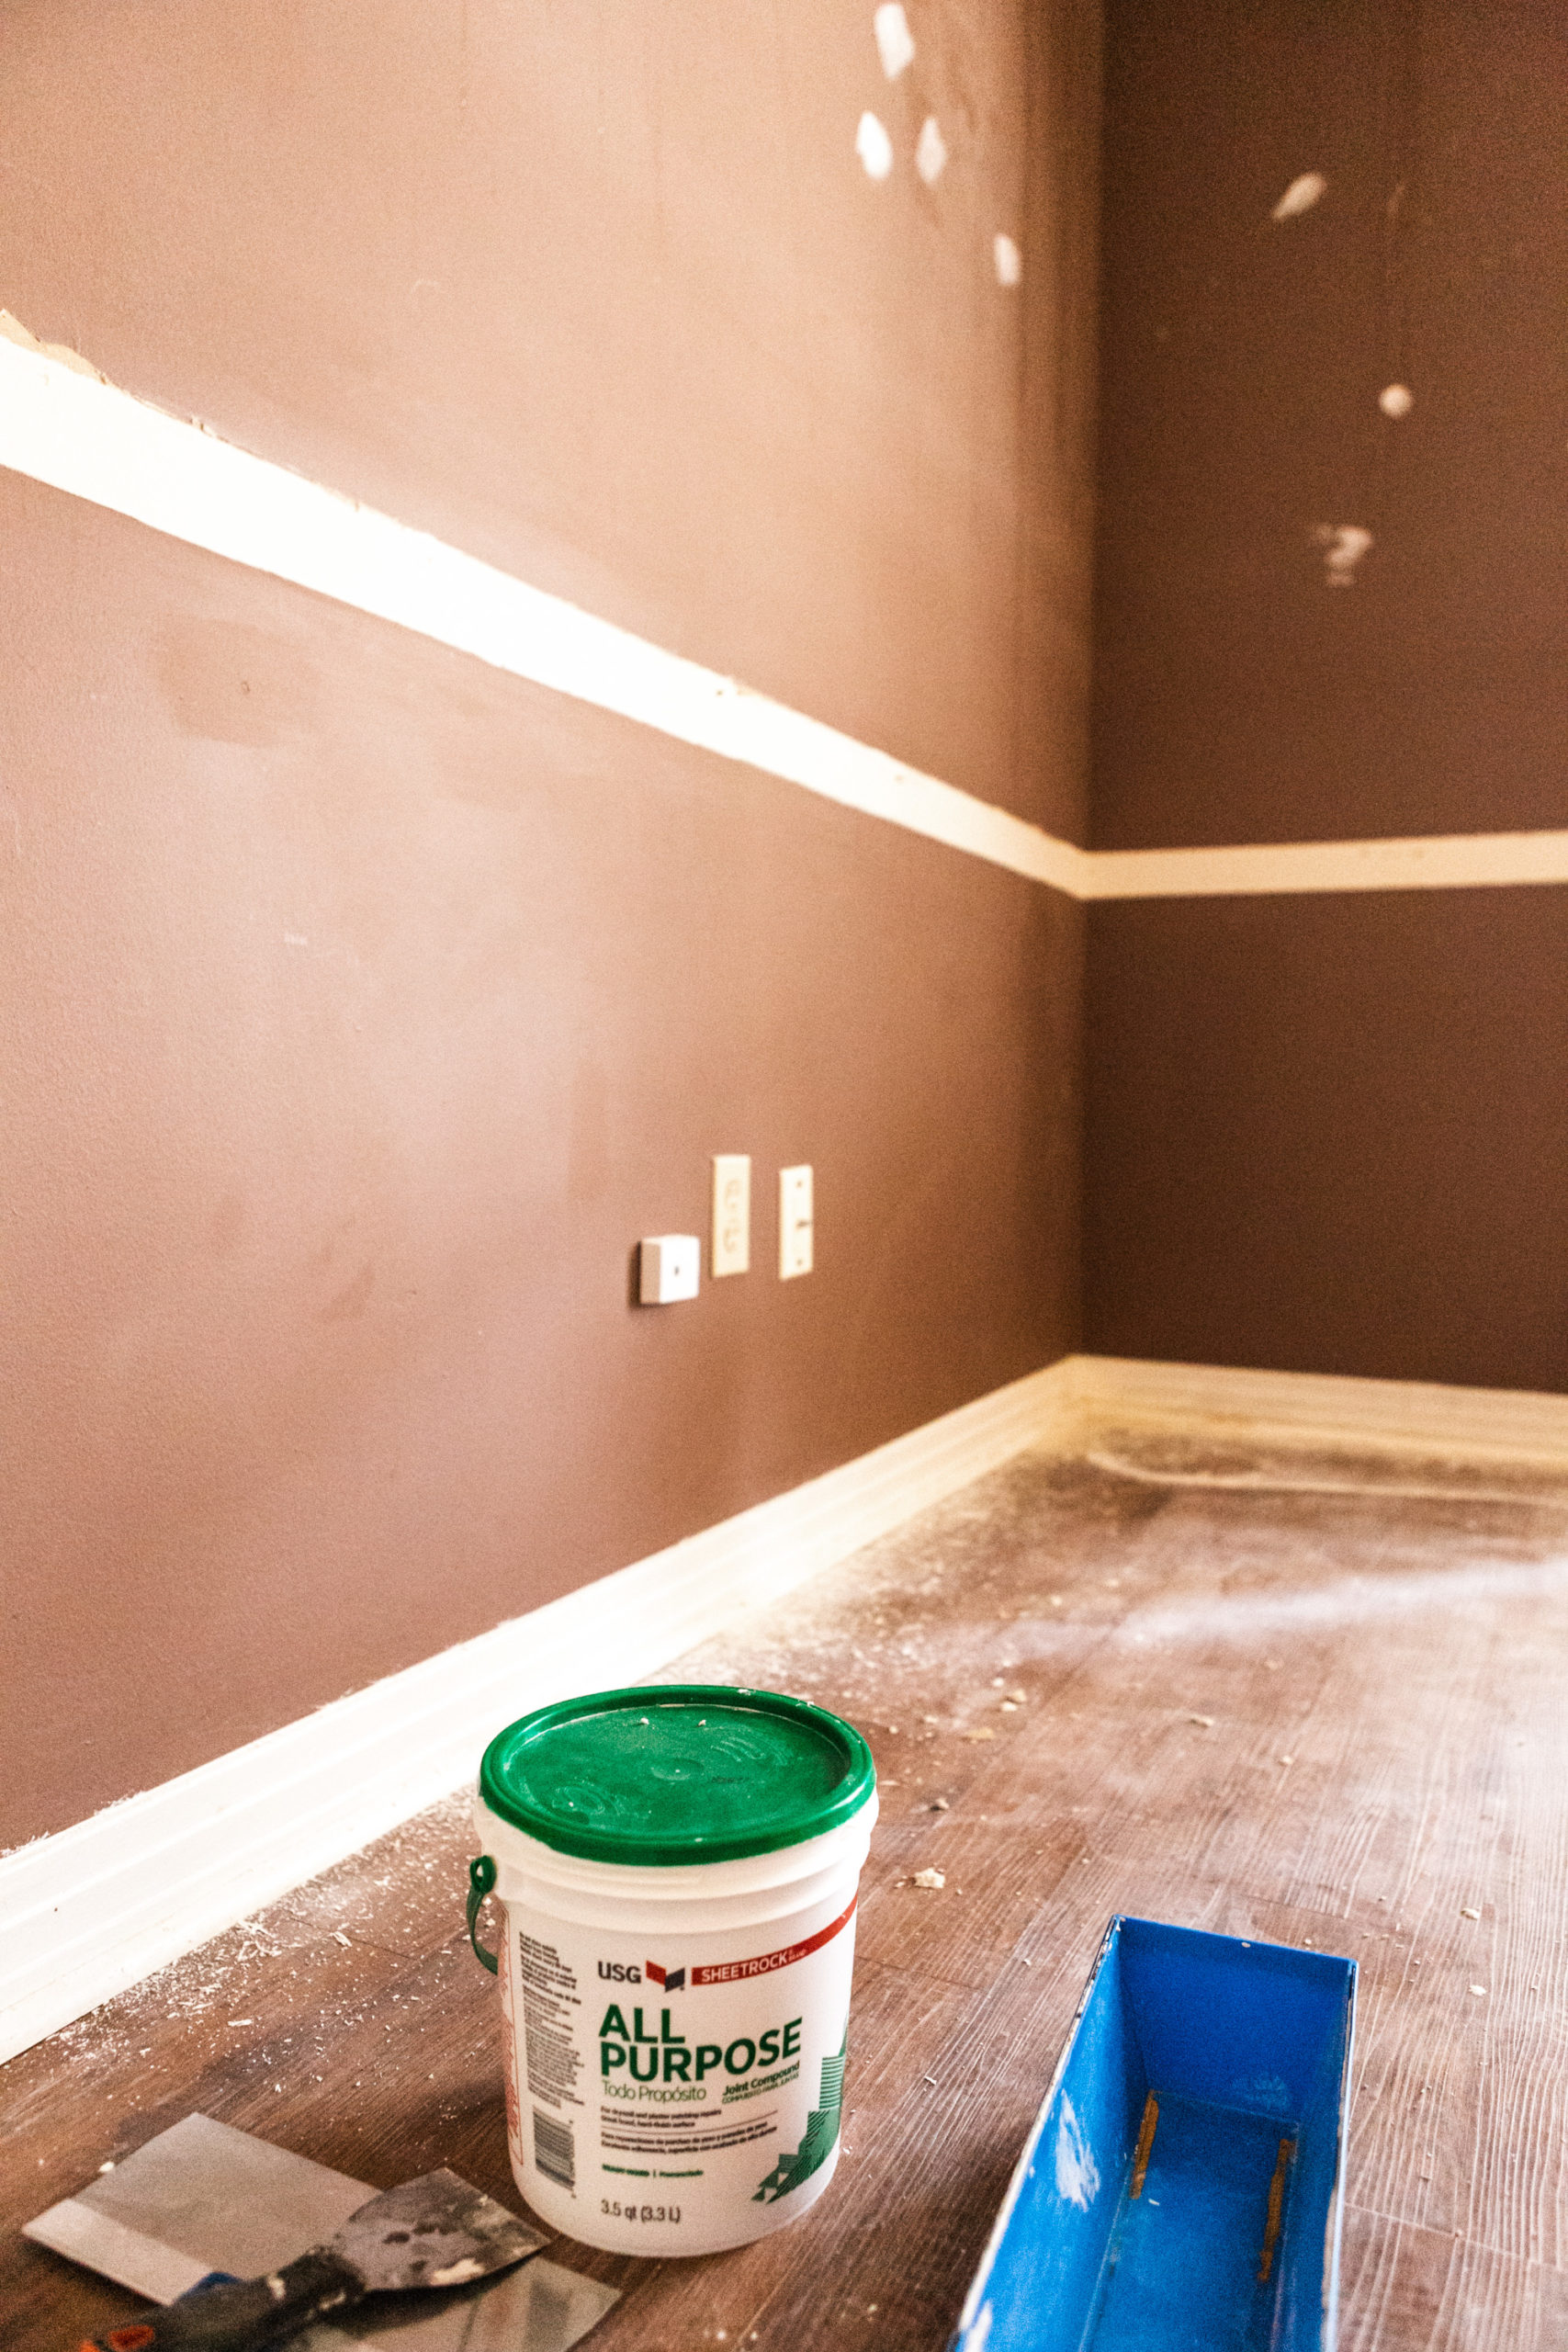
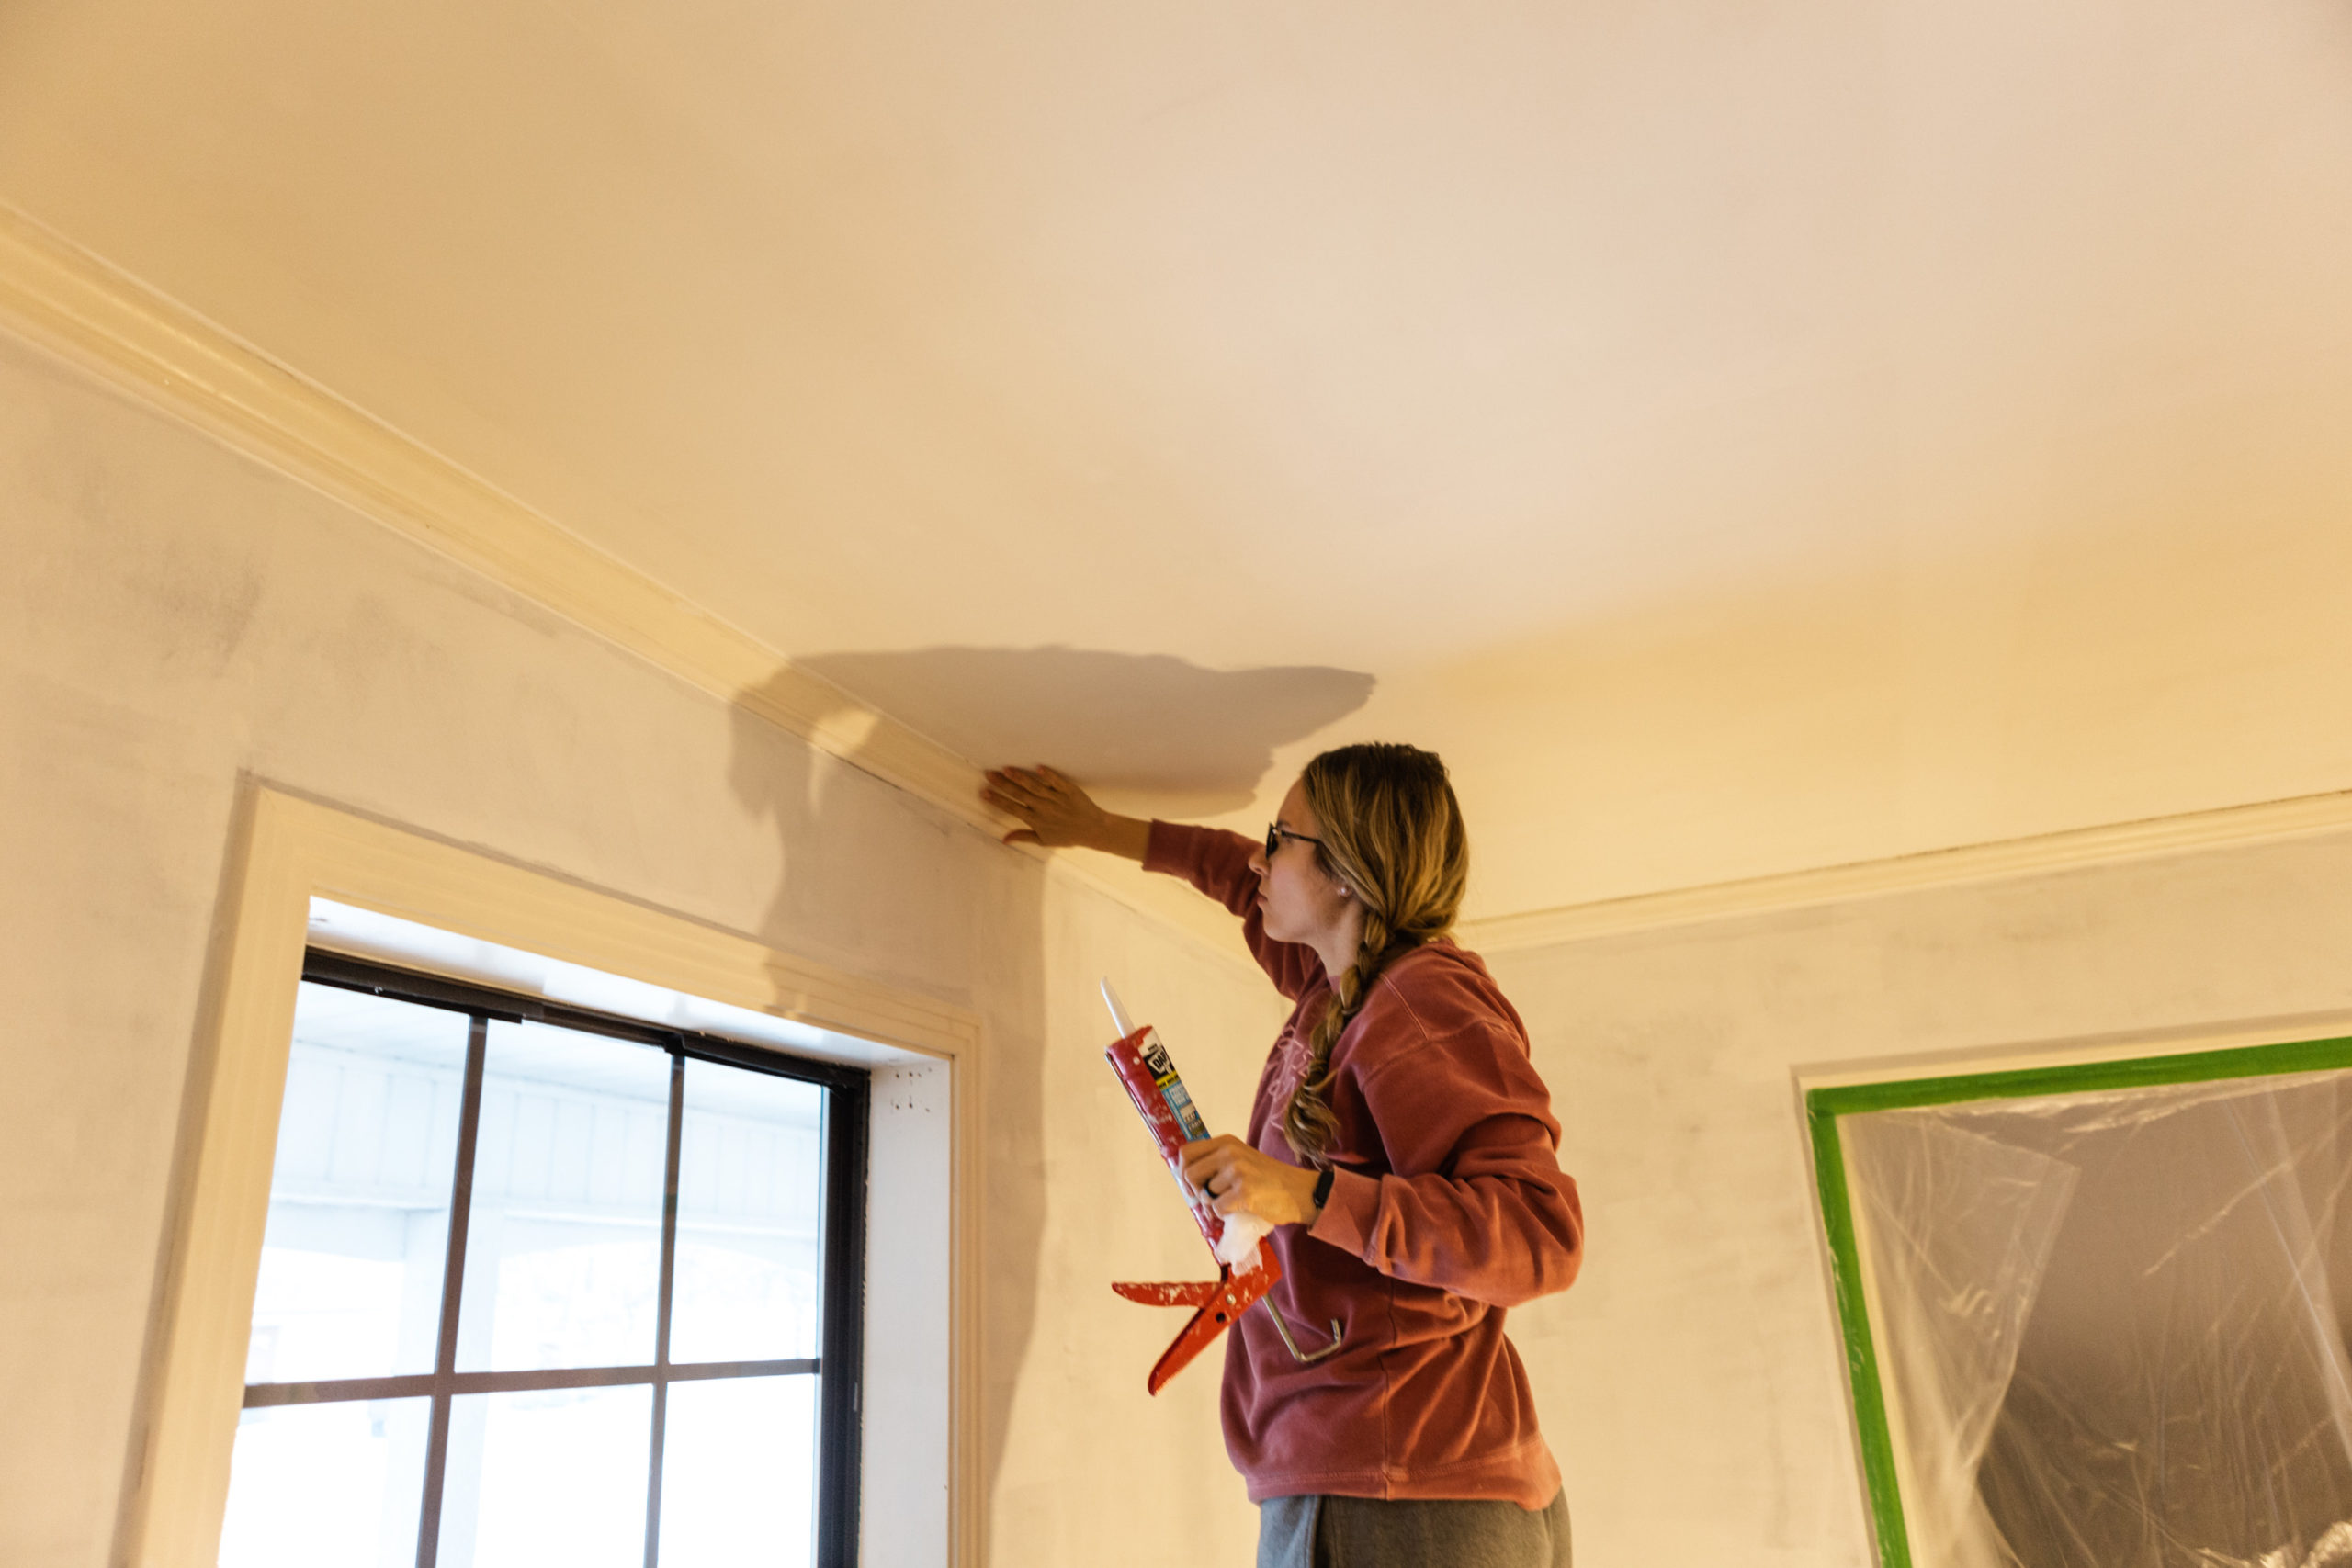
I used this joint compound and an 8″ putty knife to patch the walls and fill in all of the nail holes. Once we patched everything and sanded it down, we primed the walls with this primer. The paint that we’re using includes primer in it but since we’re going from brown walls to white, we decided to go ahead and prime which ended up being a good decision. We rolled it on because we didn’t want to have to clean the sprayer between the primer and paint. We also put a coat of paint on the ceiling using this paint. We did not prime the drywall after sanding it down and it looks great! Before painting, we caulked all of the seams. Caulk is our BFF working on this 1980’s home! Filling in those cracks does a heck of a lot for a room.
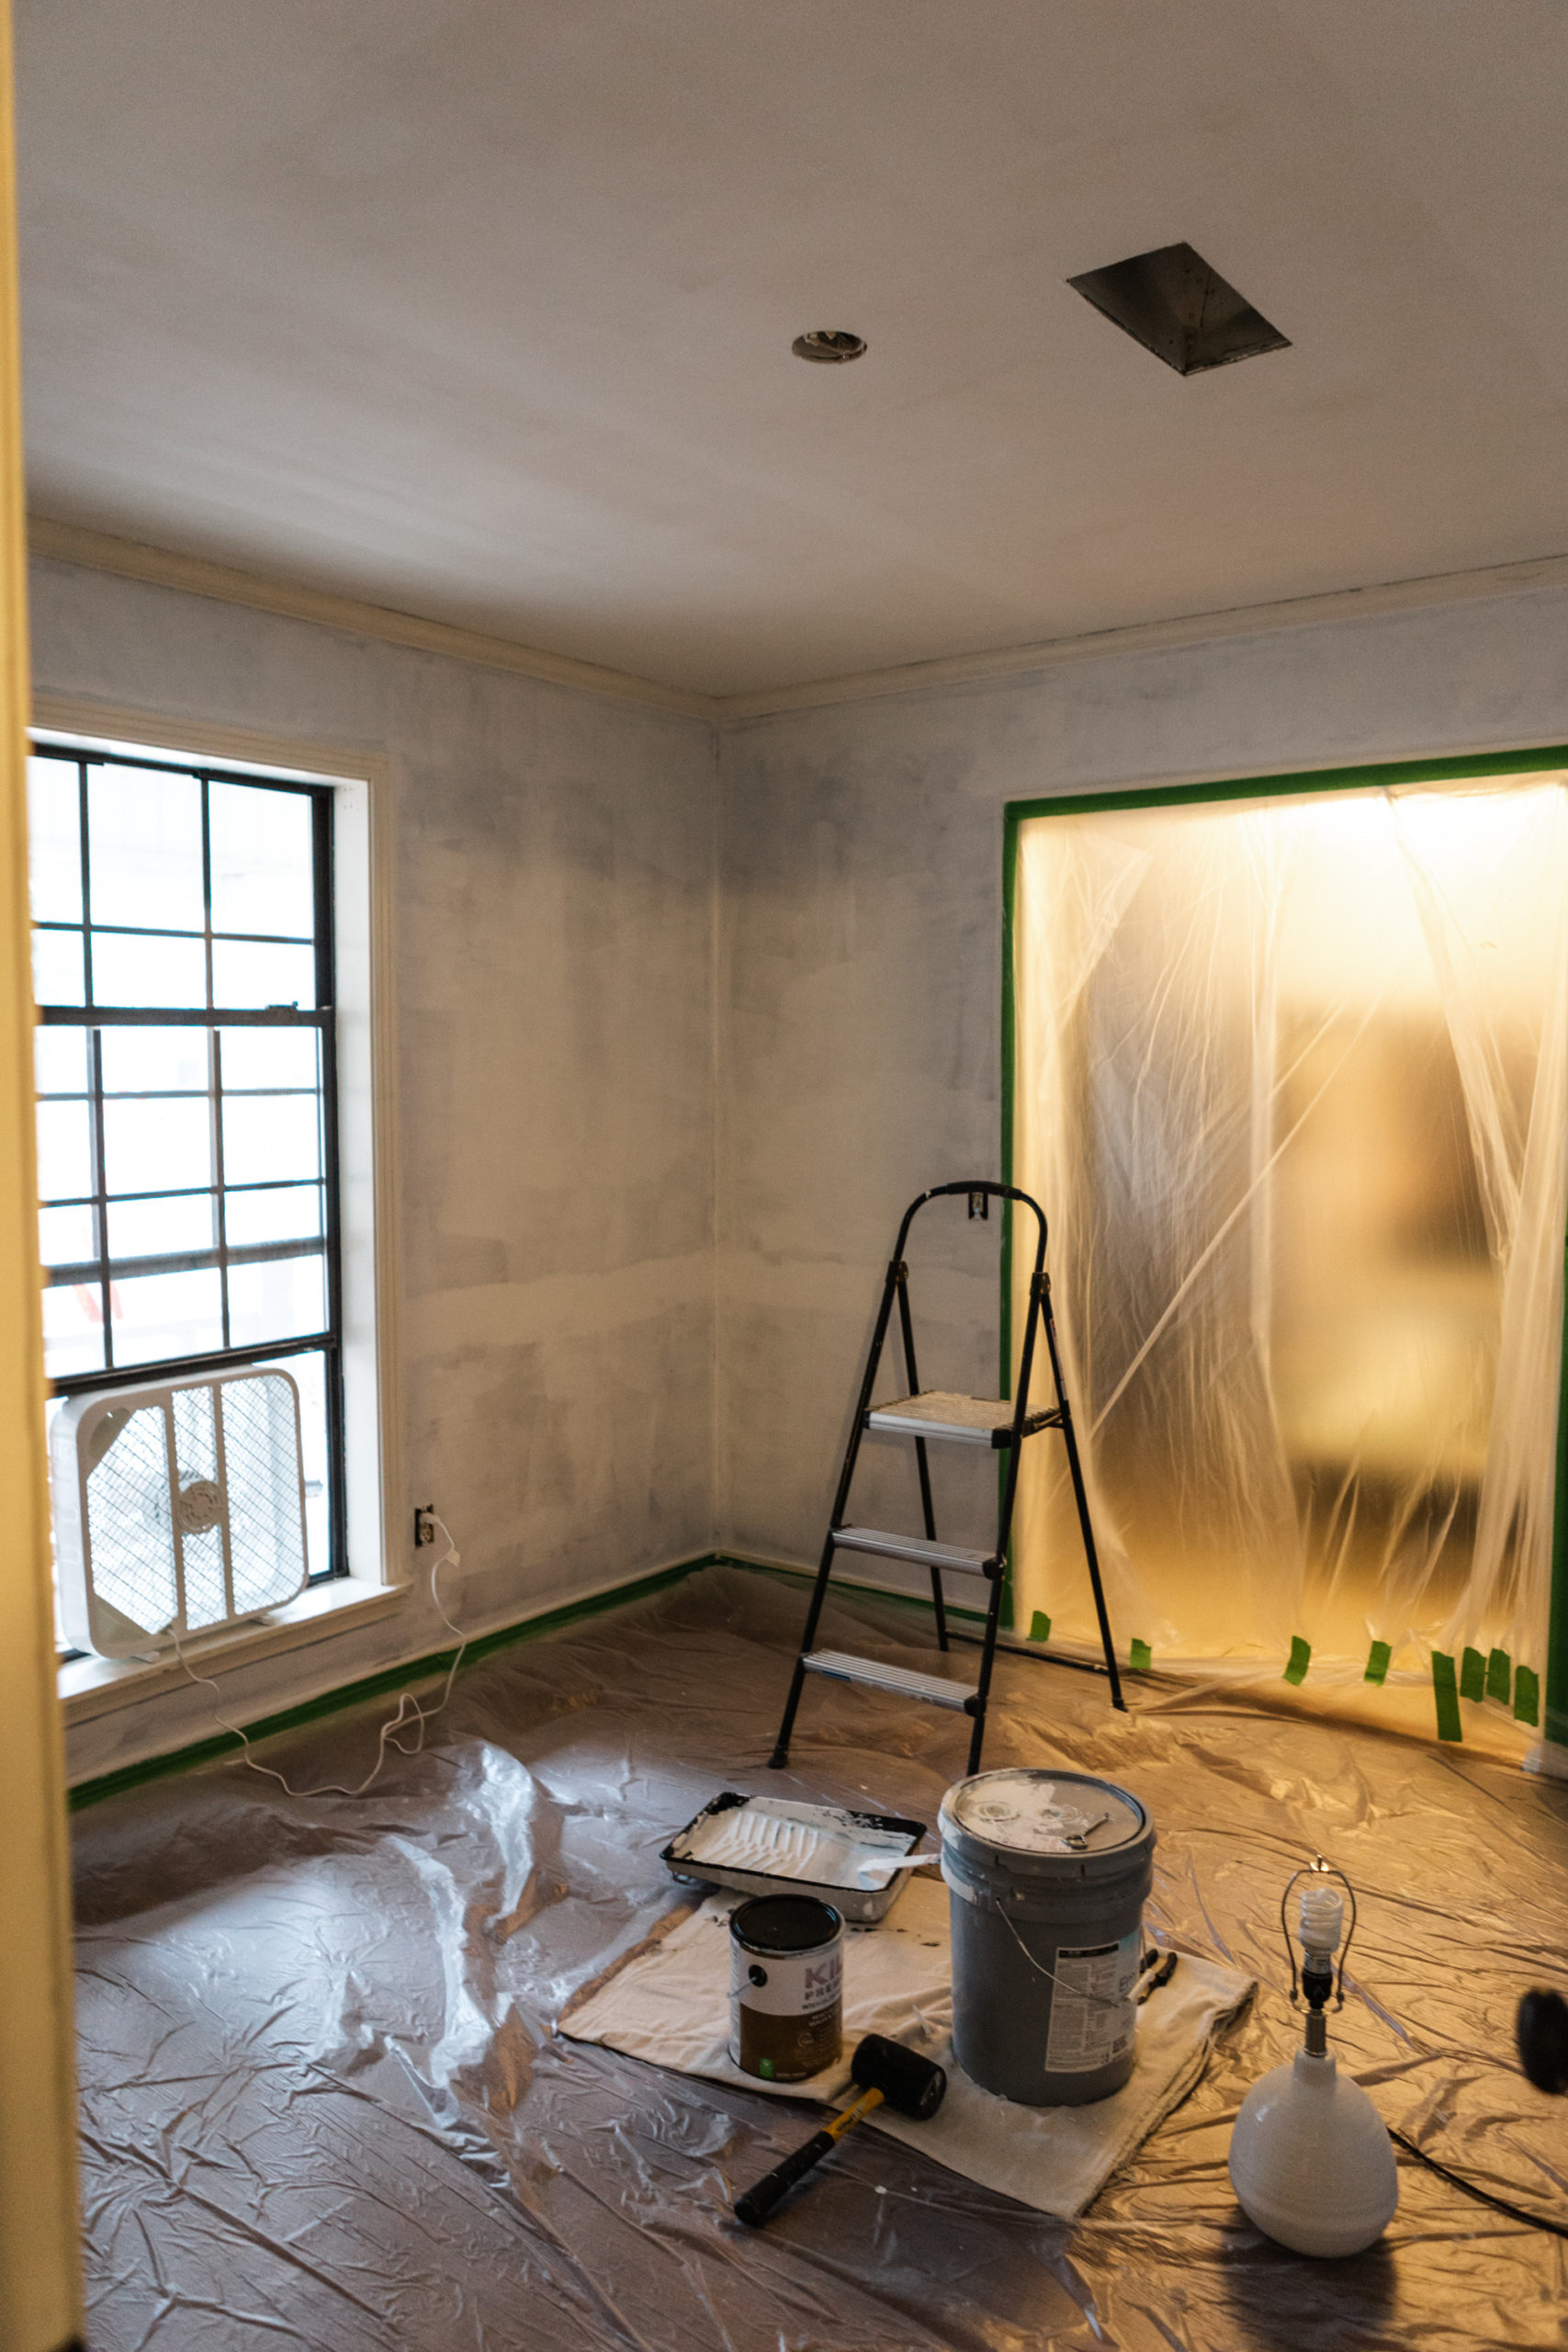
24 hours later we were ready to paint. Stephen and I rolled the paint on the first room that we did in this house and it took what felt like forever for the walls to be coated. Considering we are going to paint every square inch of this house, that was not going to cut it. BY THE WAY! I should mention that in our last house, I told Stephen we were going to hirer out the painting next time around. If we were still rolling, that would’ve been the case. But the way we are doing it now is a lot quicker and efficient so we’re okay with saving that money and doing it ourselves.
I was laying in bed one night dreading the thought of painting more and thought to myself, “What if I just try the sprayer and see how it goes?” The paint sprayer and I weren’t necessarily on good terms after my last project with it so I was hesitant but if it could potentially be better than rolling, it was worth the try.
The next day I gathered up my grossest paint clothes and shower cap and tried it on Ellie’s room. Wouldn’t you know, it worked like a charm! I was so relieved! A big con of using a sprayer is that the clean up is a pain but the pros are that the job is much quicker, it covers so much better than rolling, and overall we don’t have to get out as many materials as we do with rolling. This is the exact sprayer that I’ve been using with this paint. I did not dilute the paint at all. After getting more practice with it, I’ve gathered that all of the issues I was having before hand with it were user error. Shocker.
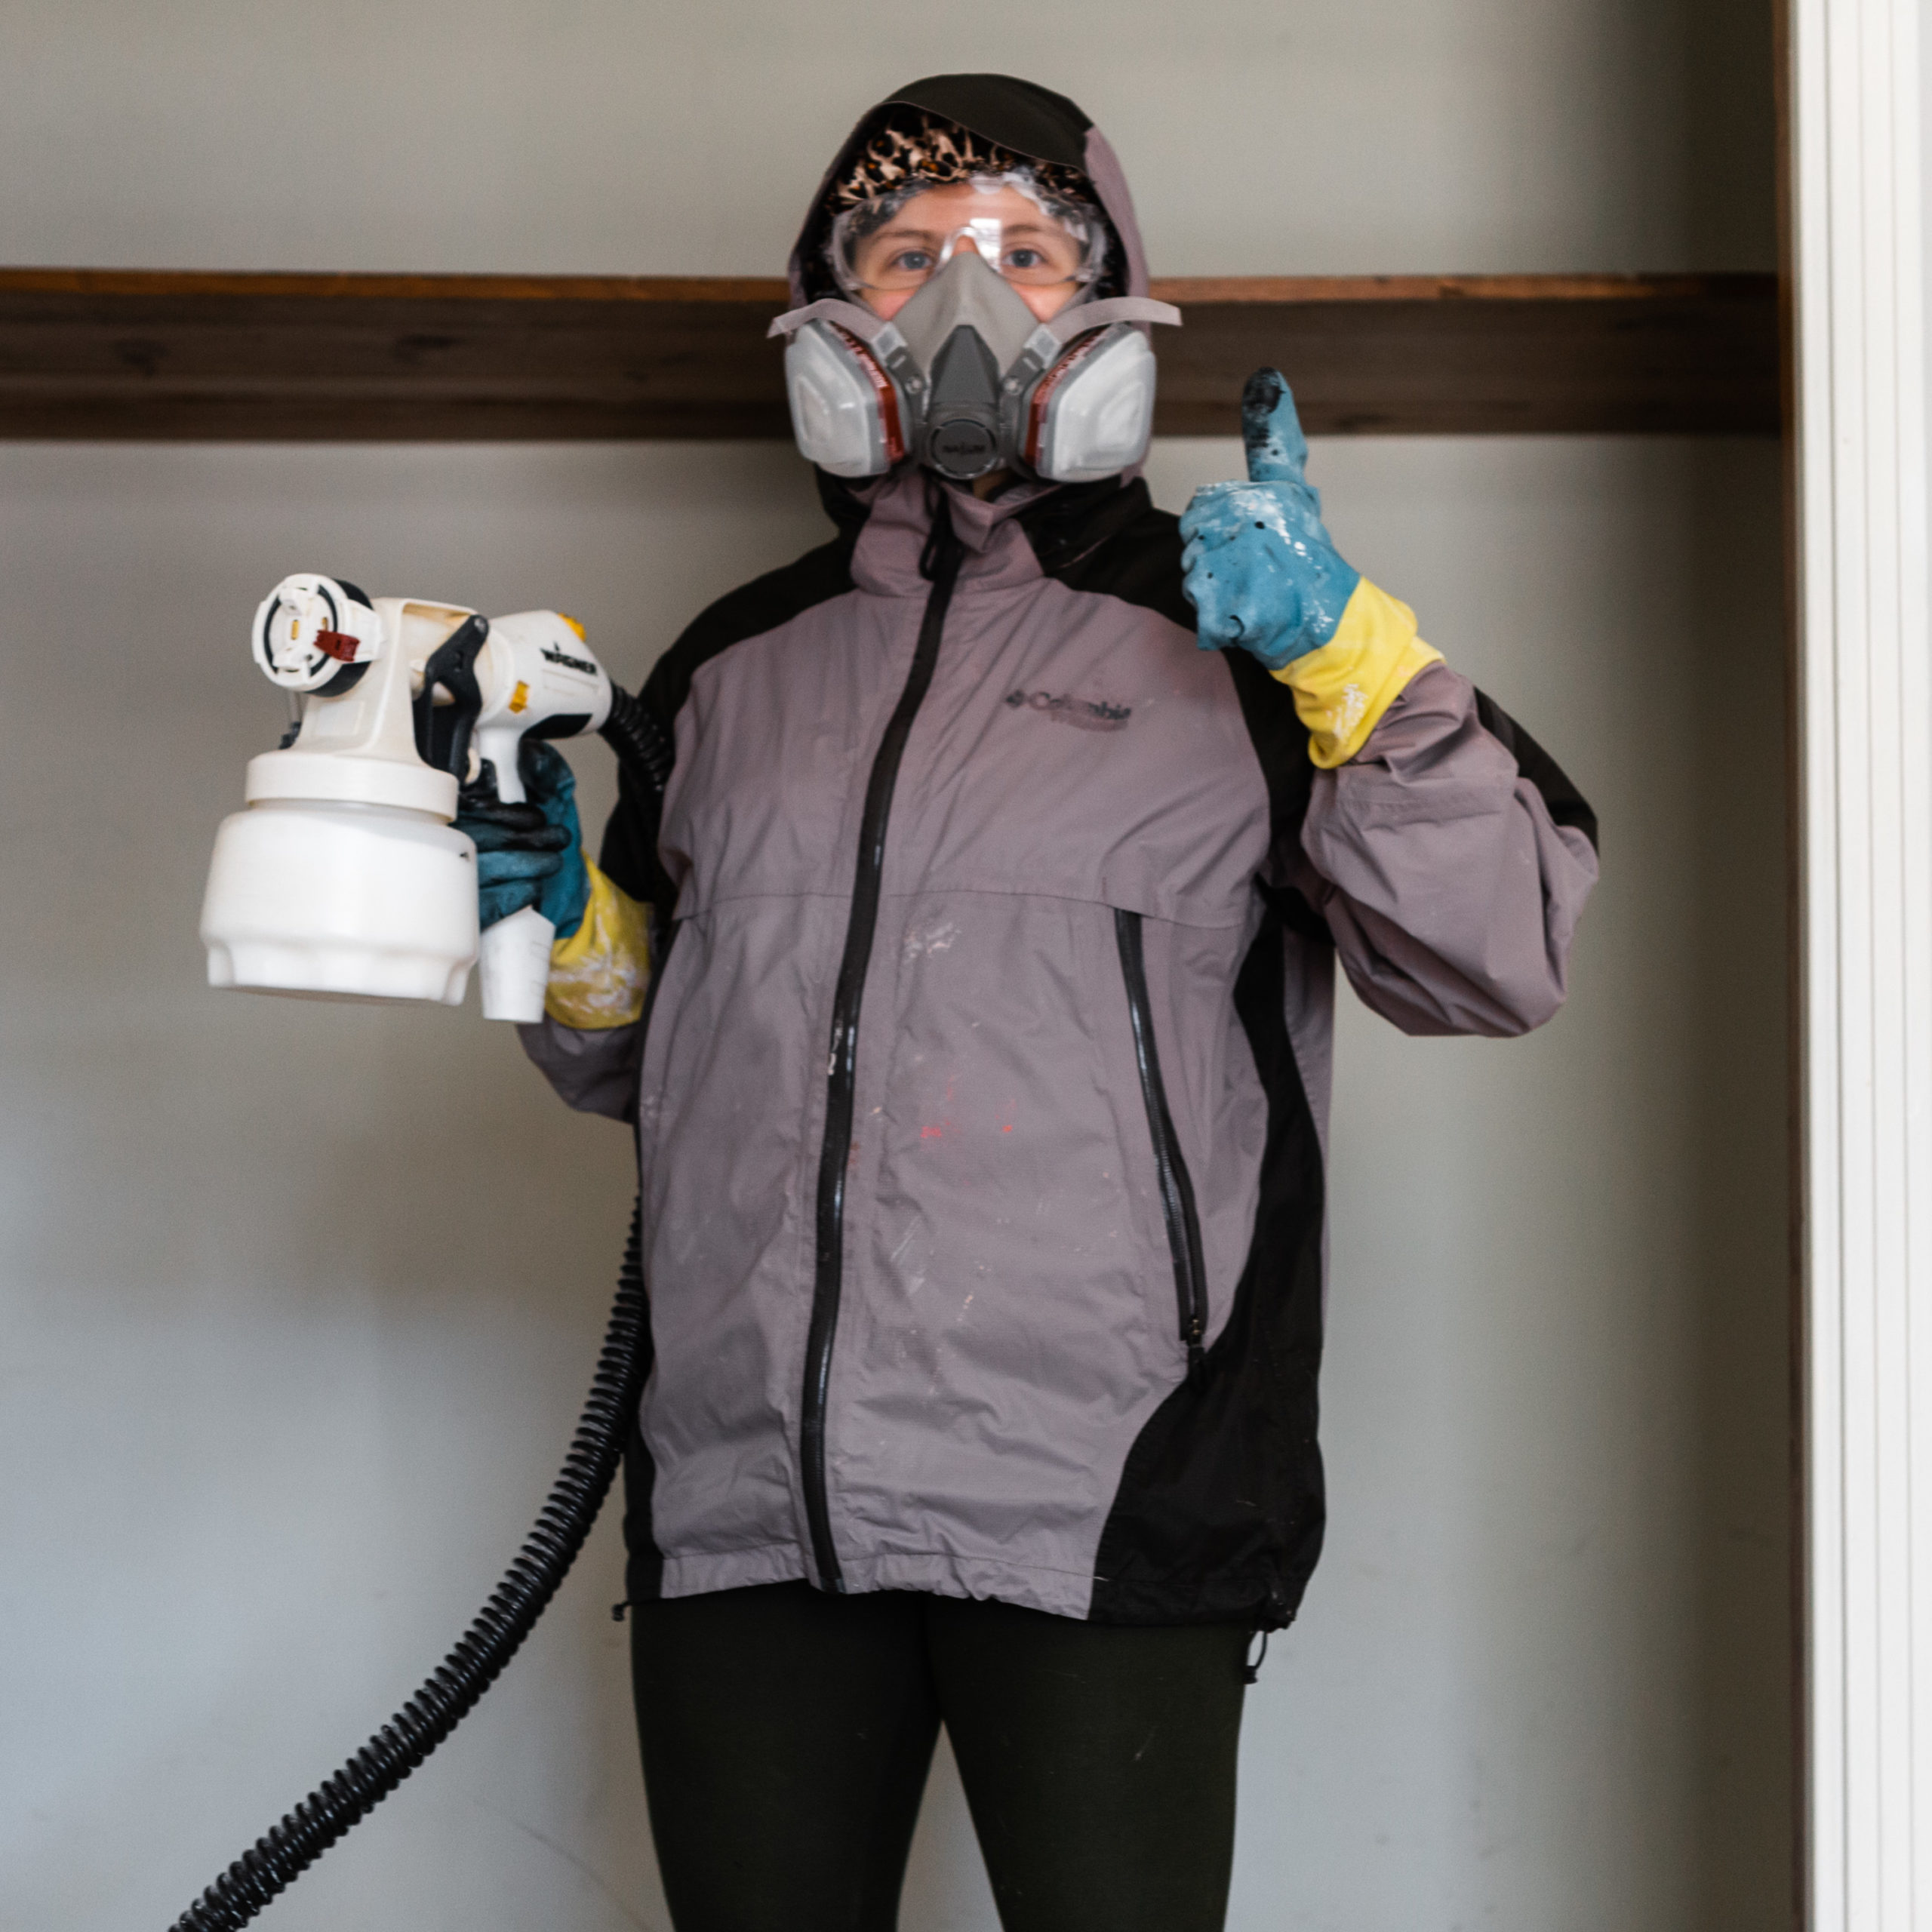
I ended up doing about 2 coats (with a few spots that I went over a third time) on the walls to make sure the brown was completely covered. The paint color BM Chantilly Lace. We bought all of the paint we’re using from Sherwin Williams during a 40% off sale (they always have military discount too if there isn’t a sale!). We had them custom mix to get Chantilly Lace in their paint formula! It’s my all time favorite white. It doesn’t have any undertones but it’s also not a stark, cold hospital white if you know what I mean. The ceiling is a flat finish, walls are satin, and trim is semi gloss. See the difference between the old “white” and the new?
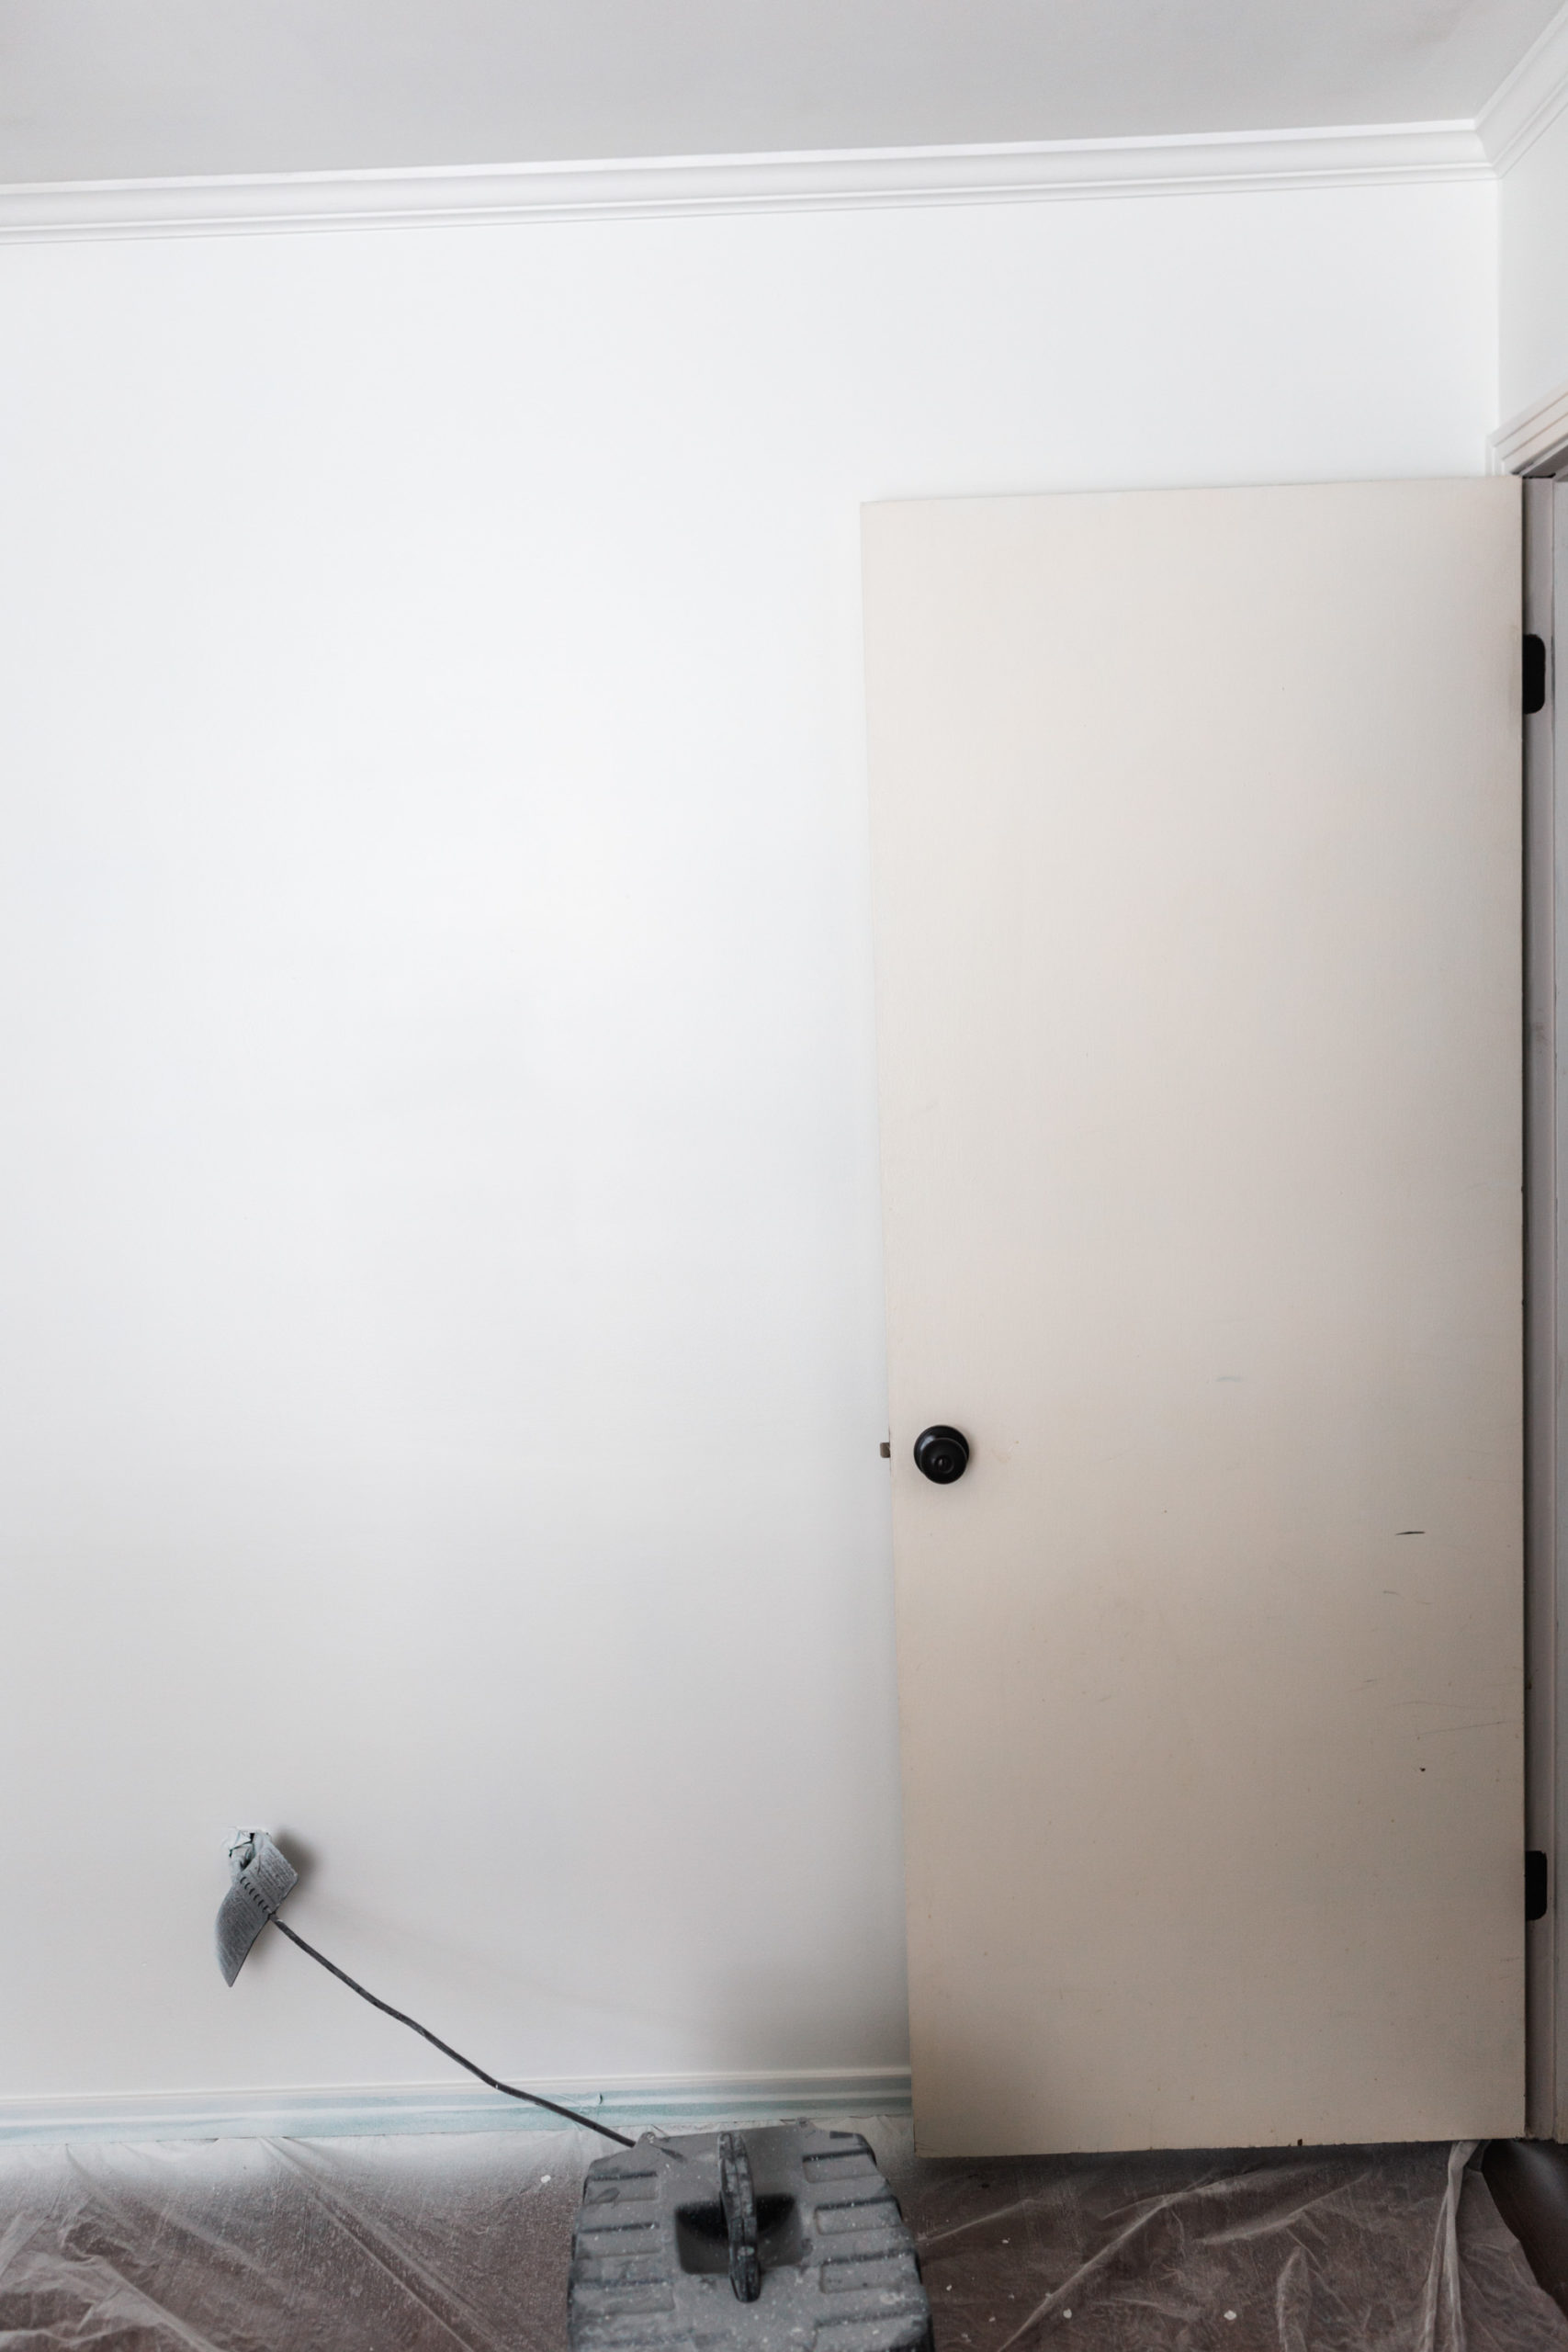
We were so excited to remove the door leading into the kitchen. It doesn’t serve a purpose for us and takes up space! Stephen took the hinges off and then I filled in the holes using this. You wouldn’t even notice if I hadn’t told you! Even then you might not be able to notice. Once the ceiling and walls were finished, we went back and painted the crown molding and baseboards.
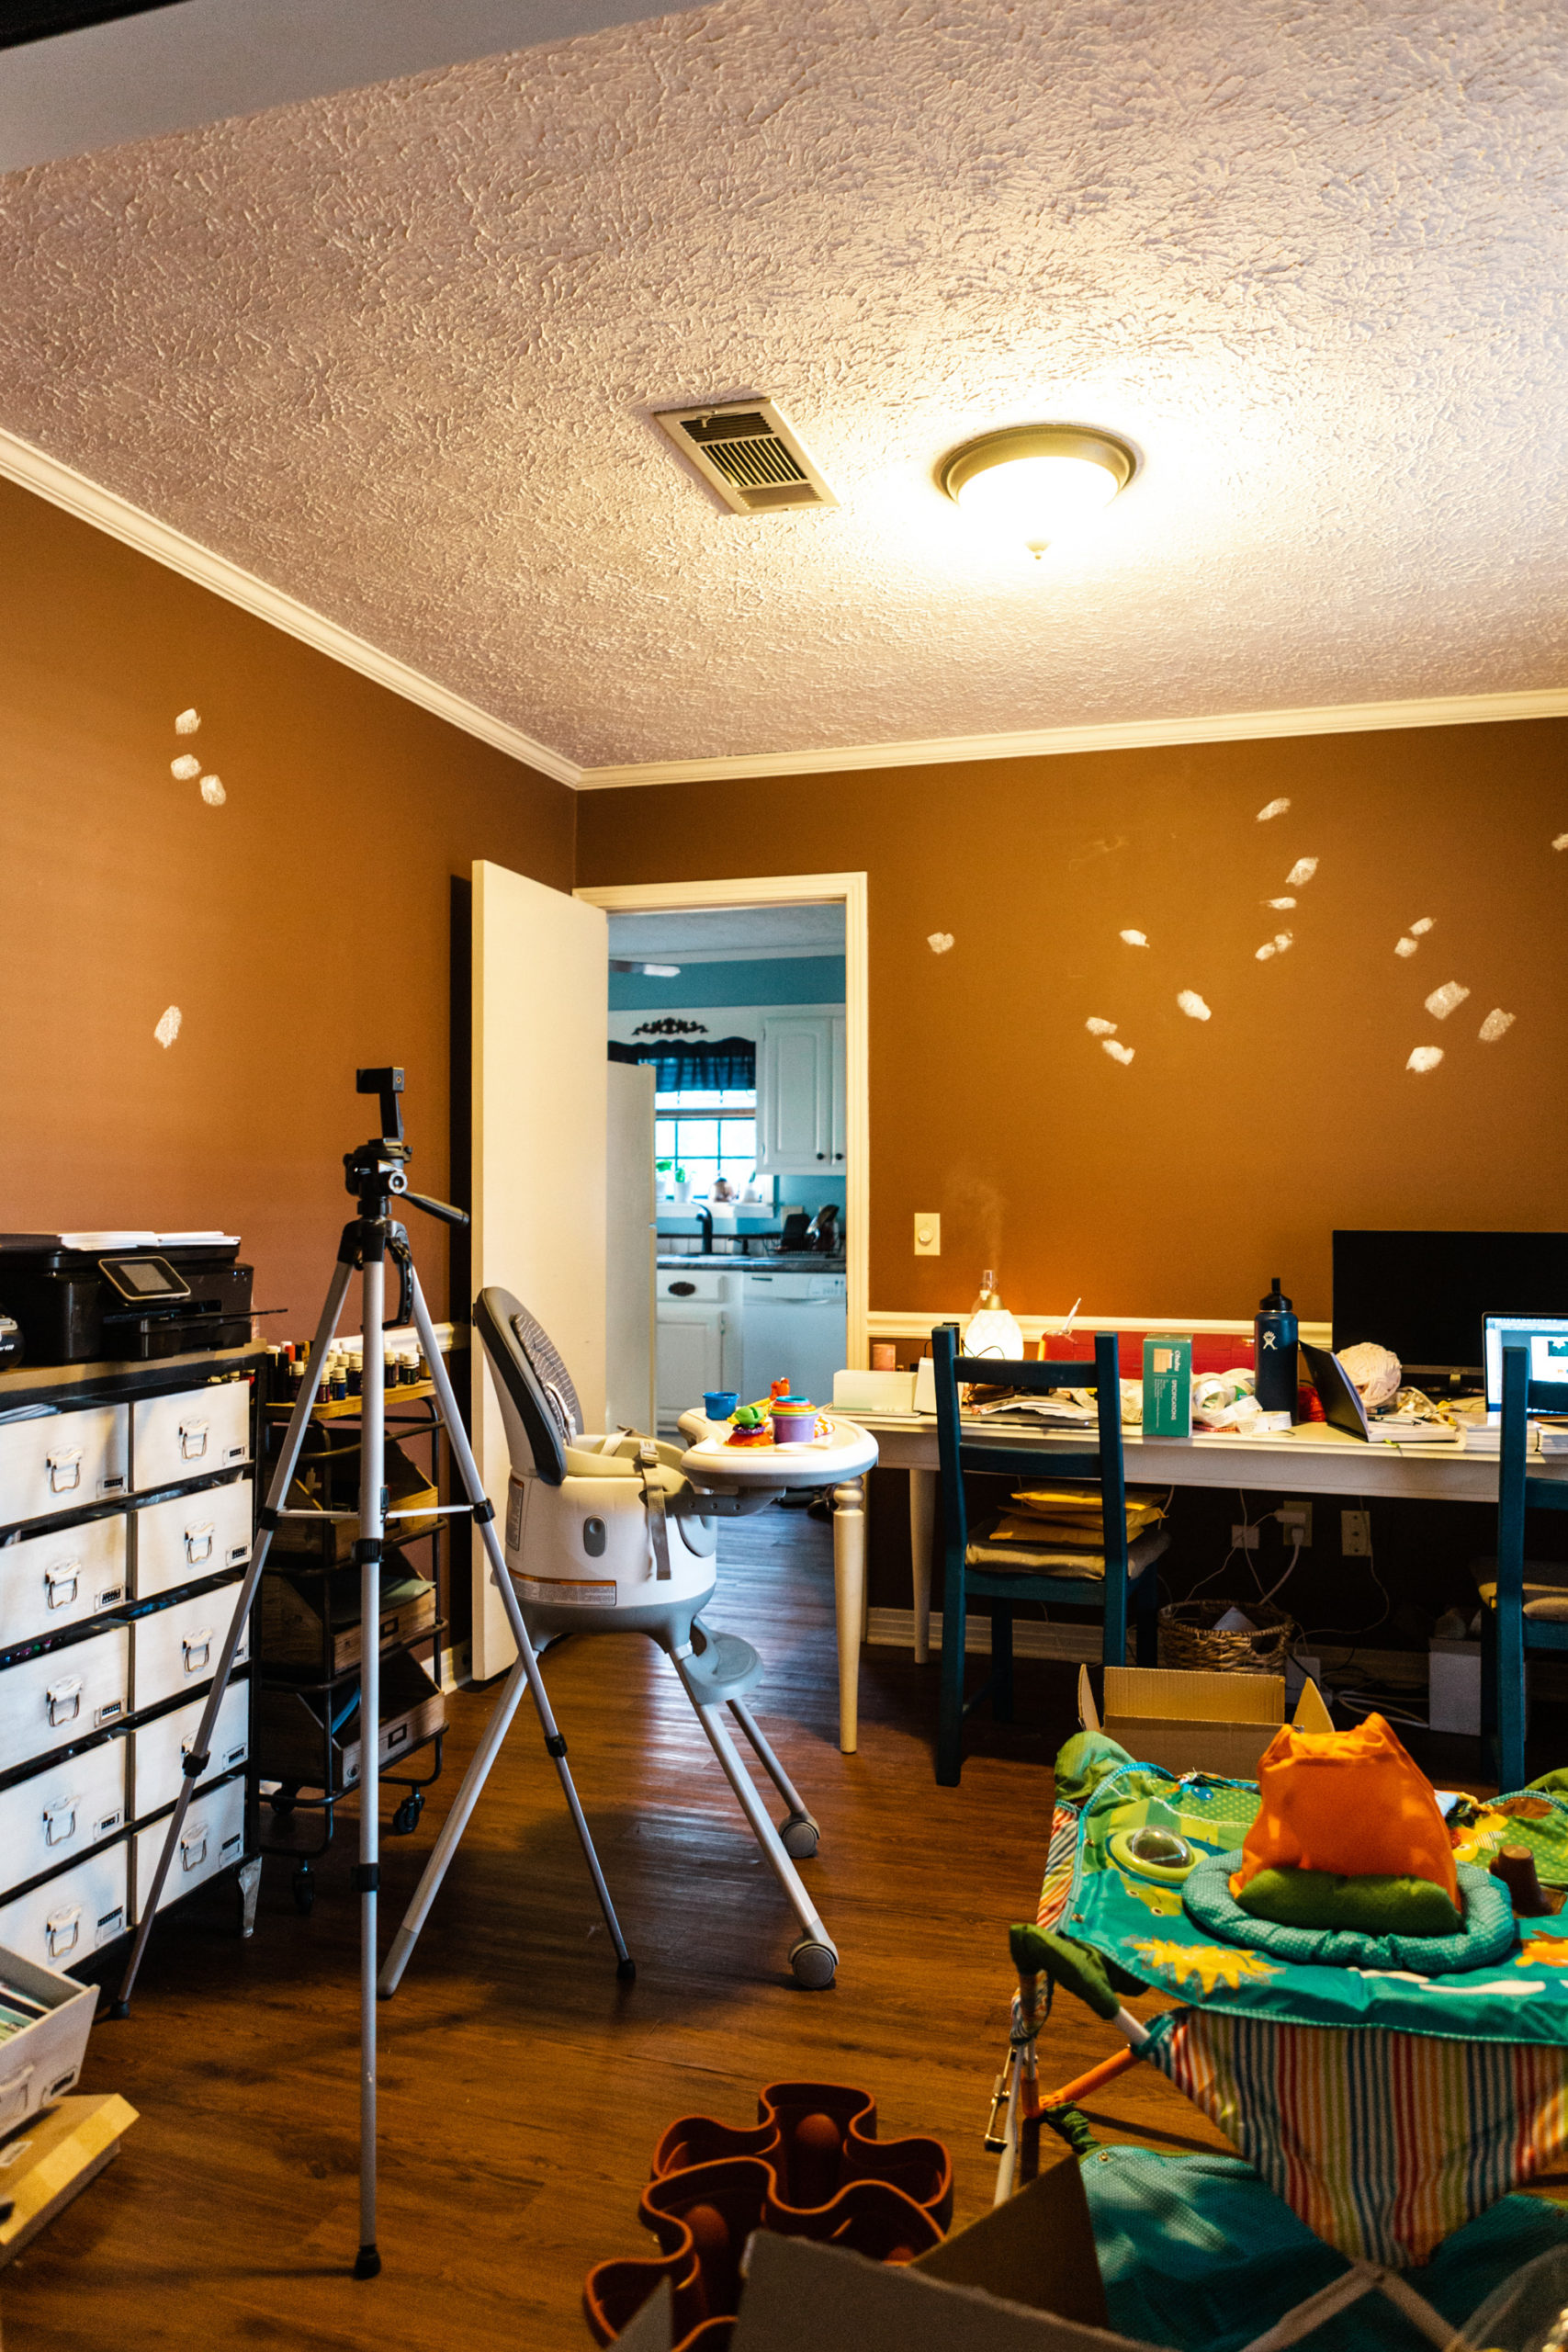
Before I show you what it looks like now, here’s a reminder of where we started:
And now after patching, painting, and a good dose of elbow grease…
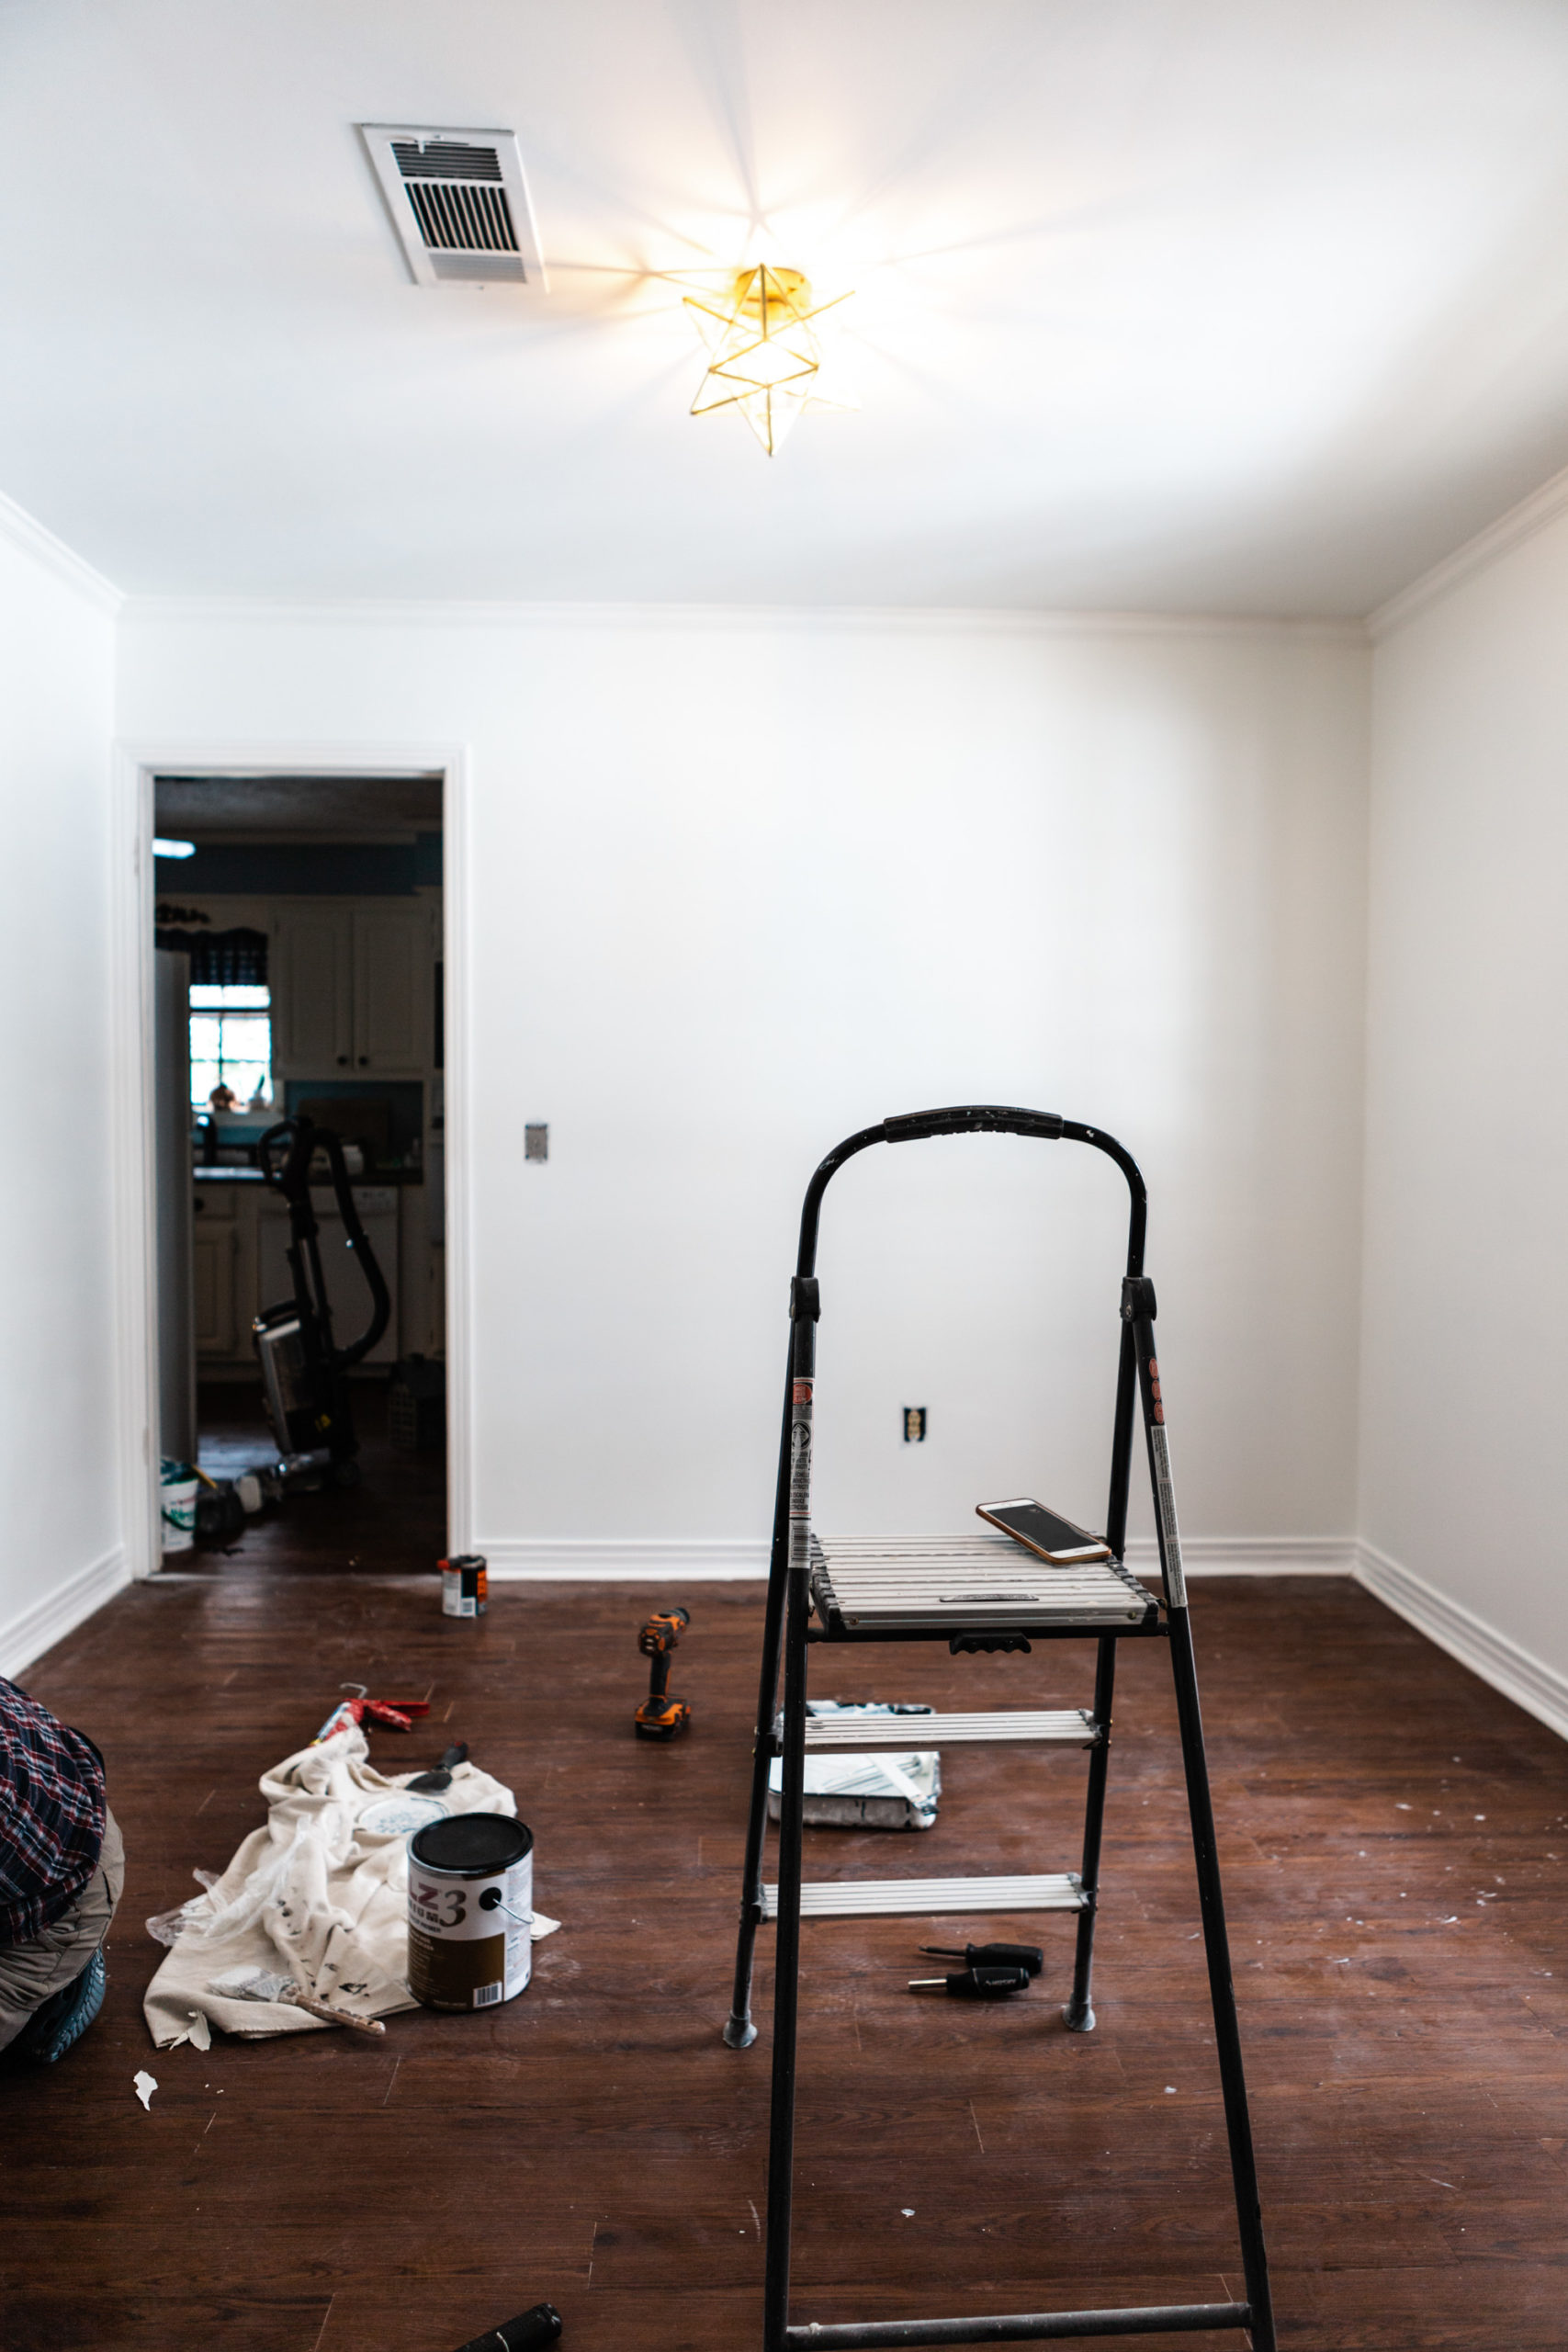
It’s amazing what paint can do, isn’t it?! These clean, fresh walls make me giddy! Next up: refreshing our desk!
I’m grateful you have joined us on here today. I hope this helped or inspired you in some way!

I sincerely appreciate you all shopping through my affiliate links like the ones included in this post. I make a small commission when you purchase through these links at no extra cost to you. These funds help support my family and allow for us to produce better content for you all. I can’t thank you enough for supporting all that we do!
jordan jean
Leave a Reply


[…] we wait for the last piece to arrive before we finish up the office, we decided to go ahead and start knocking out the living room. I mean literally… I started […]
[…] first thing that I did as soon as the walls were painted (and dry) in the office was get this little corner set up. I had been imagining it for months now […]