February 5, 2020
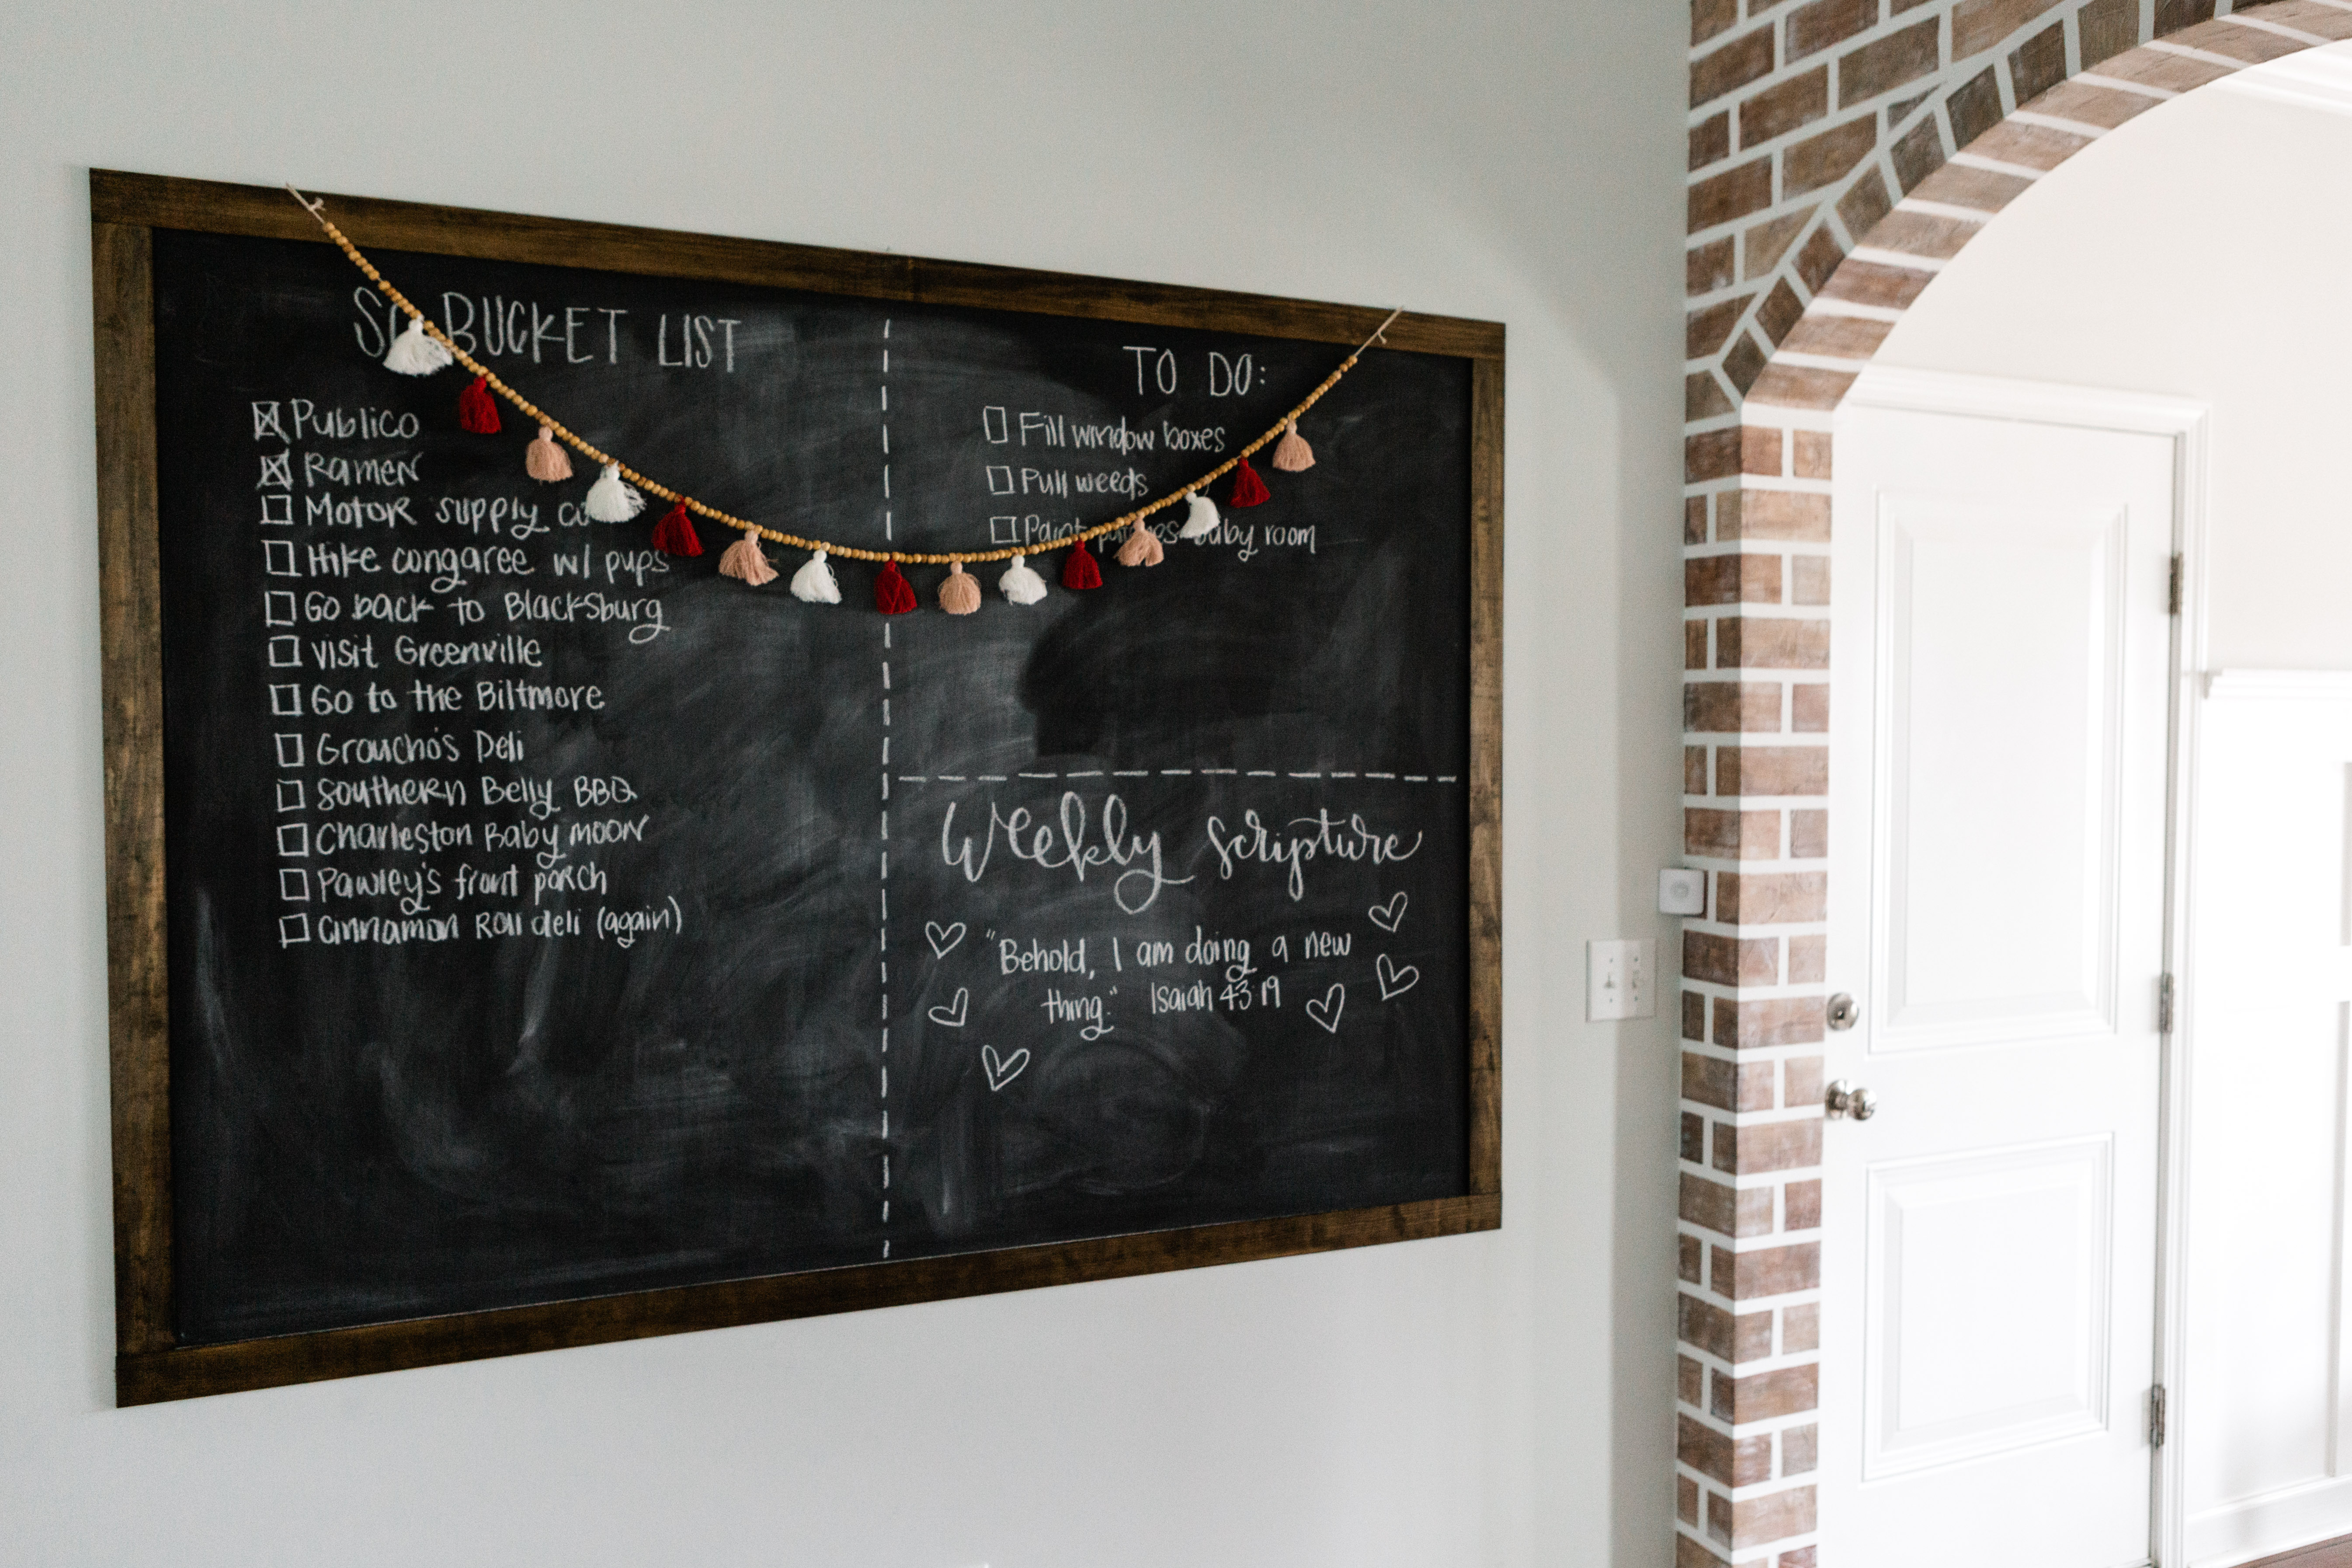
Since we know that we’ll be moving sometime this year, I want to make sure anything we “DIYed” in this house is documented on here for you guys (and for us in case we want to do something similar in the next house)! A really simple project that I shared on Instagram stories was the DIY chalkboard. The total time it took to complete this simple project was maybe 1.5 hours? You might have to purchase a few things if you don’t have this stuff on hand but overall, it’s inexpensive as well.
I originally wanted to paint the entire wall with chalk paint (it would’ve been so fun!!!) but Stephen vetoed that idea so we compromised on this one.
What You’ll Need:
- Painters tape
- Level
- DIY chalk paint (you can do whatever color you want! I just used leftover paint we had in the garage) – the amount that you need for this is going to depend on the size of chalkboard you want
- Recycled container/bucket to hold the paint
- Drop cloth (or not if you’re feeling daring)
- Paint brush
- 2.5″ lattice – the amount you need will also depend on the size of chalkboard you want
- Saw
- Wood stain (Minwax Dark walnut is our go-to) + rag
- Nail + hammer/nail gun
- Chalk
What To Do:
- Using a level and painters tape, tape off the size of chalkboard you want to create.
- Follow the steps in my DIY chalk paint post to prepare the paint. Make sure you have everything ready to go before mixing the grout with the paint because it will start to thicken quickly once they’re mixed.
- Apply a coat of the chalk paint inside of your tape guidelines. I only did one coat and it has held up fine but you might need two depending on the type of paint you use as the base for the chalk paint recipe.
- Once you are done painting, remove the painters tape. I tend to like doing this while the paint is still wet (be very aware of where the tape is going though so you don’t get wet paint somewhere it doesn’t belong!).
- Cut the lattice to fit the dimensions for the border of your chalkboard.
- Stain the pieces of lattice with your stain of choice.
- Attach the lattice to the border of your chalkboard using nails and a hammer or a nail gun!
- “Season” the board by drawing all over it with chalk and then wiping it away with a dry or damp paper towel depending on how seasoned you want it to look. Whenever I want to clean it completely I wipe it down with a wet rag and it looks good as new.
So simple, right?! I’d love to see if you decide to DIY this chalkboard in your own home! Make sure to tag me in your photos. Let me know if you have any questions or need any help.
As always, thank you all for your support. You guys are the best!
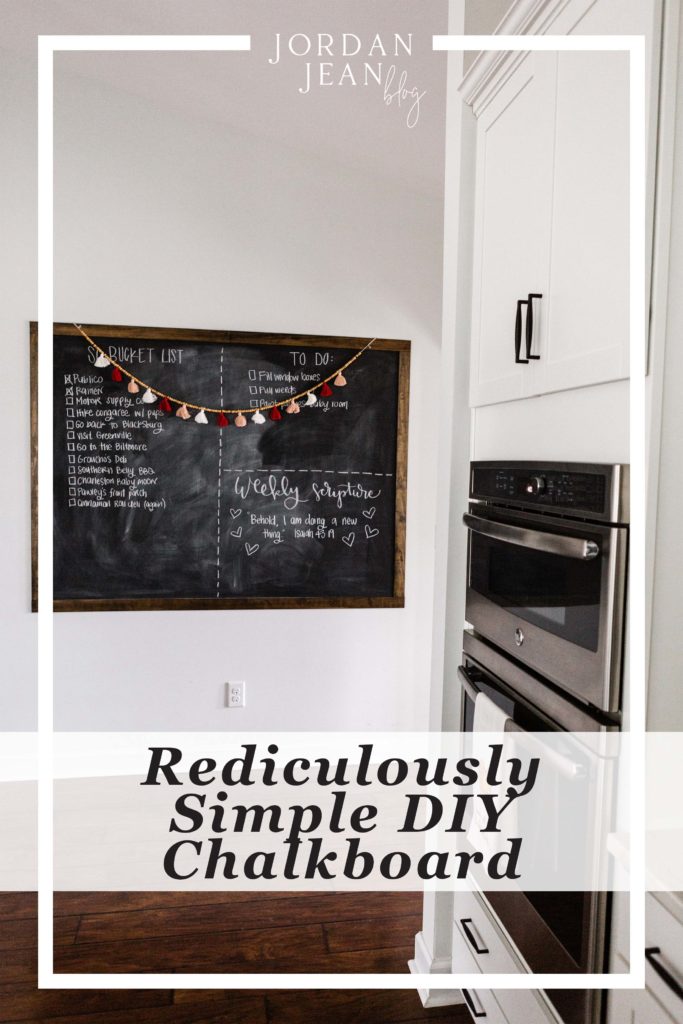
Pin this image to save the post for later:
jordan jean
Leave a Reply


[…] cut it. I don’t know why. I need something bigger! As much as we loved and used our DIY chalkboard in the SC house and I loved the vintage feel it adds, it was quite a mess with the chalk. […]
[…] Make a DIY chalkboard wall. […]