September 30, 2018
Hi! I’ve got a good one coming for ya…
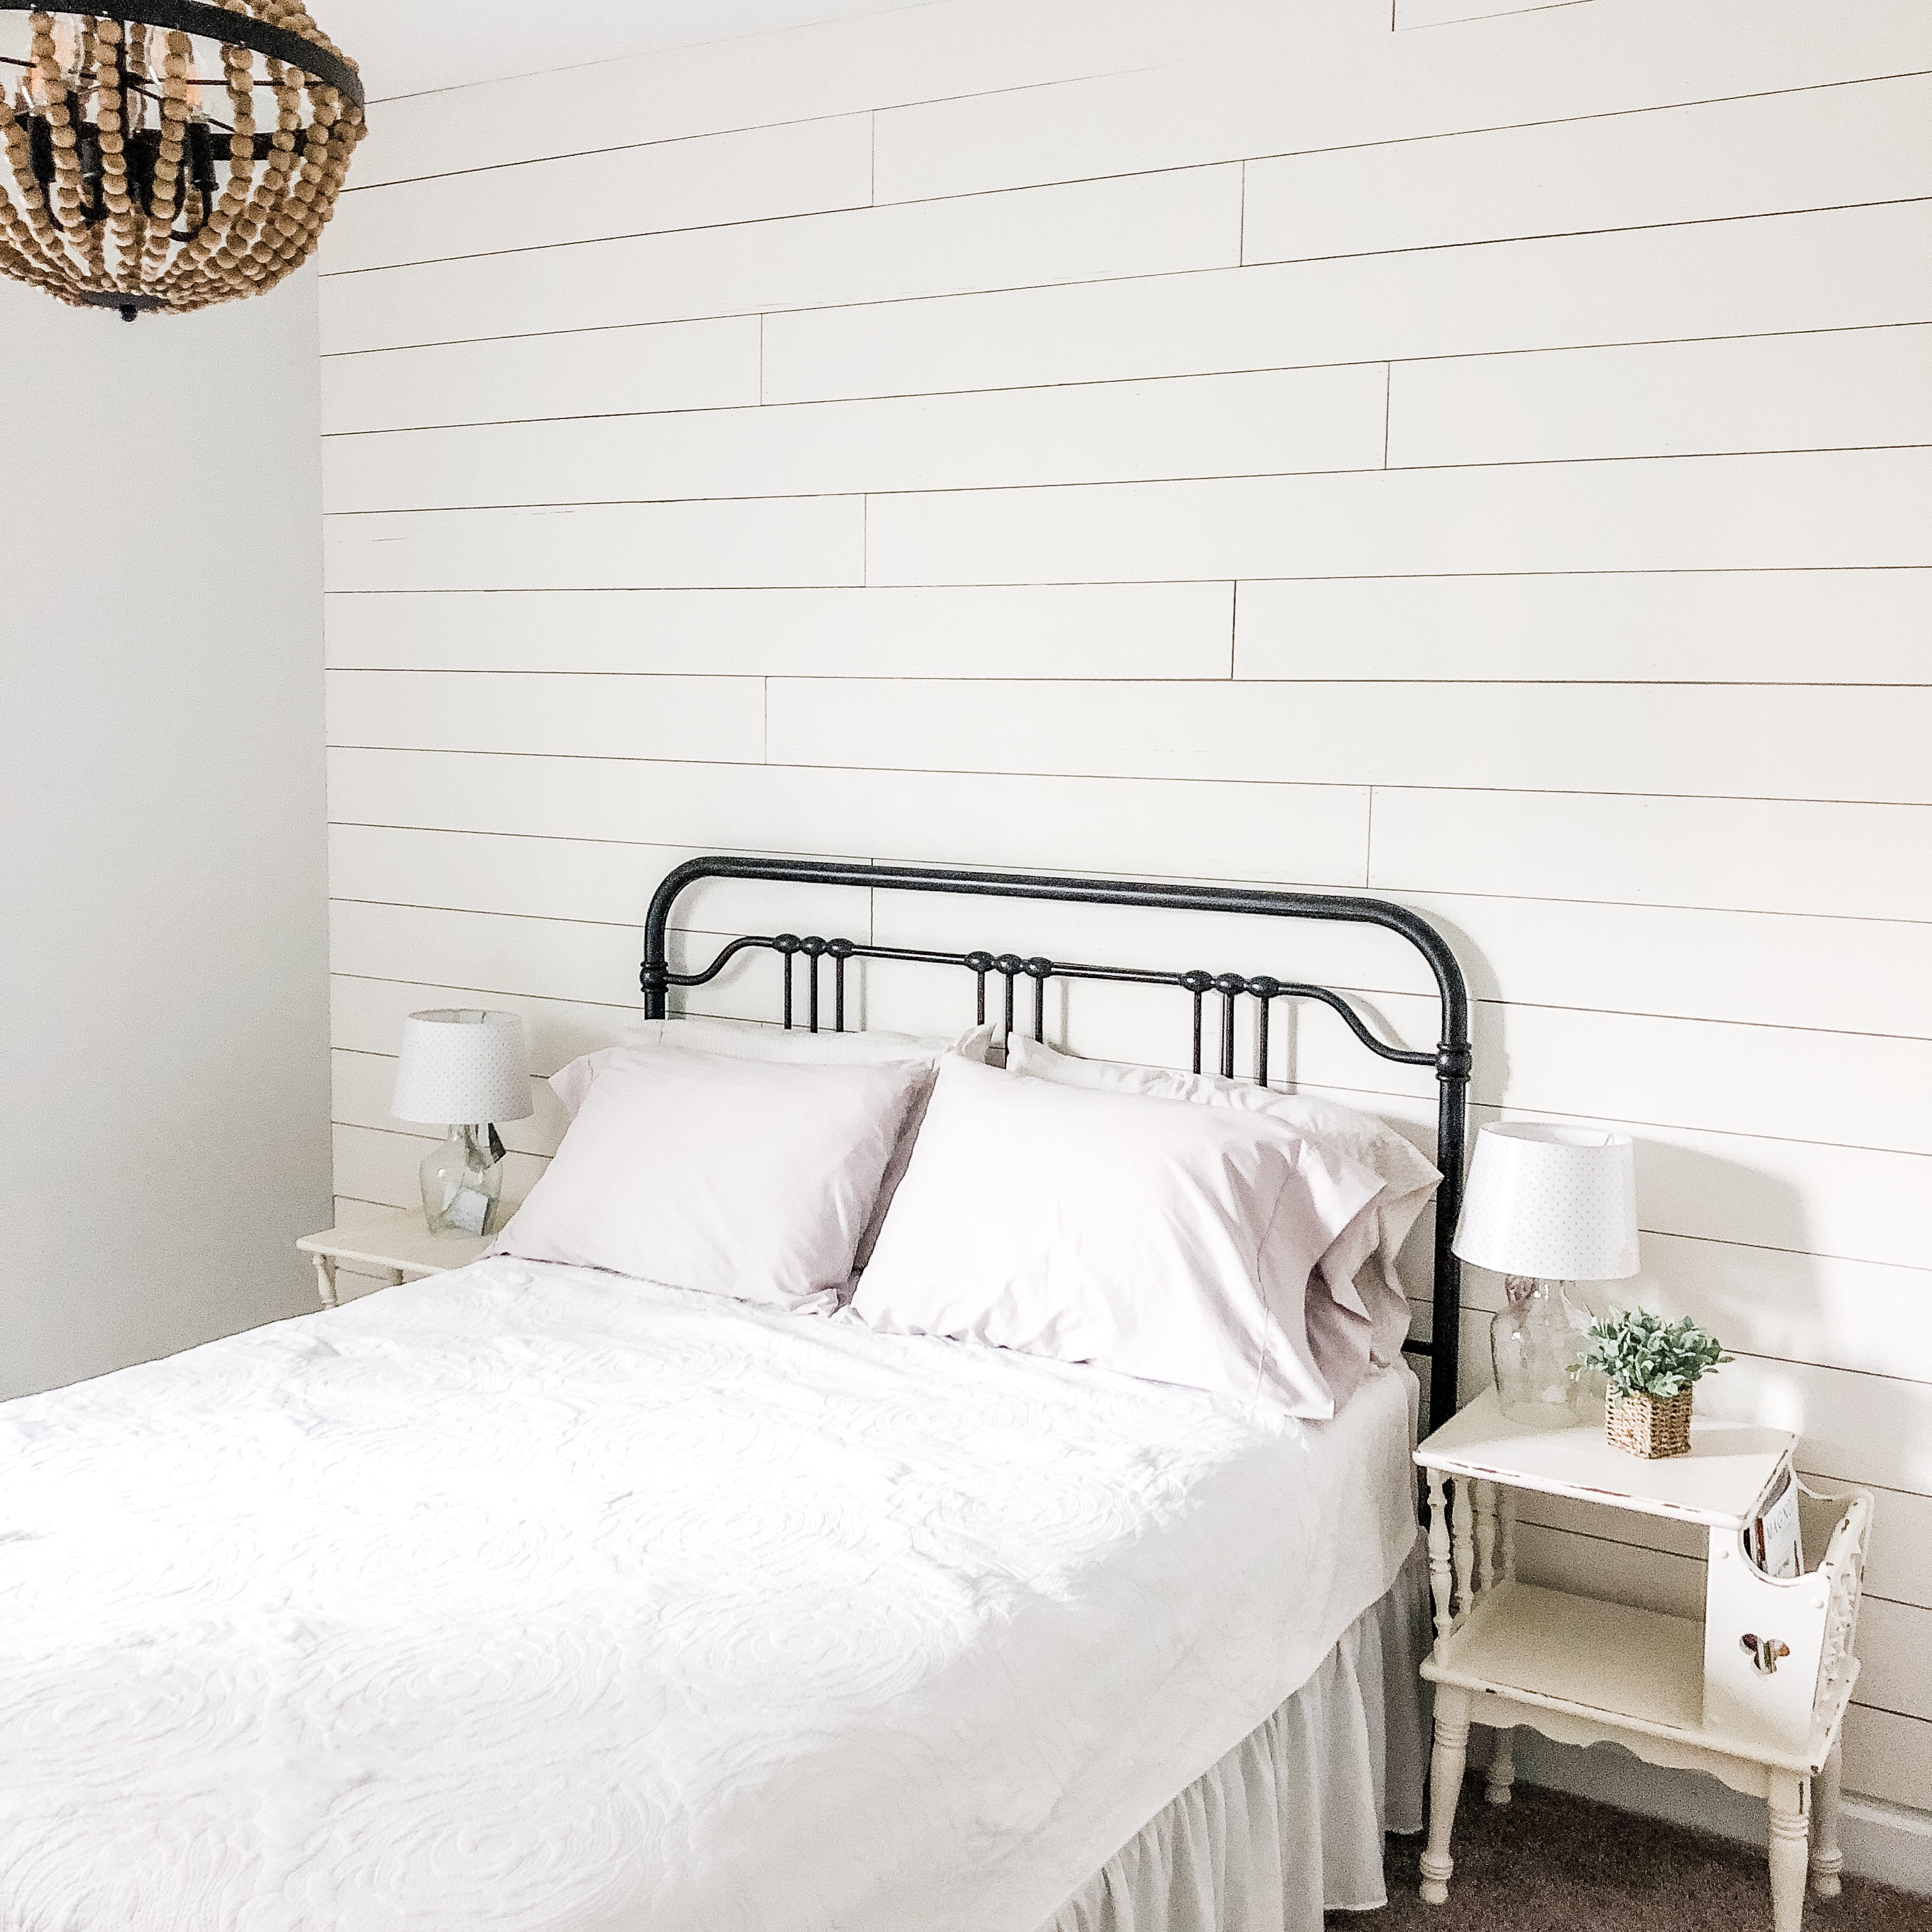
Some people believe that shiplap is the equivalent to the lovely 1970’s wood paneling and that it’ll eventually go out of style just like paneling did. Maybe they’re right. I don’t really care though. I love the simple charm it adds to a home and of course, I can’t go without mentioning the farmhouse vibes! Shiplap was originally used to construct barns, sheds, etc. so naturally it radiates farmhouse. As for why it’s so popular… We can all thank Chip and JoJo for that!
I’m calling this “shiplap” because real shiplap has grooves in it so that each piece can overlap each other, creating a tight seal. Since we just did this wall for aesthetic purposes, true shiplap wasn’t necessary and quite frankly, is was out of our budget. We did a lot of research though and met a sweet lady in Home Depot that has shiplapped many rooms in her day who assured us we were on the right path towards creating the look without the price tag. I’m happy to be sharing the how-to with you all today!
What you’ll need (affiliate links included for your convenience):
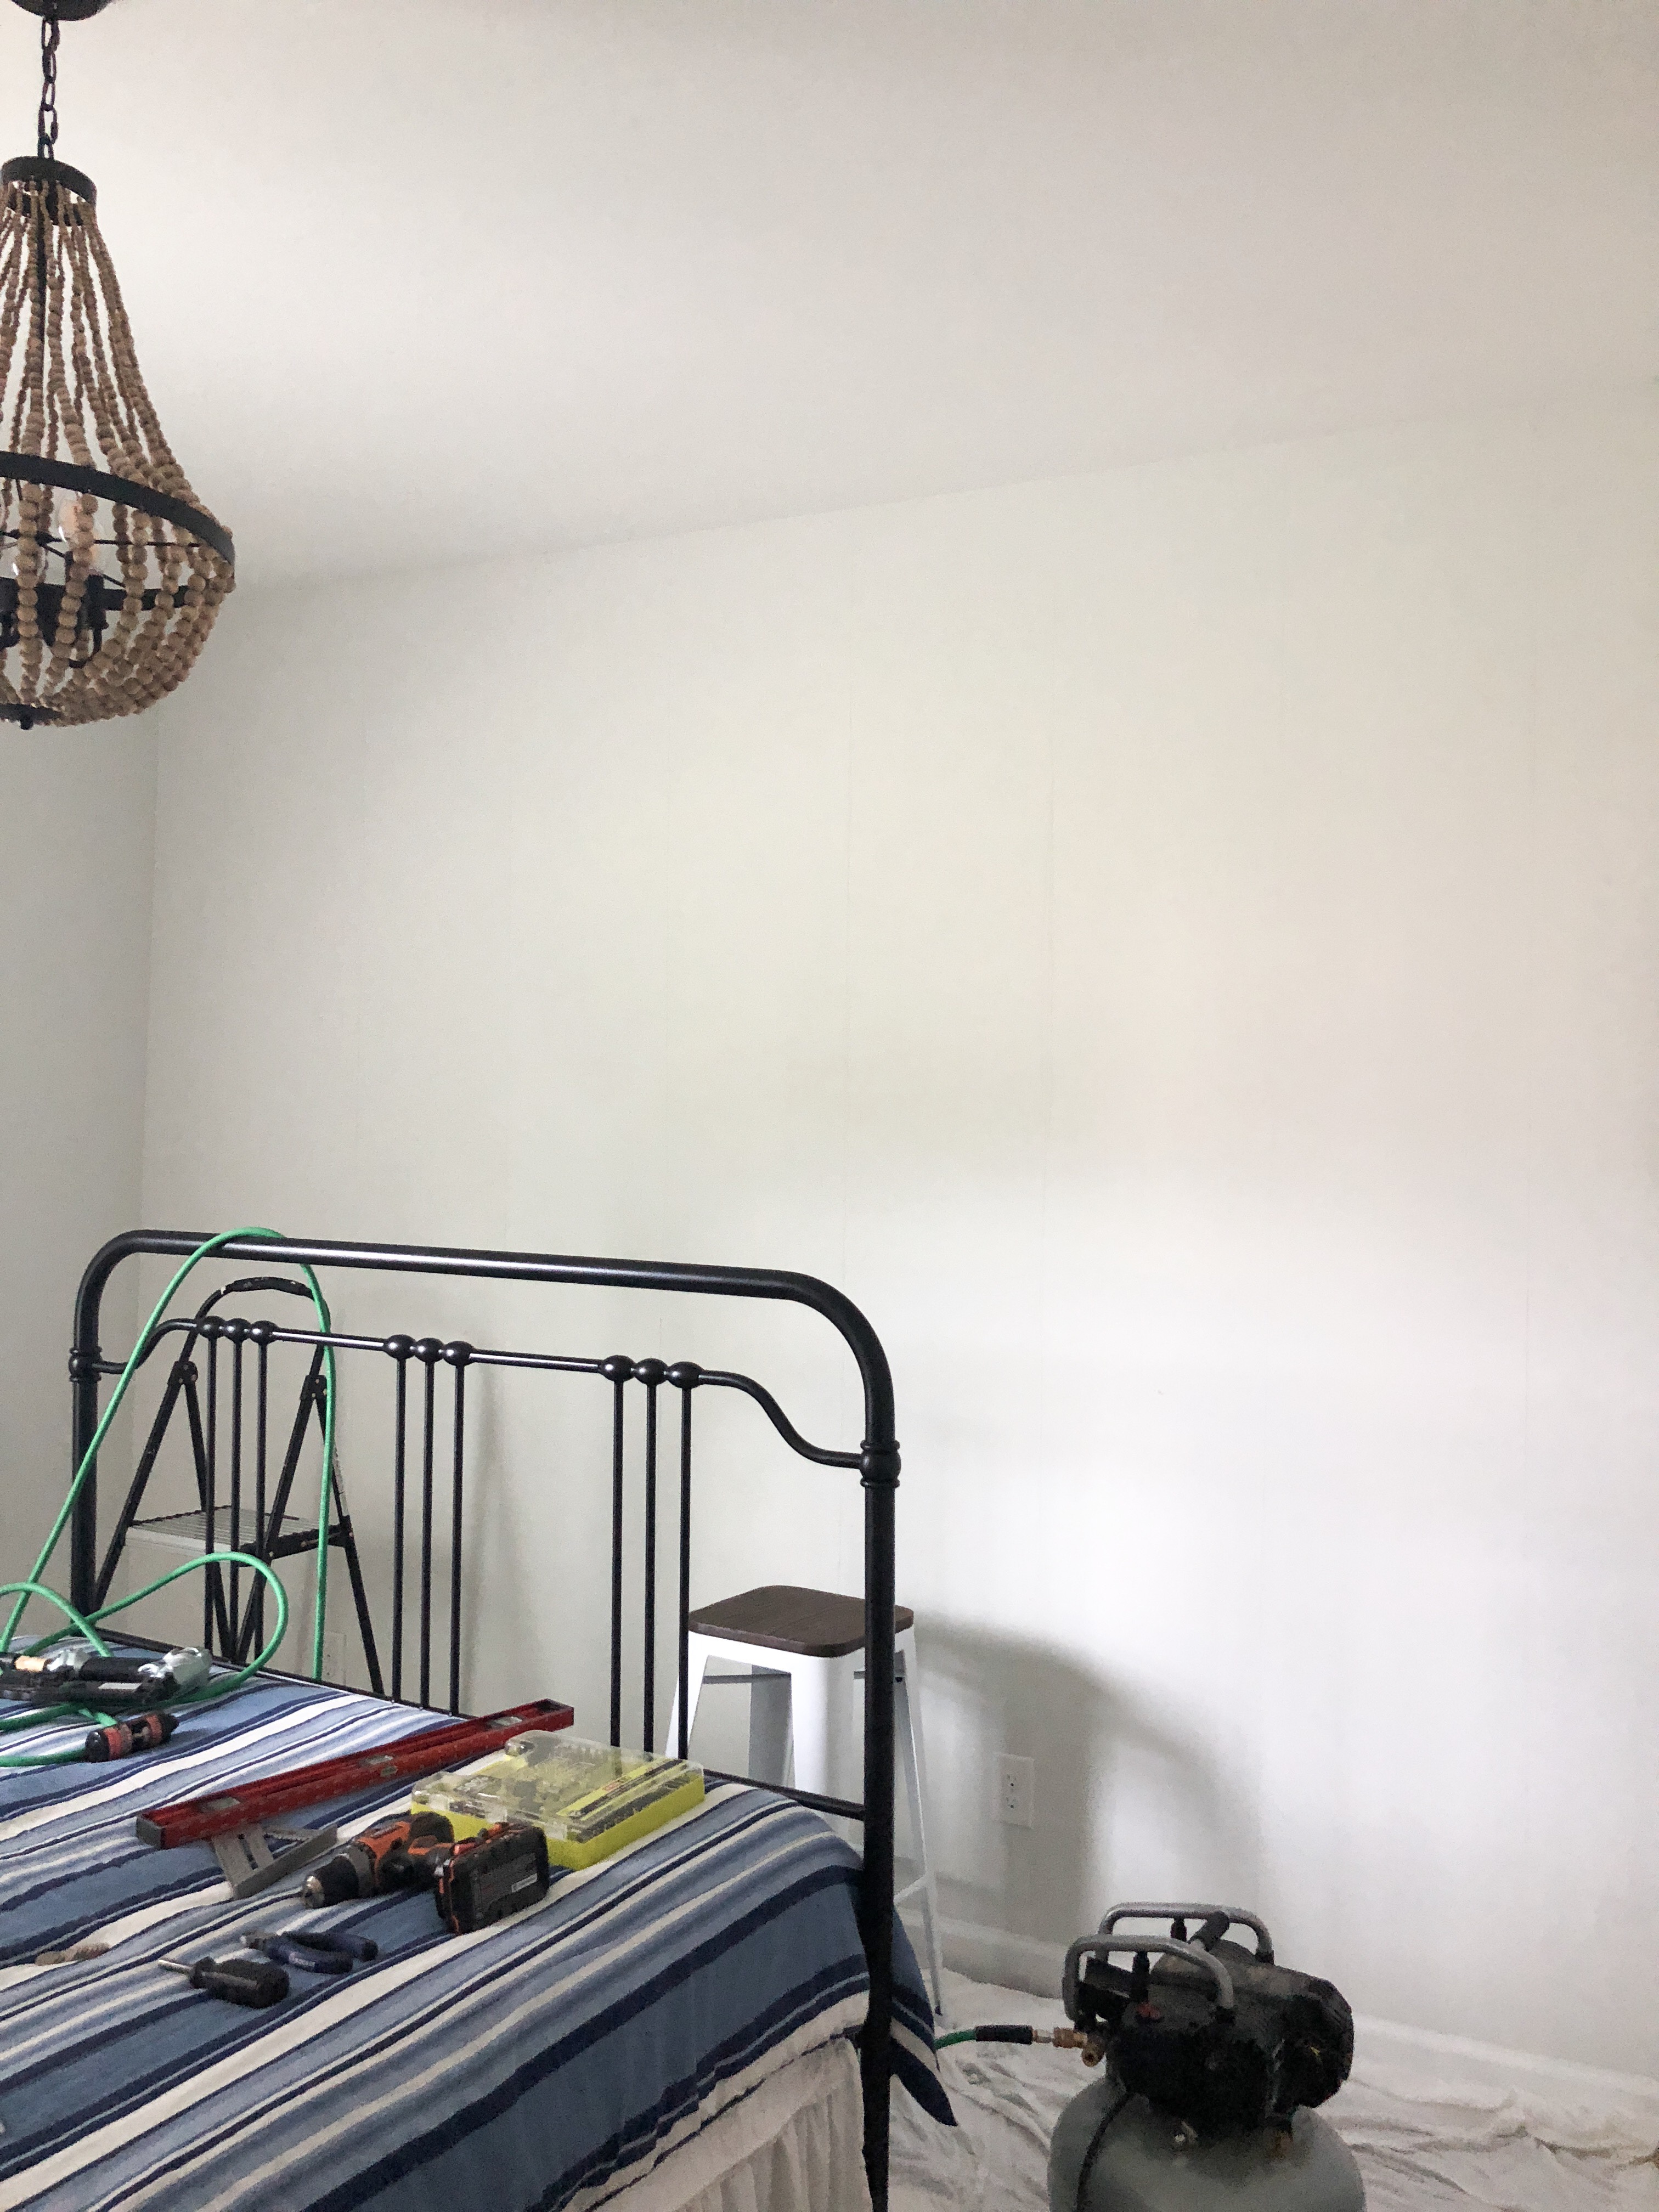
This is what we used to cover our 9′ x 11′ wall –
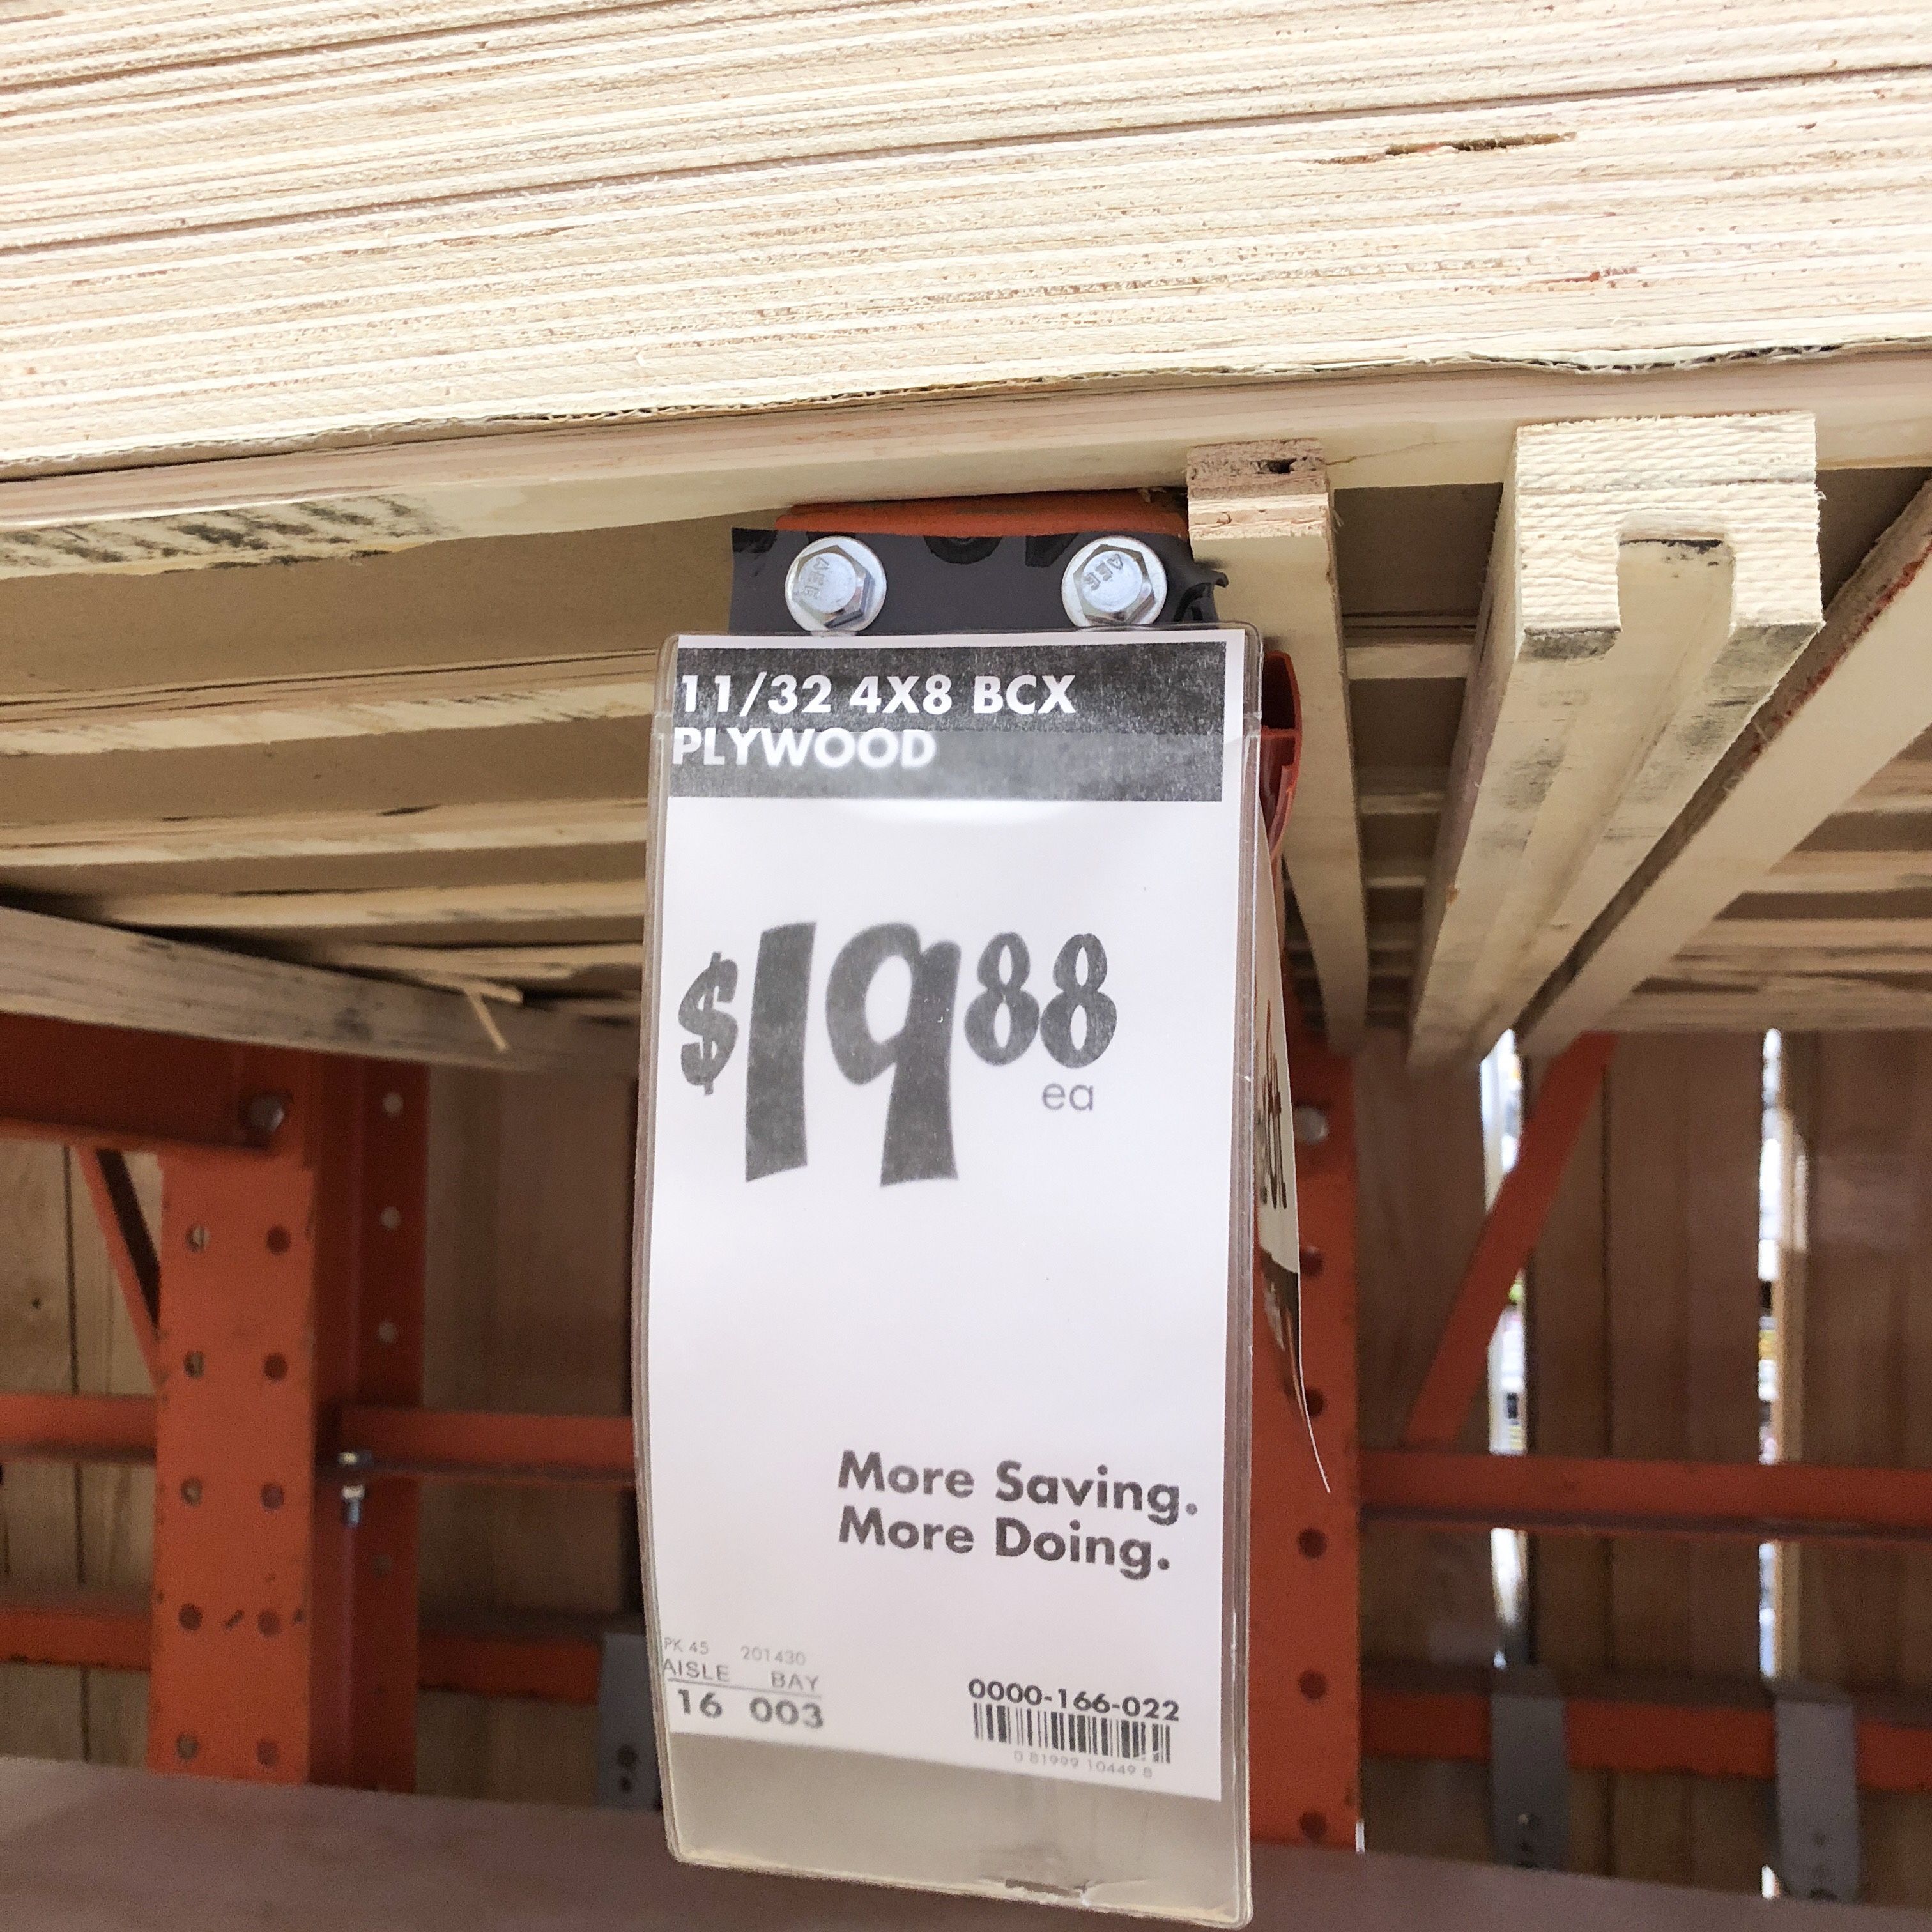
- 4 sheets – 11/32″ 4/8′ plywood ripped down into 6″ strips
- Optional: quarter round trim pieces
- Stud finder
- Pencil
- Orbital sander + medium-grit sandpaper/sanding block
- Brad nailer/hammer and nails
- 4+ nickels/popsicle sticks (even better than nickels if you have them!)
- Miter saw
- Level
- Tape measure
- Paint – we used Behr Ultra, Sherwin Williams Swiss Coffee in eggshell. I LOVE this white!
- Roller + brush
What to do:
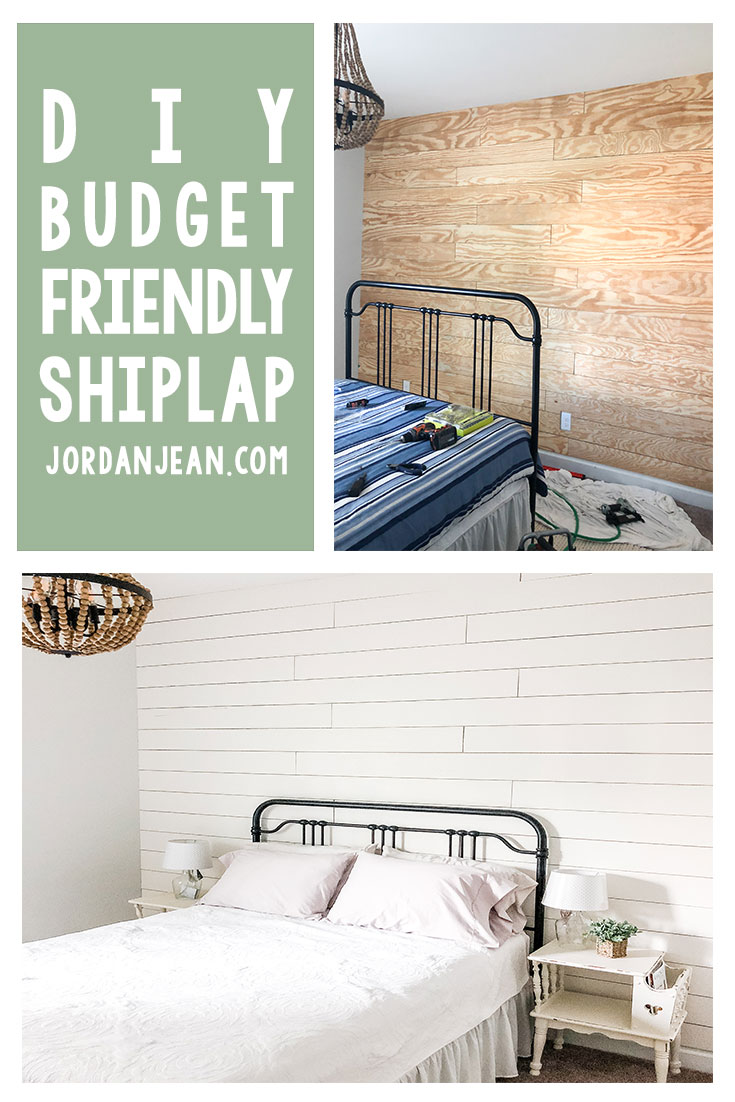
Excuse my iPhone pictures! We had multiple projects going on at the same time so things were a bit crazy.
- Measure your wall to determine how many sheets of plywood you’ll need.
- At the hardware store, have the sheets of plywood ripped down into 6″ planks. Make sure when they’re getting cut, they/you keep pressure down on the wood the entire time it goes through the saw to make sure that the boards are cut straight and don’t slip the last couple of feet. The first couple they cut for us did slip so they weren’t straight and were essentially useless for us. It does cost an extra $0.25 per cut but it was worth it.
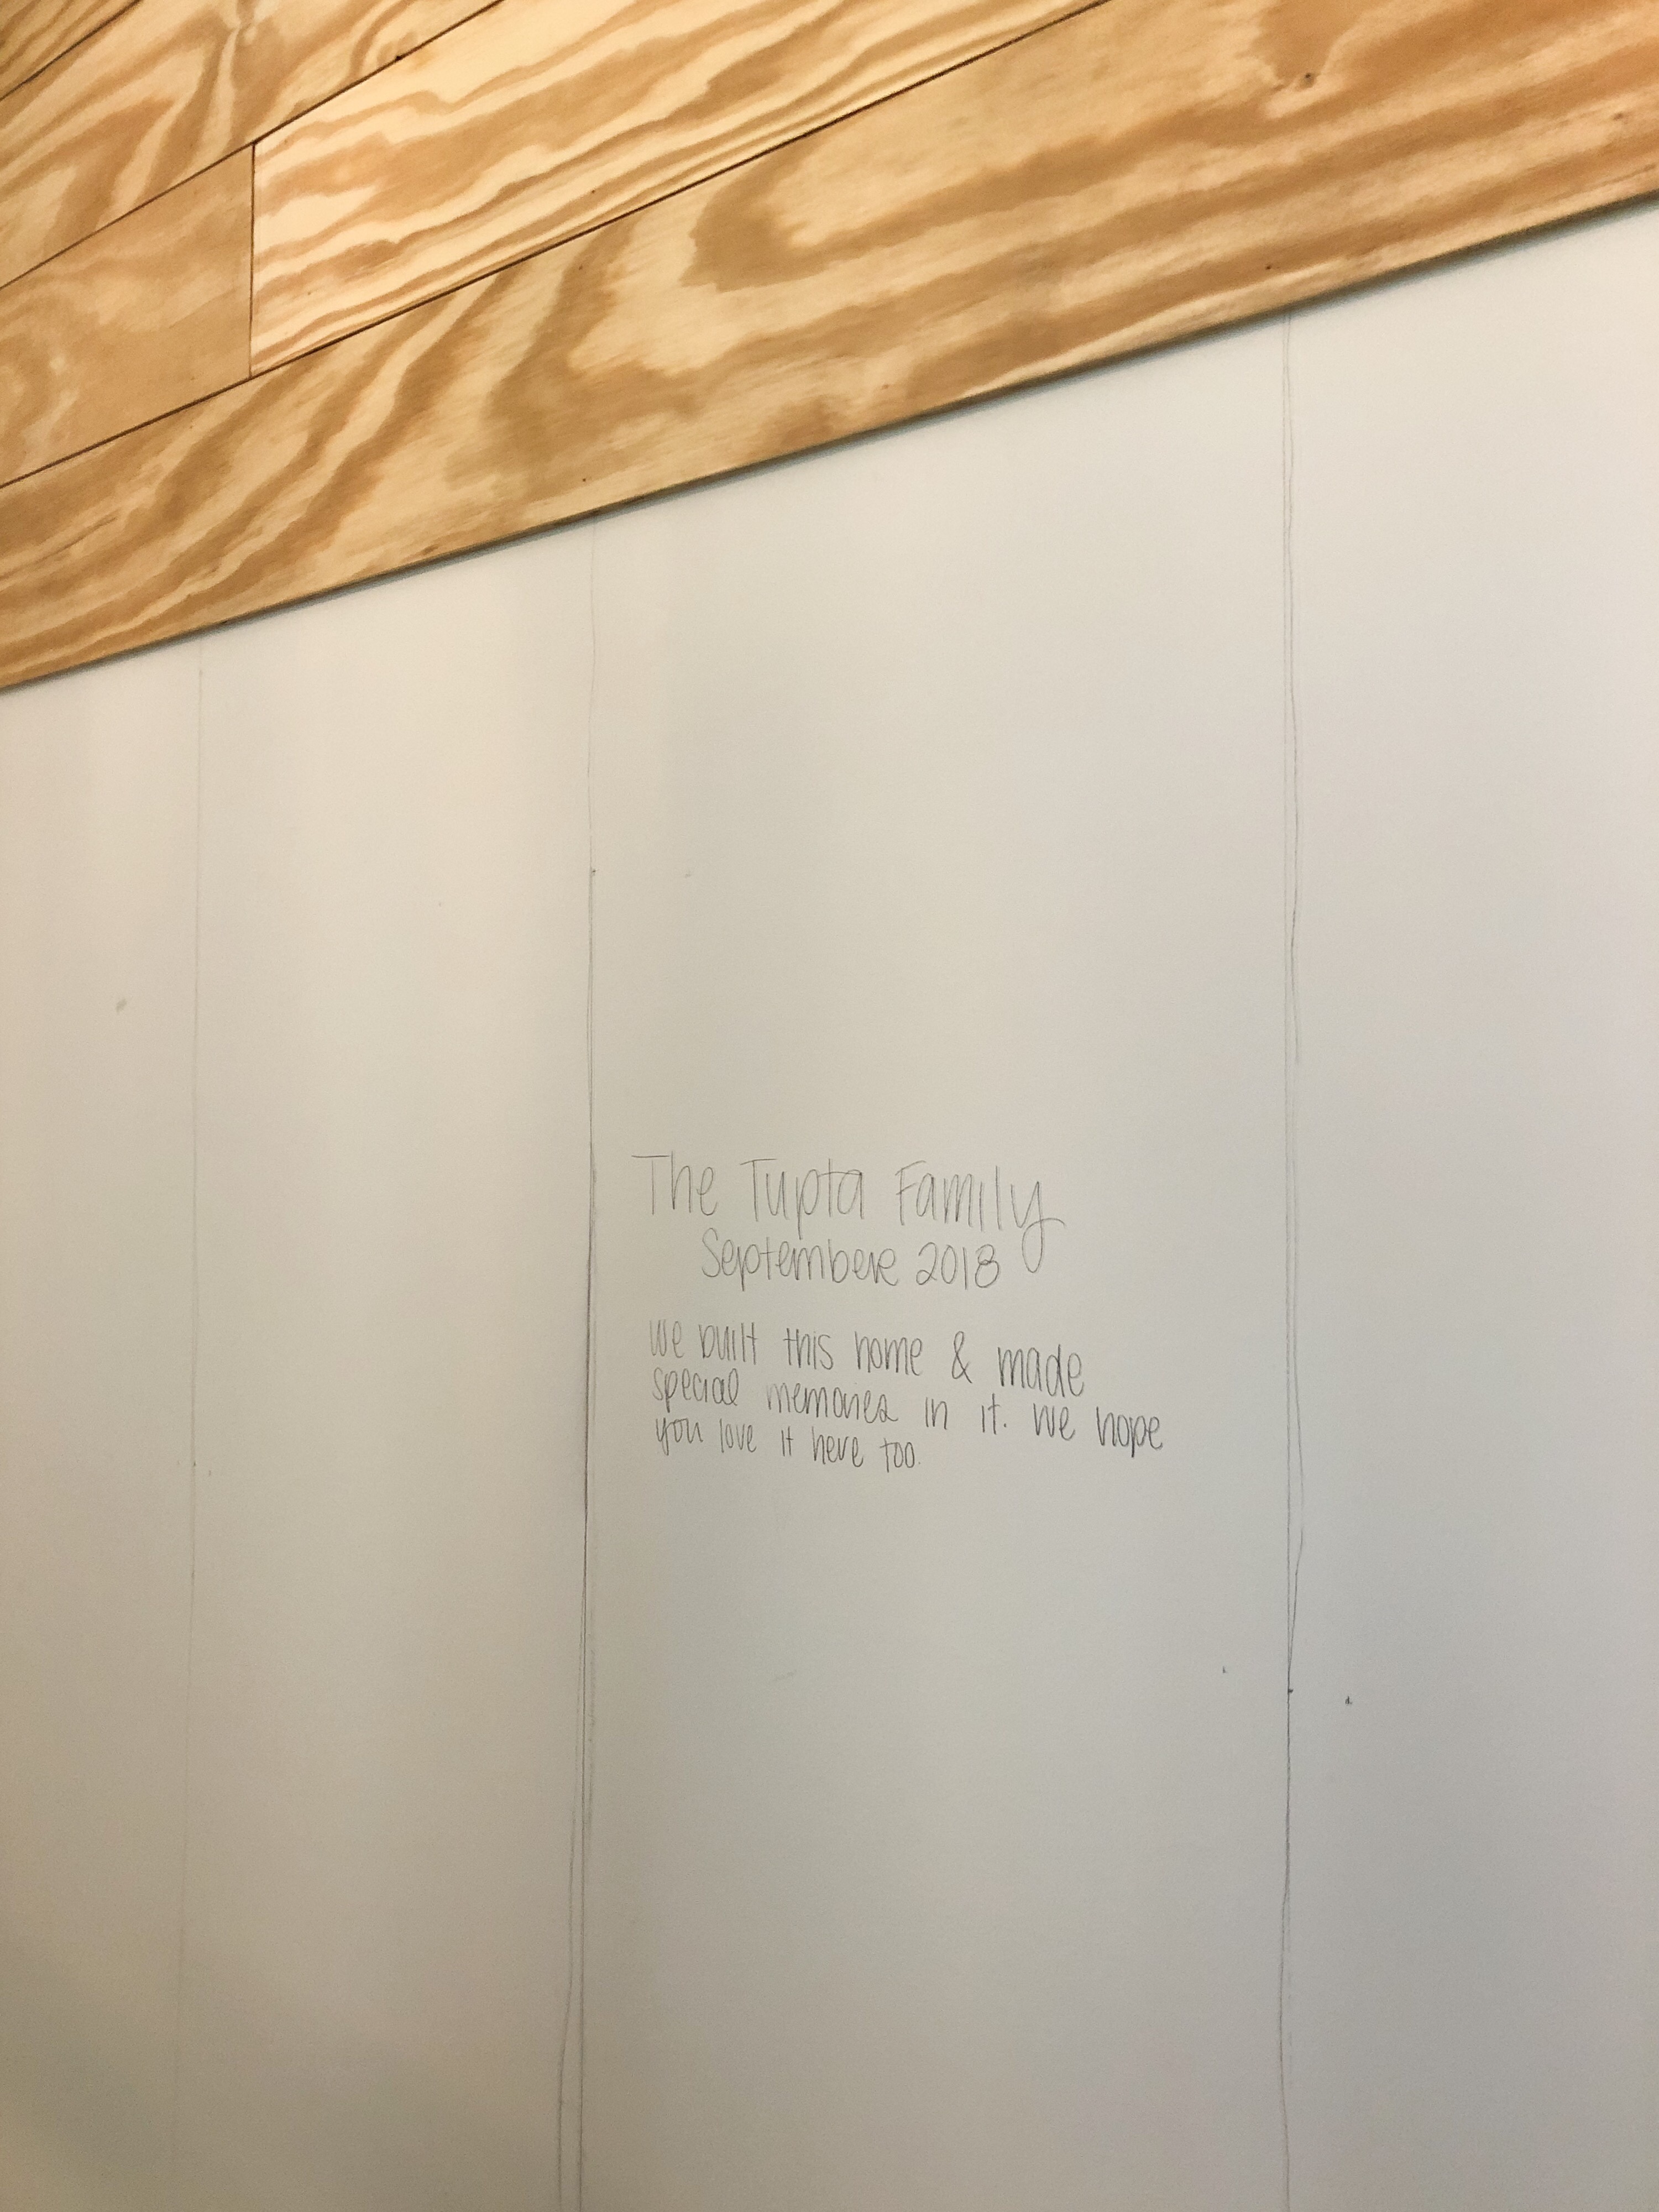
- Using a stud finder, determine where the studs are on the wall and mark them down the wall with a pencil or chalk. You can also use this time to write a little message for whoever takes it down someday! 🙂 The gaps between the planks are so small you won’t be able to see any of the writing once they’re all up.
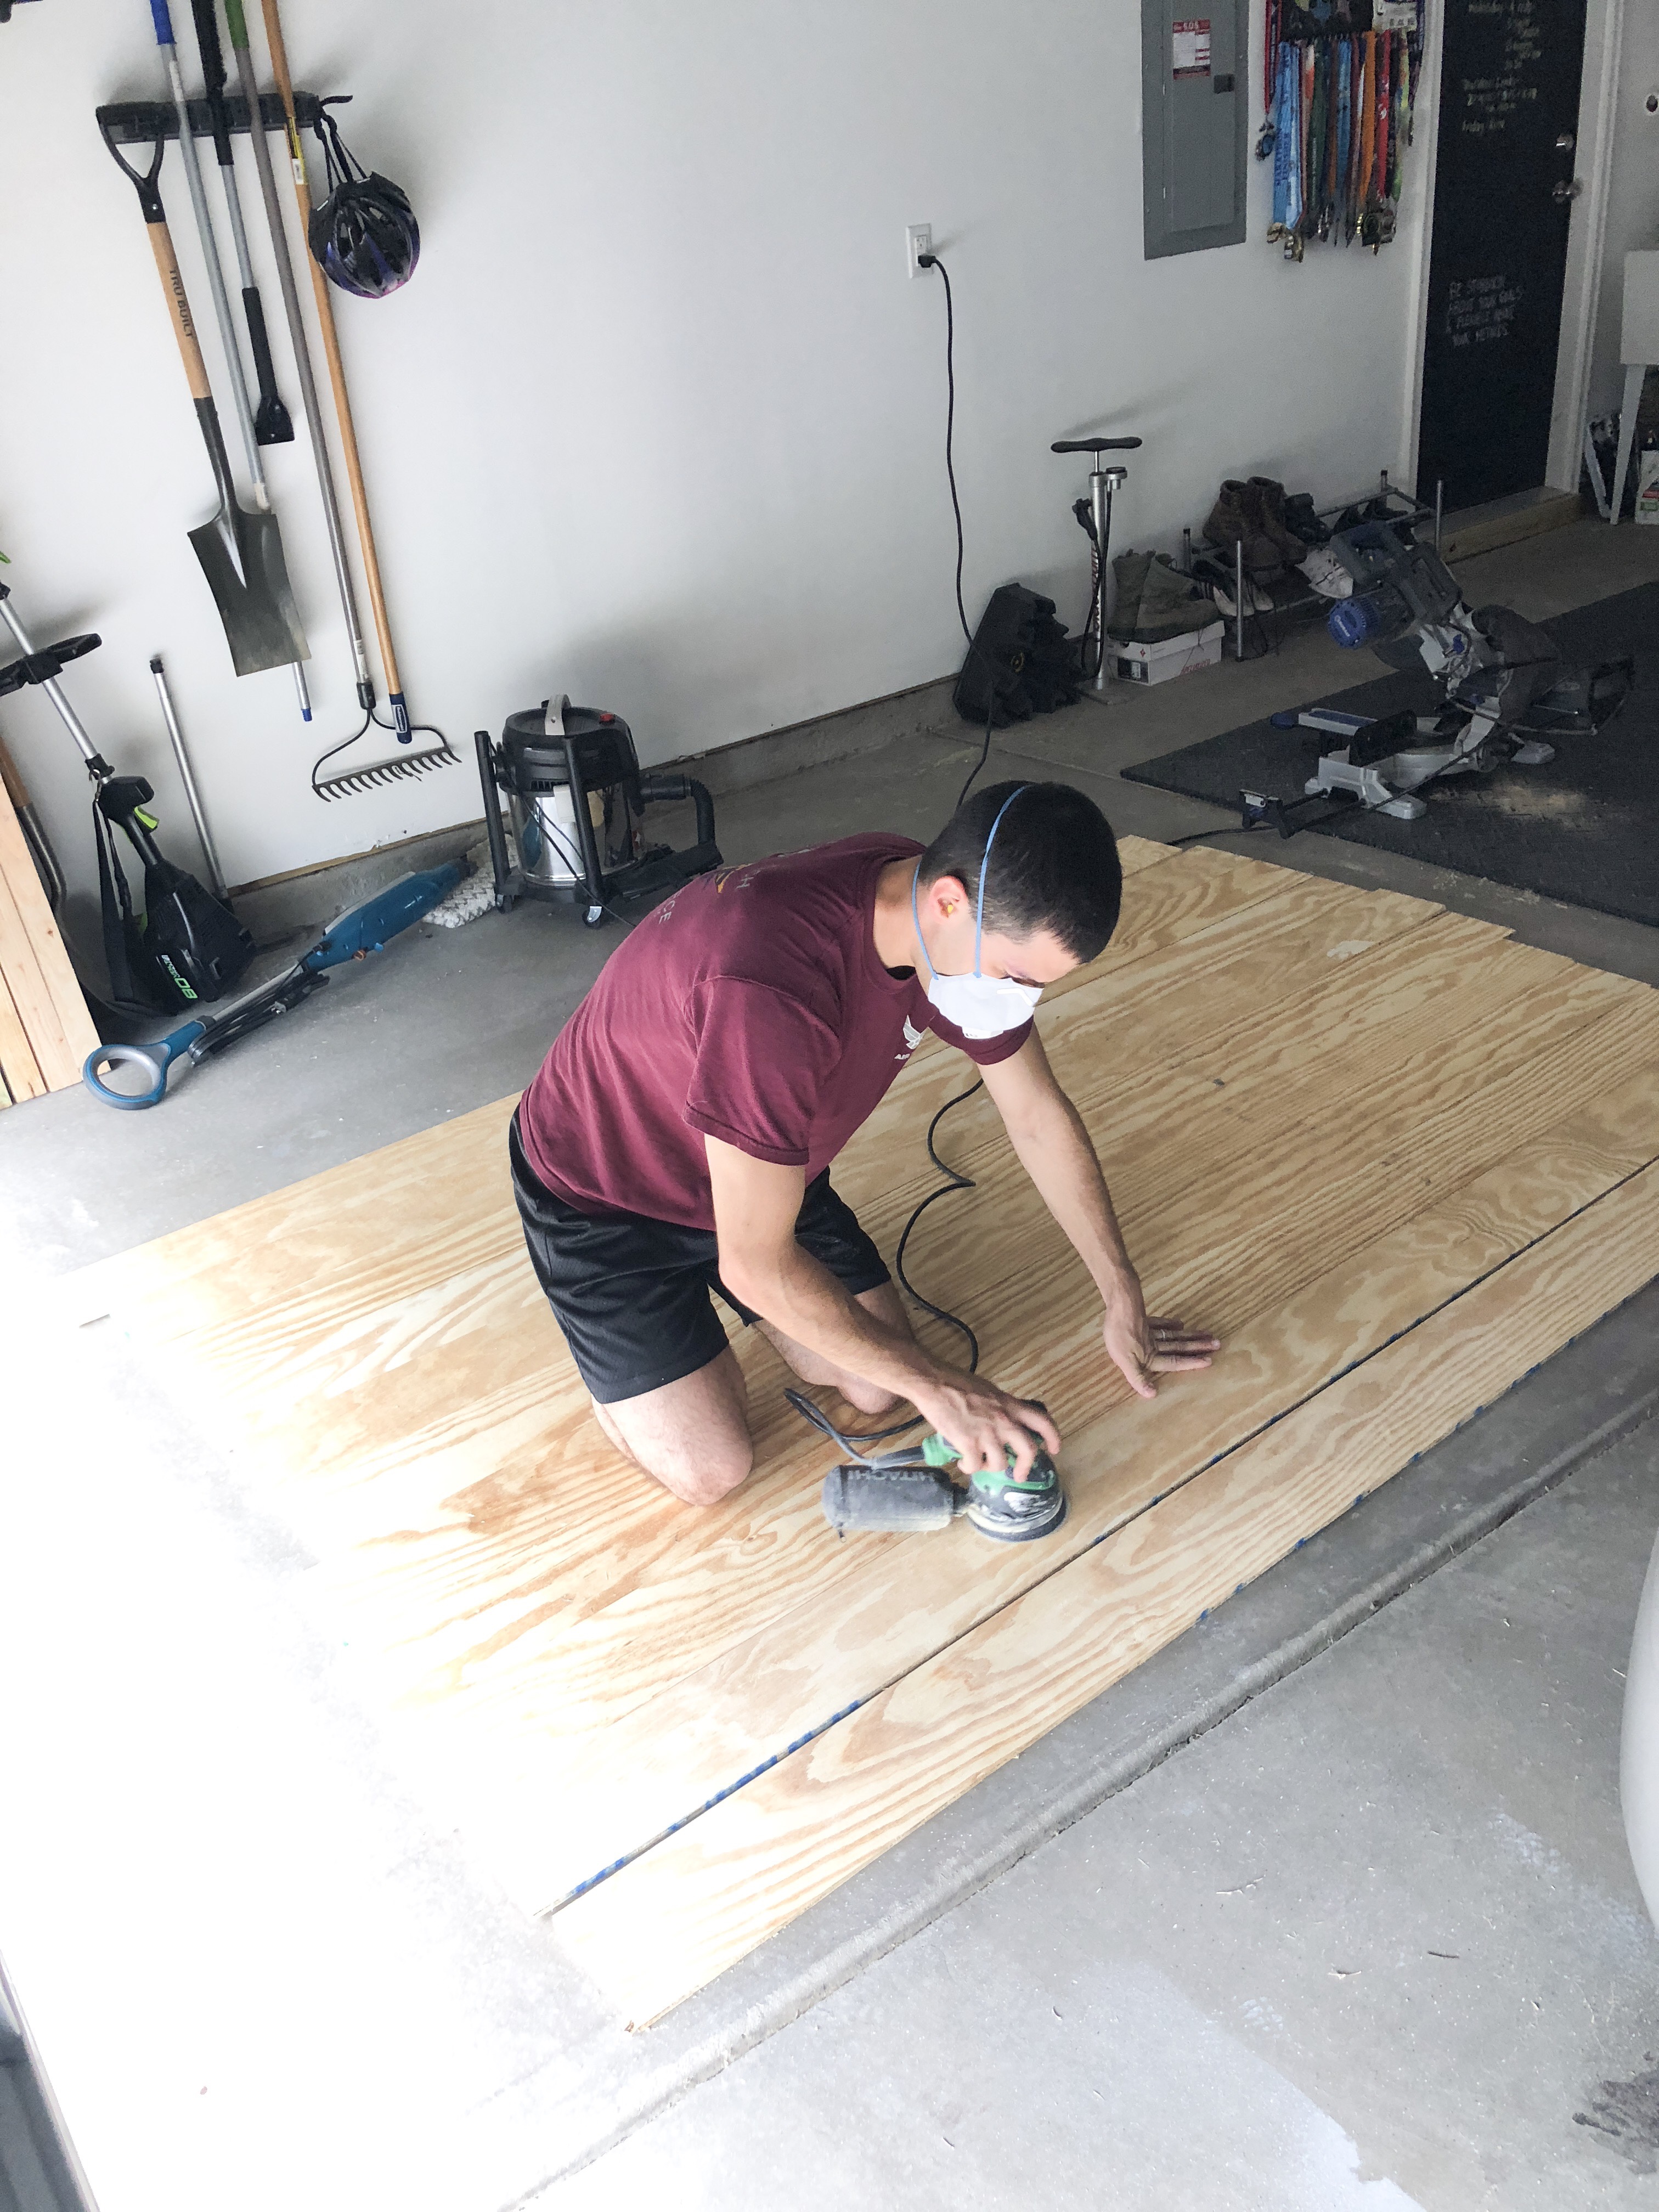
- Lay all of the 6″ planks on the ground and sand them until smooth using a sander or sanding block. Ours aren’t perfect but they are pretty smooth. We didn’t mind some of the natural wood texture showing through the paint!
- It’s time for the fun part! Starting in the top left corner, determine where a stud is that’s closest to 8 feet from the wall. For us we had the center of a stud 89″ from the left wall so our first board was cut to 89″. Each row will have a long and a short piece that alternate as you move down the wall.
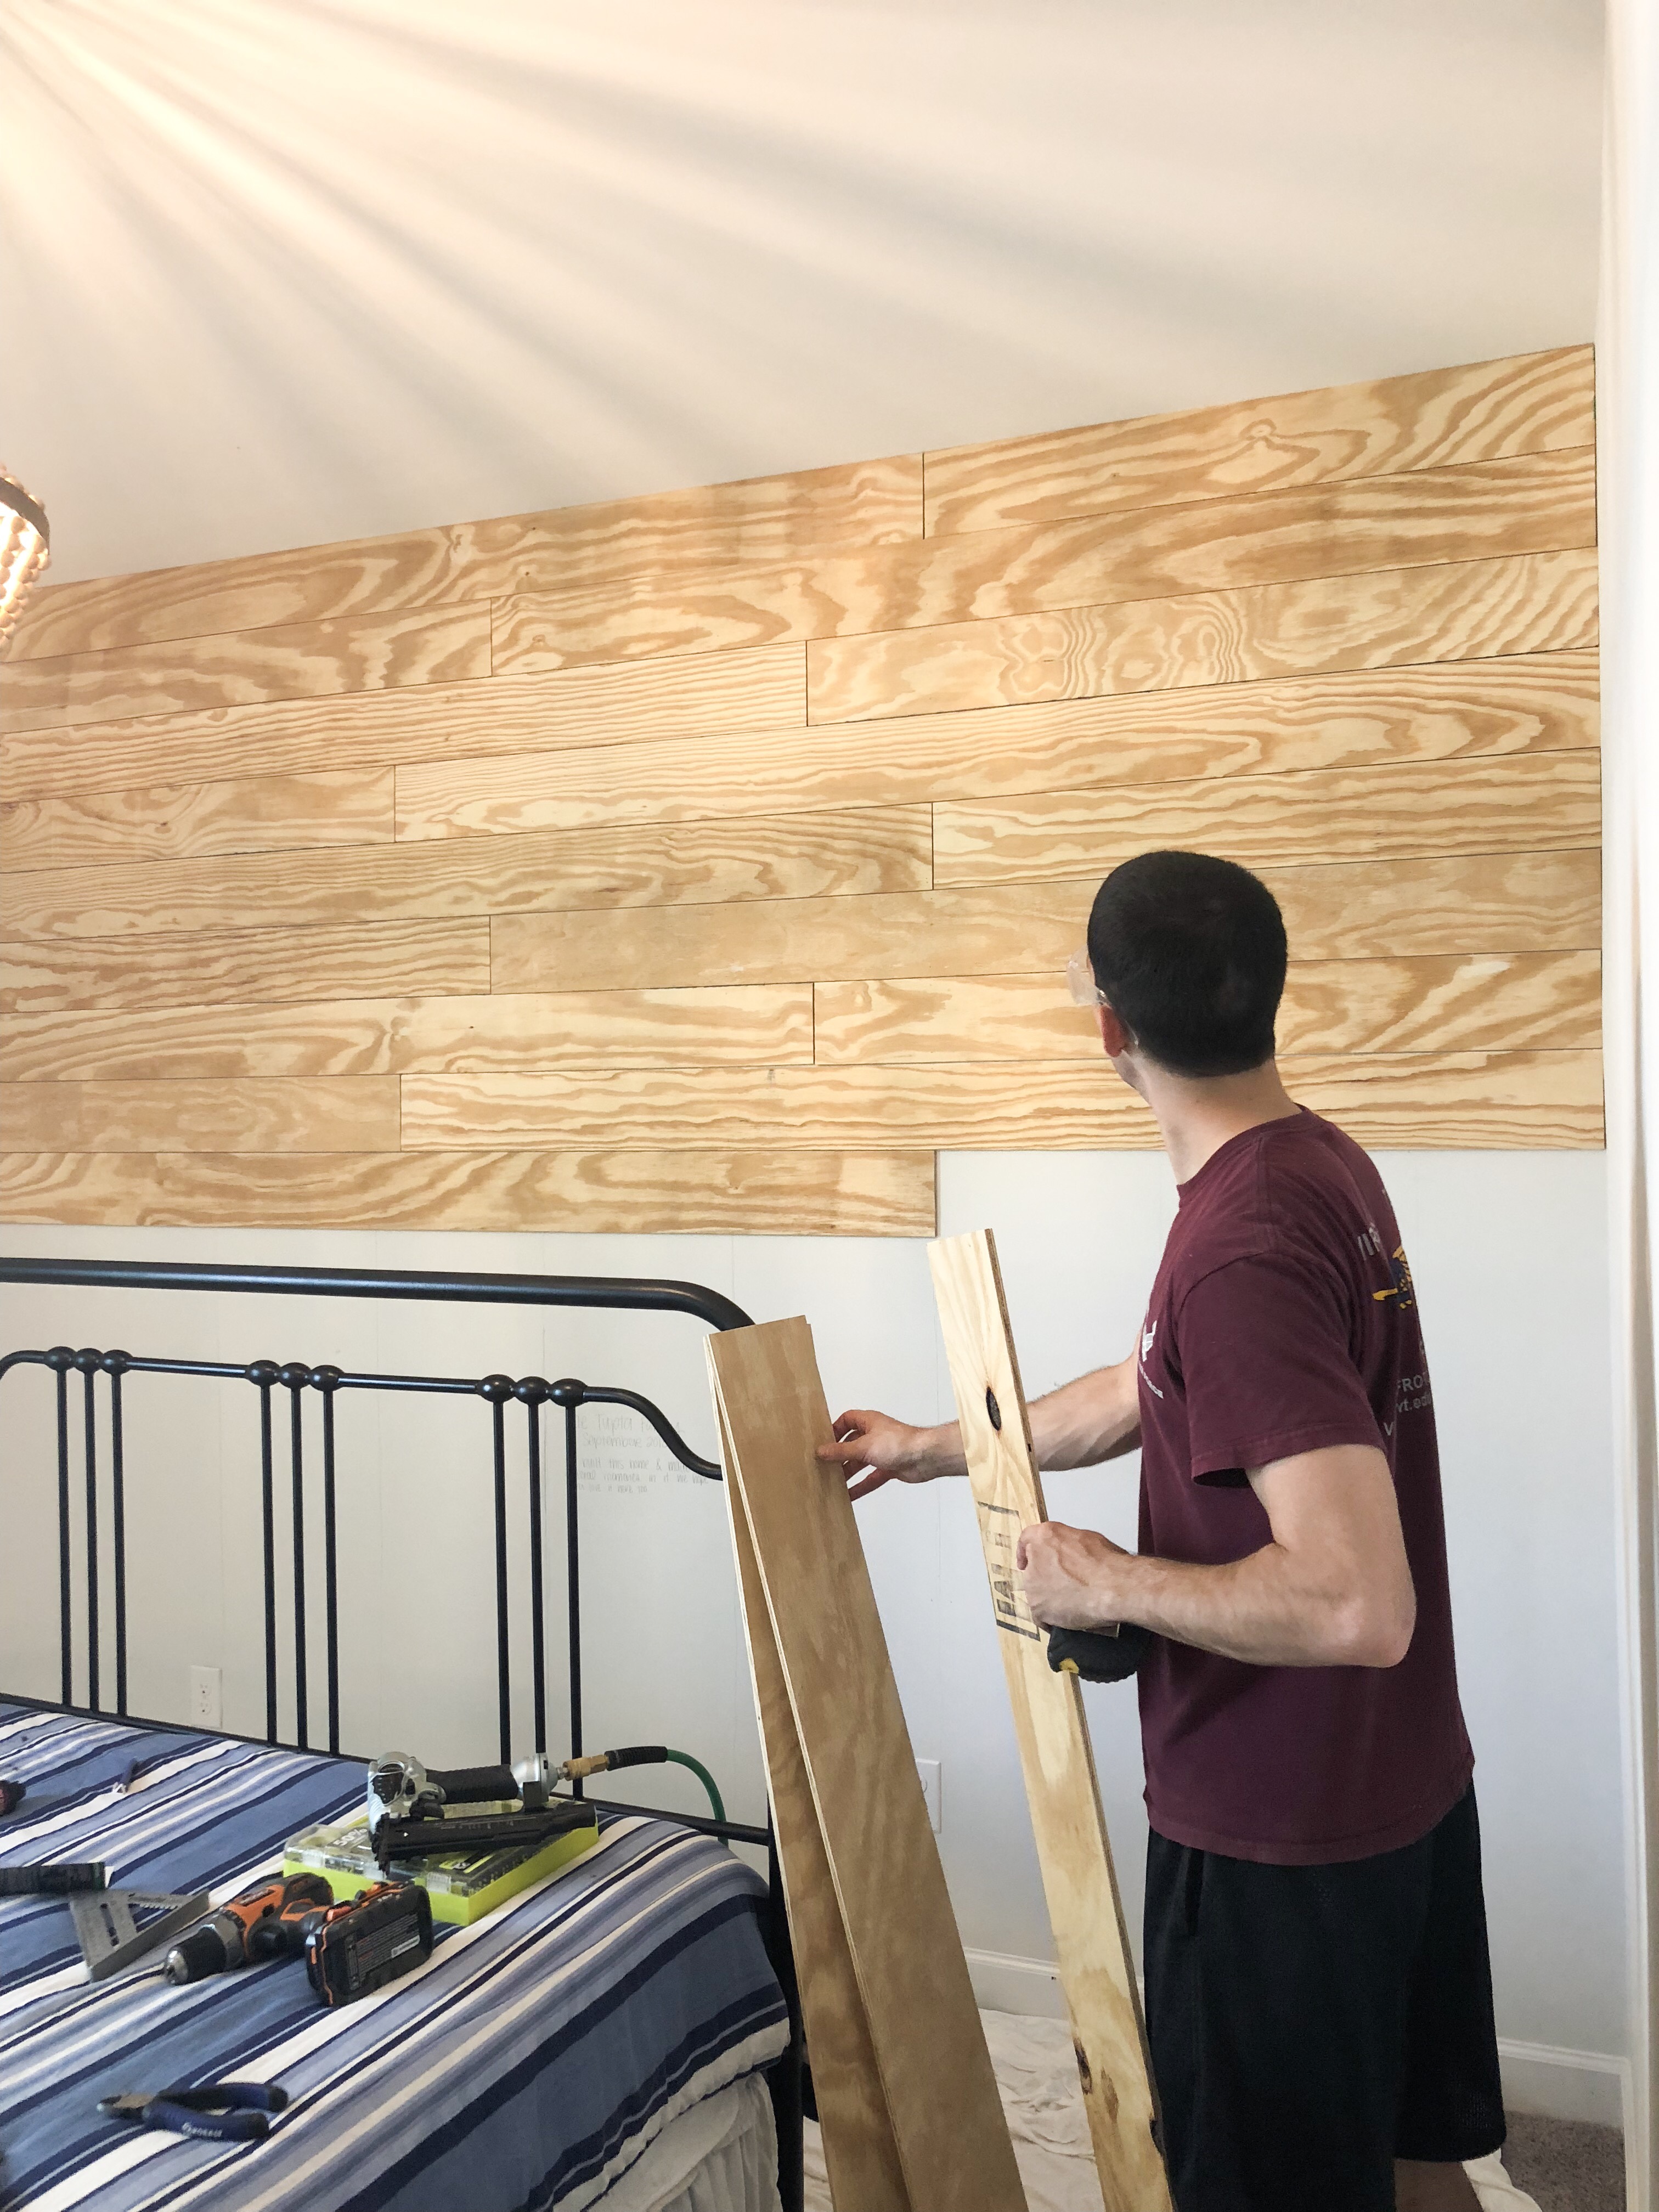
- Get the cut “long” board as snug as possible to the ceiling, check it with a level, and nail the board into the studs along the board.
- Cut the “short board” to length. Since our walls were 132″ wide and the “long board” was cut to 89″, the “short board” was cut to 43″. Put the board up to the ceiling and get it as snug as possible. Place a nickel or popsicle stick in between the long and short boards, check it with a level, and nail the board into the studs. The first row is done!
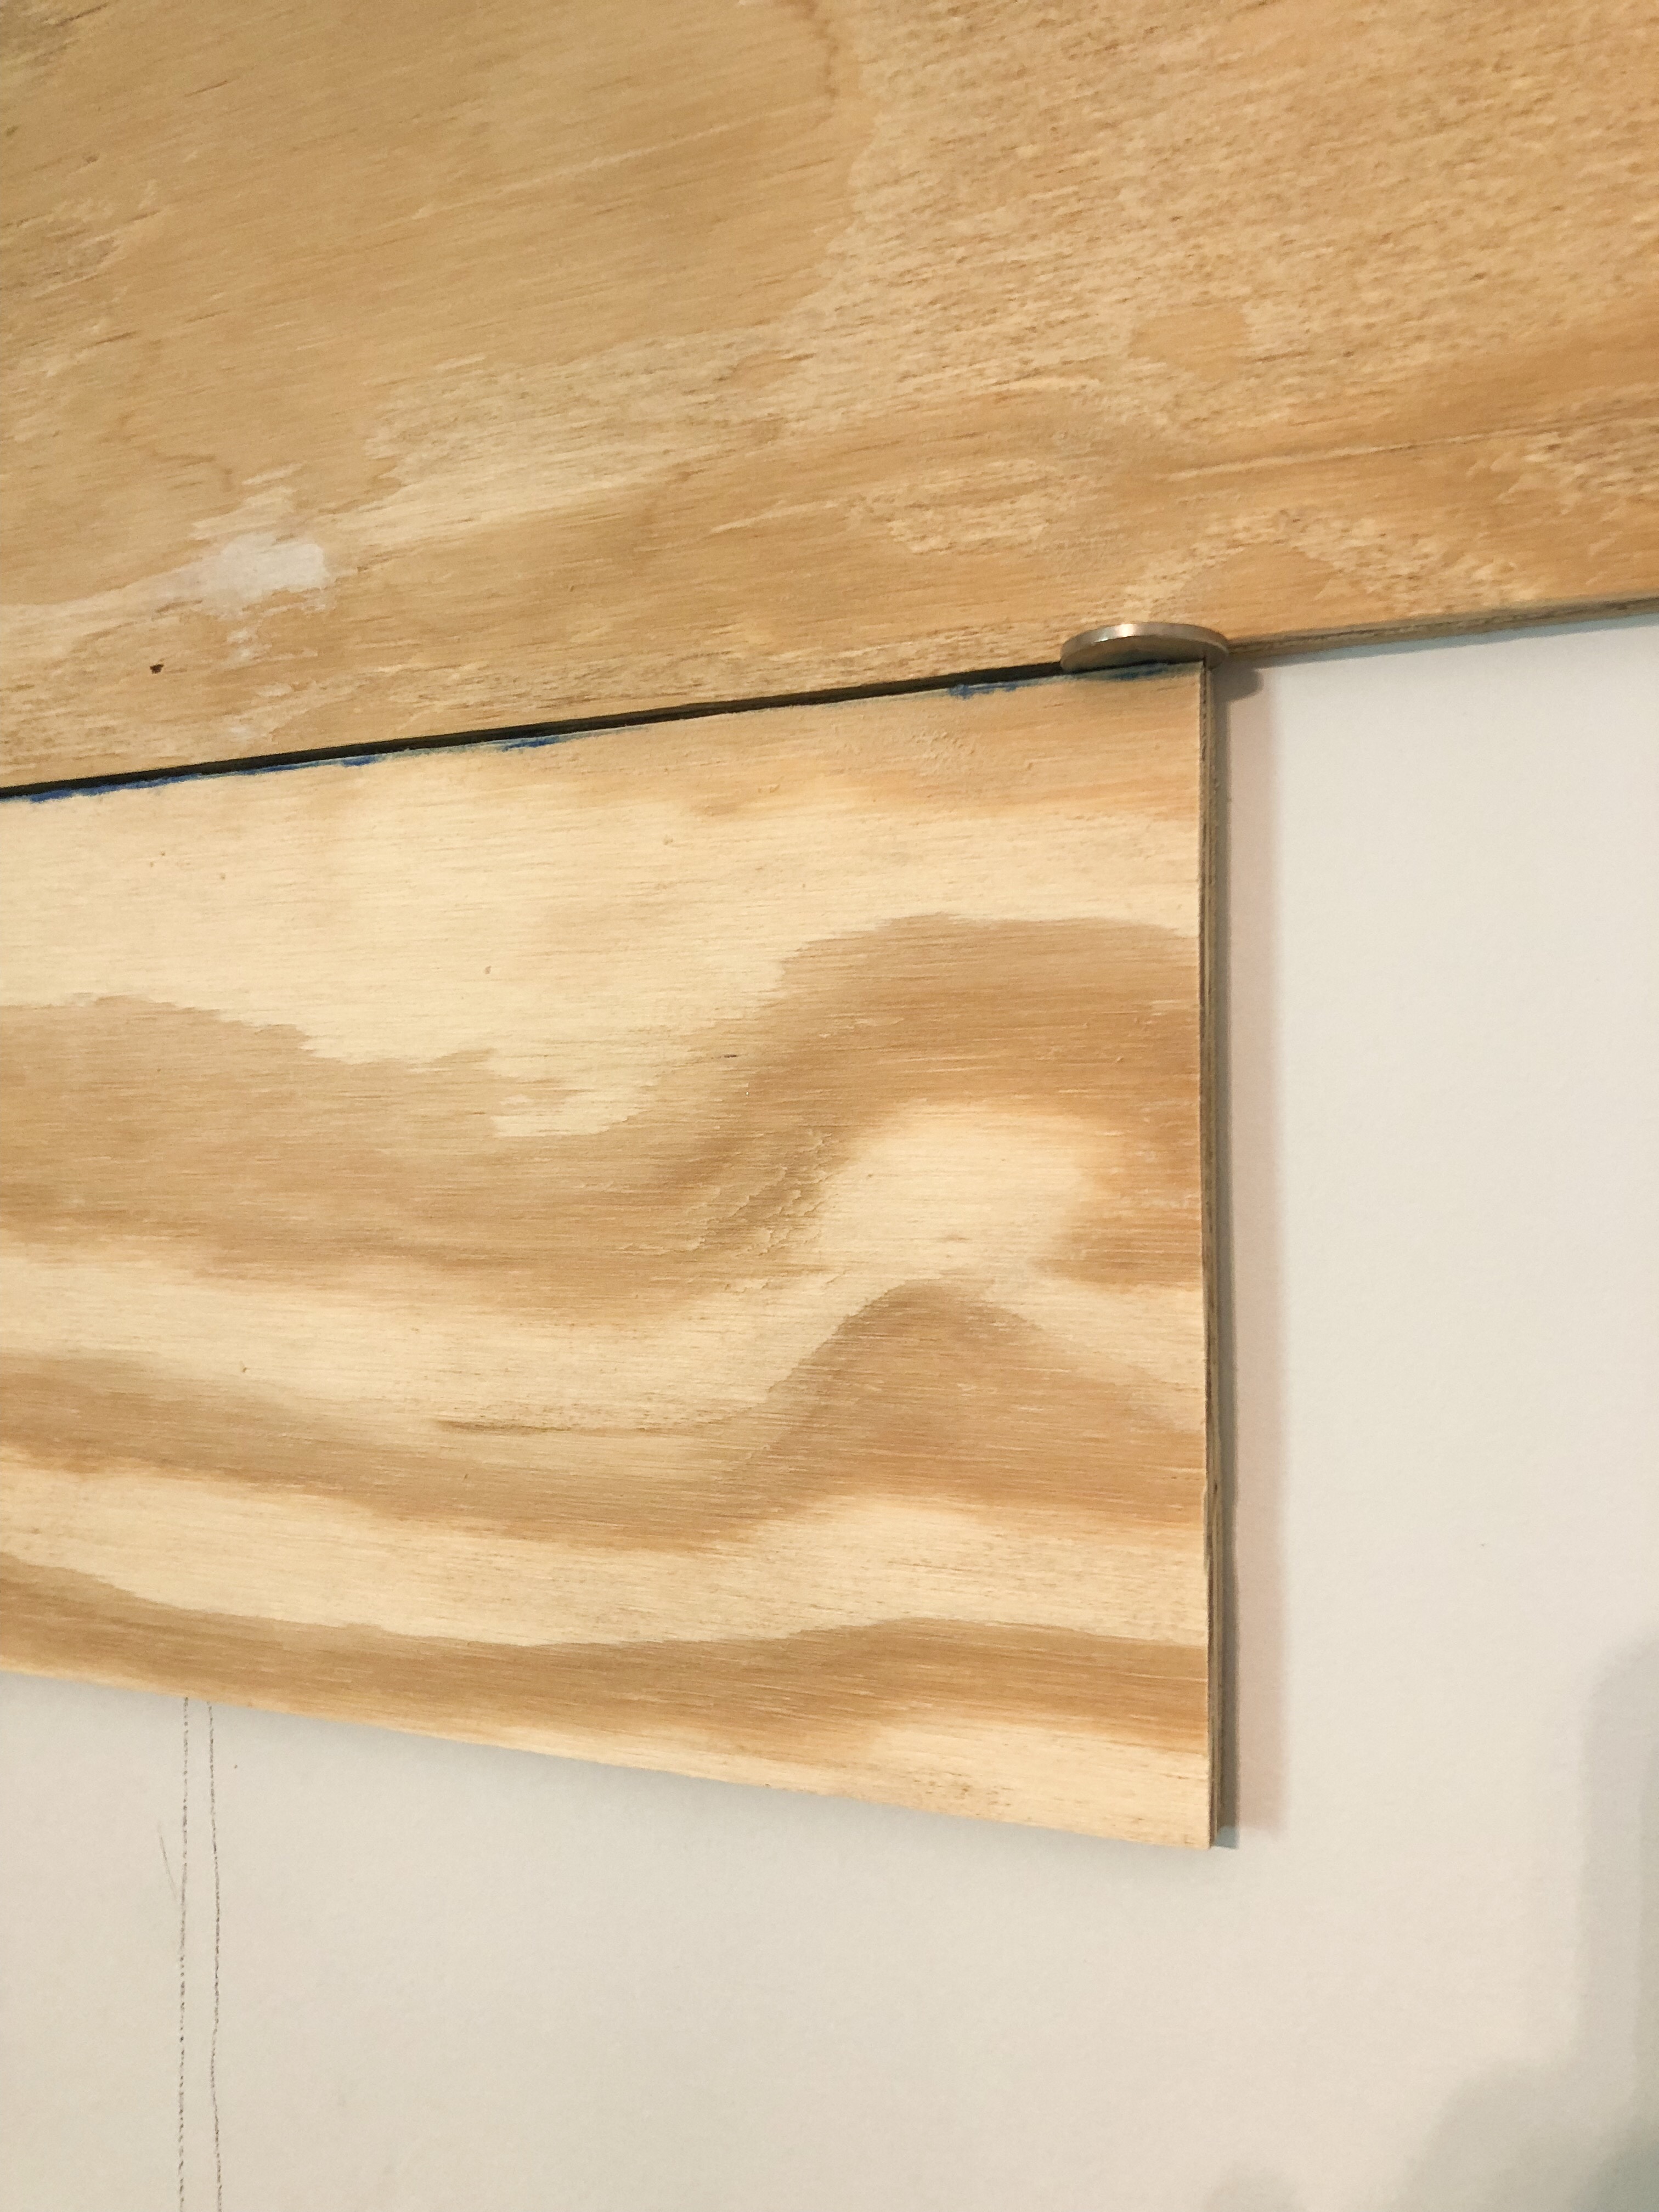
- Starting again on the left side, you’re going to cut a second short board to length. For this we just used the remainder from the 43″ board we cut which came out to 53″ and used it (in order to minimize waste). To create a gap between the row above and this row, place the board against the wall, and then put a nickel/popsicle stick against the boards on both ends and in the middle and press the board firmly into the nickels. Check the board with a level and nail the board into the studs.
- Cut the second long board to length. For us this came out to 79″ measuring from the end of the 53″ board. Place the board against the wall and place a nickel against the boards on both ends and in the middle. Also place a nickel vertically in between the short board you just nailed up on the left. Check the board with a level and nail into the studs.
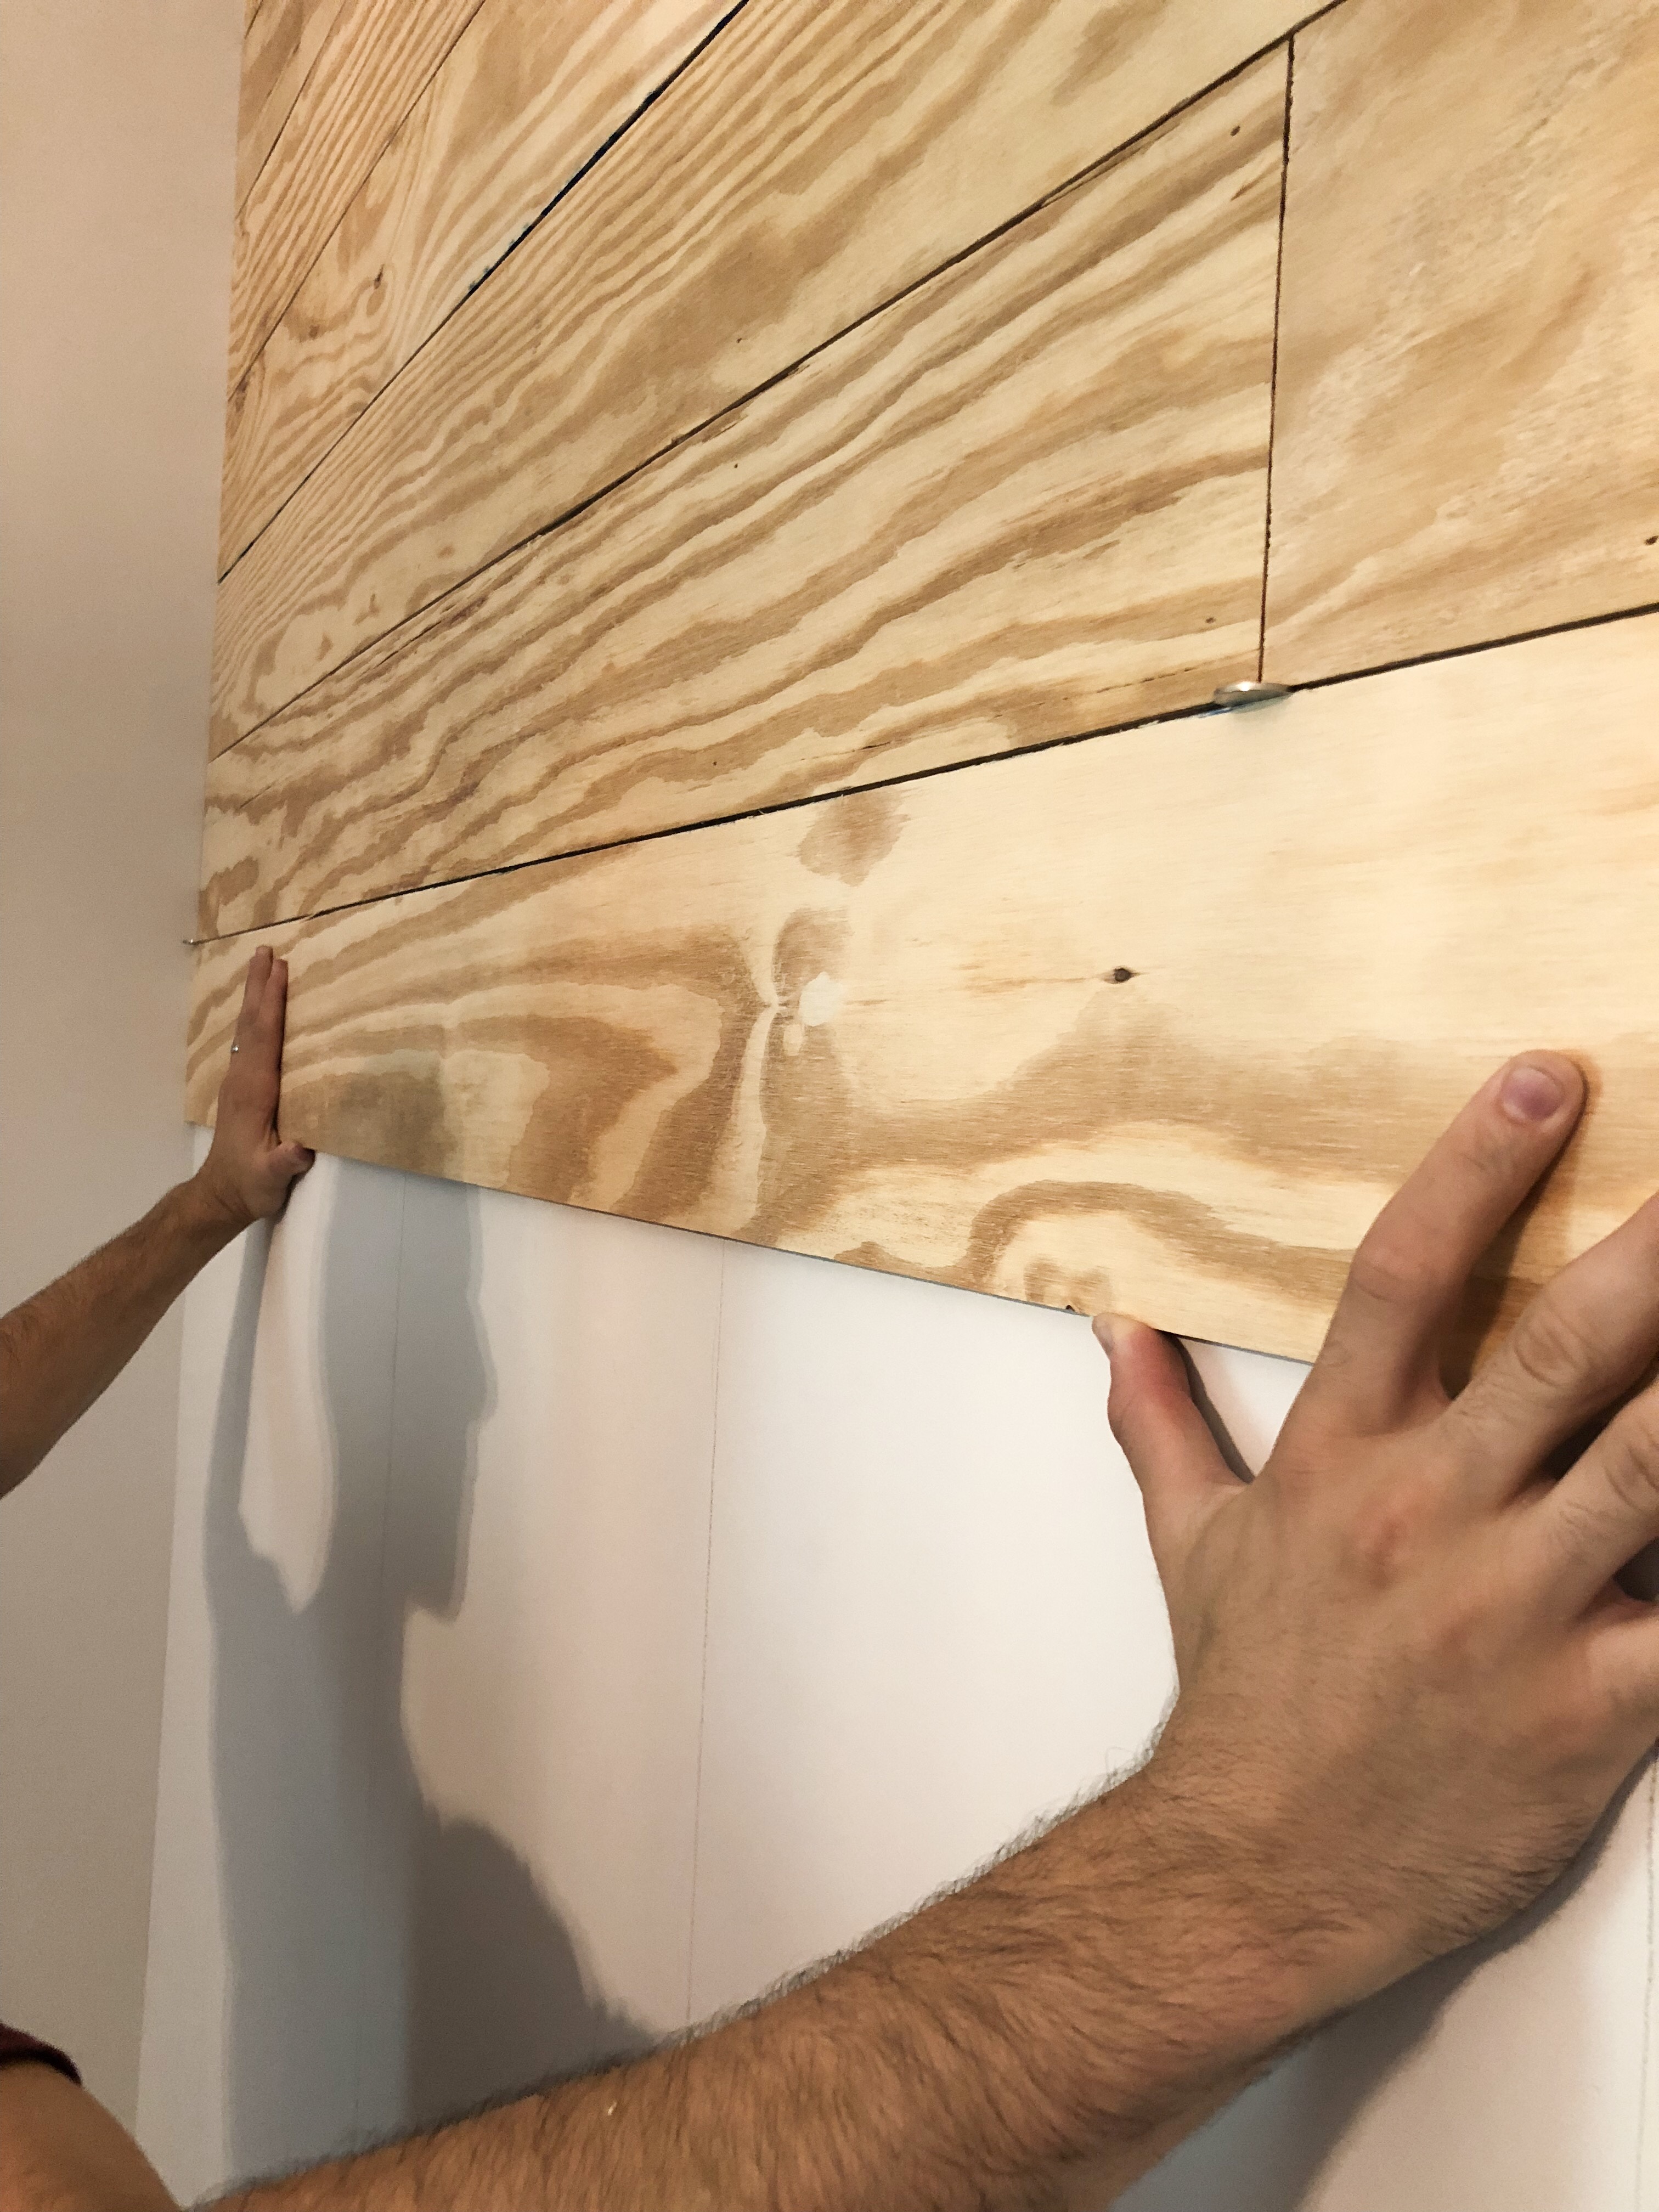

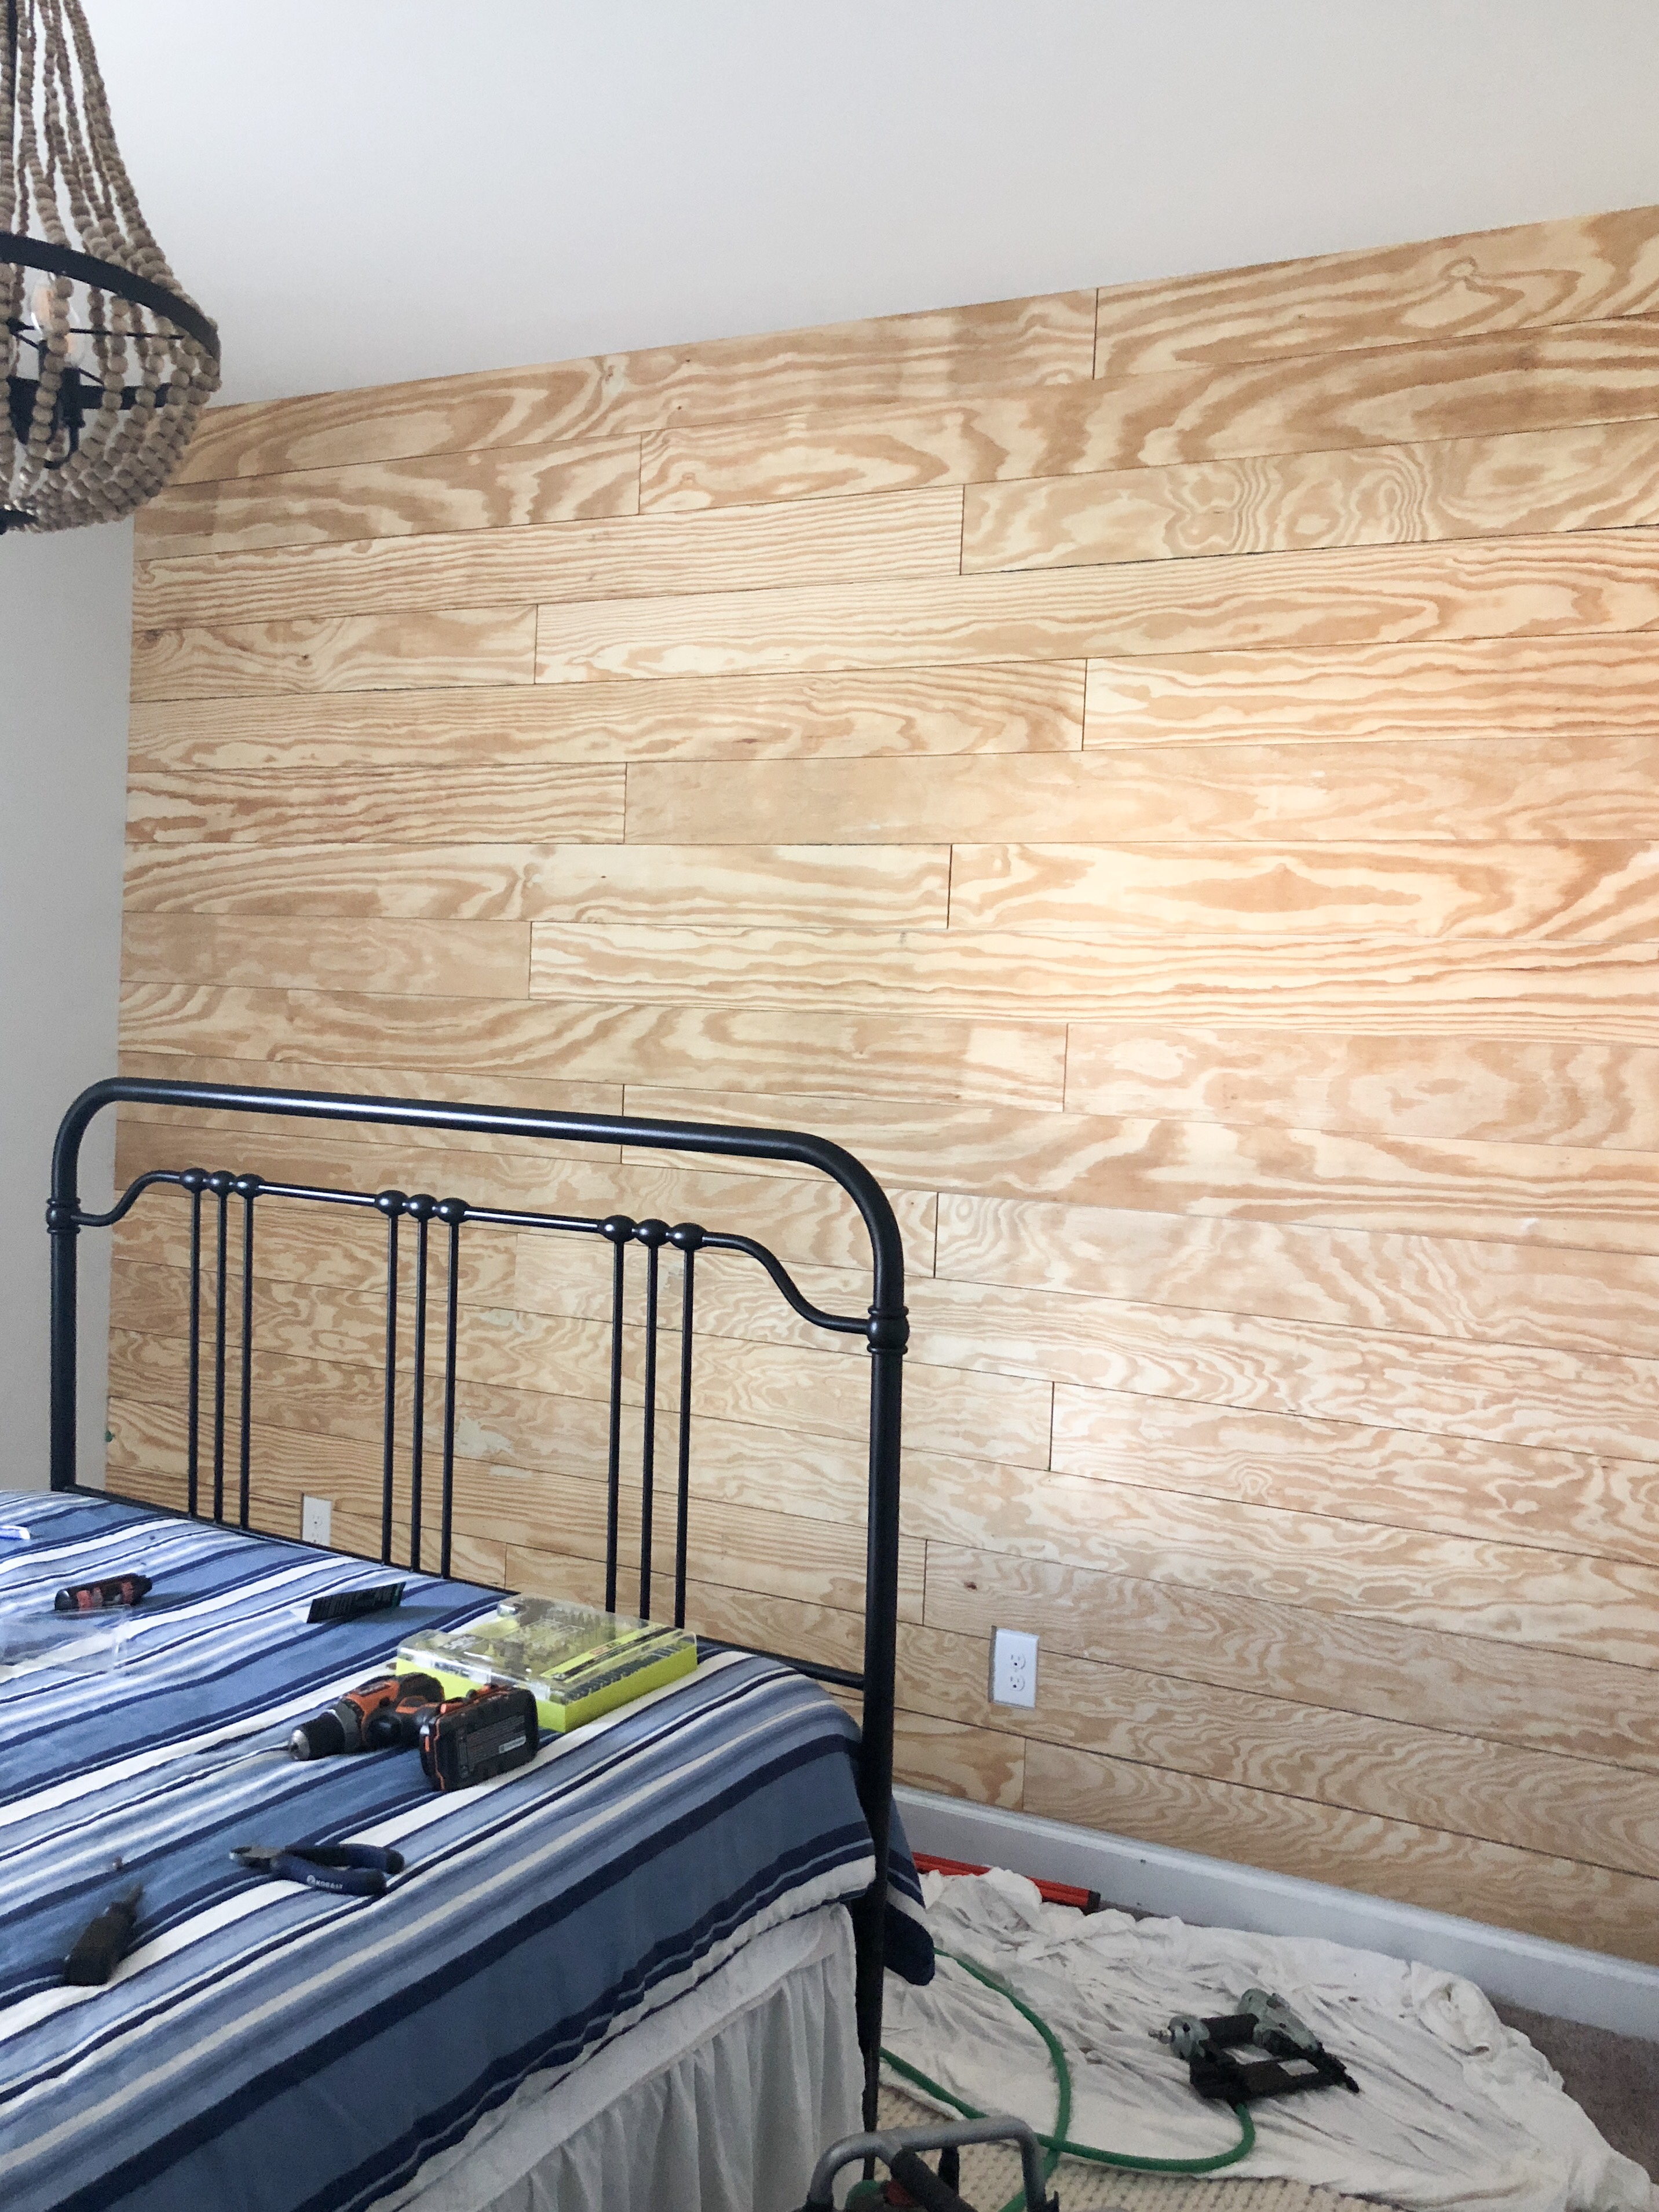
- Continue alternating and tacking those boards up until the wall is covered!
- Note: the very bottom row might have to be ripped to smaller than 6″ boards depending on how tall your ceilings are and how high the the base boards come up. Don’t worry a ton if it’s not a perfect fit because no one really looks down there and it will probably be covered anyway by furniture or something else.
- Optional: cut the trim pieces to length and add them on both sides of the wall to finish it off!
- Optional: fill in the nail holes with mud/wood putty. We didn’t do this because we liked the rustic touch with the nails. They’re also so small you can barely see them… It just added a lot of extra work in our opinion. 😉
- Paint the wall (or stain! Or leave it as is!) I didn’t use a primer and just did two coats of this Behr Ultra paint. It worked amazingly!
- Note: especially if you’re using a roller, make sure to keep your eye out for any “drips” in between the boards. I used a putty knife (you could use anything thin like that) to wipe those off so that there weren’t drips of paint in between the gaps.
- Enjoy!!
Let me know if you all have any questions! If you decide to do this in your own home, make sure to tag me so I can see! You all are AWESOME!
Save this pin for later:
Other posts you might enjoy:
Guest Bedroom Sign Details and How-To
jordan jean
Leave a Reply


[…] DIY Budget-Friendly “Shiplap” […]