September 28, 2018
Oh happy day! Fall is officially here! To kick off the season, Stephen and I picked up quite a few mums from Walmart (they’re only $1 for the small ones and $4 for the larger ones!) and about 5 pumpkins from Trader Joe’s. We were really impressed with the prices at both locations so we figured hey! Let’s get this house decked out for FALL!
I had such a fun time decorating our front porch that I figured I’d share it with you all and hopefully provide some inspiration for your own home. I didn’t really have a particular look in mind when I started this but I love the way it turned out. If you’re new to this, don’t be afraid! Just START! This ended up taking me about an hour because I’d place something, stand back and look, move it somewhere else, stand back and look… etc. I did that process over and over again until I loved it! I’m no pro but I will never get better if I don’t try, right?
I’ve mentioned this over on my Instagram quite a bit and on this post but I’m really inspired this season to use what we already own and make the most of it. We have purchased a few things to “supplement” what we already had on hand but that’s okay to us because we haven’t gone buck wild and spent a ton of money. If you have a lot of faux pumpkins for instance but want them to be a different color, break out that craft paint! Paint will do wonders! It will also save you money AND space in the long run. Remember, this stuff is only out for about 3 months and then is in boxes for the rest of the year so in order to prevent having boxes on boxes of things, let’s make the most of what we already have, yeah?
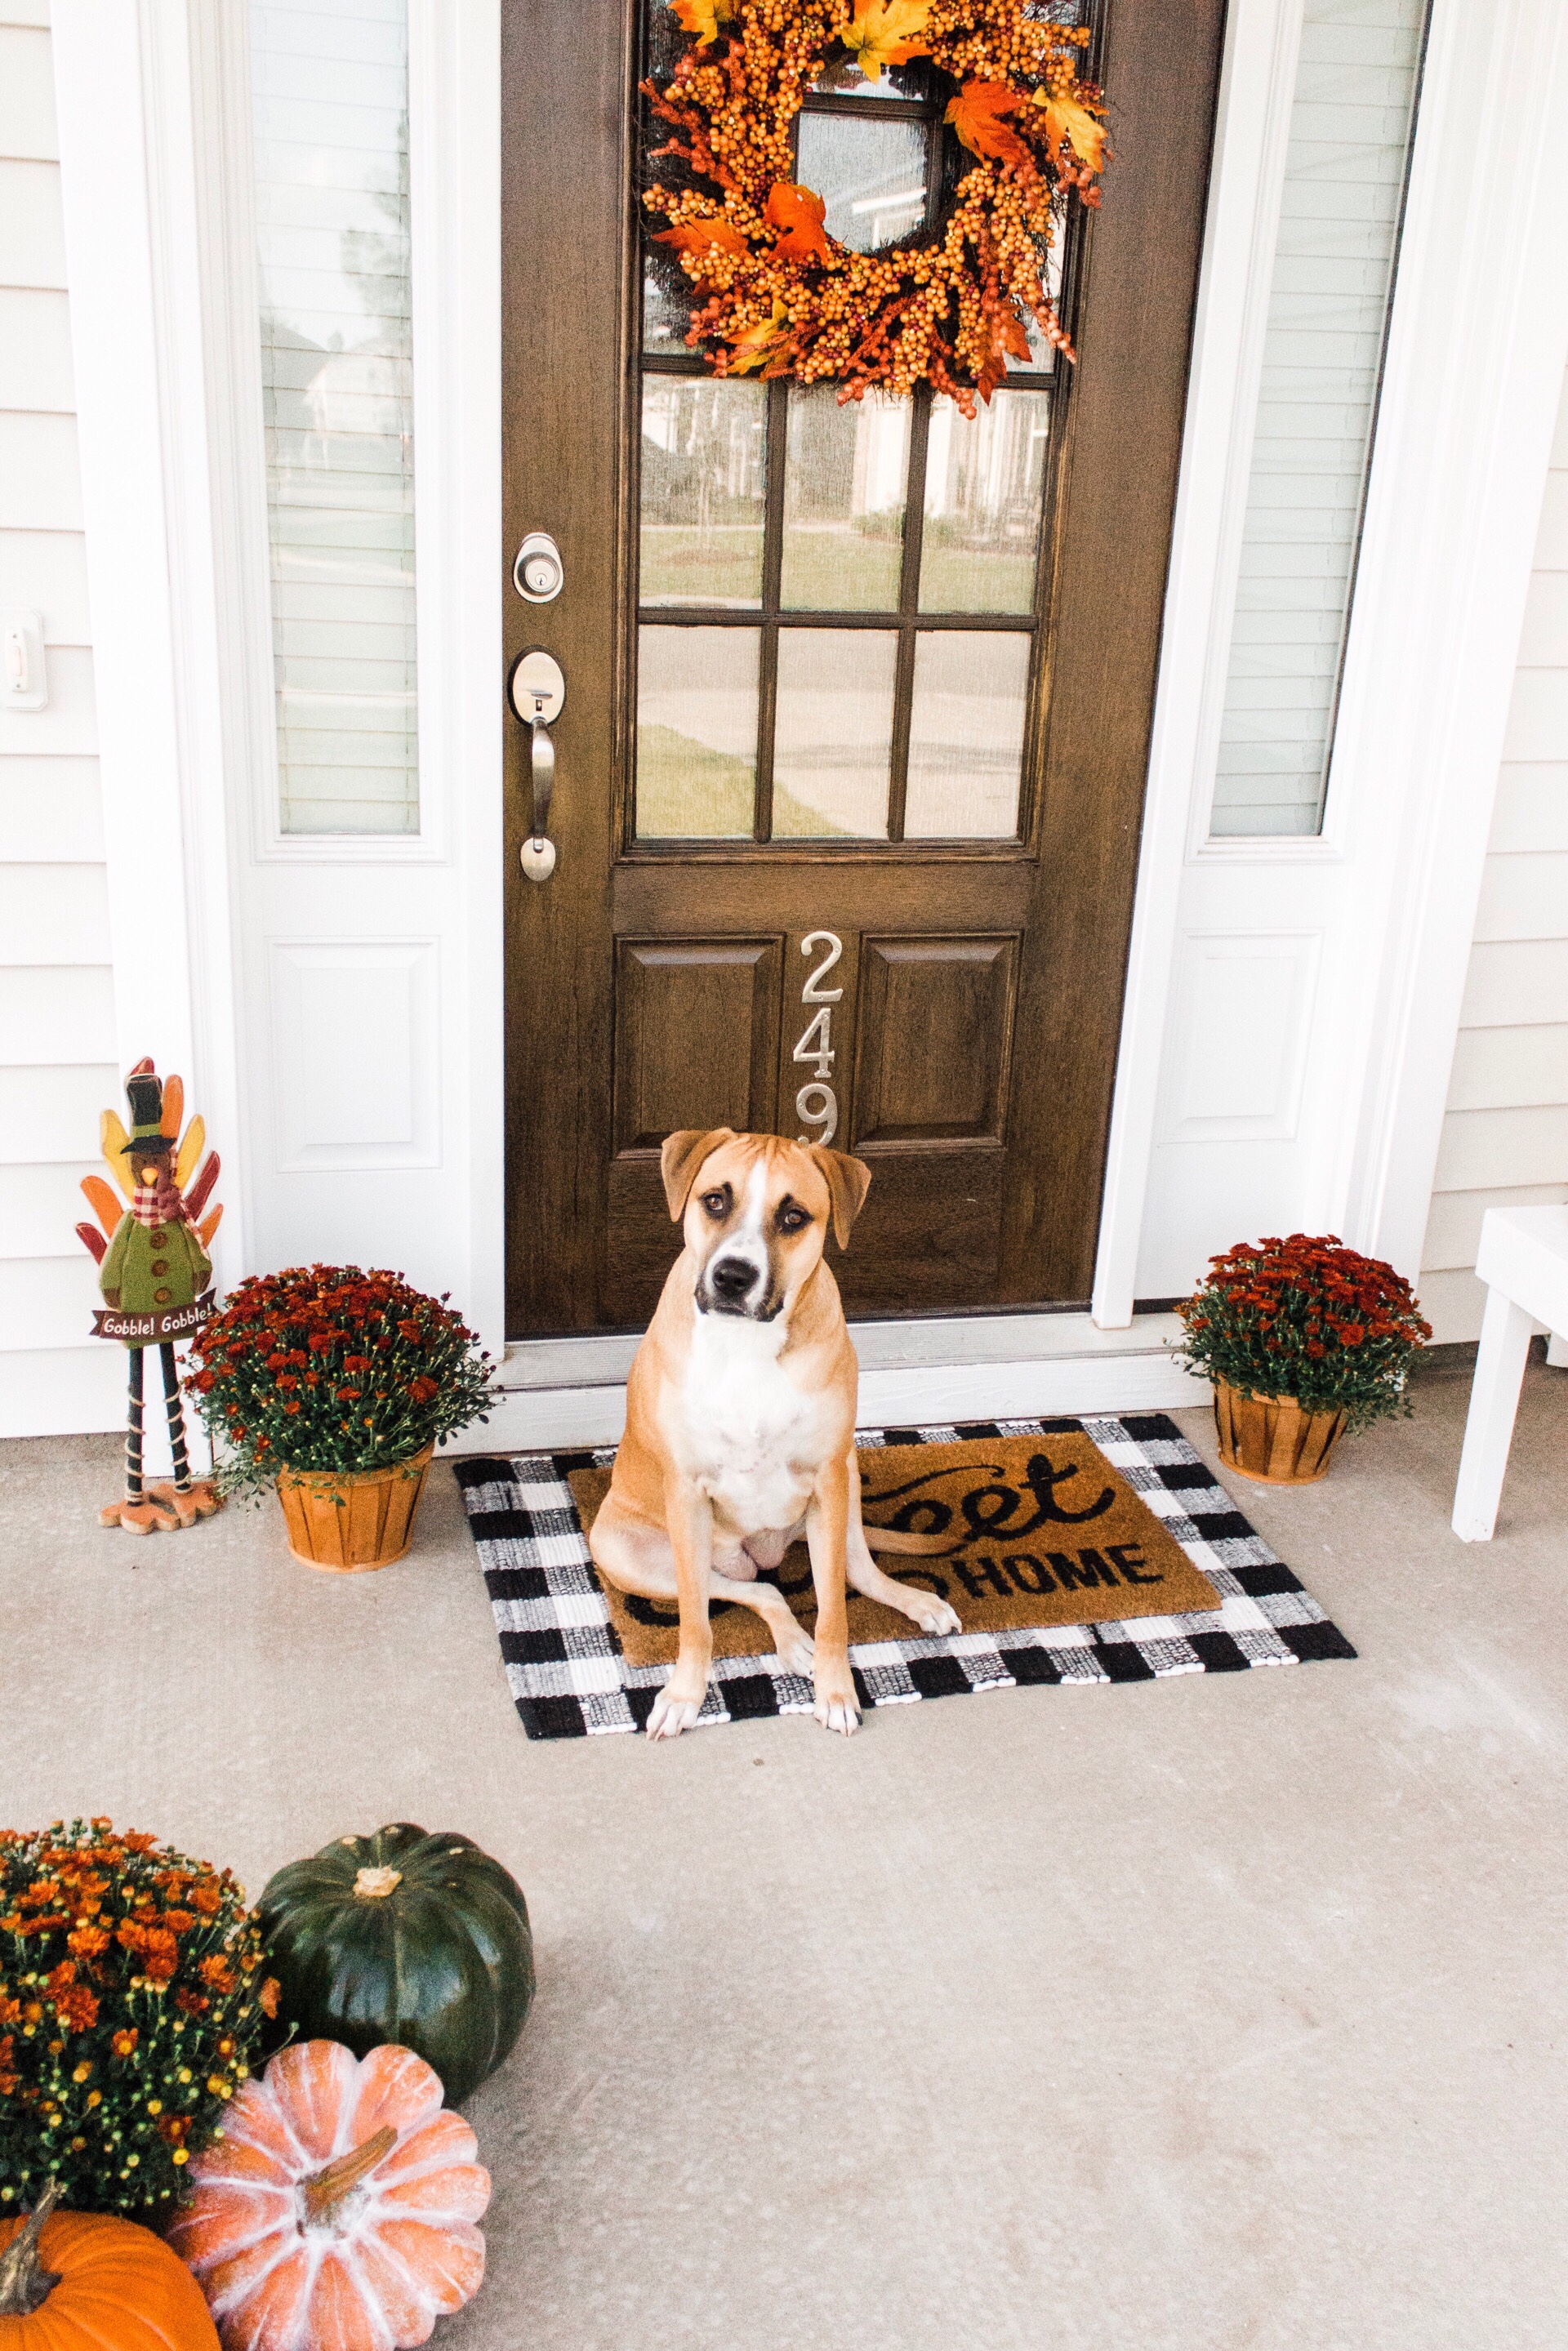
I tried a method of “preserving” the pumpkins before I put them out in hopes that they will last a little longer. If they do, I’m definitely going to share it on here! I would do it sooner but I don’t want to waste your time and money if it fails for me.
Here’s how the porch look when I started:
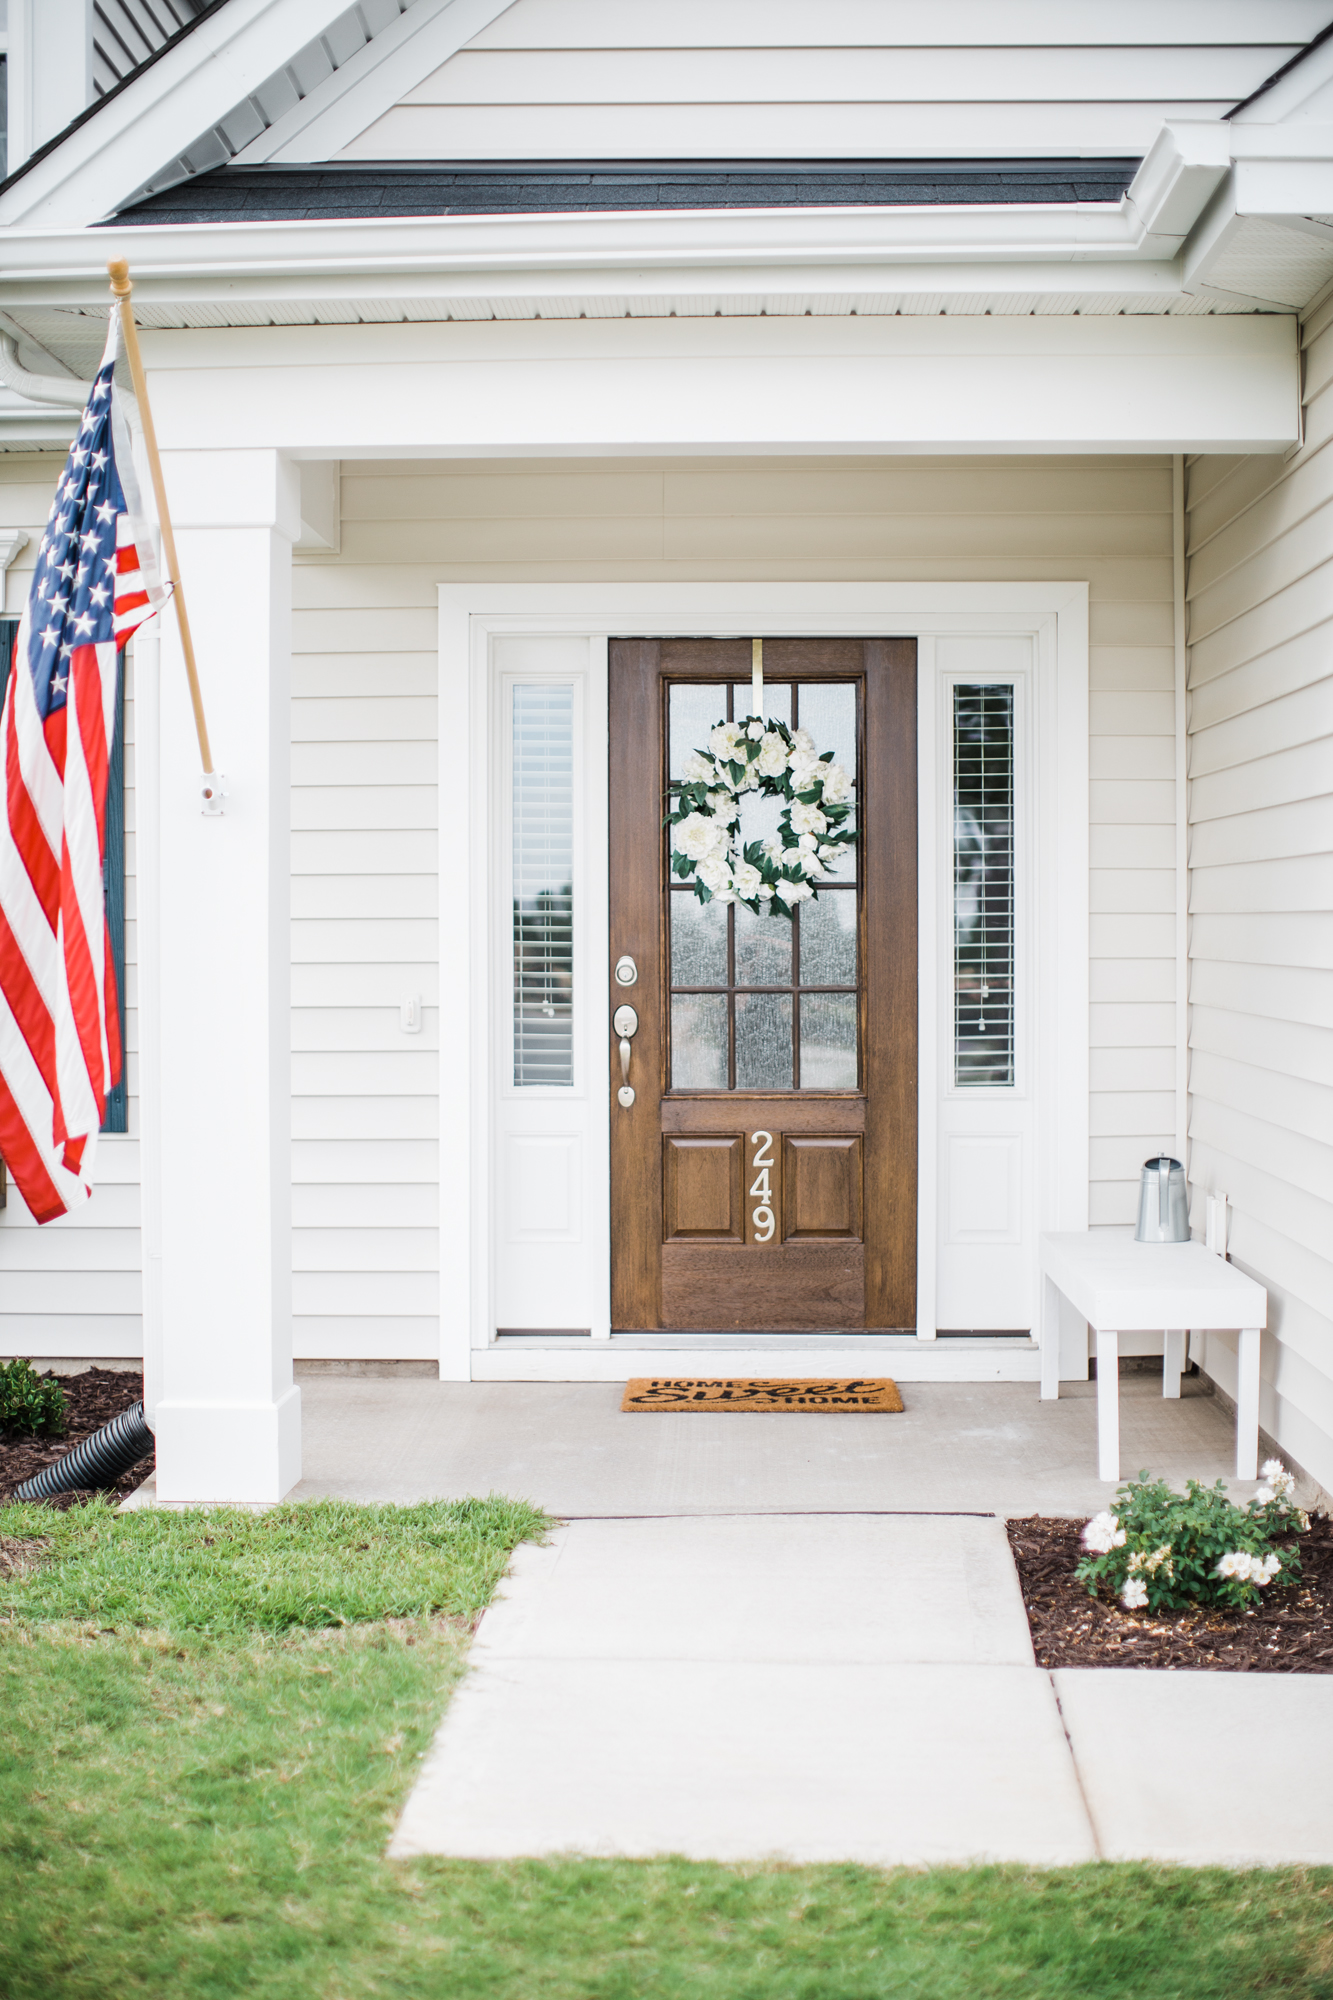
That bench was an old bench we picked up at a thrift shop for I think $15. It was pink when we got it so I covered that with some white paint we had on hand. I decided to keep it out here when decorating the porch for fall because I knew it provide some height/another level to place pumpkins and mums on, especially since we don’t have stairs.
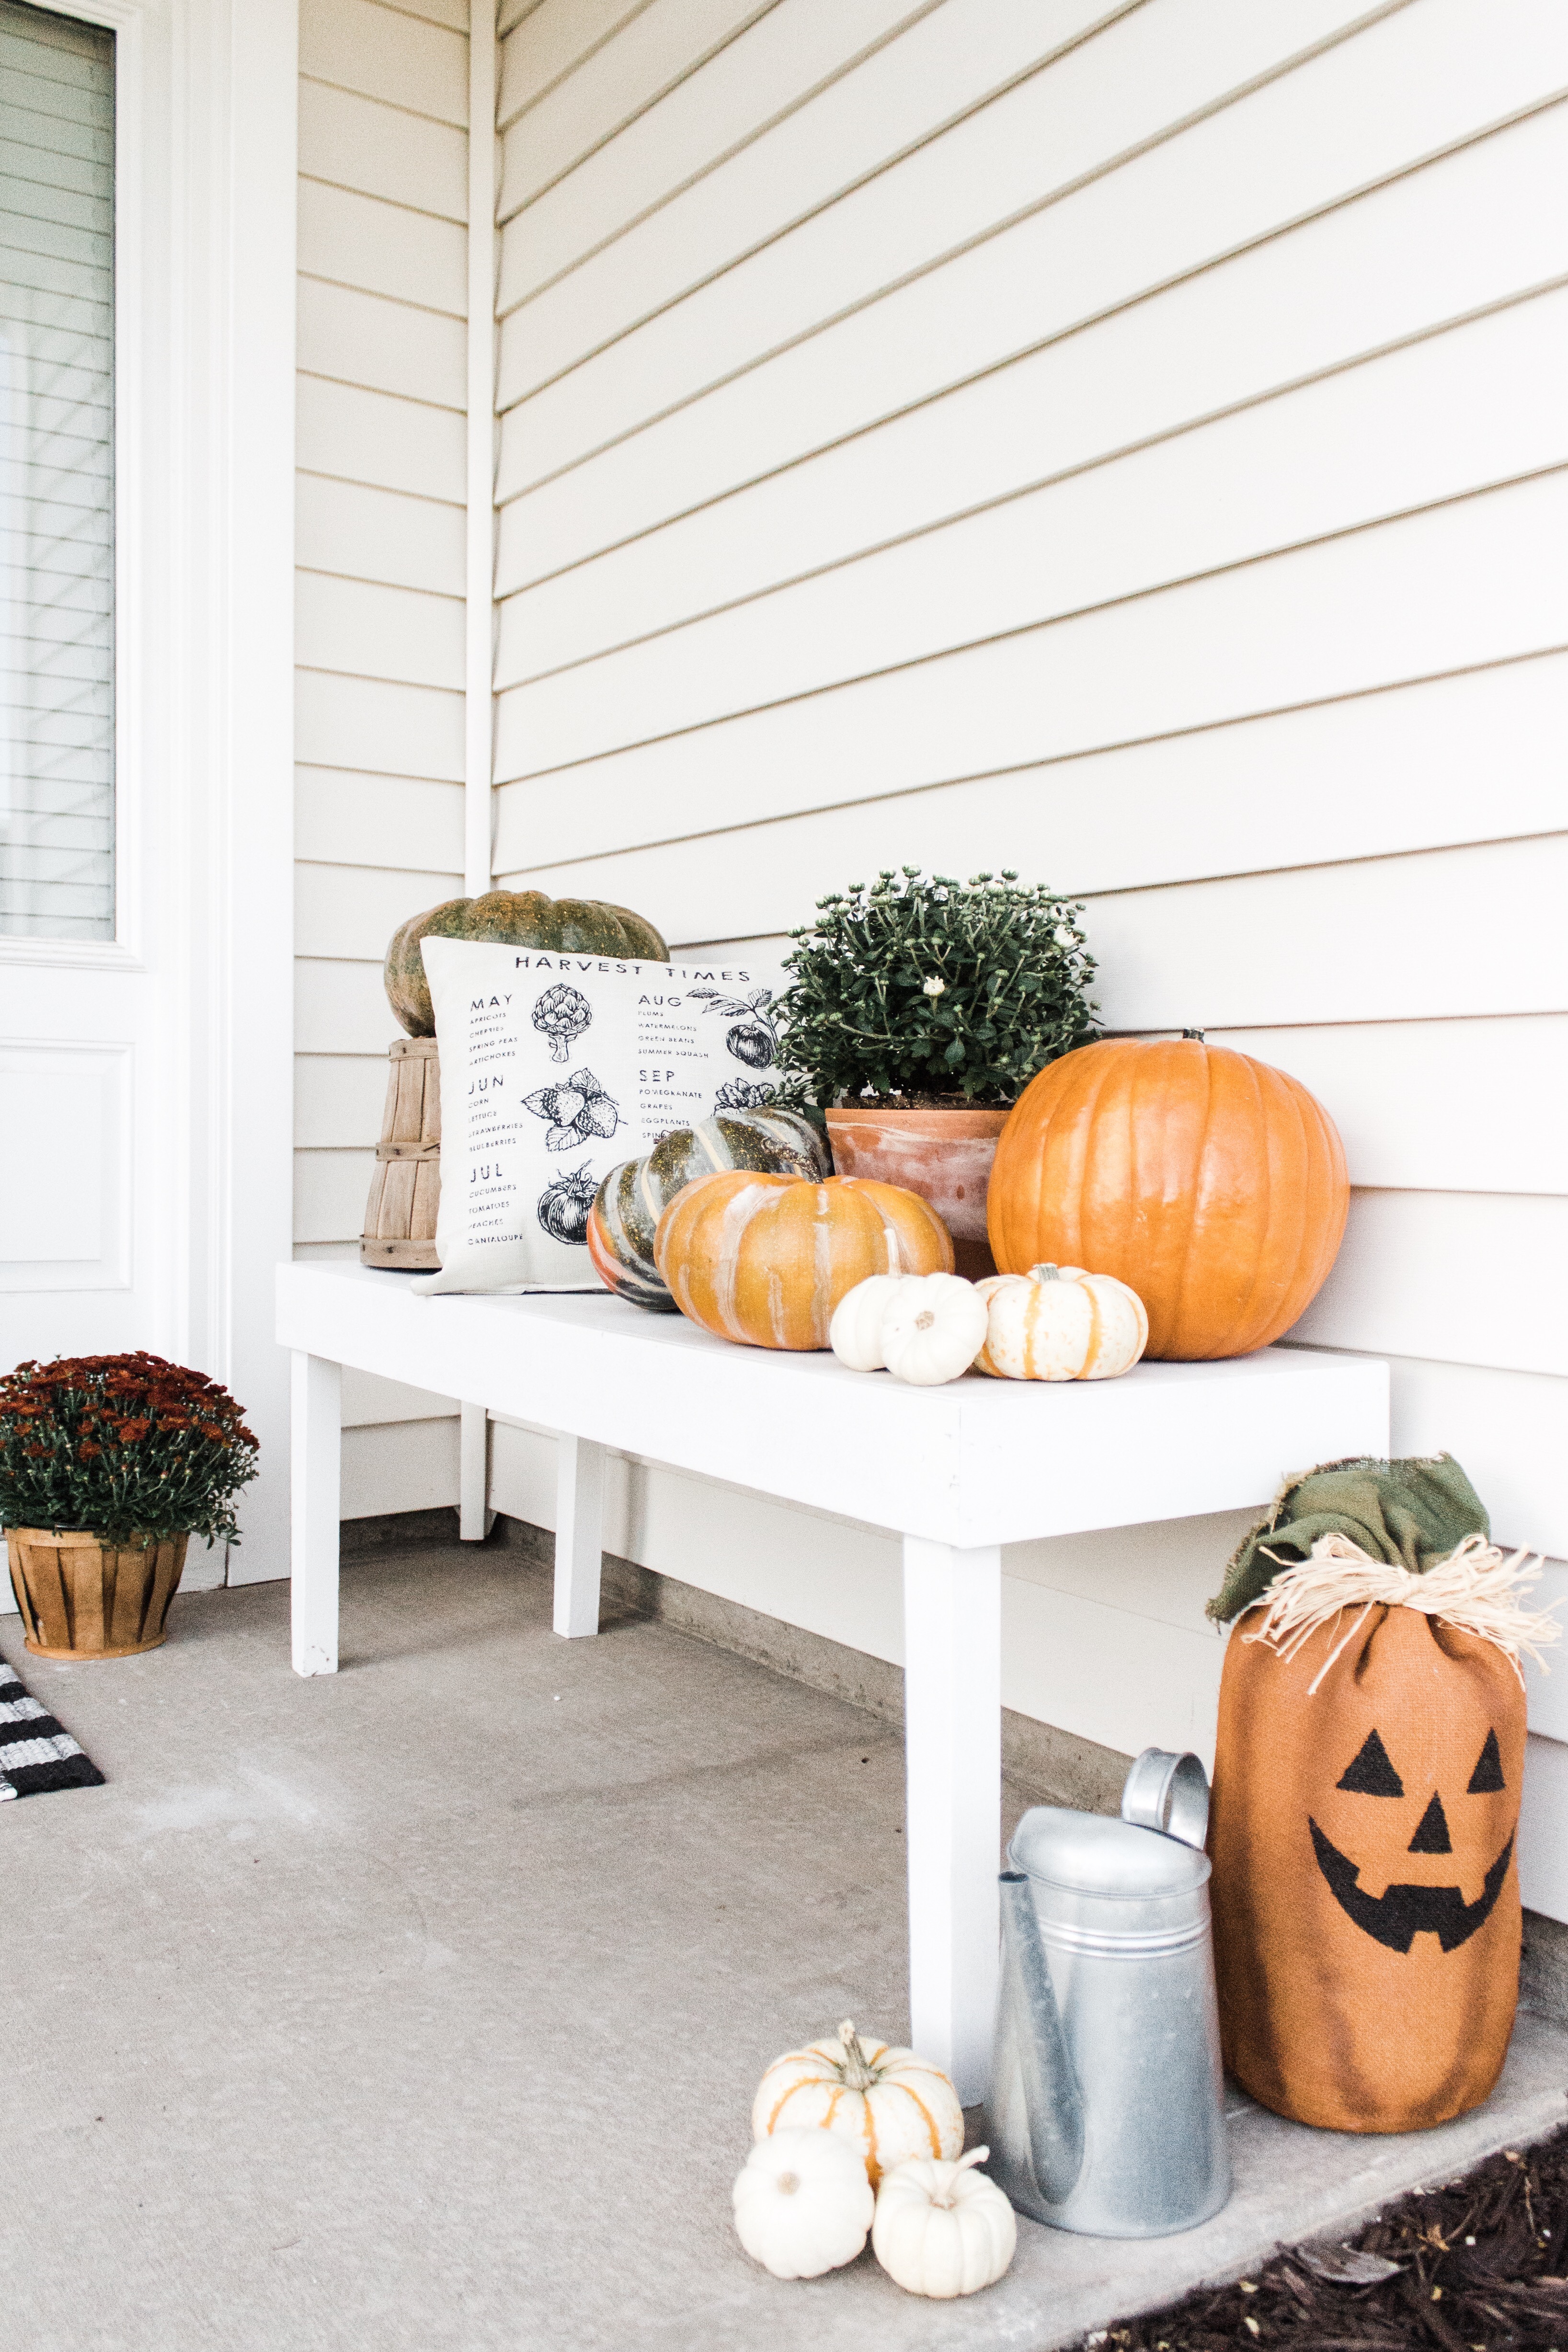
Before getting started outside, I went around the house and gathered all of the items I thought I could utilize on the front porch and combined them with my pumpkins and mums: a pillow from our back porch that we used for the spring and summer, some faux pumpkins, a couple of baskets, some pots, a wreath, and a rug.
The first thing I did was place our welcome mat on top of a black and white buffalo check rug I bought from Hobby Lobby. I can’t find the exact link but if you’ve been to Hobby Lobby, I’m sure you’ve seen this rug. It’s down the aisle with the fall décor which means it’s always on sale so I think it could about $8-10. Then I placed two of the red mums in these small apple baskets and put them on each side of the door.
If you don’t have a big space or don’t want to do a lot, you could hang a wreath and add a couple of small pumpkins around the mums and it would be adorable as is!
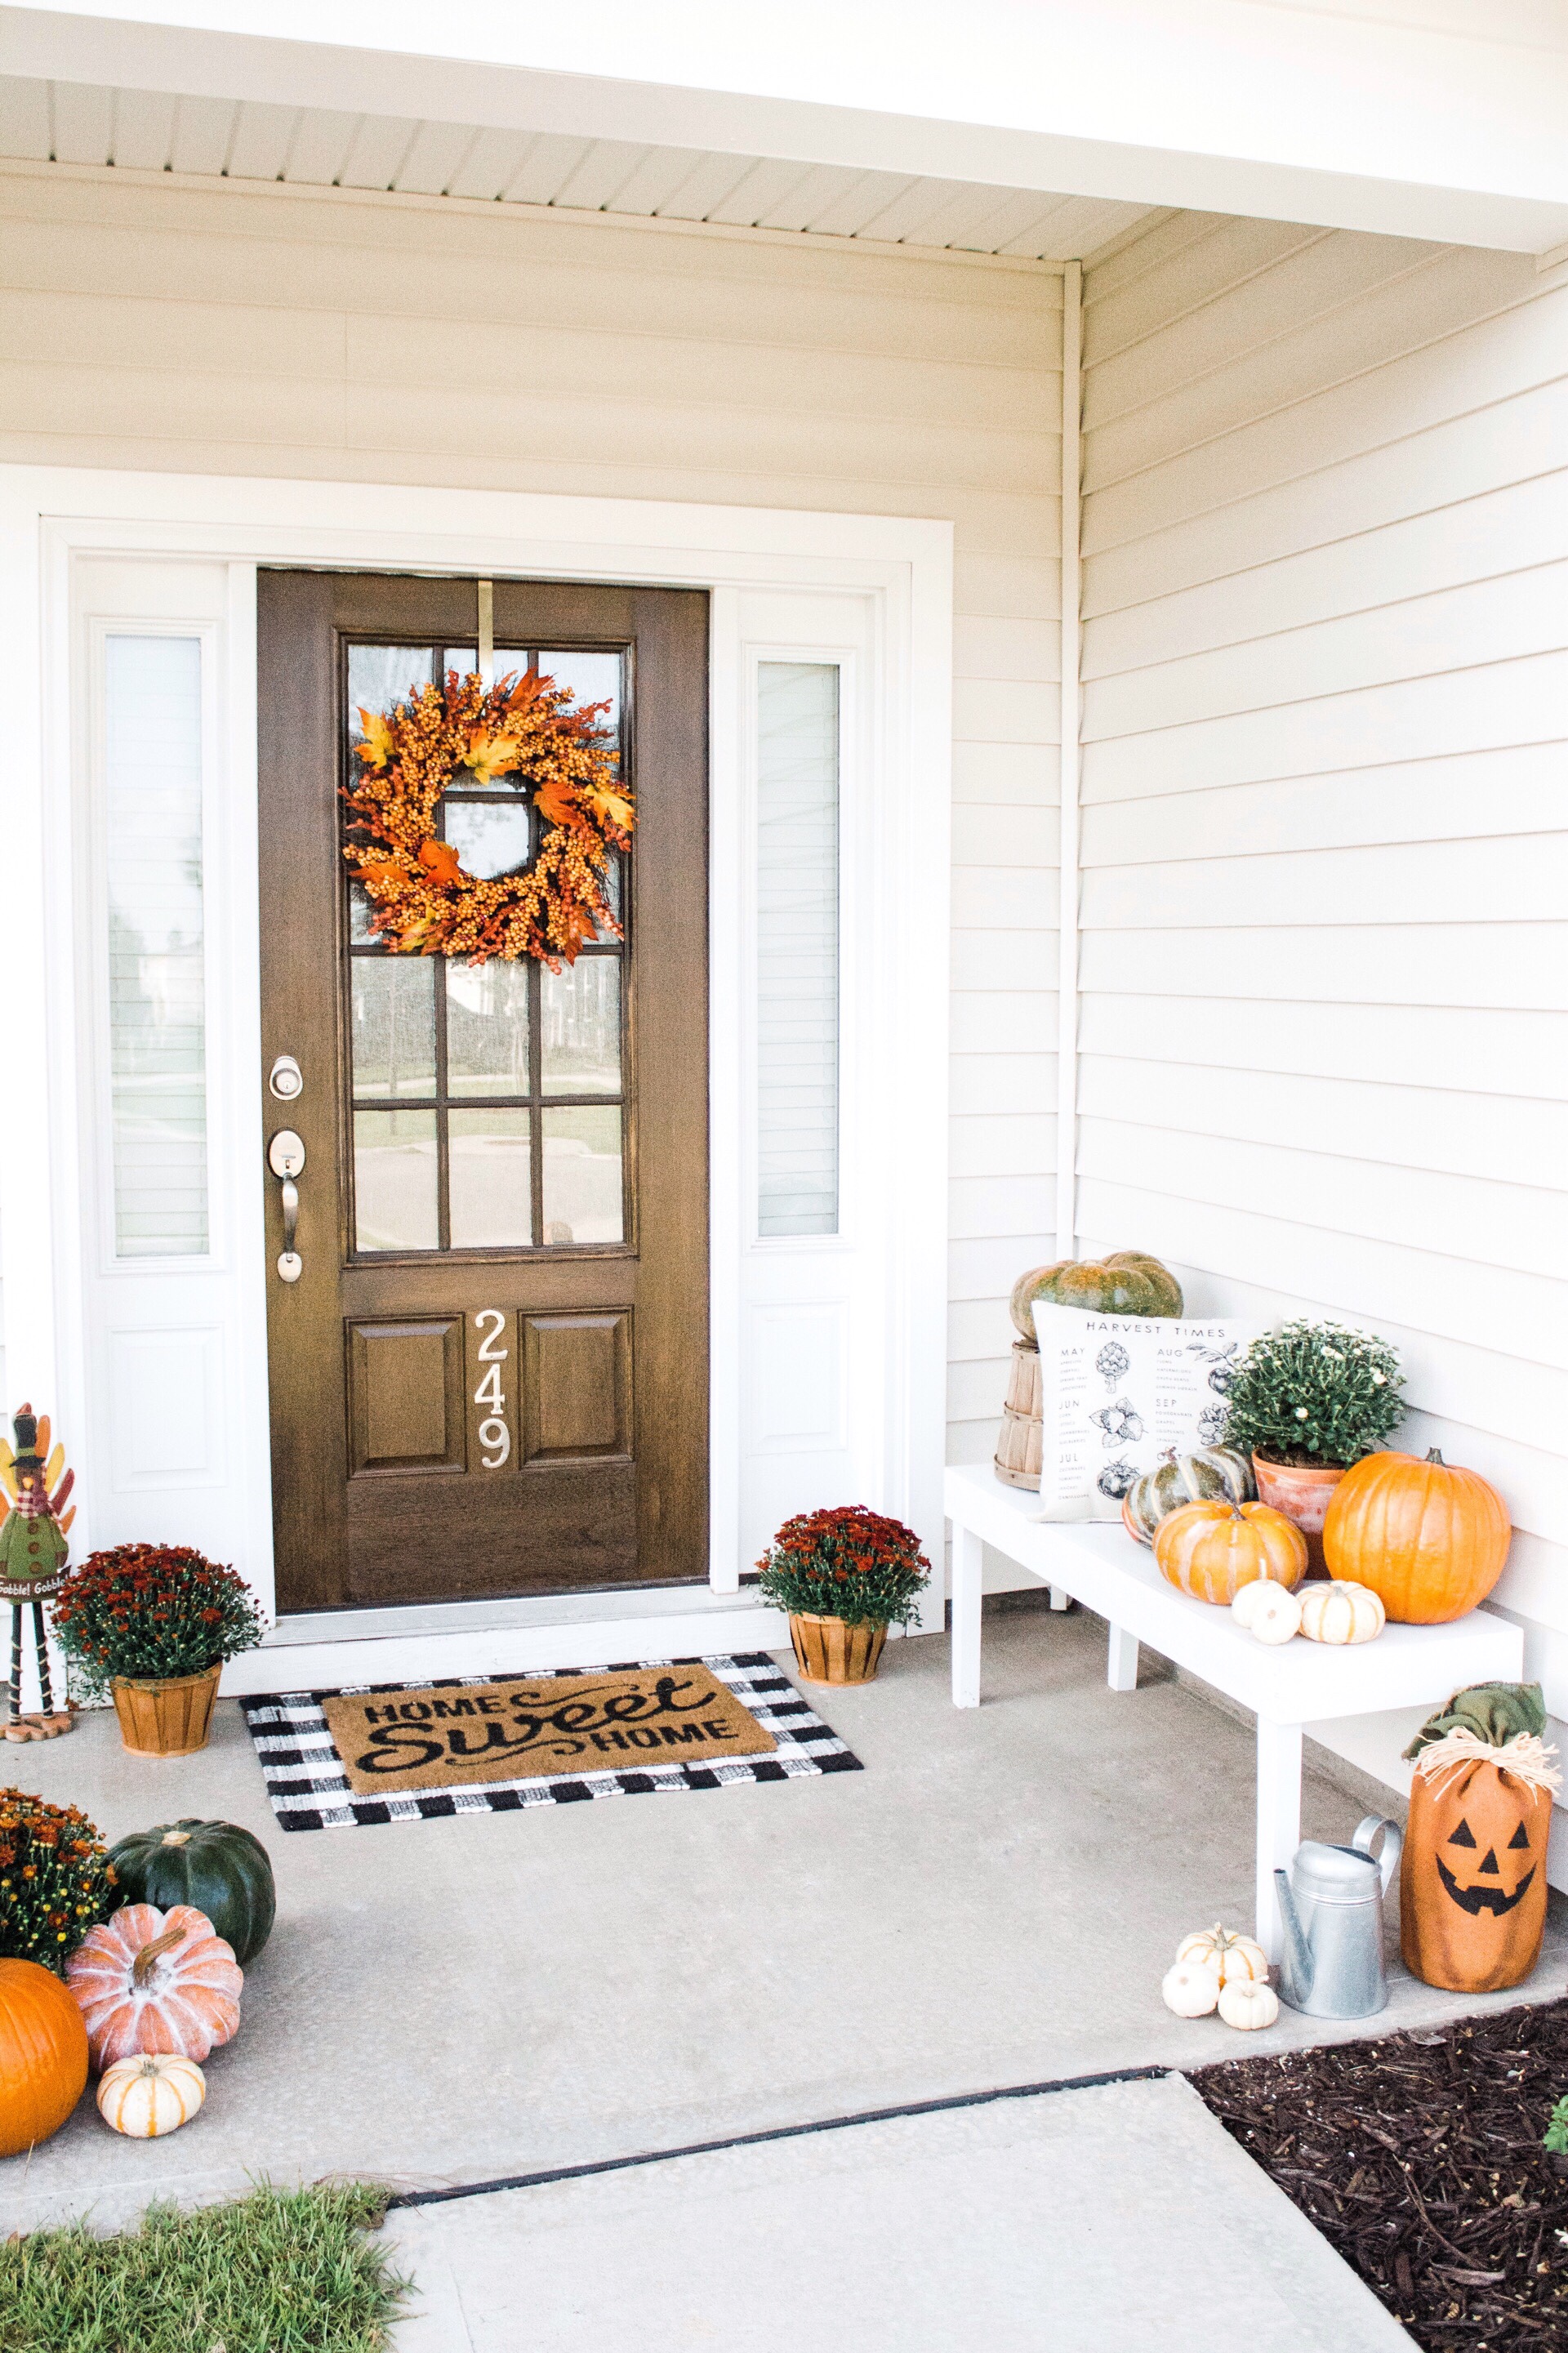
This is when the fun part really started. I don’t really have a method to the madness other than I started picking items out of the pile of things I had gathered and placed, looked, adjusted, looked, etc. like I mentioned before until I loved how it looked. After I had flanked the door with mums and added the rug, I decided to focus on the bench. I used it as my “focal point” and started there by adding more height with the upside down basket, the pillow for texture, etc. Once I had the bench the way I wanted it, I used the remaining mum and pumpkins on the other side of the porch.
A couple of tips:
- If you have the opportunity to create some height, do it! It will help make everything more visible and stand out more. Stairs make this really easily, obviously but since we don’t have any, I used the bench and also placed a basket upside down on it to hold a pumpkin.
- If you don’t have a pot to stick your mum in, place the mum where you want it and then hide the black plastic container it comes in by surrounding it with taller pumpkins and small mums.
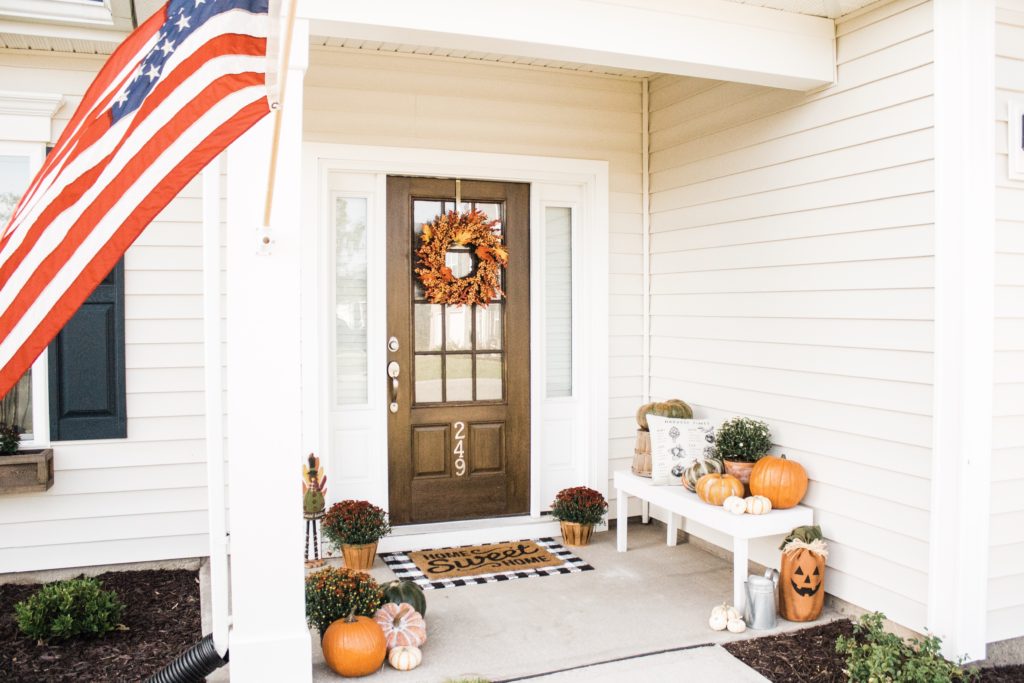
Details:
- Wreath – At Home
- Welcome mat – Target
- Rug – Hobby Lobby
- Pumpkins – Trader Joe’s
- Mums- Walmart
- Faux pumpkins – At Home
- Gobble Gobble Turkey – At Home
- Bench – thrifted and painted
- Baskets – thrifted
- Watering can – IKEA
- Canvas Jack-o-lantern – At Home
I hope this provides some inspiration for you all when you decorate your own front porch. I’d love to see what you all come up with! I hope you have a great weekend.
jordan jean
SHARE