June 10, 2024
After completing the kitchen renovation and loving on nearly every square inch of our Mississippi home, we figured we couldn’t just leave the laundry room untouched. At the same time though we knew we were approaching our move and the Mississippi house would soon be listed for rent. With that in mind, we kept the updates pretty simple but the outcome still made a great, better than before impact.
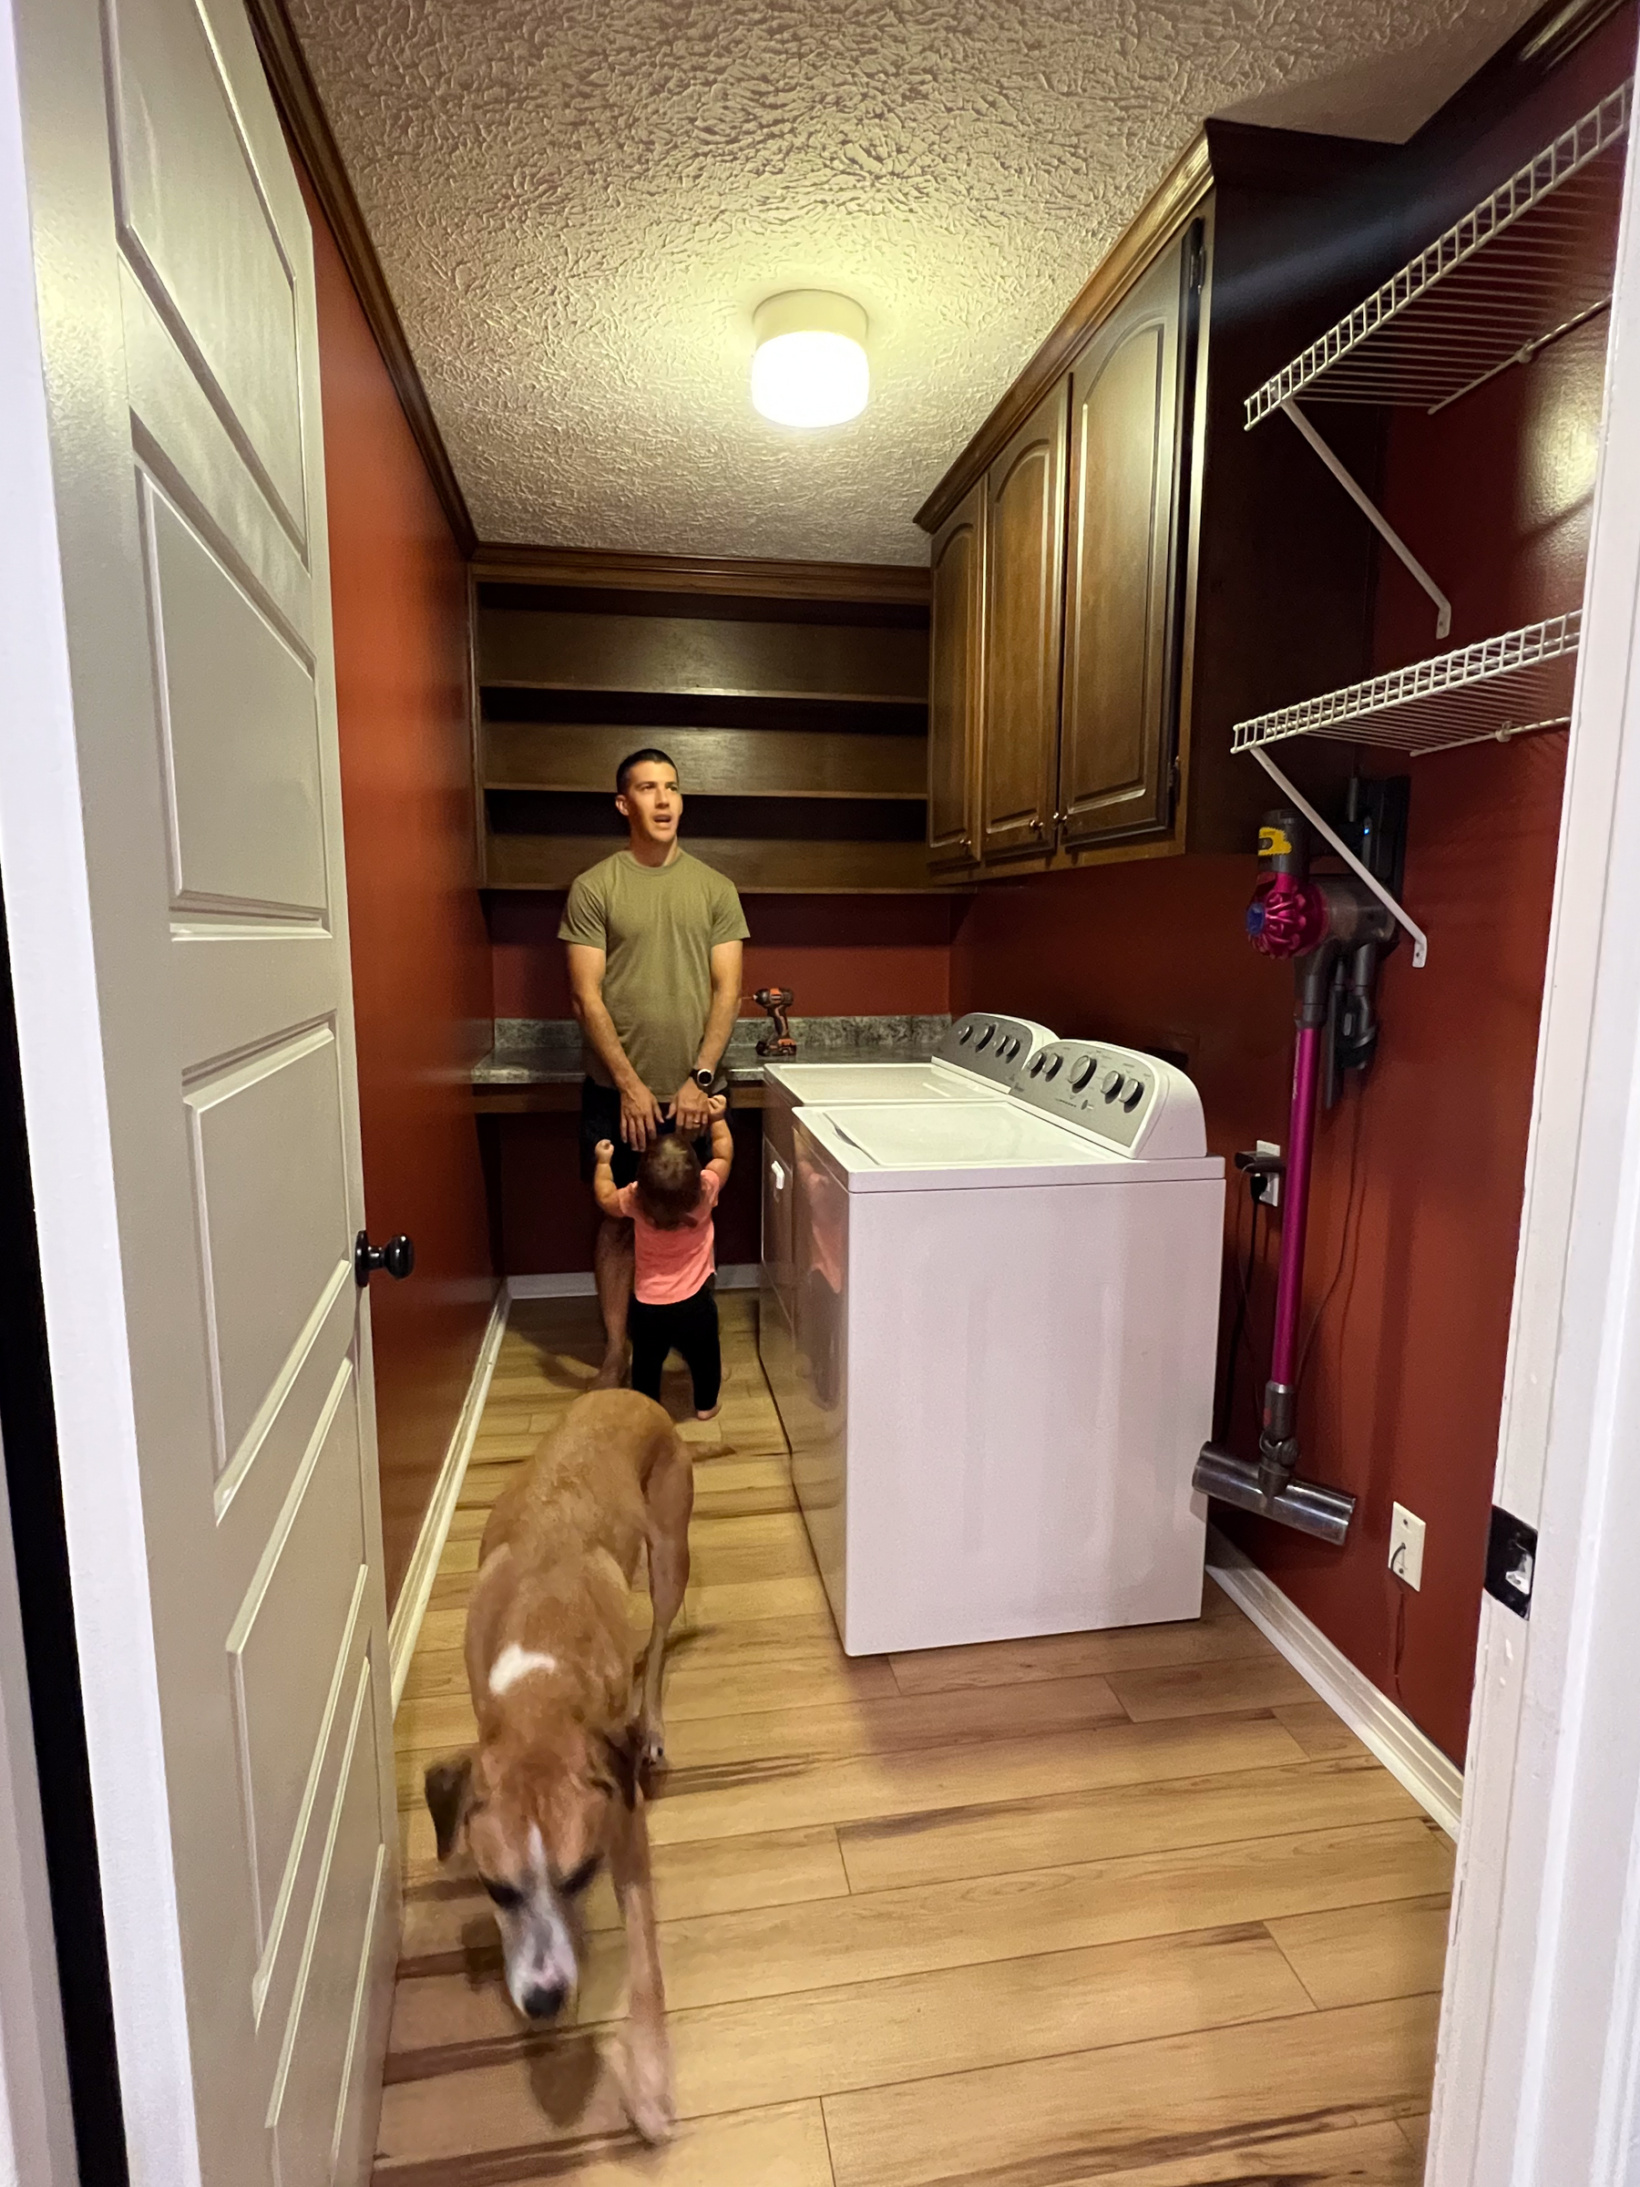
This laundry room was quite a gem in this house, especially before we added more food storage in the updated kitchen. With limited space in the original kitchen, it served not only as the laundry room but also as our pantry and even when we did update the kitchen, it continued to serve as our bulk food storage.
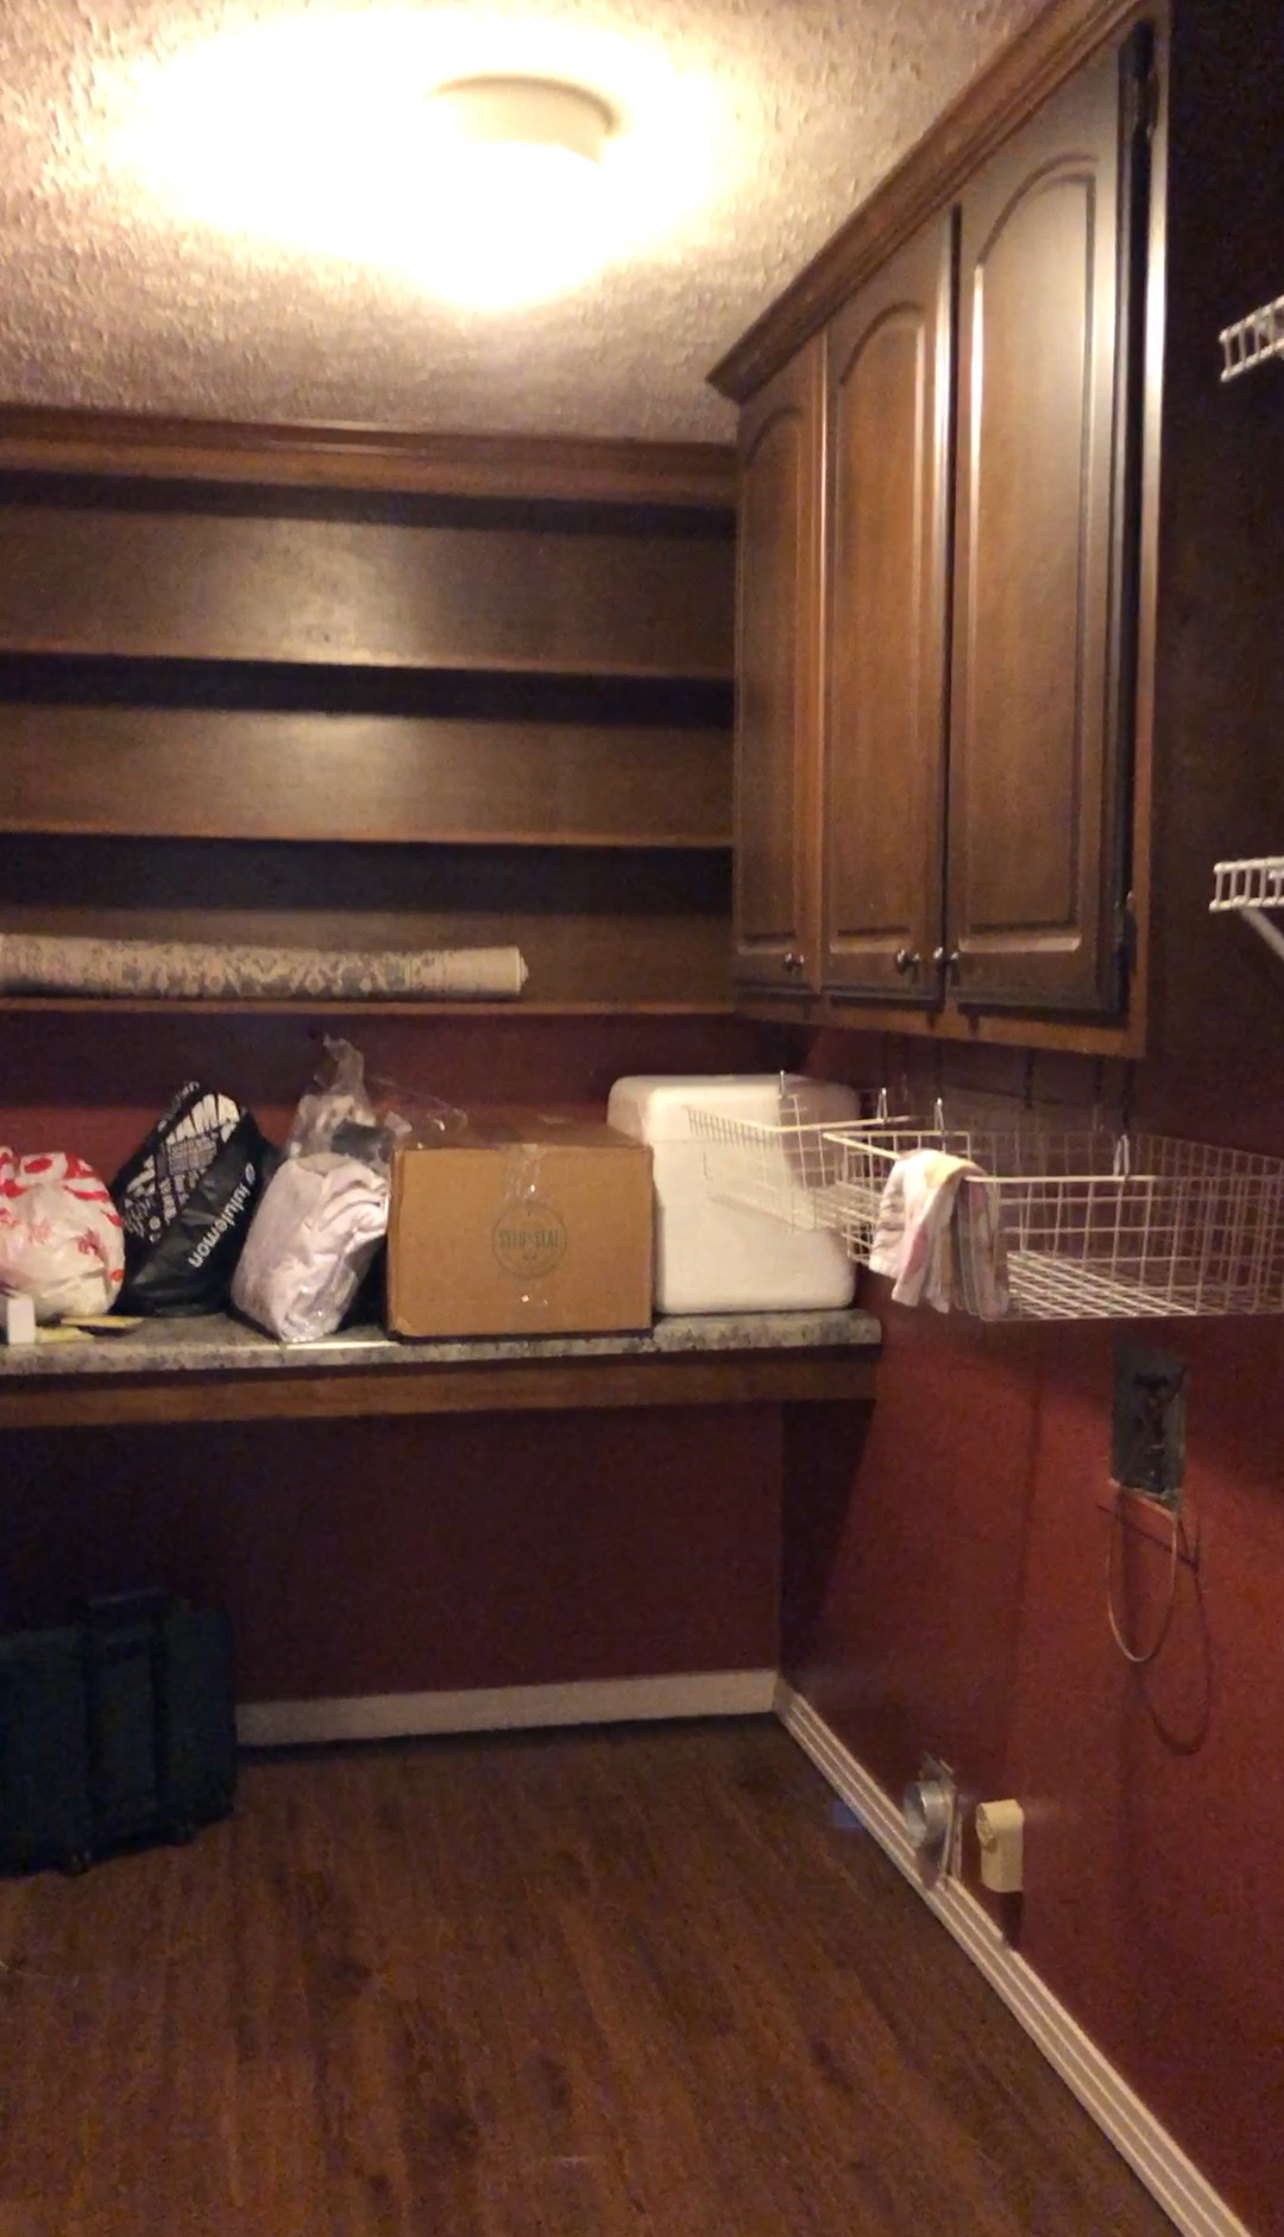
Here’s a blurry photo from the day that we moved in to show our true starting point. We ended up ripping out the floor in here and replaced it with the new LVP that we used in the rest of the house when we completed the kitchen flooring so that it would be more cohesive.

We had plans at one point to make this space even more functional but since we had another baby on the way and wanted to start saving up for projects in our Virginia house, we tried to keep this budget-friendly. At the same time though, I did want it to compliment the fun updates and look in our new kitchen so that if the laundry room door was open, for instance, that the space would look like it belonged instead of forgotten about and never touched.
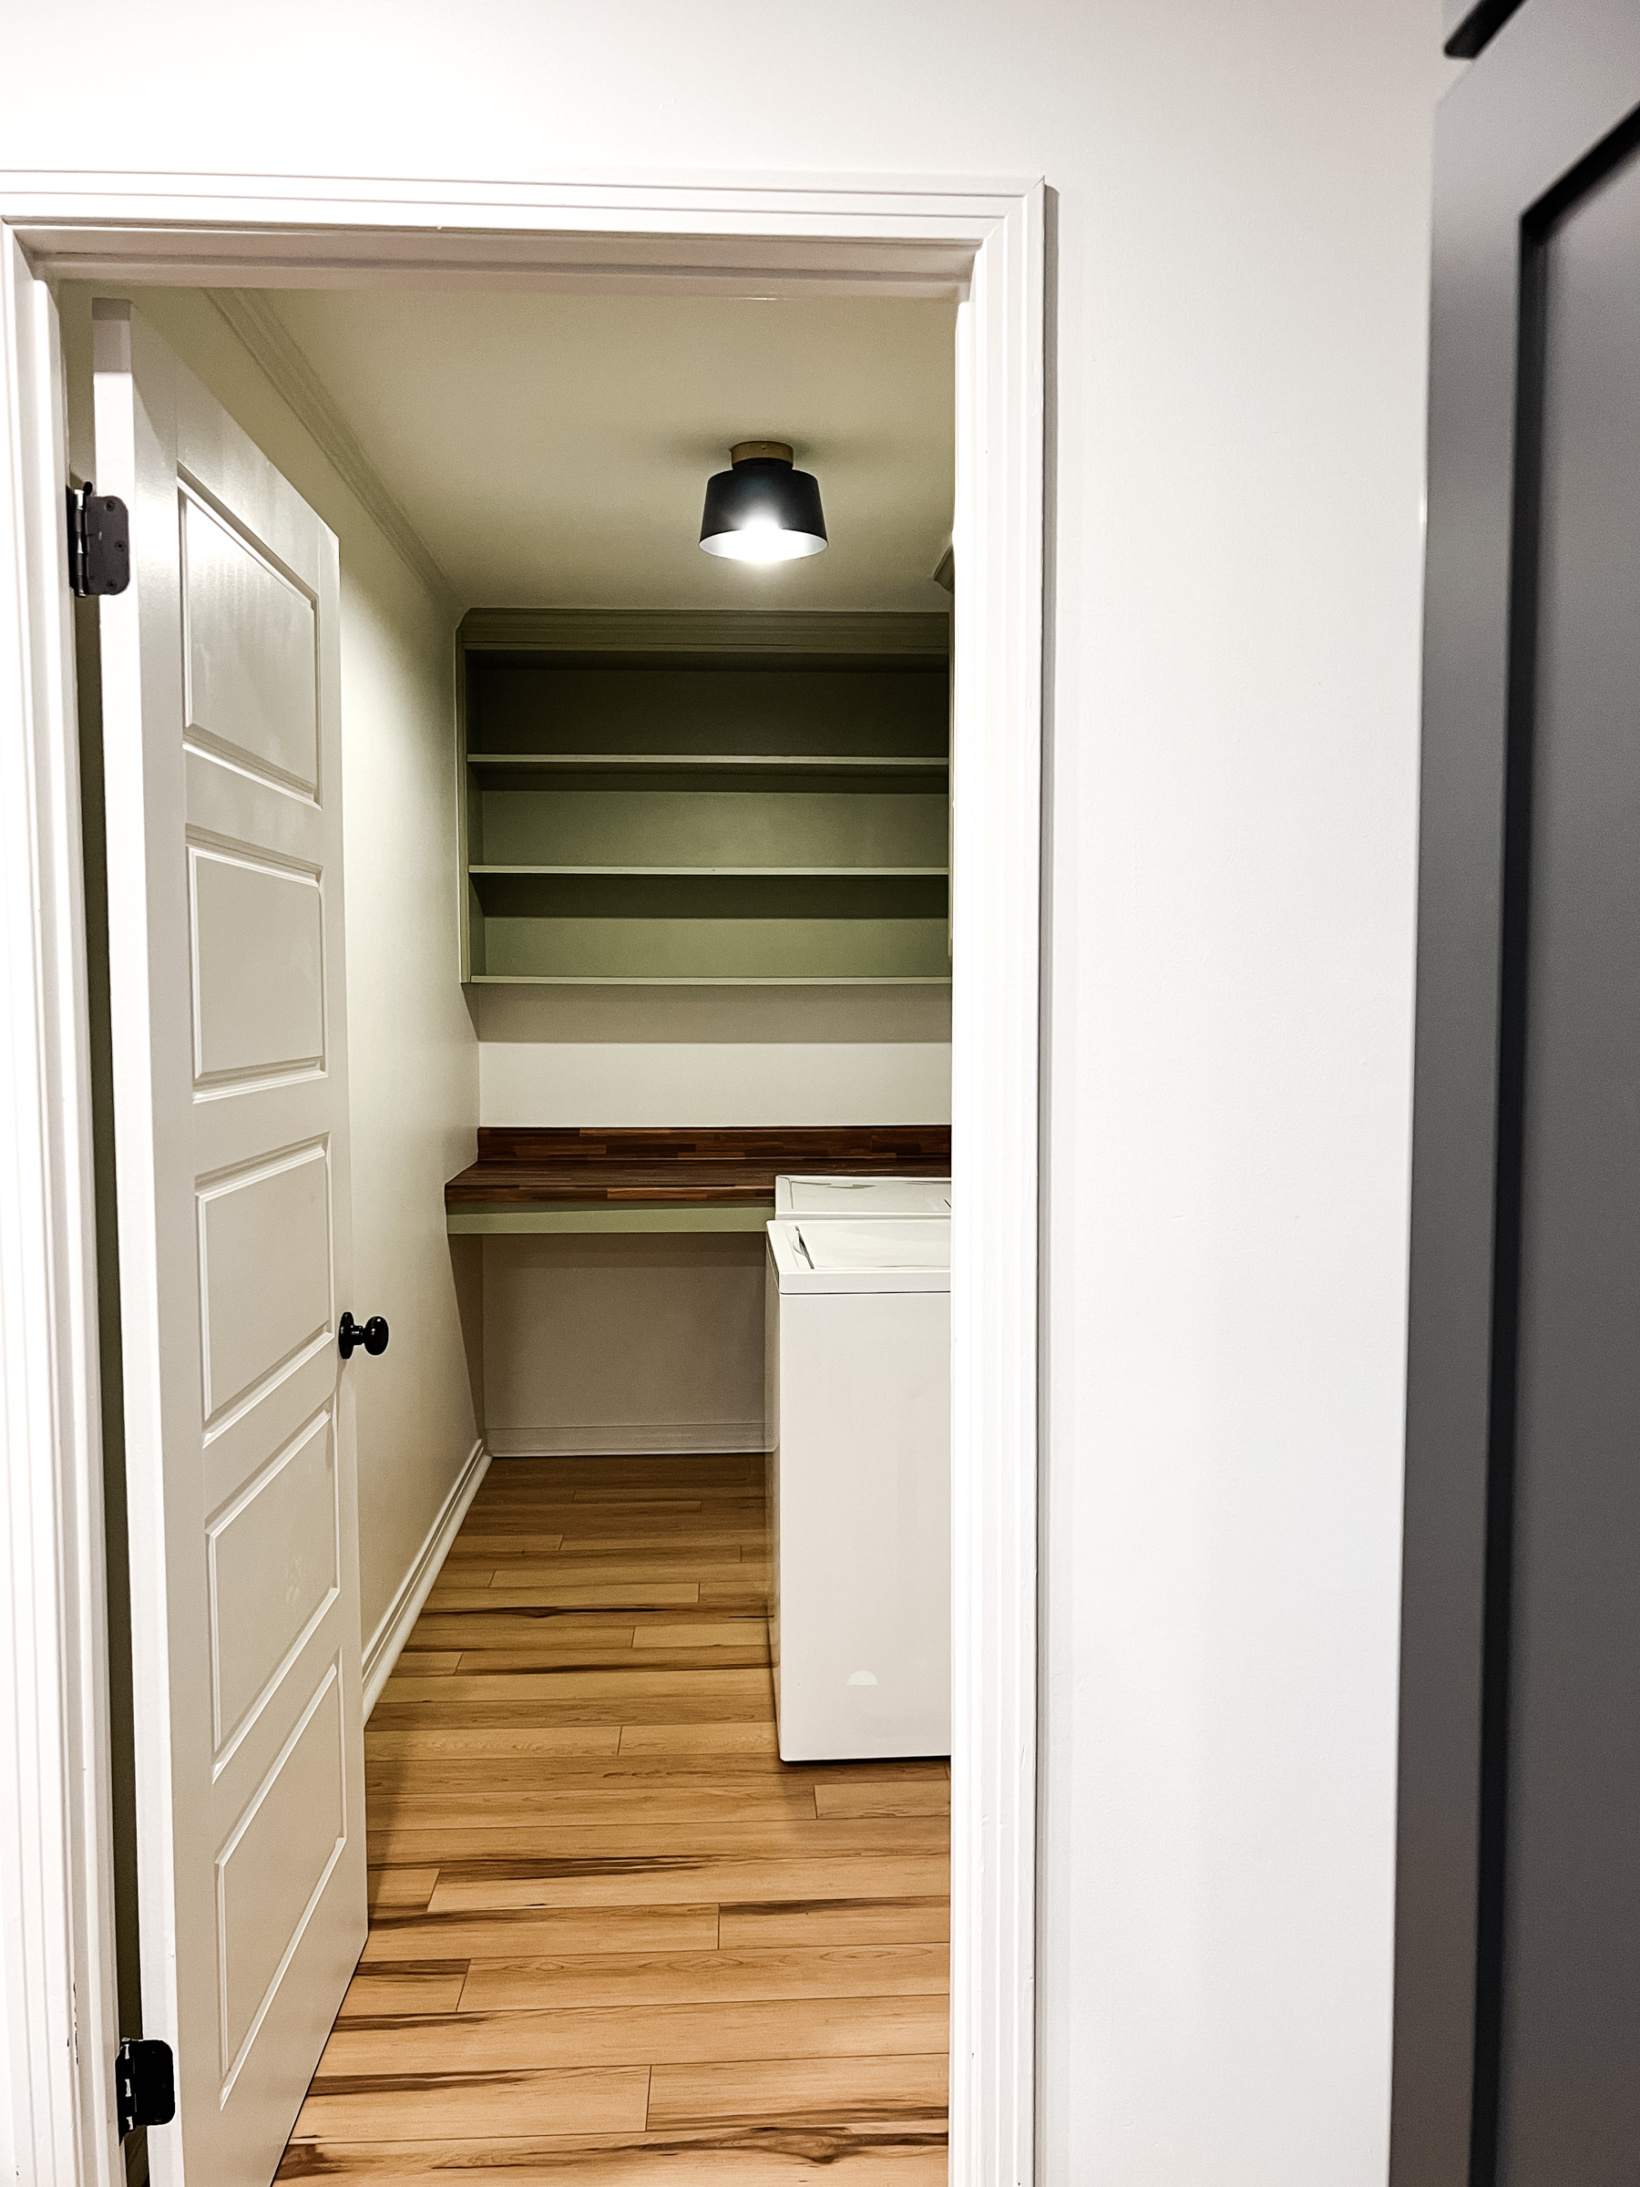
We started by removing the textured ceiling (how we did that HERE!) and immediately the room felt bigger. Then we moved onto priming (SO necessary painting over red especially!) and painting all of the walls and trim the white that we used in the rest of the house, BM Chantilly Lace. If we had been in this house for longer I’m sure I would’ve put some fun wallpaper in here but to keep things more budget-friendly we opted for the clean, bright white Chantilly Lace provides. The room doesn’t get a ton of natural light so going with something bright helped with that compared to the original dark red.
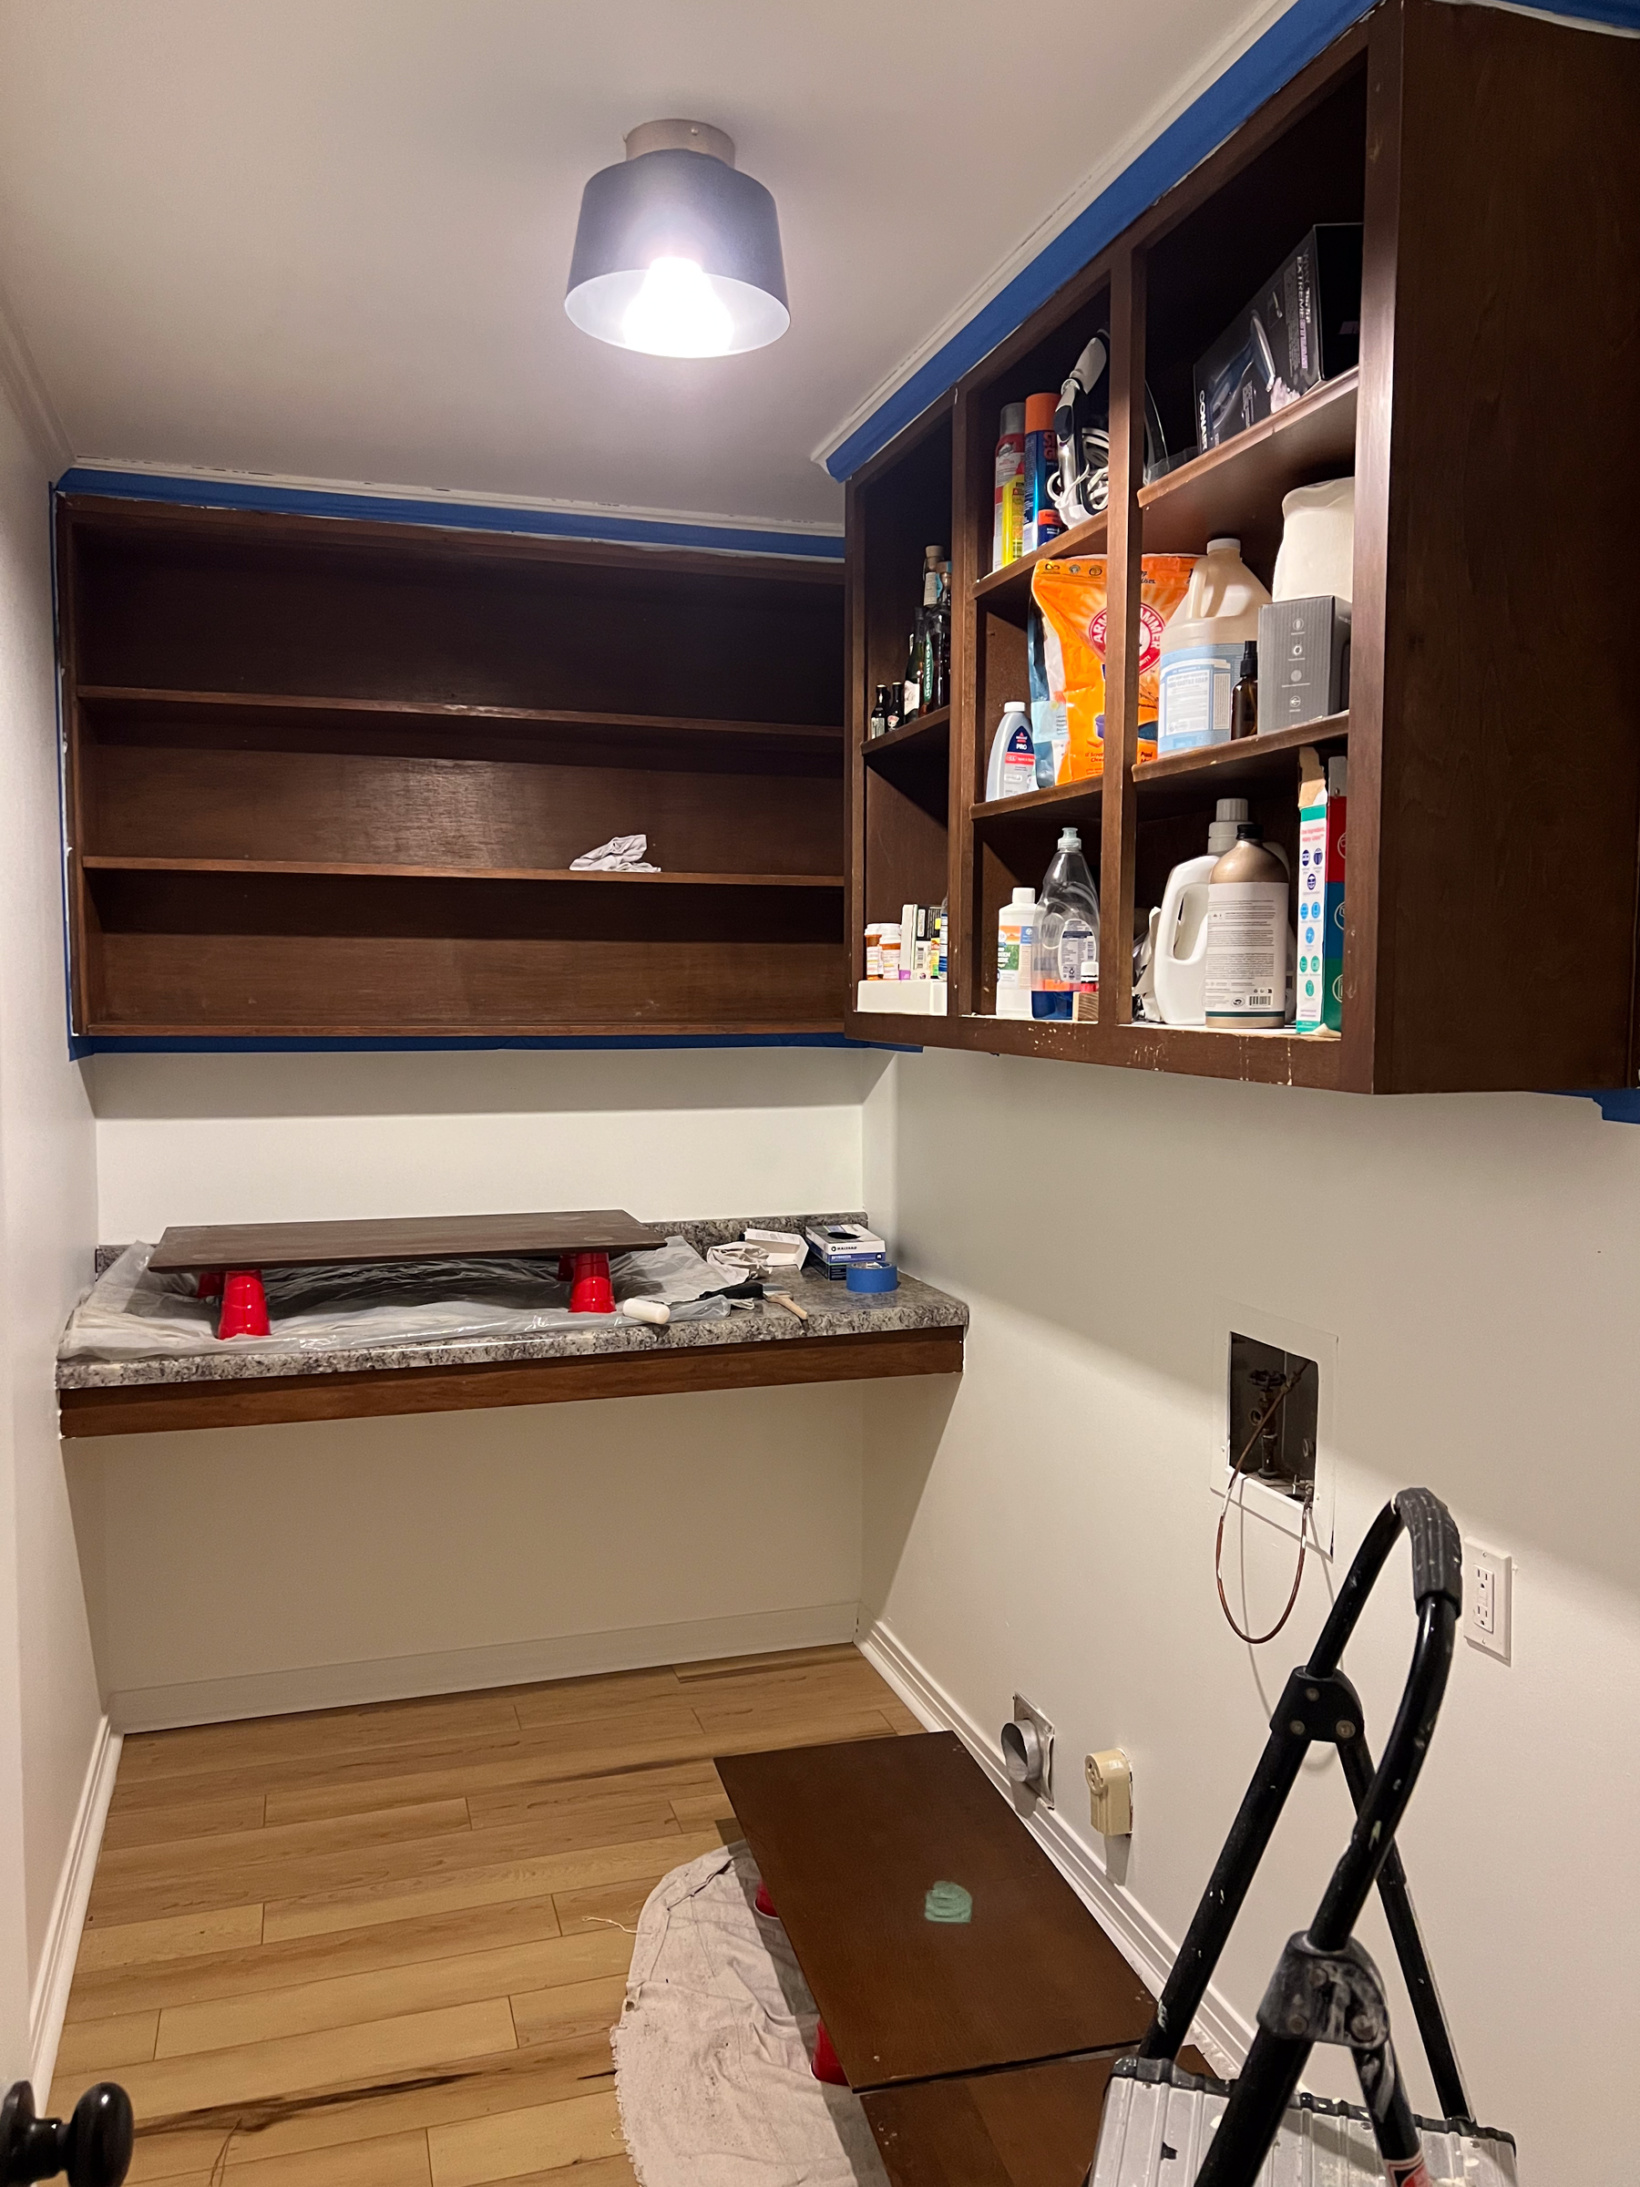
Again to prevent the room from feeling like a dungeon, we decided to paint the cabinets and built-in shelves in a bright color. We decided to go with Simply Sage from Heirloom Traditions Paint. We hadn’t used that sort of color anywhere else in the house and we just really like it! Zero regrets. I wrote all about this paint and how one of my best friends transformed her large kitchen HERE. If you plan on doing any sort of cabinet makeover with paint, I don’t know if I’ll ever tell you to use anything but the HTP paint. It is so easy, has a phenomenal finish, and doesn’t require any sanding.
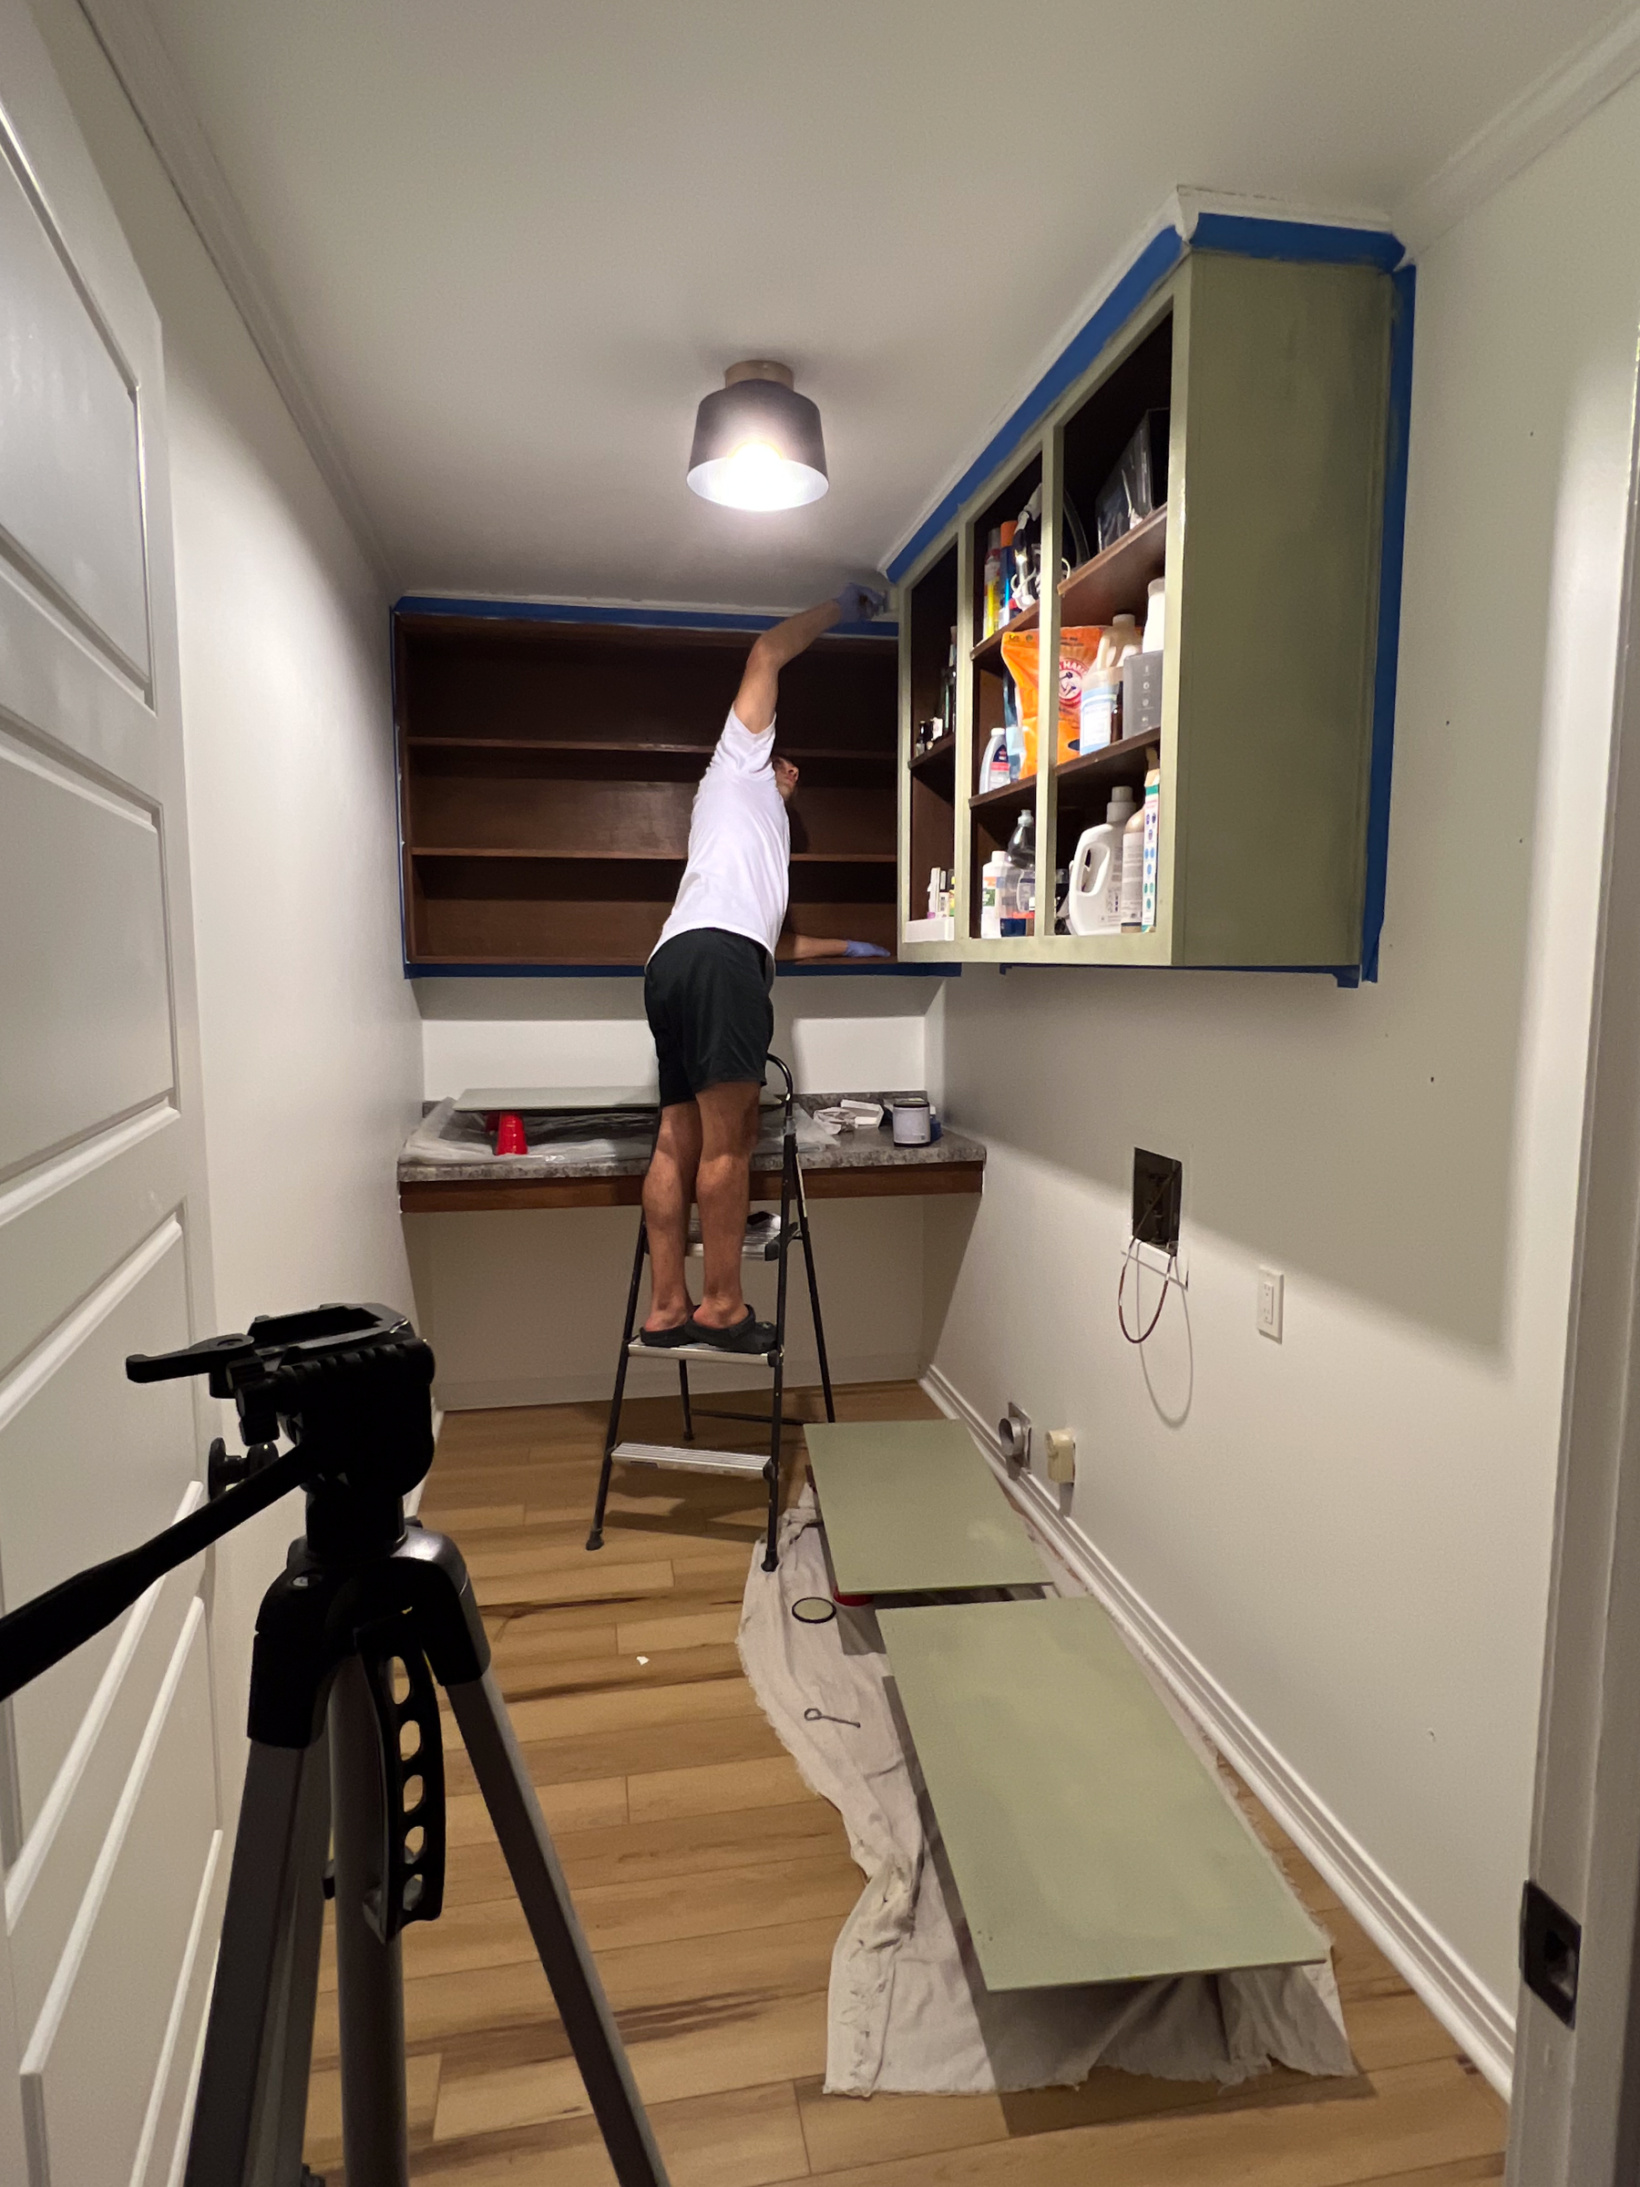
Stephen wiped all of the surfaces down first using the HTP deglosser which I think is a nonnegotiable when using this paint. All in all we used one quart to complete this project. It ended up needing 3 coats of paint just because we were going over such a dark finish with a light color. Notice how we originally taped off the crown molding at the top? We finished painting everything, removed the tape, and I thought what in the heck was I thinking?! It looked so broken up with the trim white. So I went back and painted it with the sage green. You can see below how much better it looks!

Three other simple things we did to refresh the room: we added new black knobs, changed out the light fixture with something that would tie in the kitchen finishes, and added butcher block contact paper over the laminate counter top. We didn’t think it was worth getting a whole new counter in here but the green laminate did feel a bit dated so we covered it in the walnut butcher block contact paper to add a tiny bit of warmth back. I did this color specifically to tie in the open shelves in the kitchen.
I will say this contact paper is STTTTTTTTICKYYY. That stuff is not going anywhere. It ended up being a two person project for us but it was also very forgiving if you didn’t line it up perfectly (so forgiving that we even struggled to find the seam when we needed to find it HA!).

Admittedly, we finished up the laundry room, used it through all of the hosting we did during the holidays and then our baby boy made his way into the world so shooting the laundry room “in action” fell off my radar. However, I did snap these photos the day we moved out so at least you can see the way paint, new hardware, and some contact paper can amp up a room.
I don’t know the exact total but I think with everything this update cost less than $150? I do remember thinking in the last few months, “Man, I wish we had done this sooner! It’s so much more enjoyable to fold laundry in here now.” As if we were just sitting there twiddling our thumbs before starting in here… 😉
If you have any questions feel free to post them in the comments below and I will get them answered. I hope if anything you feel inspired or you learned something new from this better than before laundry room update. As a reminder all of the details about HTP paint and the steps to take while using it are in this post. And if you want another example of how paint can transform a space, there is one HERE! Or really any other post in our Mississippi home!
I sincerely appreciate you all shopping through my affiliate links like the ones included in this post. I make a small commission when you purchase through these links at no extra cost to you. These funds help support my family and allow for us to produce better content for you all. I can’t thank you enough for supporting all that we do!
jordan jean
Leave a Reply


Dang, lady! Such simple changes made an impact on that space. Love it!!!
You are the greatest hype girl, Crystal. I always appreciate you being here!!! 🥰