November 20, 2023
(Way) Better than Before Kitchen – My New Recommended Method to Paint Cabinets
posted in:
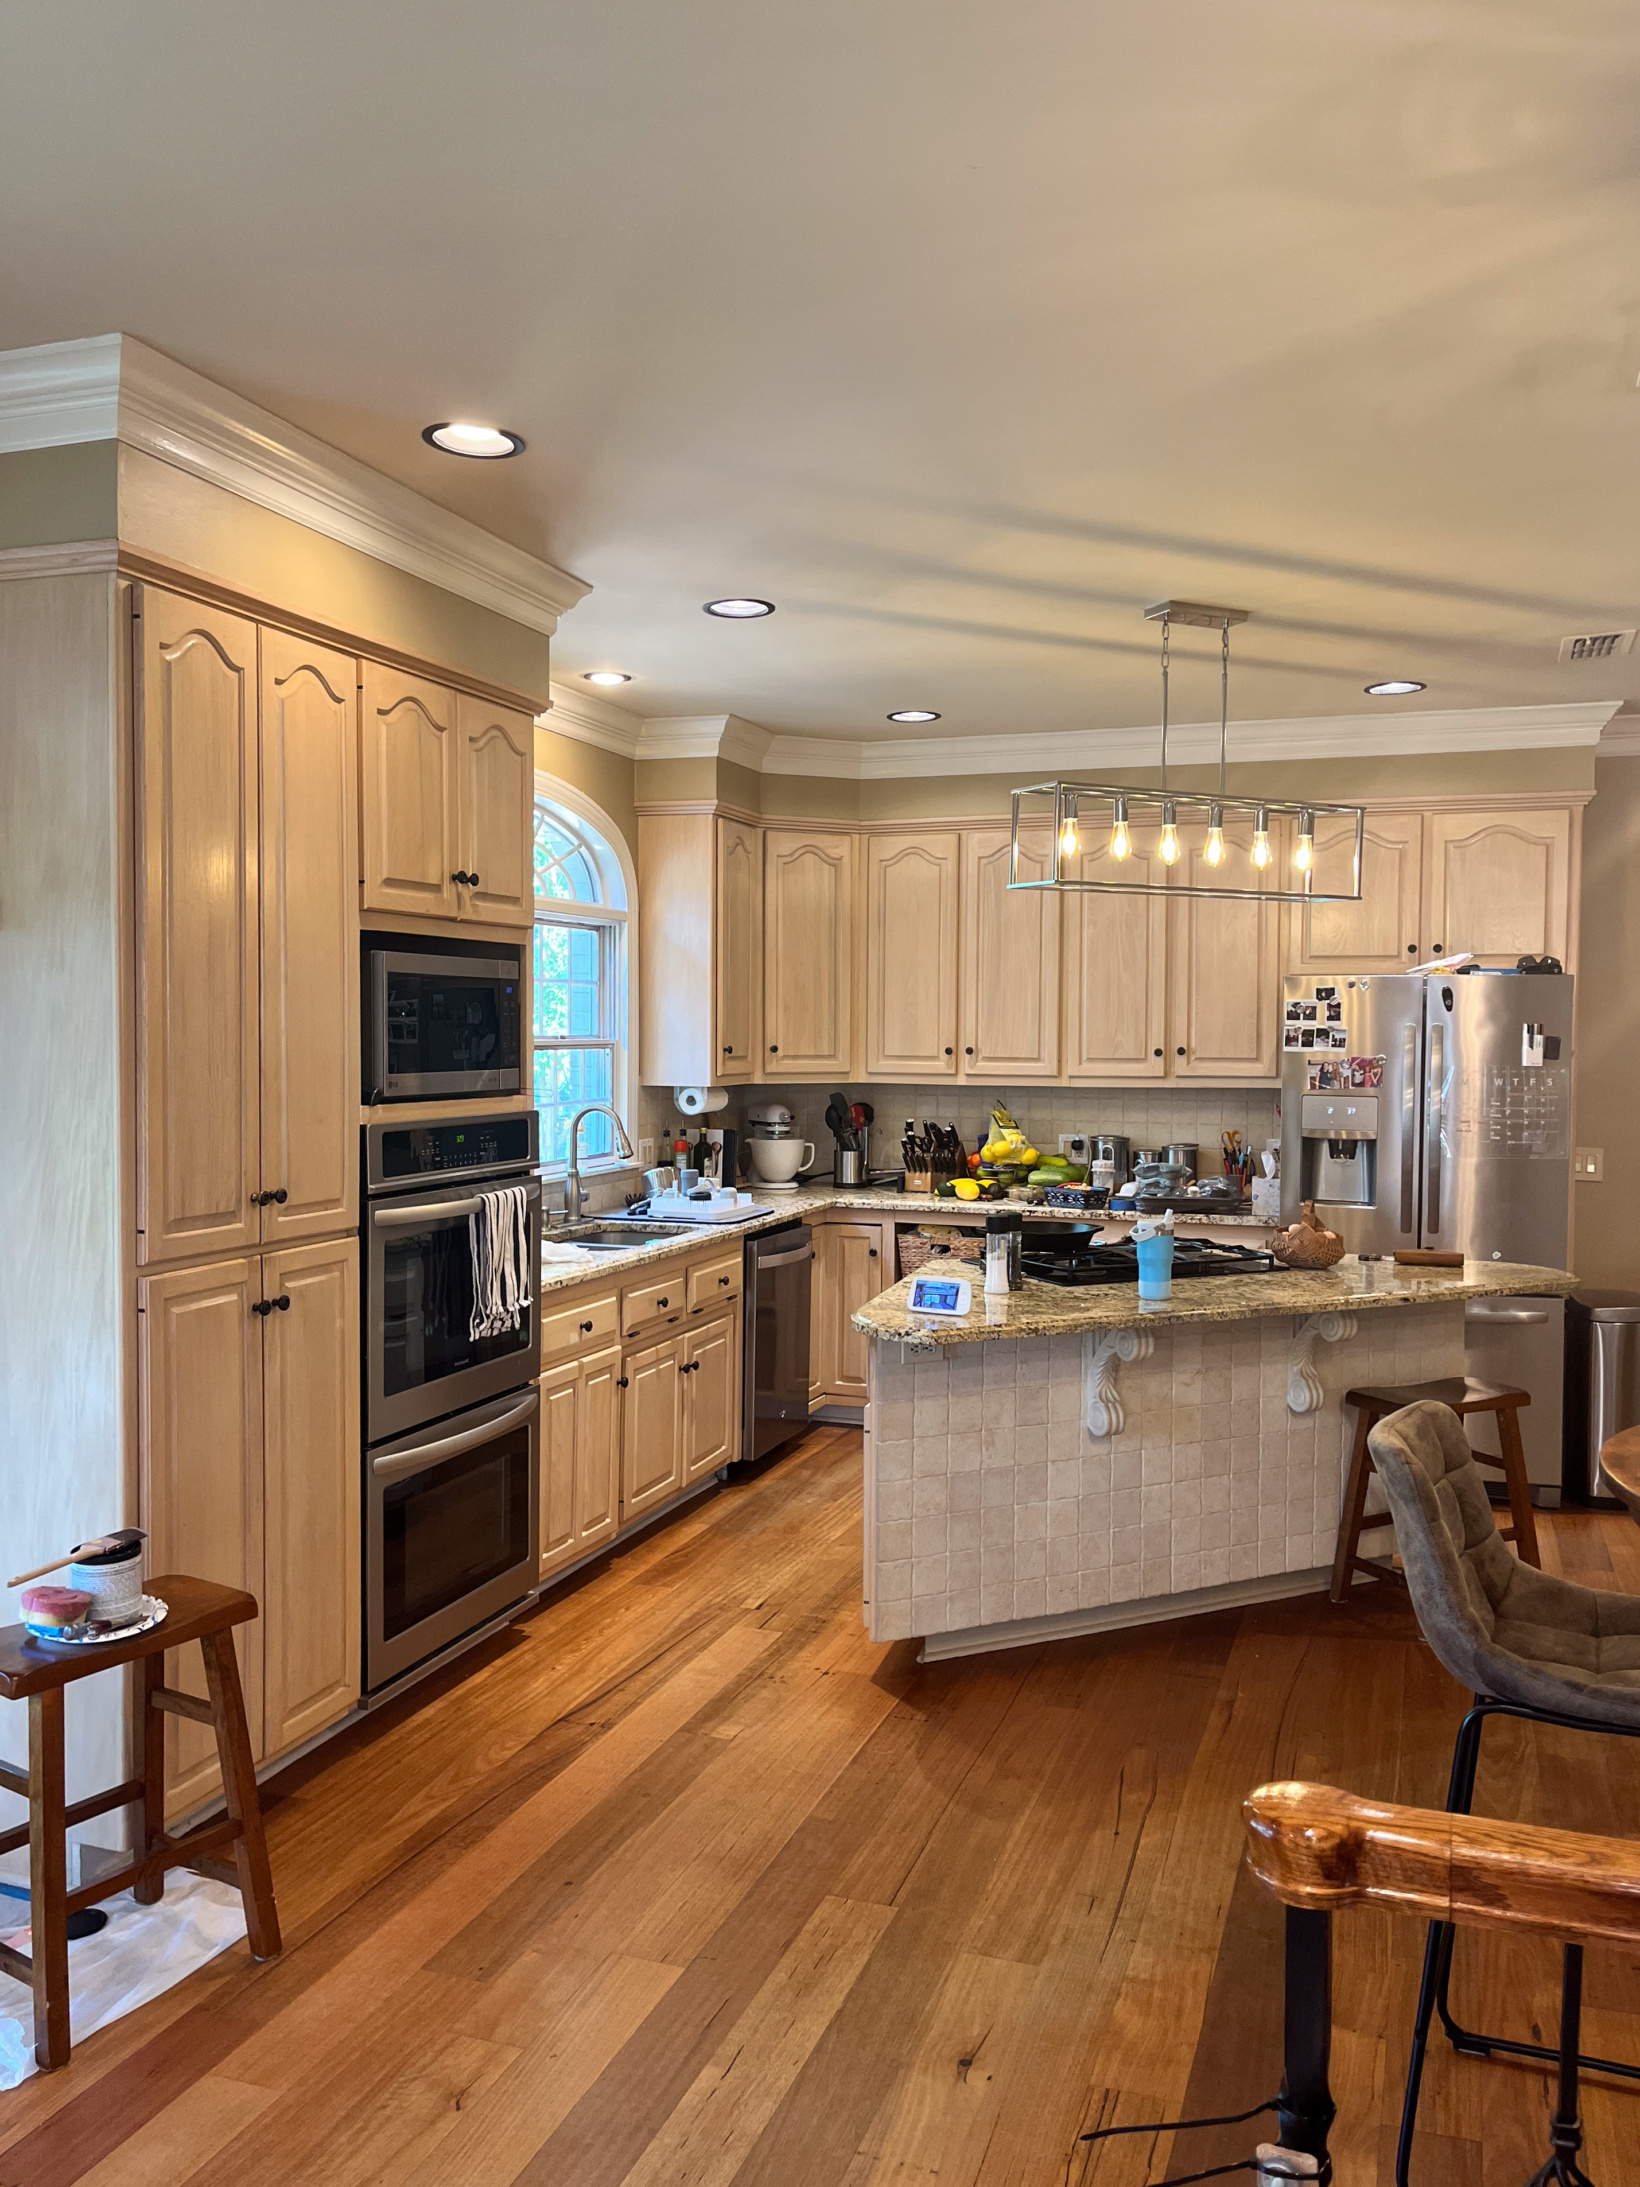
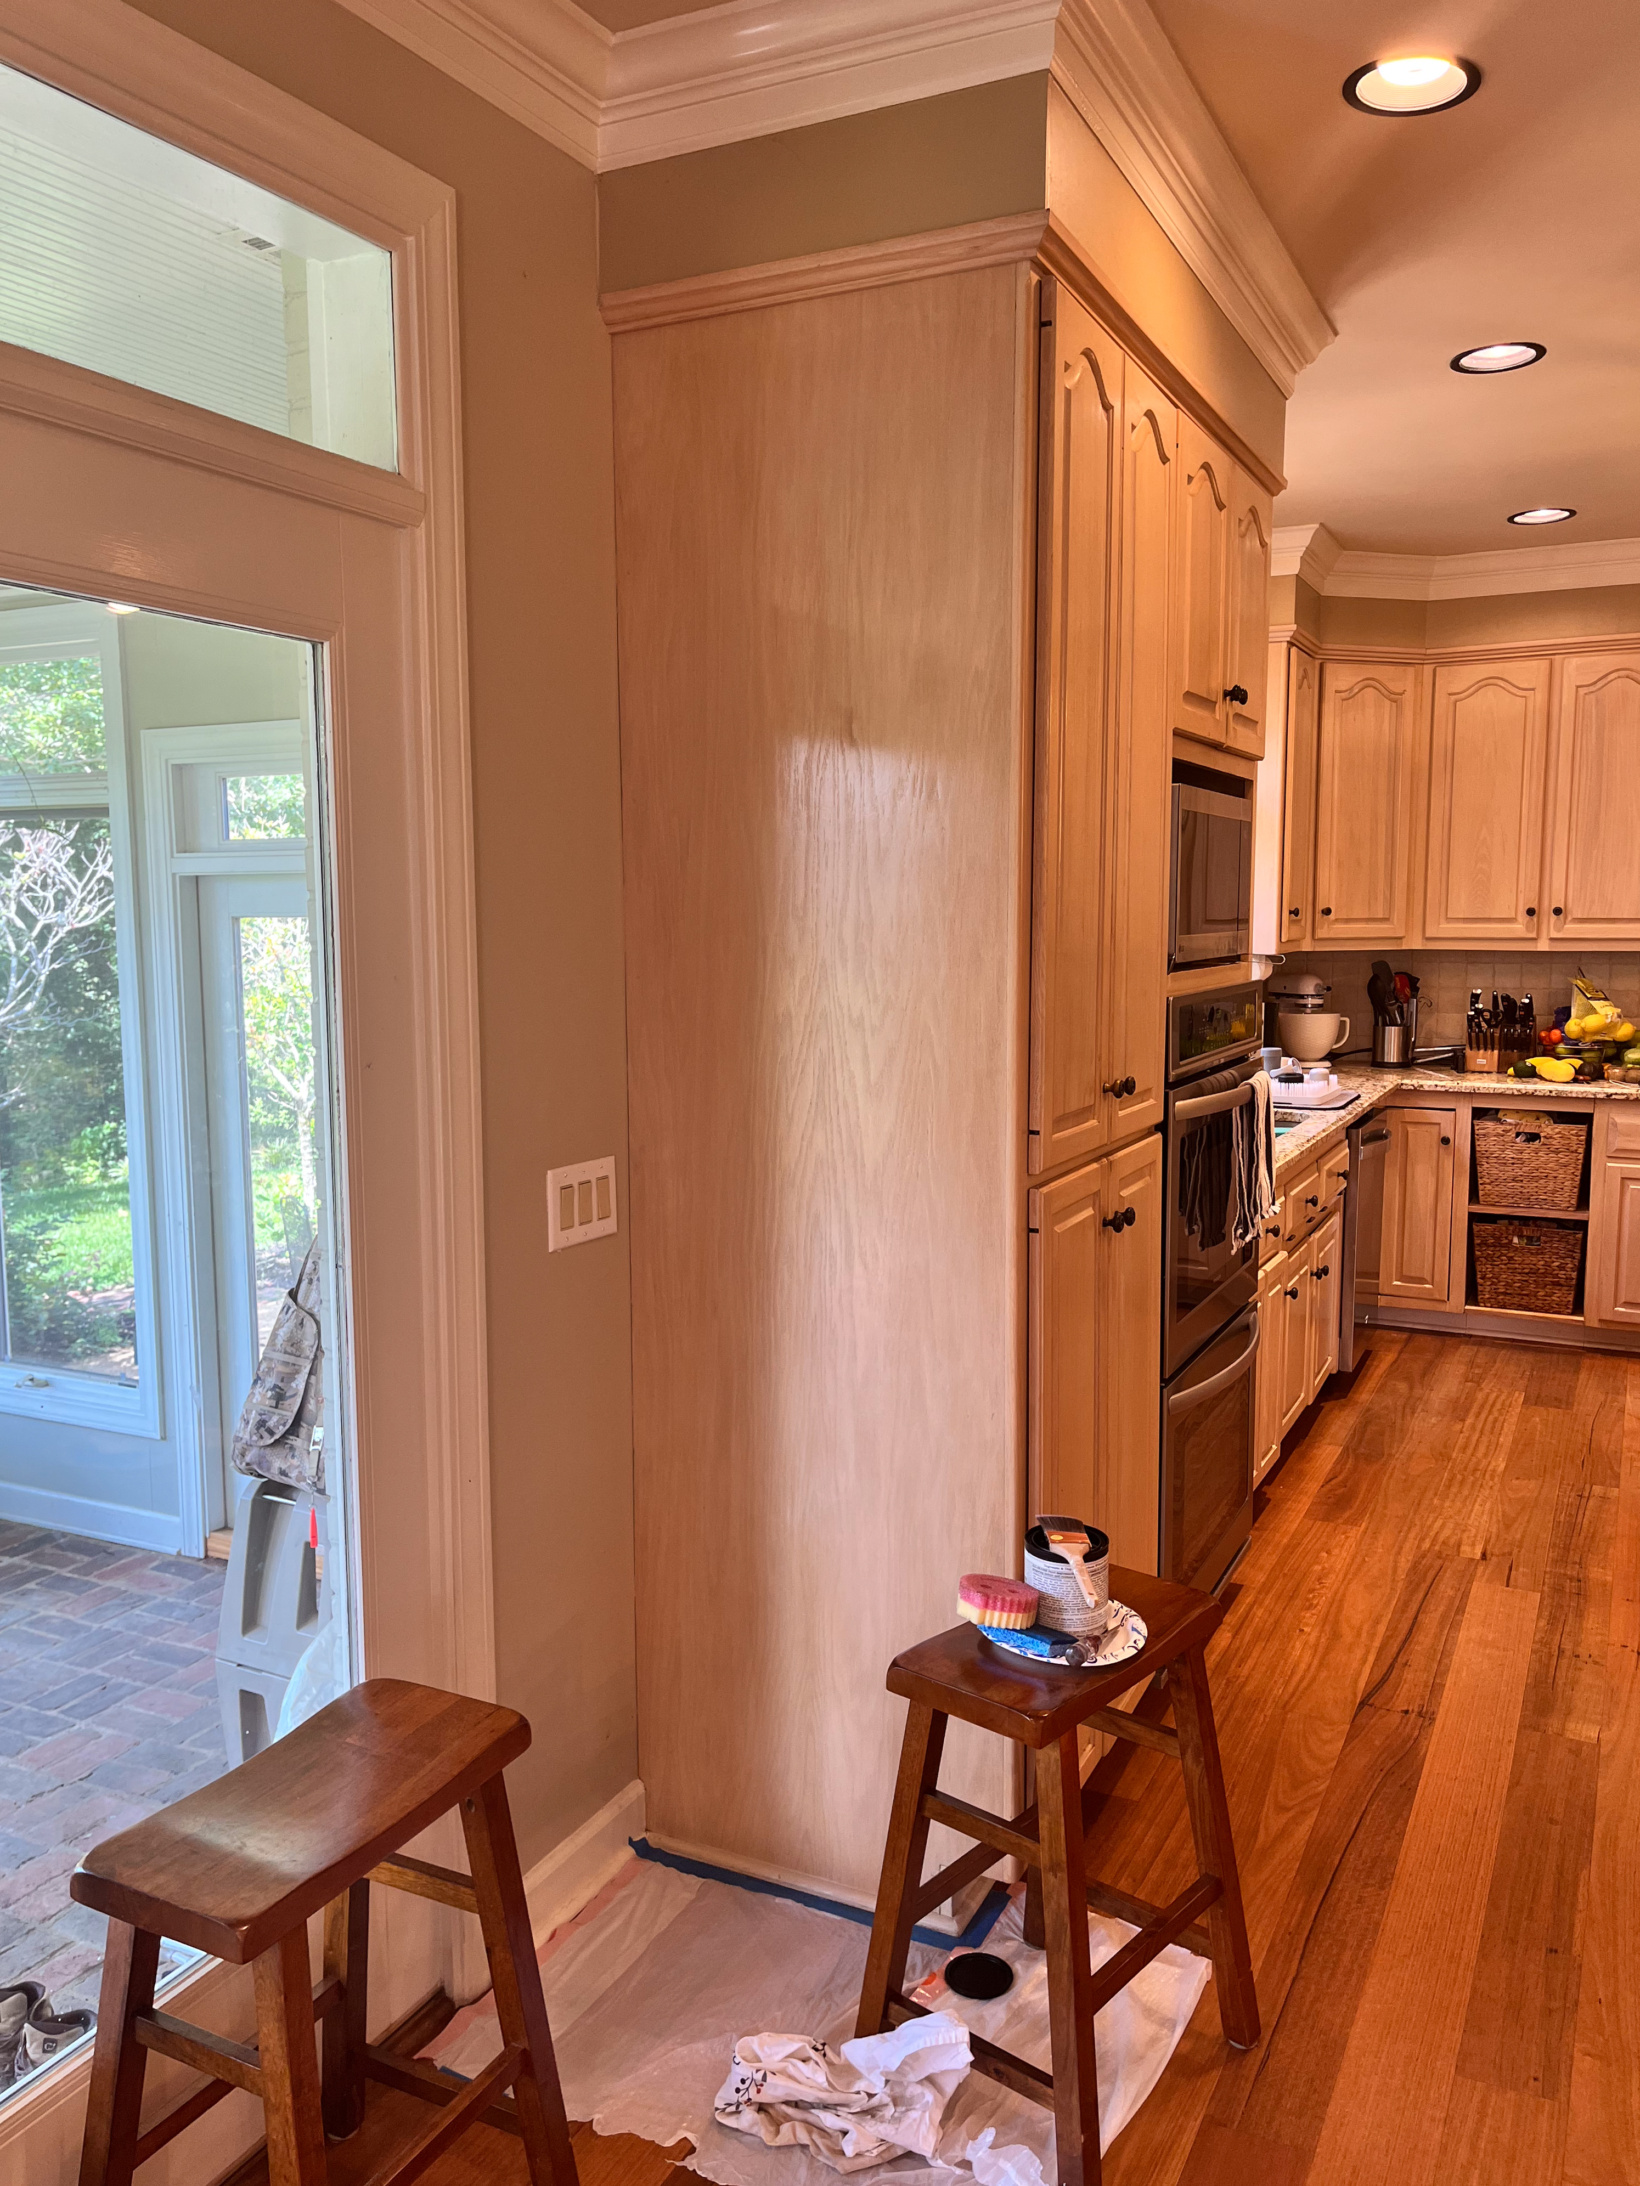
About a year ago one of my best friends, Emilee, started talking to me about making some updates to her kitchen. Her biggest frustration with the space was that the entire thing was all “paper bag” brown – the walls, cabinets, counters, backsplash. All of it. The area was in dire need of some contrast. However, considering that the previous owners had spent the big bucks on a fresh coat of tan paint, it didn’t seem like a great option to go and spend more big bucks changing that (or DIYing it… With their layout it would be a huge space to paint). The “easiest” and most impactful option we figured was to paint the kitchen cabinets. Here’s what she started with:
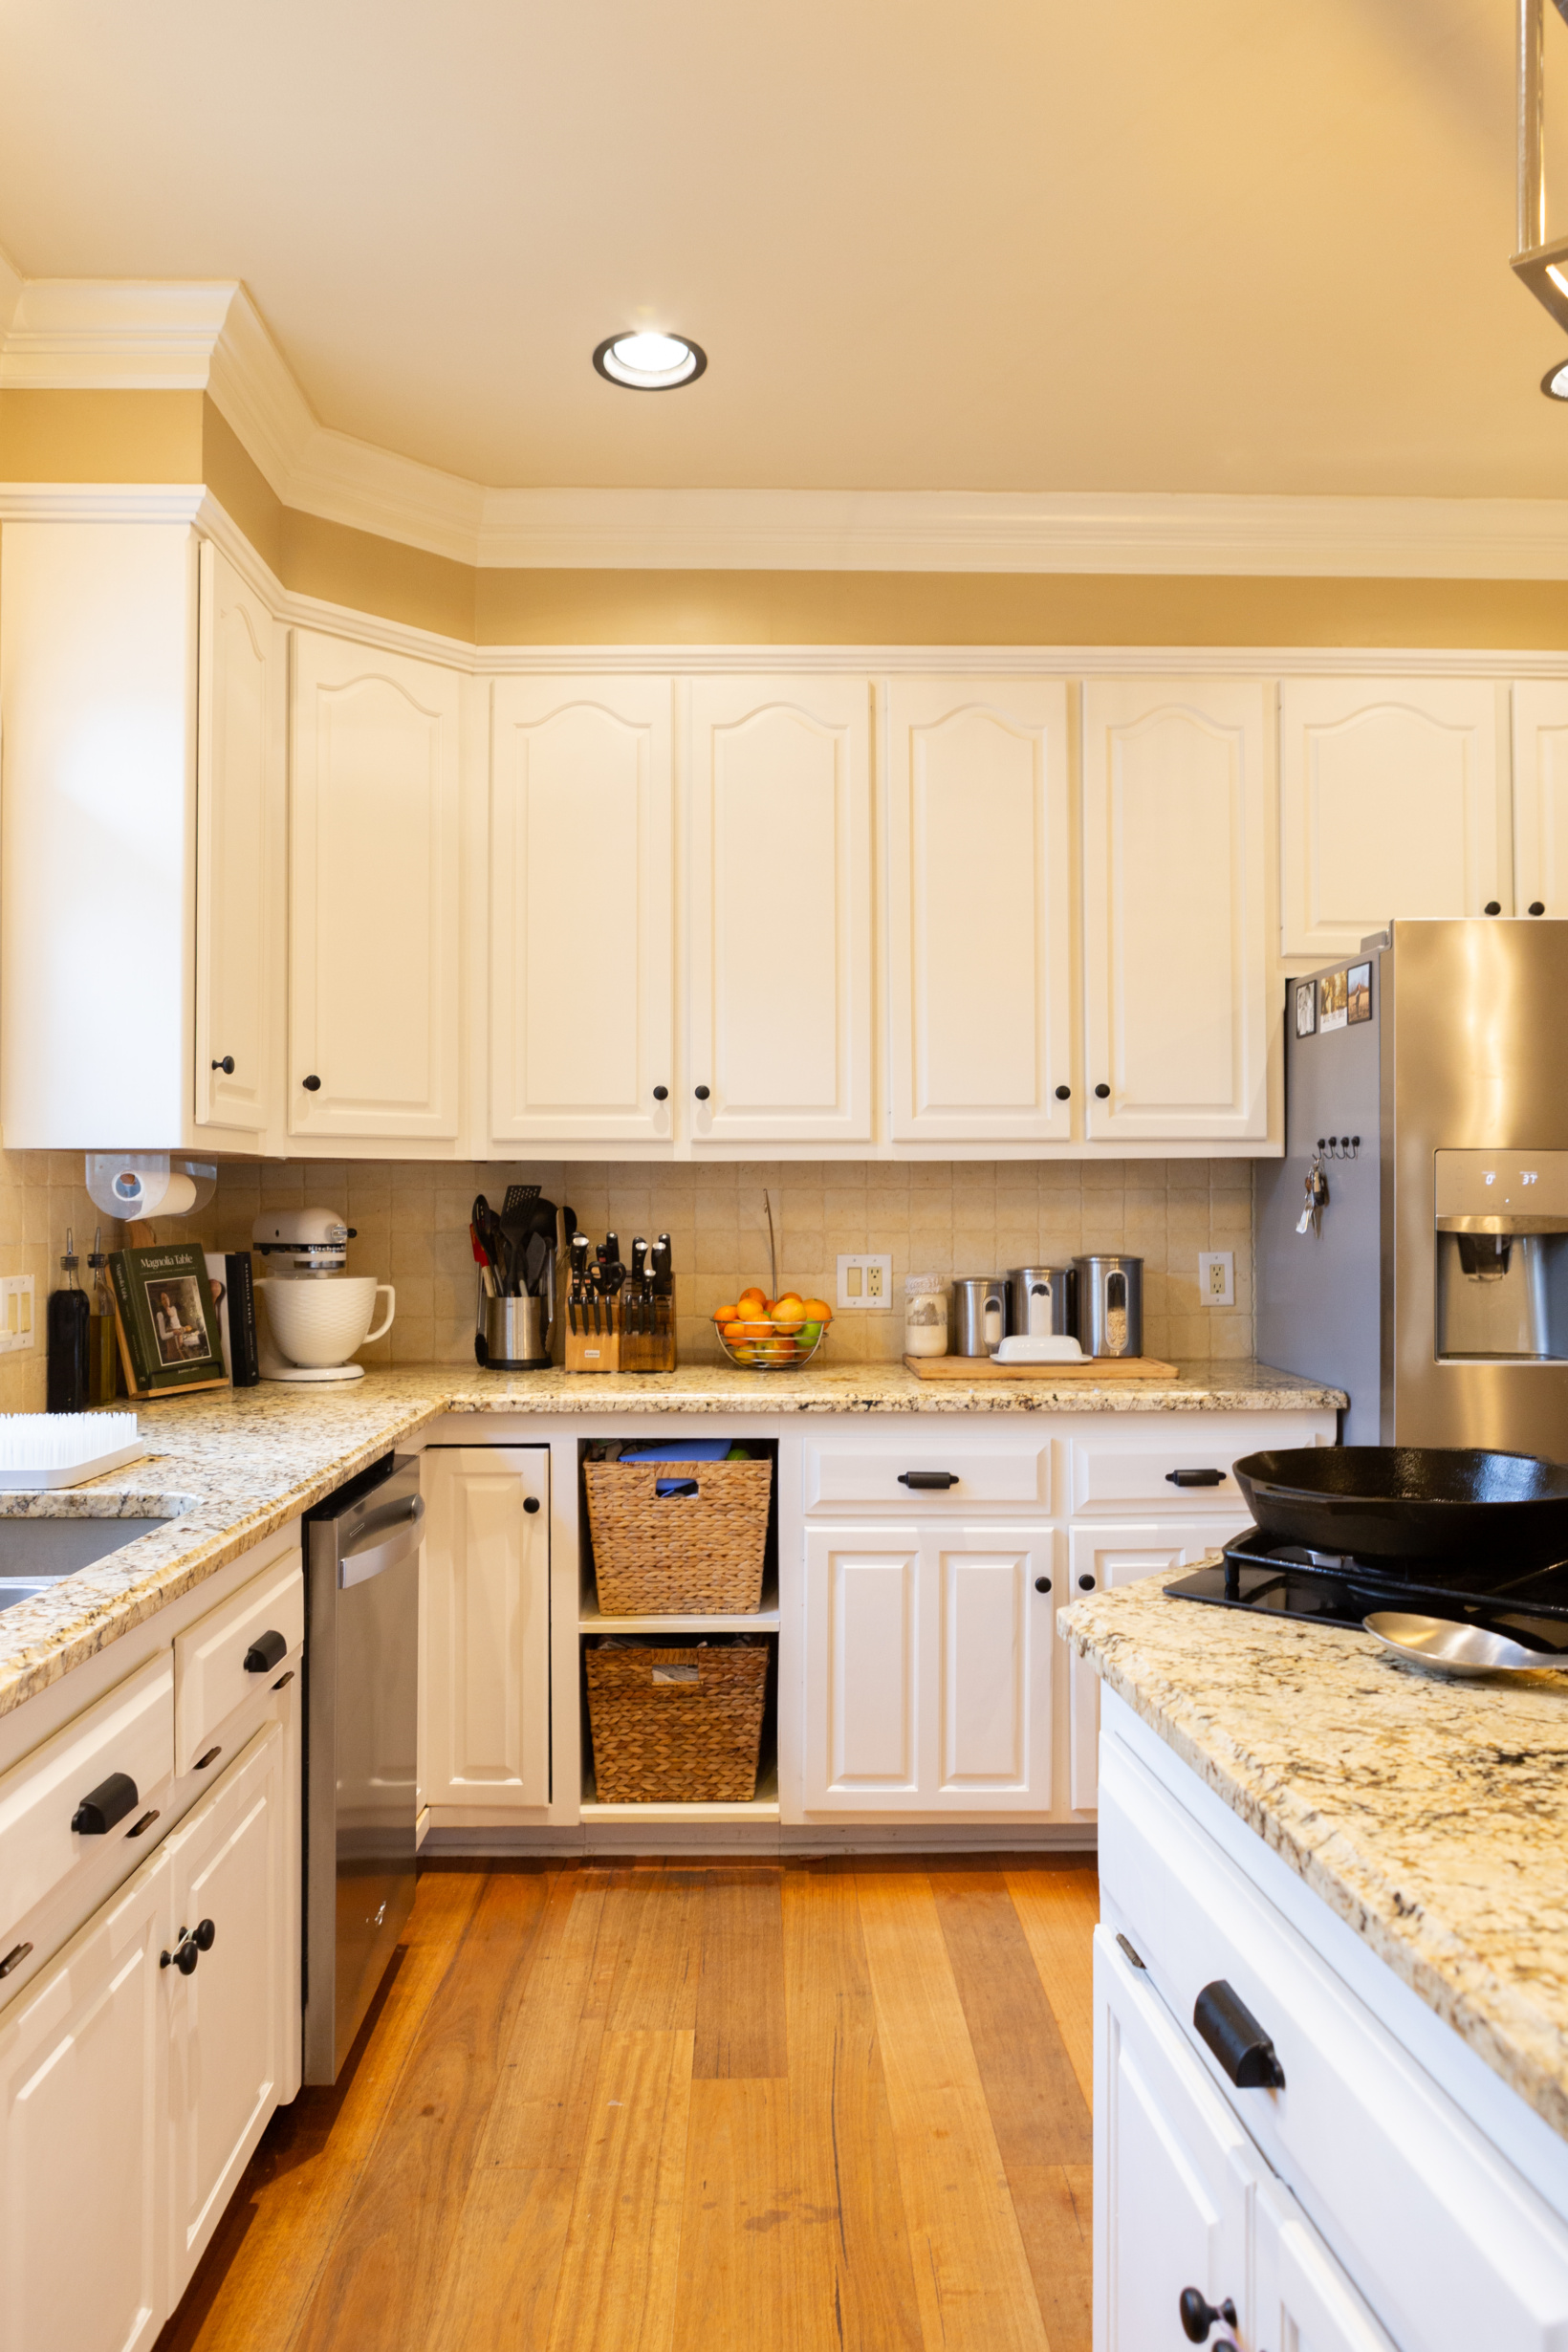
And here’s how it looks today!
Now I won’t deny it, painting cabinets can be a bear and one of the most frustrating, worst DIY projects (do any of you remember THIS fiasco and how I remedied it? It’s still to this day holding up well, by the way!). However, somehow I came across a paint called Heirloom Traditions Paint (HTP) and ended up doing a done a ton of research on it. From all of the videos I had watched, it appeared to have the least amount of steps and a really beautiful, durable, professional-looking finish. I recommended it to another friend of mine for her 1970’s kitchen project and it came out so beautifully that I told Emilee it was the only way I’d tackle her kitchen. After months of discussing and then waiting for a decent time to have the kitchen deconstructed a bit, Emilee decided to take the plunge and ordered a couple of white samples (HTP offers multiples shades). Her and her husband agreed that they’d move forward with the color Bone and she ordered the one gallon cabinet kit. To paint all of her cabinets she used the gallon plus the sample container and she ordered an extra quart in case she needs to do any touch ups later. They often have great sales on the kits but there is also a coupon code in the comments of THIS video so you don’t have to pay full price. If you’re reading this before Black Friday, they are currently running a up to 60% off sale on the kit that you can snag. I’ll post the details for that below! Now that we’ve both painted cabinets with this product, we both recommend getting the kit. We also highly recommend joining THIS Facebook group so you can see photos of the various colors and/or see similar cabinet materials as your own, etc. The group is a fantastic resource.
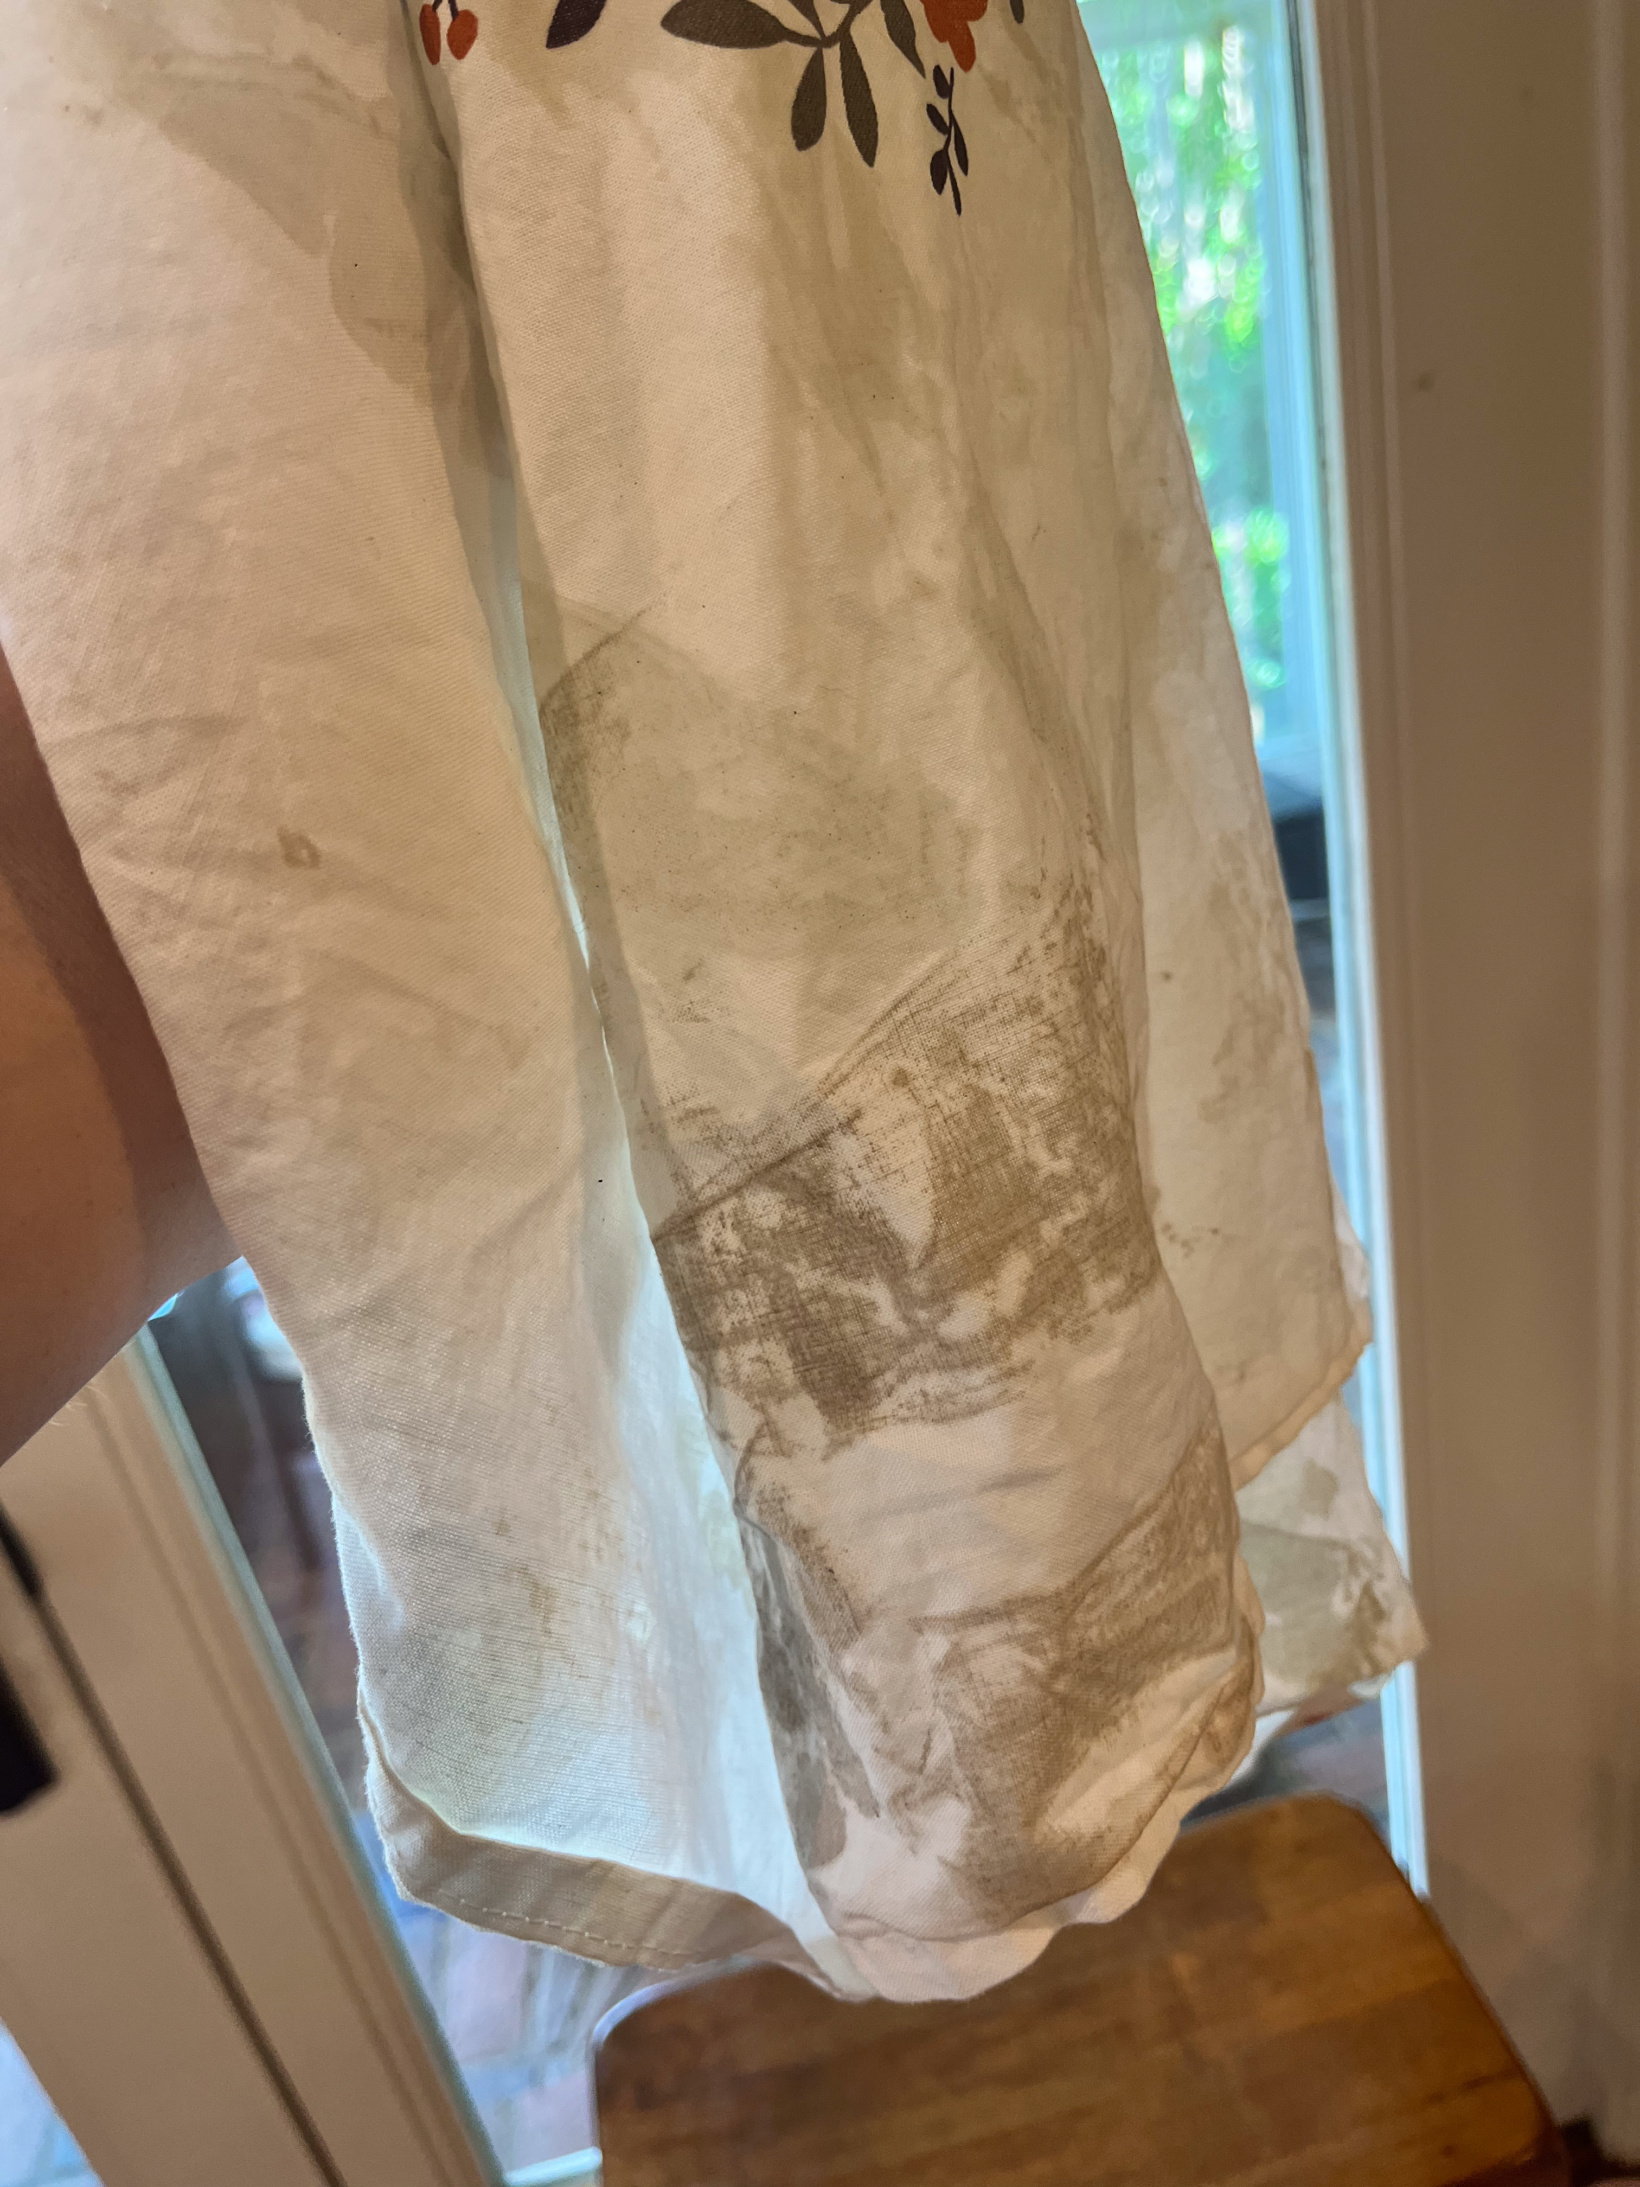
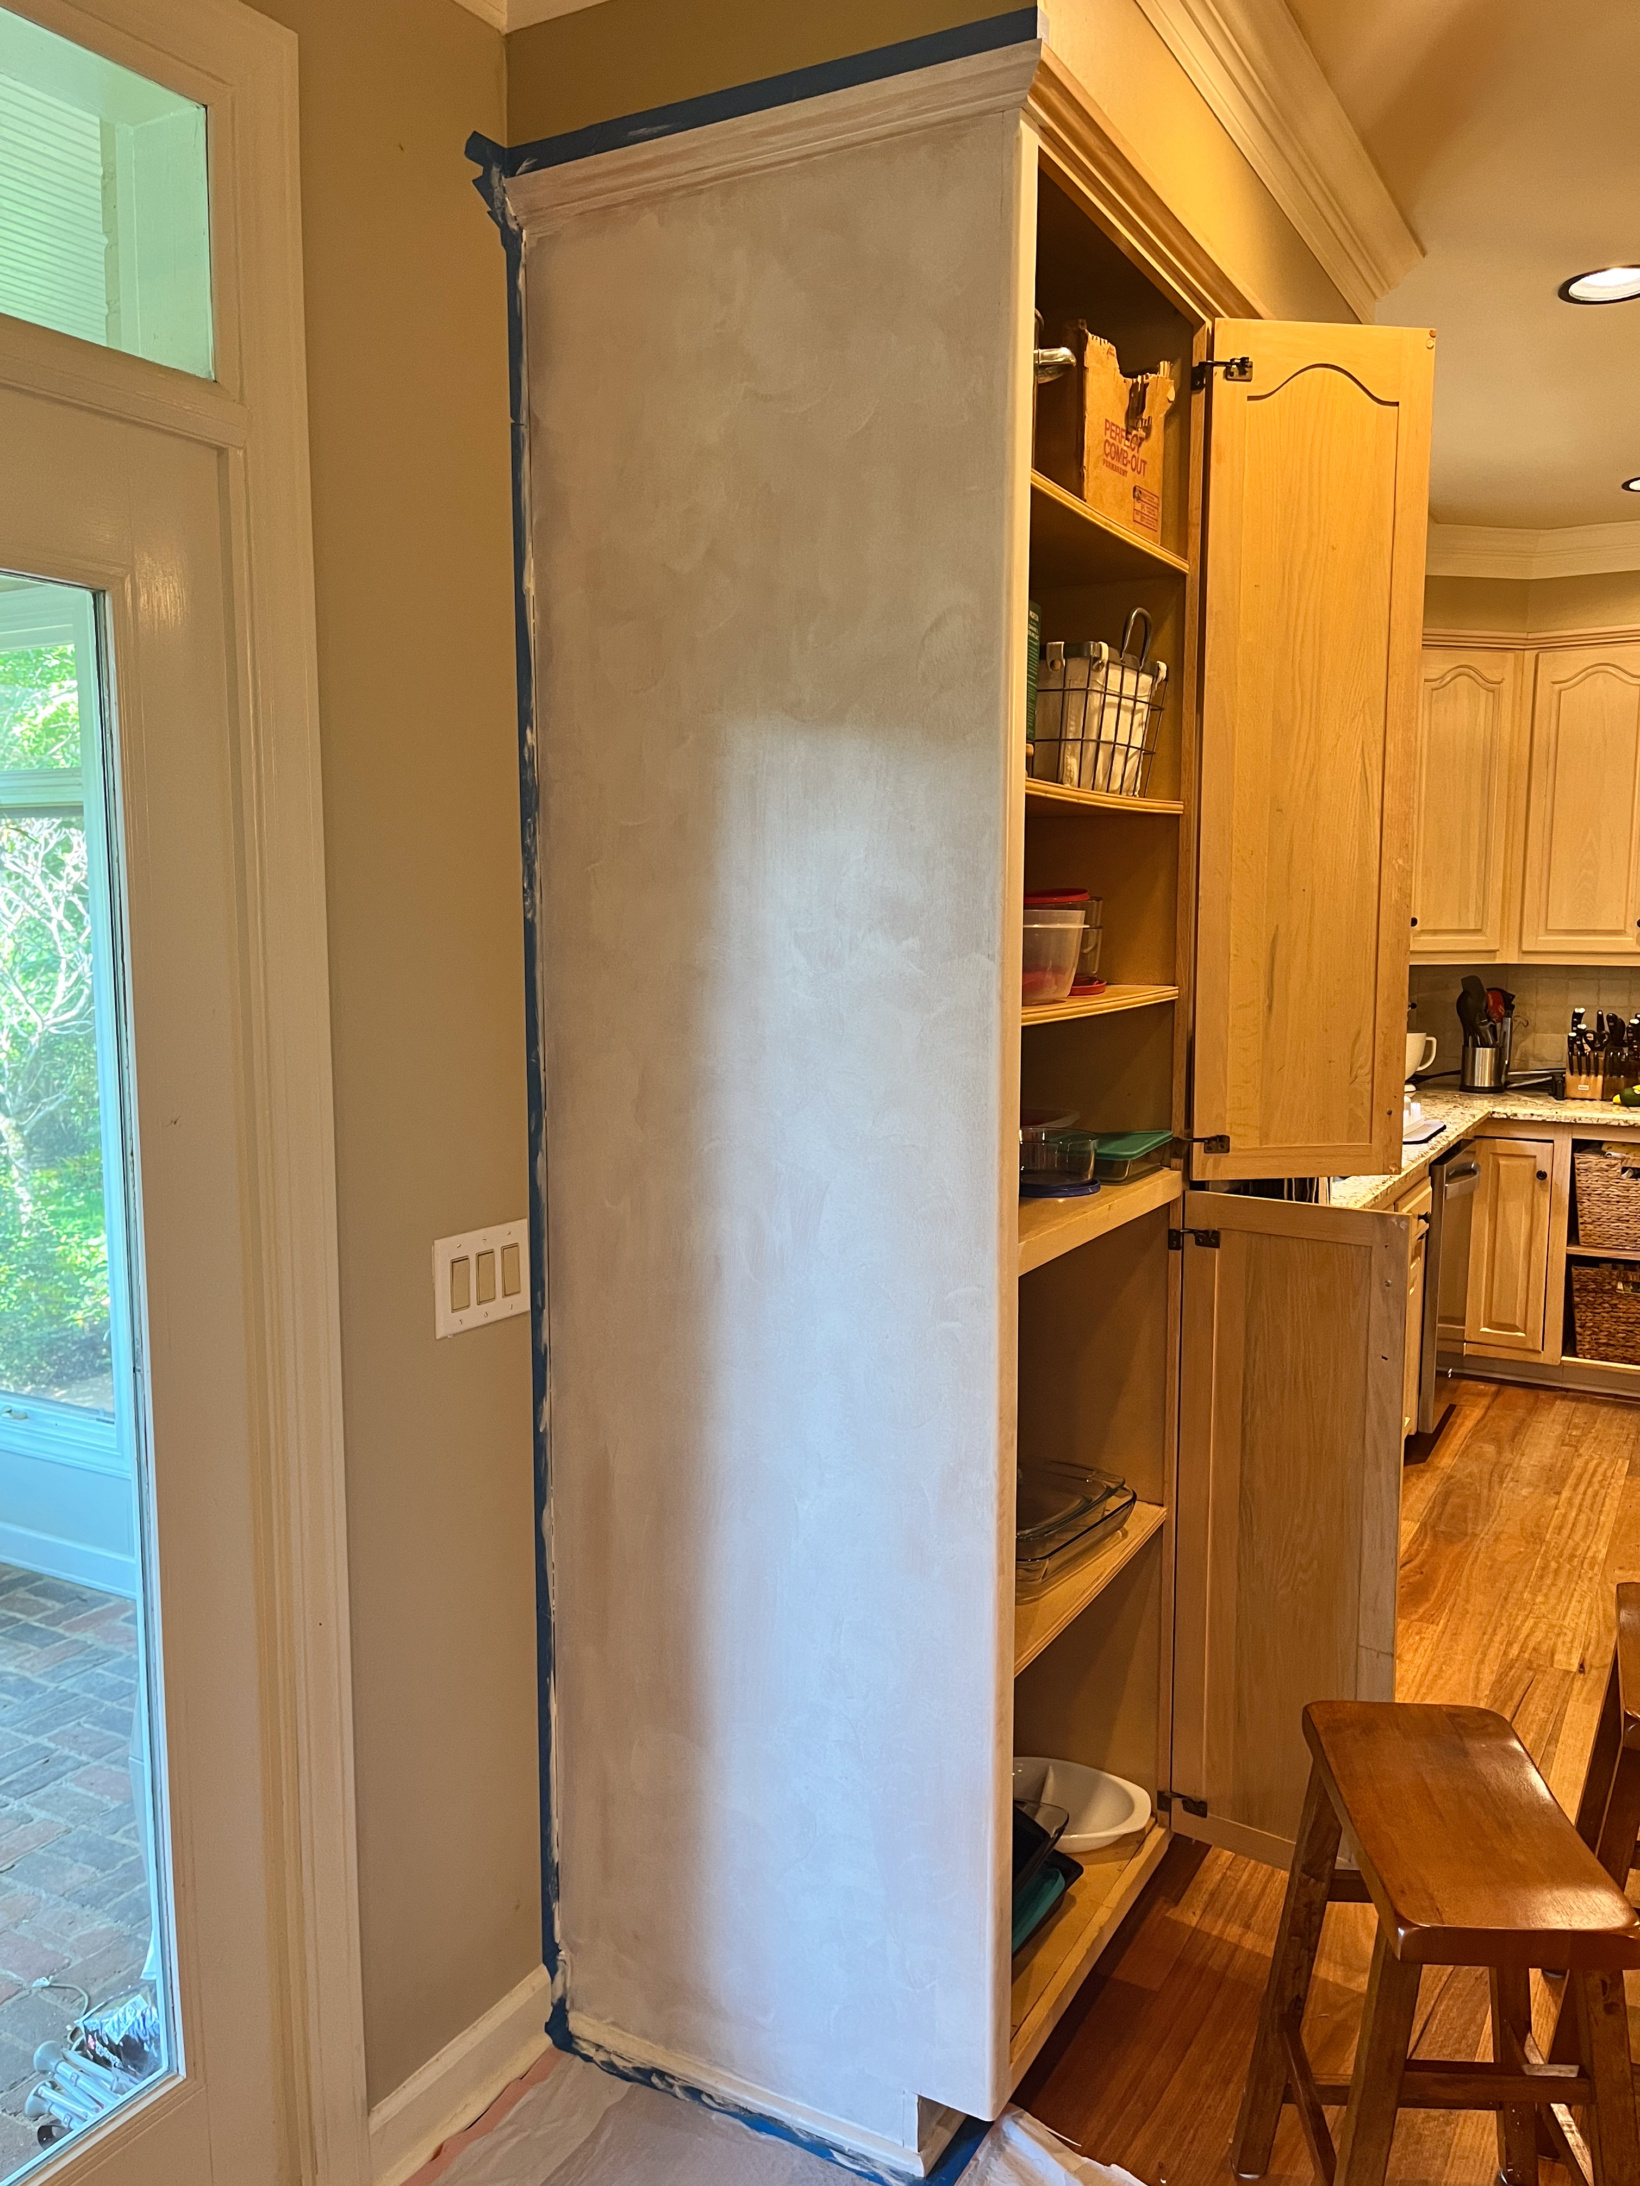
This video explains exactly the process that Emilee followed with her own cabinets. The HTP deglosser/cleaner is key. She was telling me how she thought her cabinets were clean until she used it the first time (see the rag she used below!). You might find that on the cabinets near the stove or where little kids touch often you’ll have to go over them multiple times with the deglosser until the rag wipes clean. Don’t move onto painting until this happens! The prep work is so important so that the paint has a clean surface to adhere to. If you find the paint isn’t what you expected it to be, to be blunt, it’s most likely a result of your lackluster prep work. The cool thing about this deglosser/paint combo and what enticed me the most about the HTP products are that if you follow the steps properly, no sanding is required. Not only that but it will work on pretty much any material. Again, go check the Facebook group to see all of the cool projects people do on there.
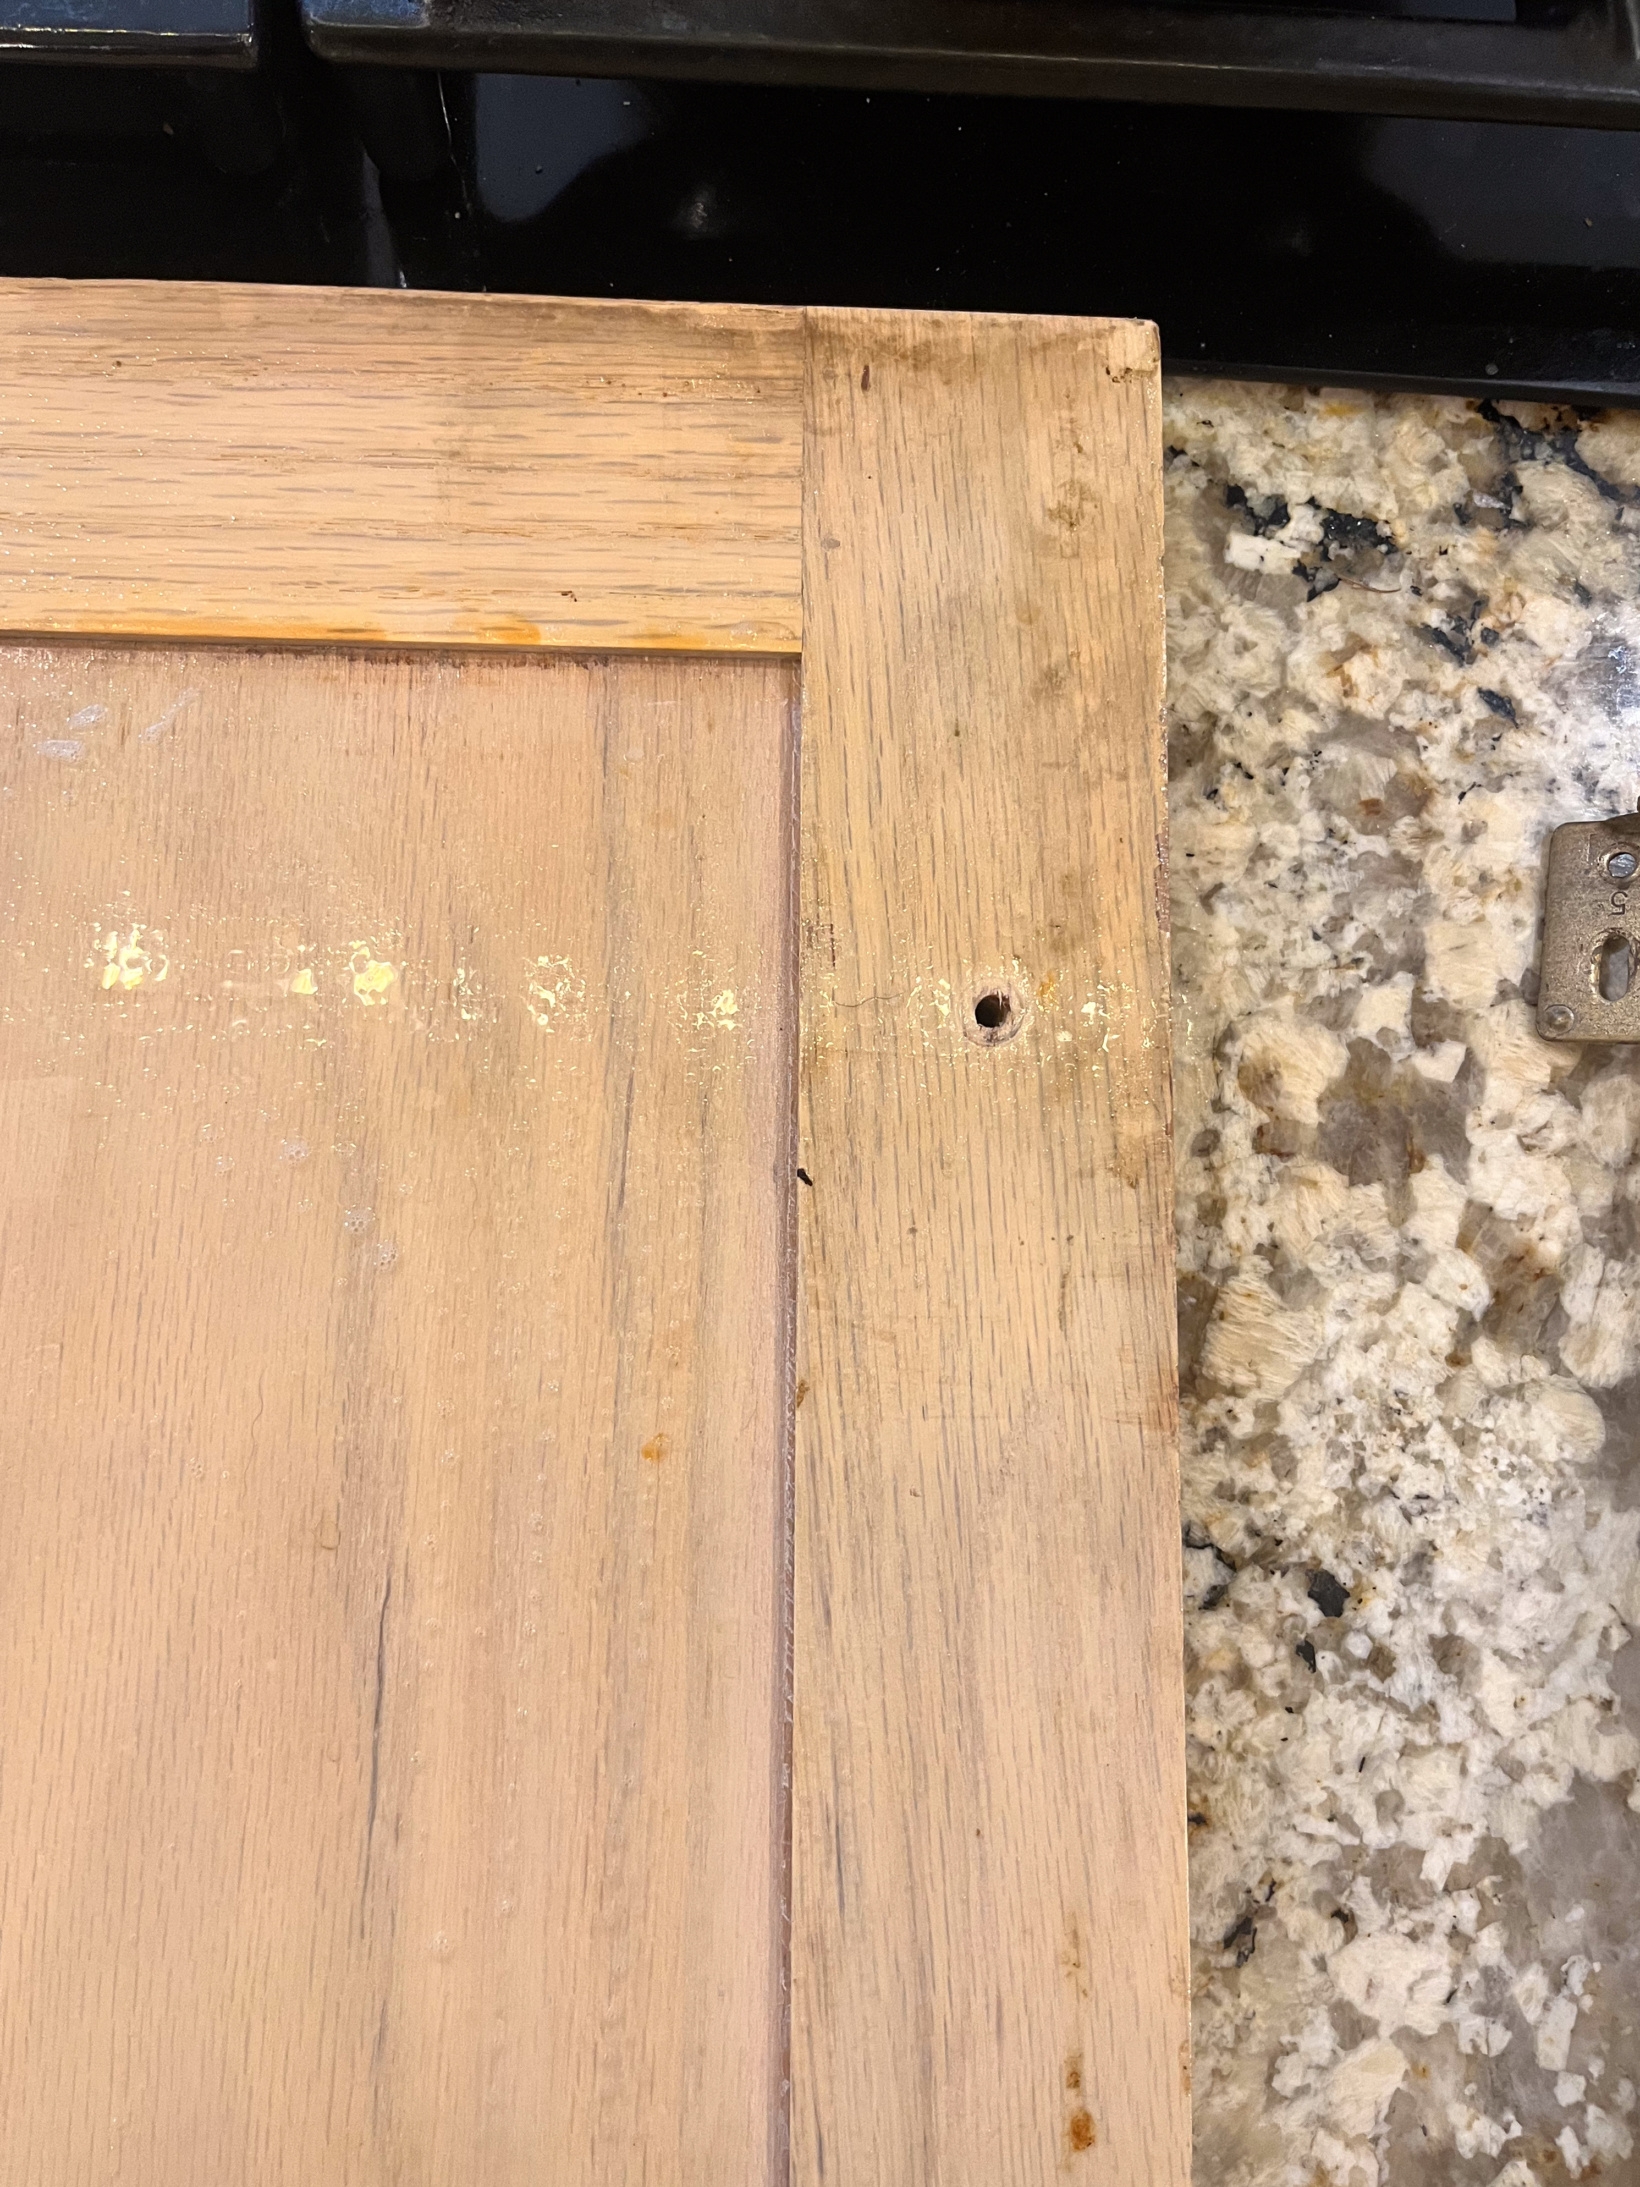
She used their brush and the roller that came in the kit. The roller is also really important to make sure the finish is brush-stroke- free and smooth. Here’s what it looked like before and after one coat:
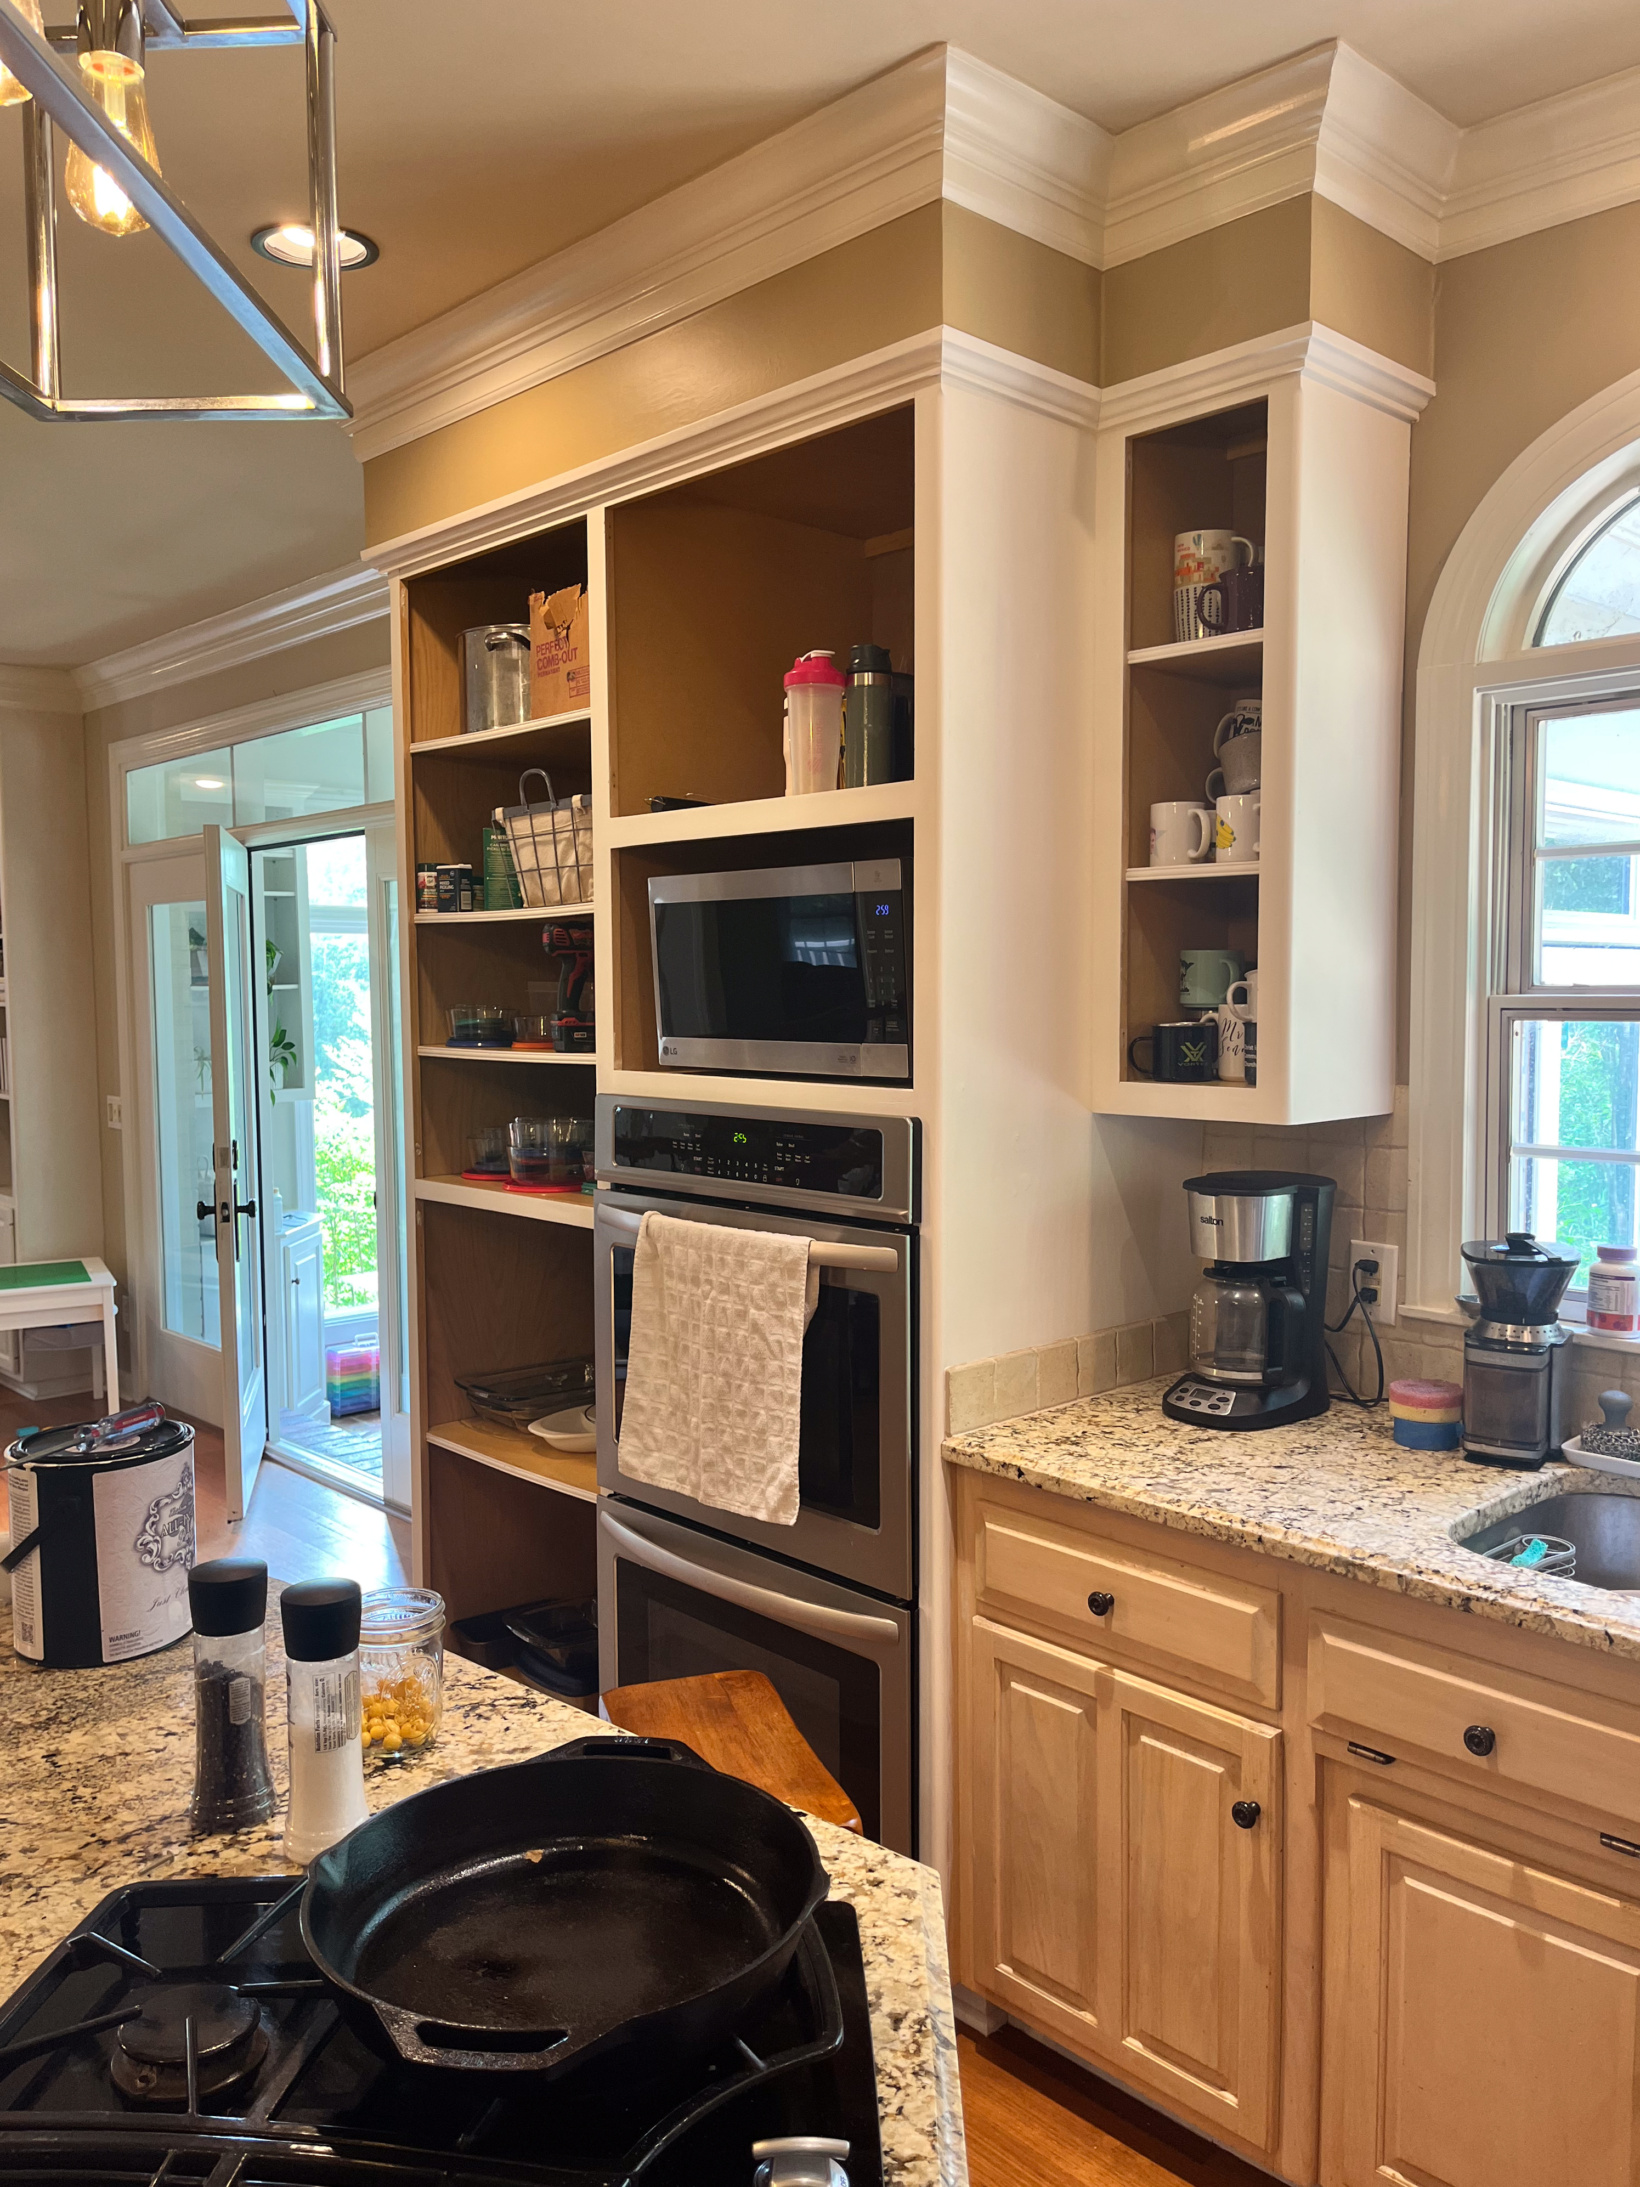
Since Emilee needed to keep the kitchen operable throughout this process, she was very strategic about how she went about it. She crushed it! She even hosted multiple dinners/Bible studies mid project. She went section by section so she started in one section, took all of the doors off (DON’T SKIP THIS STEP), painted all of the boxes, moved all of the doors to a fold out table for space purposes, painted 3-4 coats on each side, and then reinstalled all of the doors before moving onto the next section. She says she split the kitchen into 6-8 sections or so and she used THESE doodads to hold the doors when she painted them so they could dry elevated. She basically finished one section per day; finishing the whole bottom section first and then moving on to the uppers. It took a total of two coats to cover the cabinet boxes and 3-4 coats on the doors and about three weeks total from start to finish (it would’ve been much faster without a 1.5 year old running around 😉). If you’re starting with a darker cabinet color and depending on what color paint you’re using, it might take more. By the way, if you look on their site you’ll find a wide variety of HTP colors. However, I’ve seen tons of projects where people mixed two or three colors to make their own shades and their projects came out beautifully! I’d just make sure you’re precise with your measurements, of course.
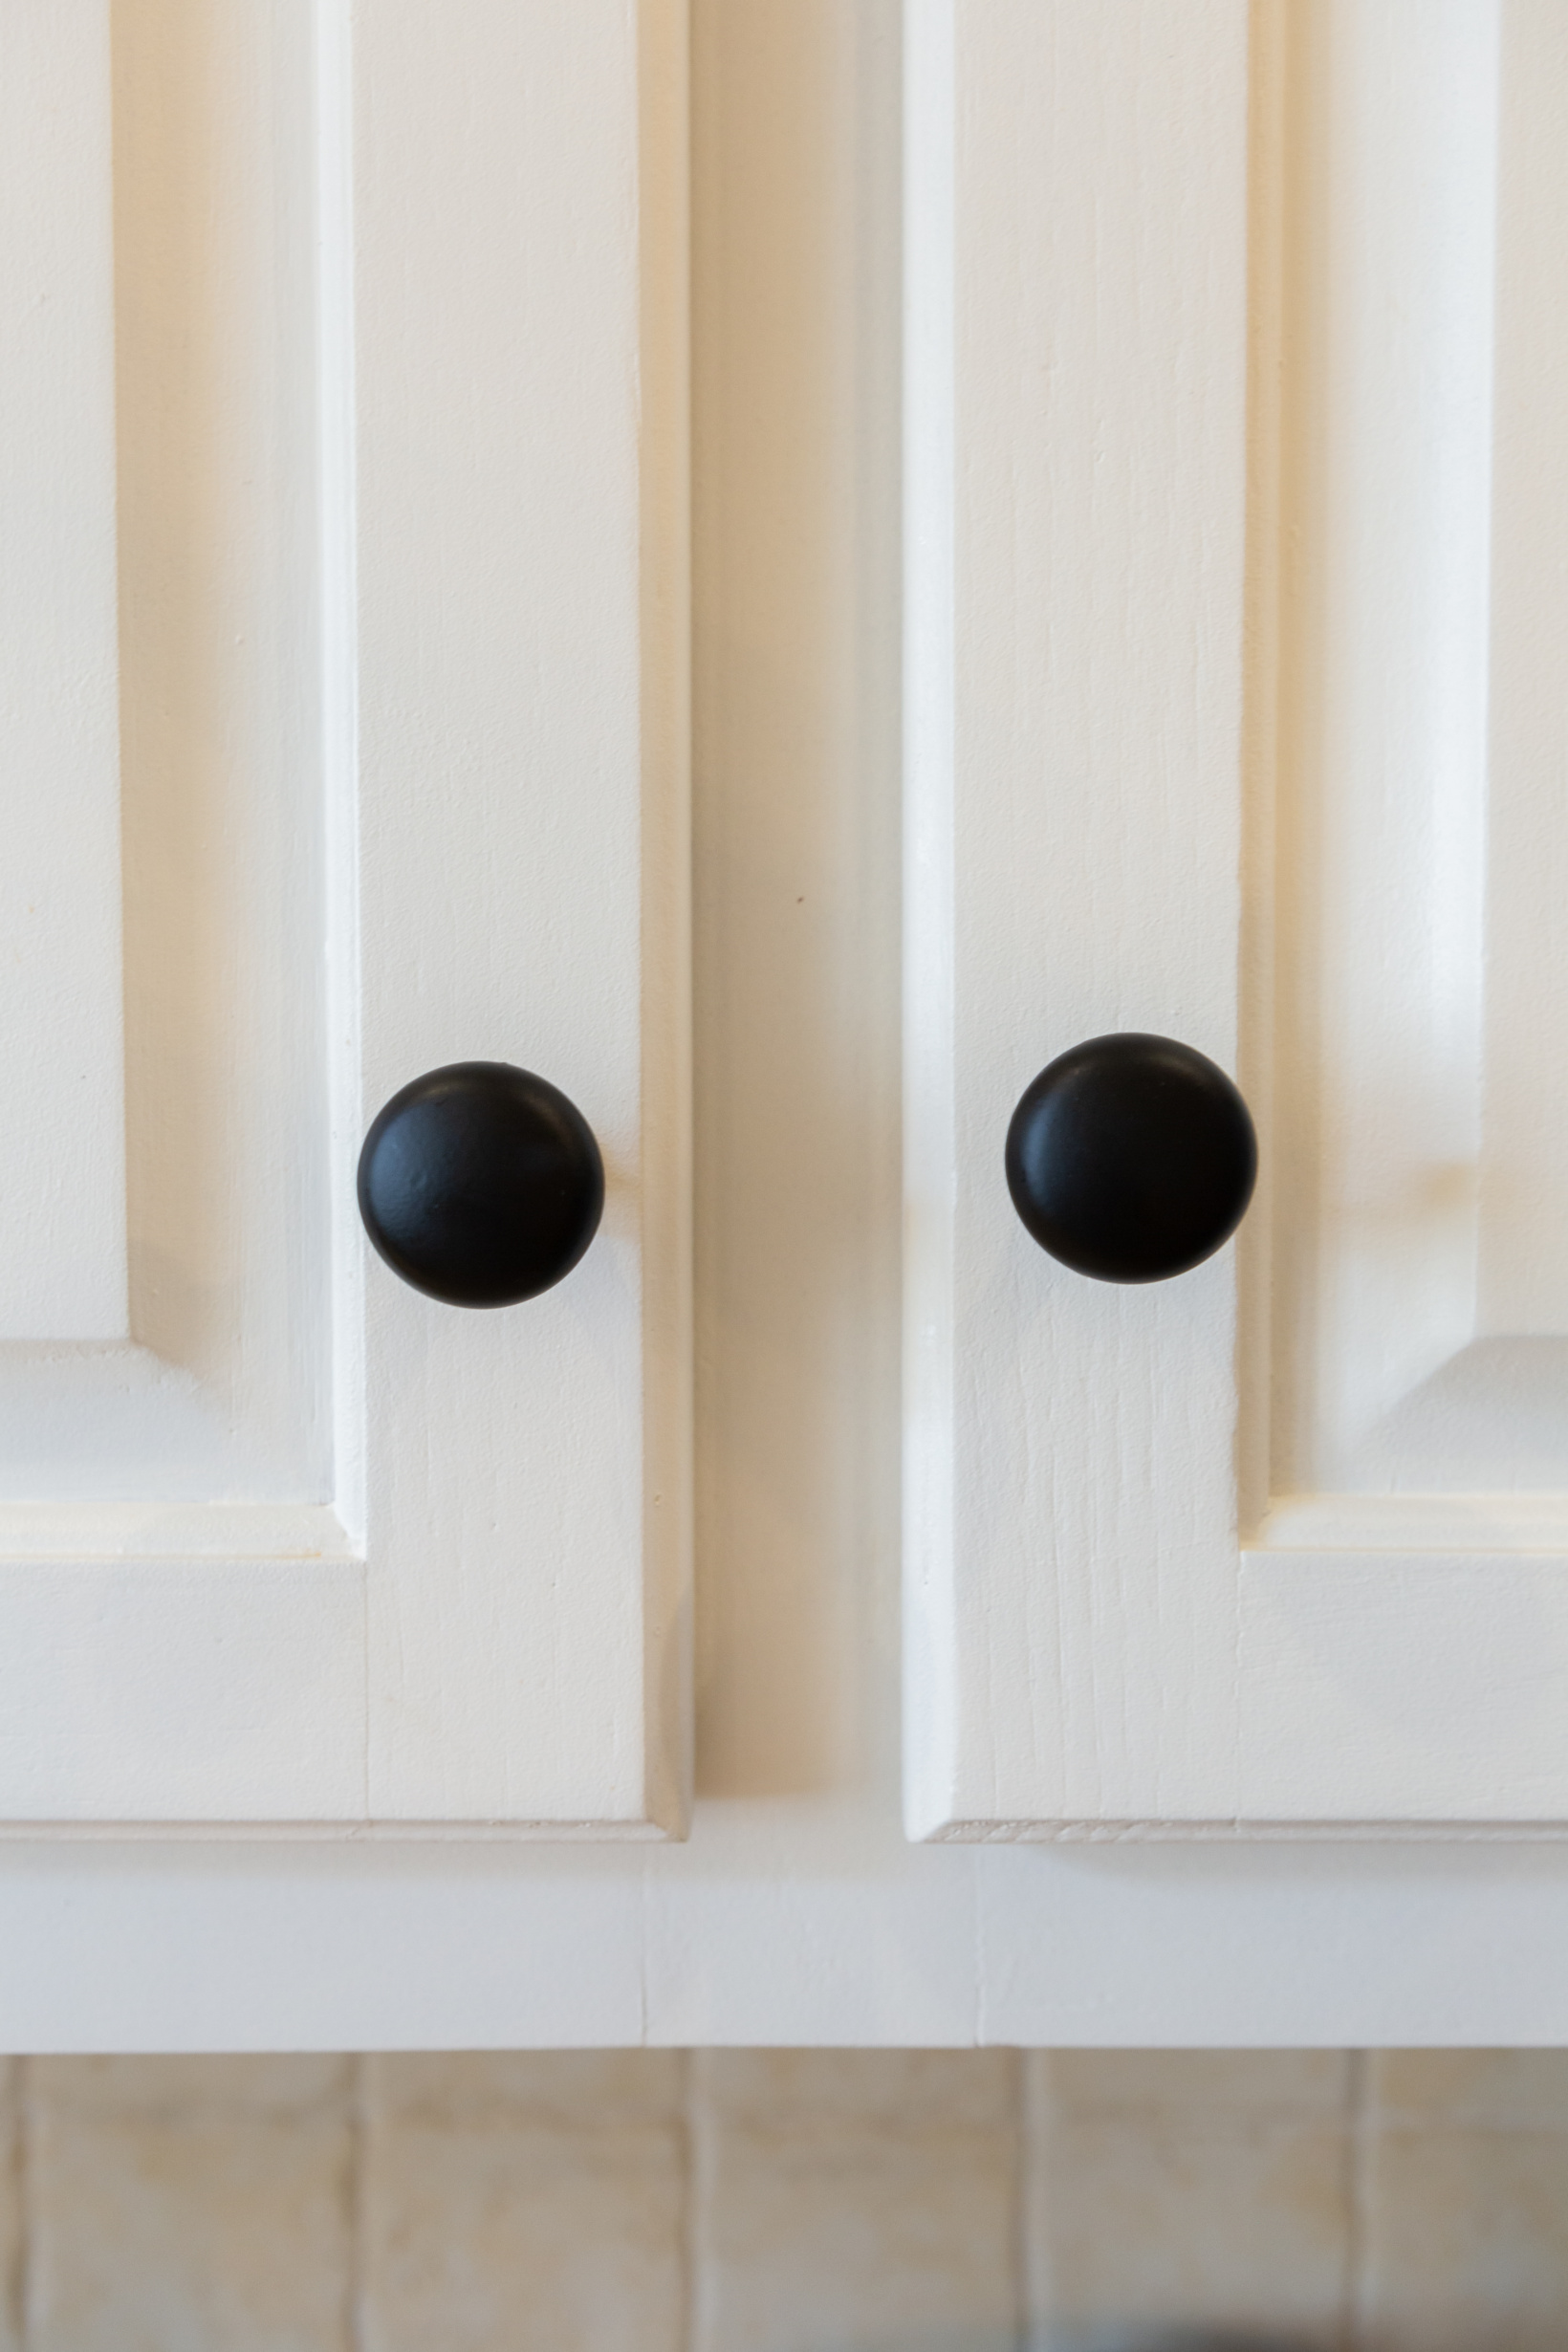
Once everything was painted, we caulked any seams that needed to be caulked (we could’ve also done this before she painted but since it was white it wasn’t a big deal) and she added this and this new hardware to give it a more modern look. The hardware made such a huge impact! It’s like jewelry for your home. I love the matte black finish on them (spoiler: we have the exact same hardware in our new kitchen just in a different finish!).
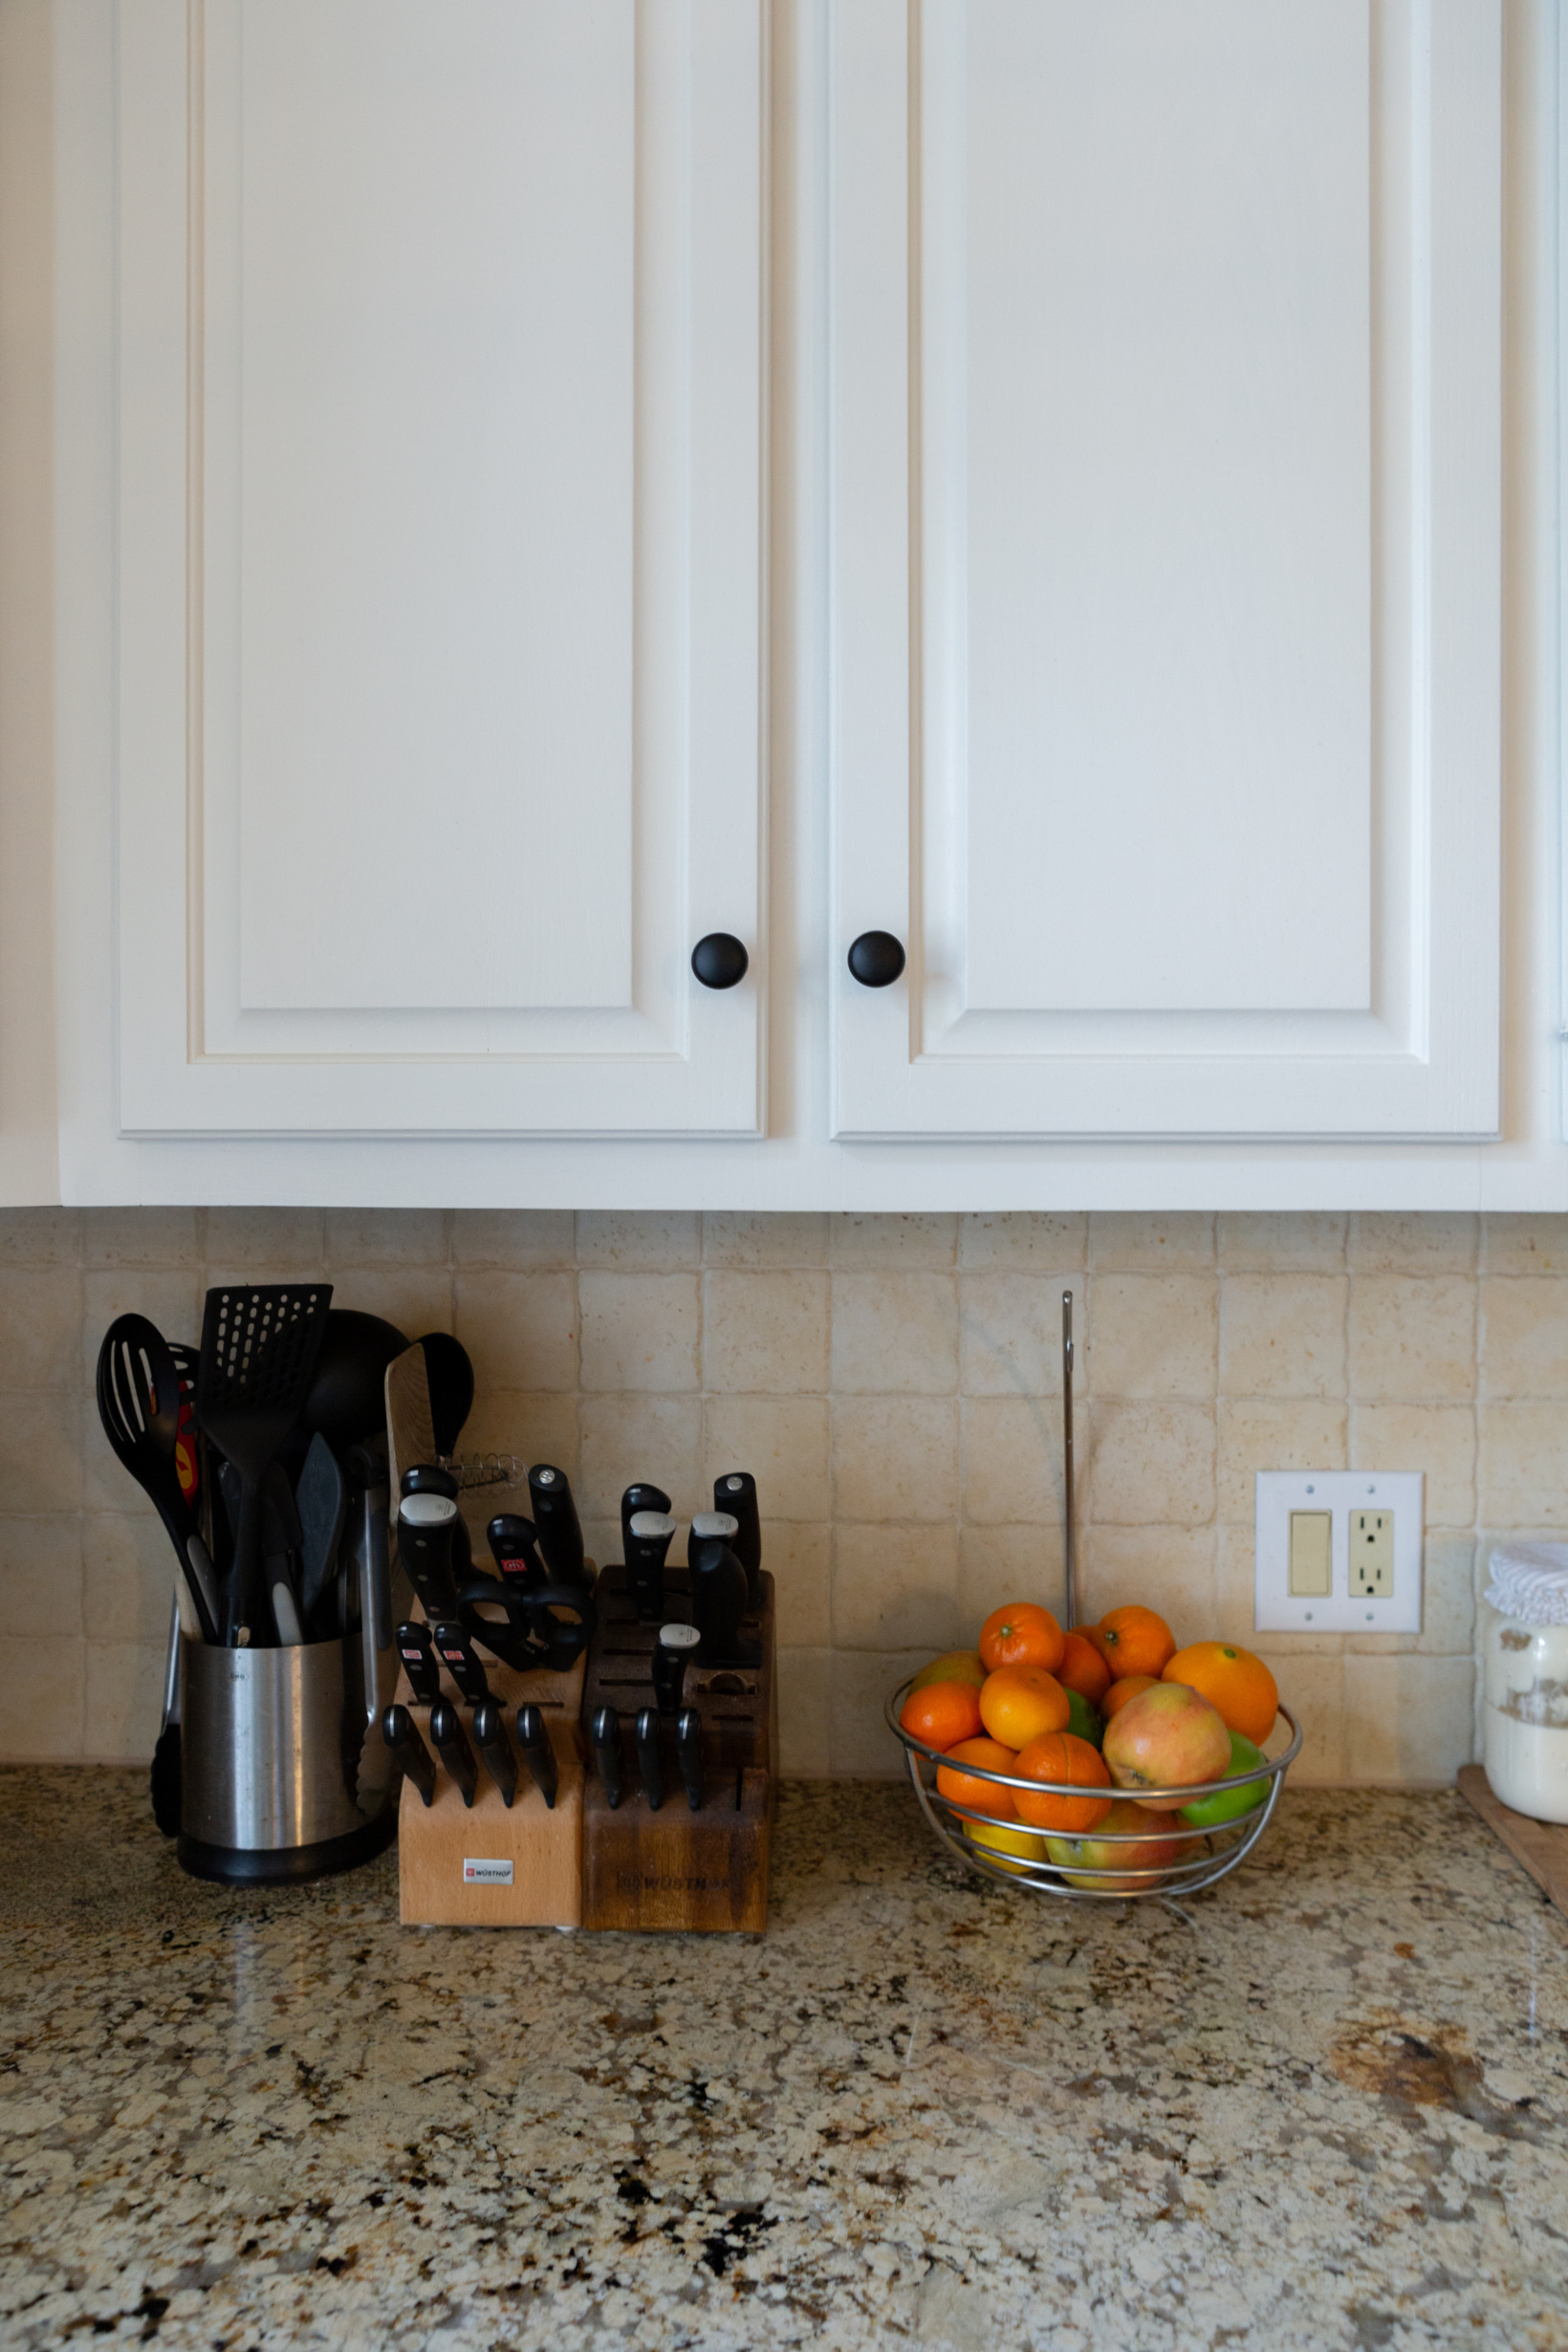
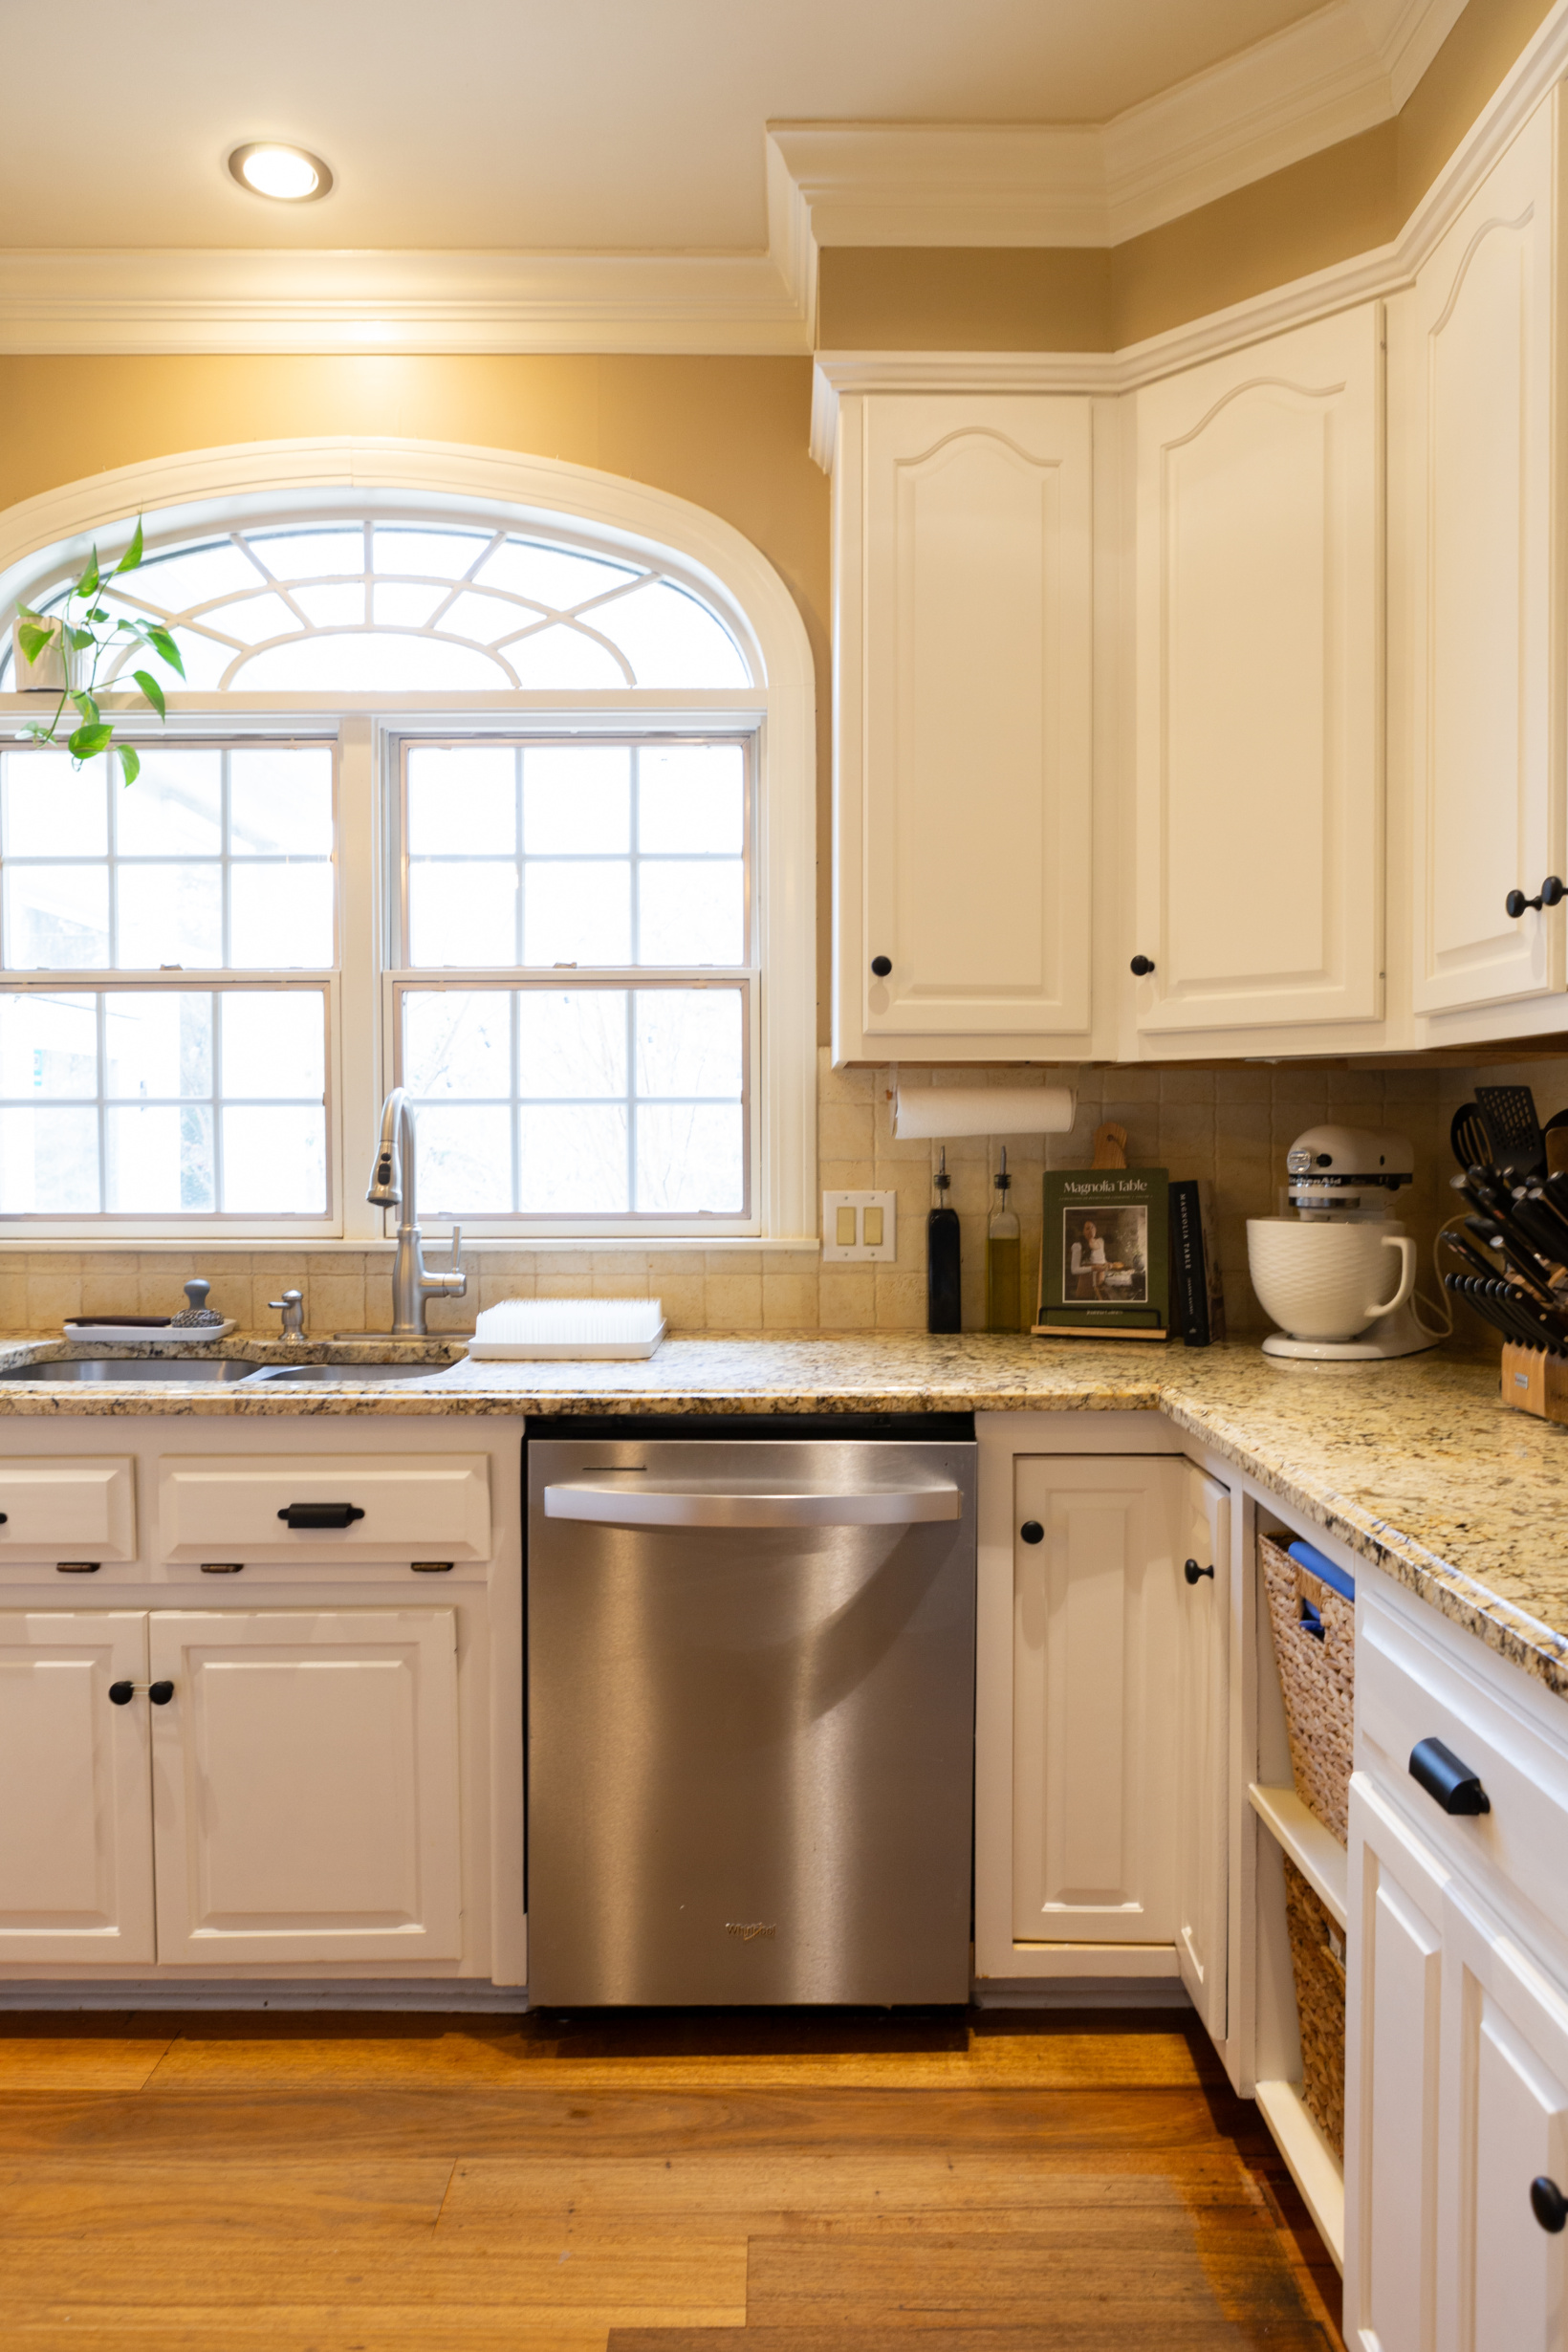
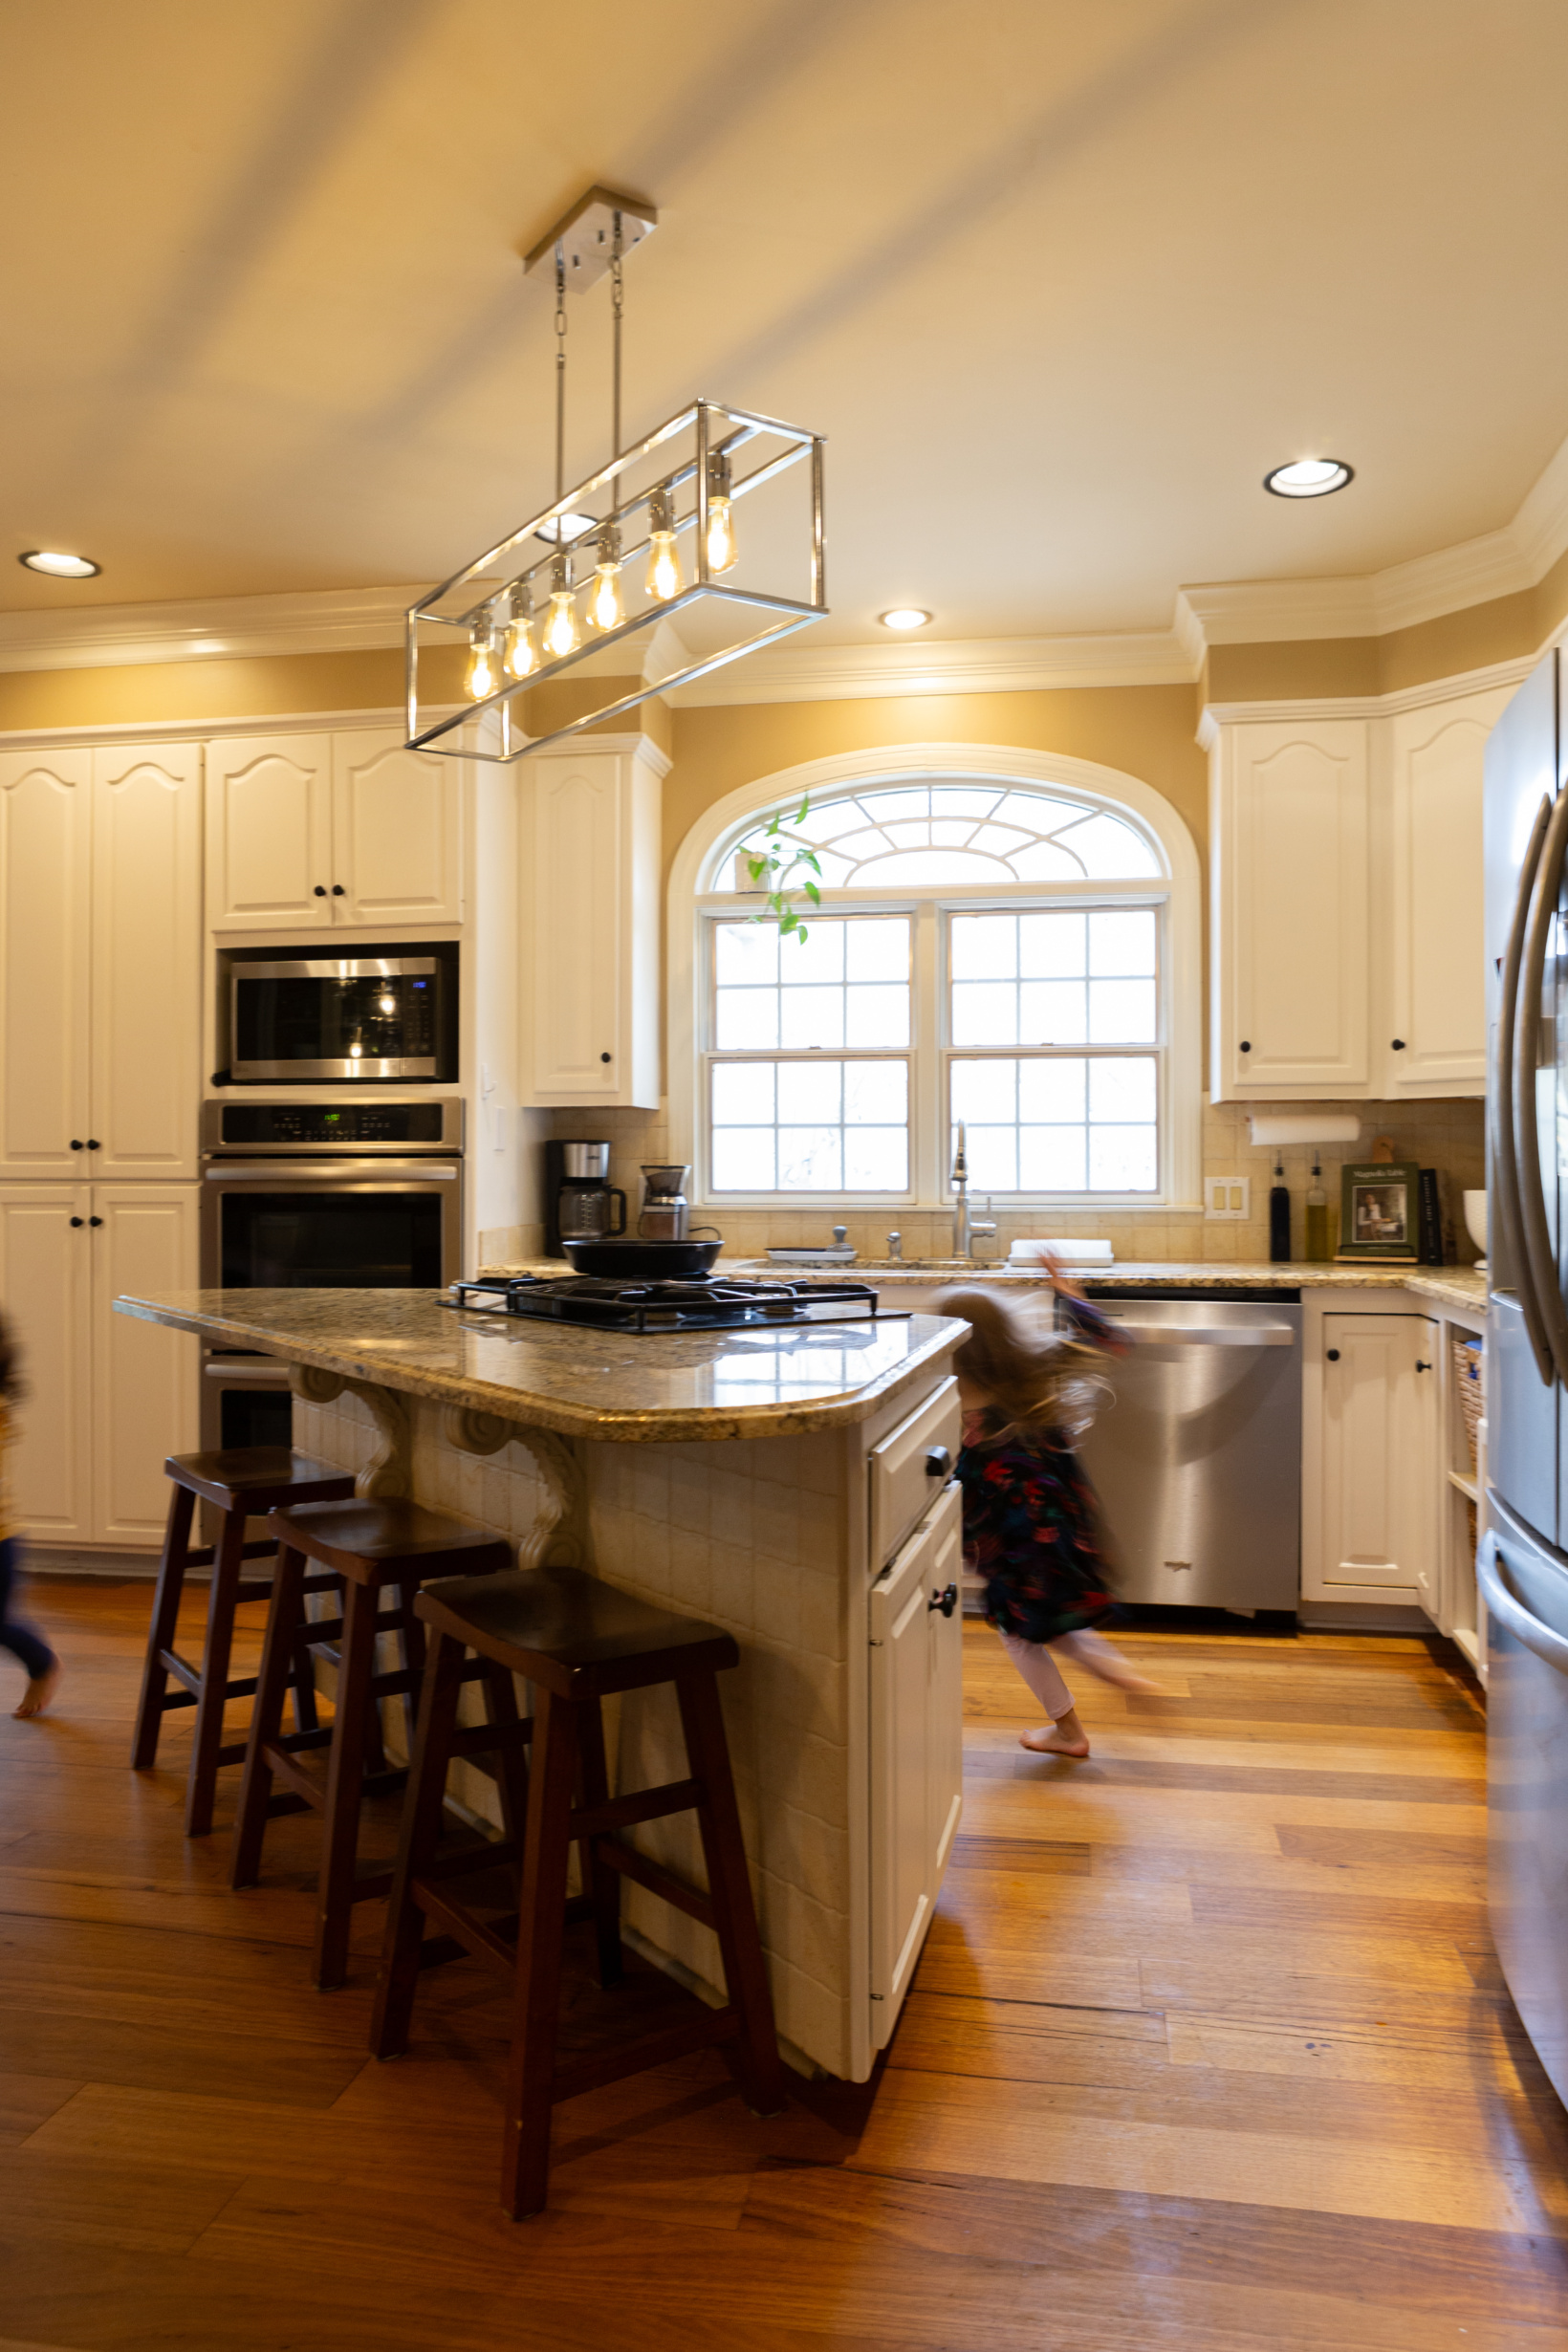
Doesn’t it look like a completely new kitchen? I think I’ve had a thought or made a comment about how good it looks every time I’ve been in there since then (which is very often). Oh the wonders of paint! If you have any questions feel free to put them in the comments below and I’ll get them answered for you!
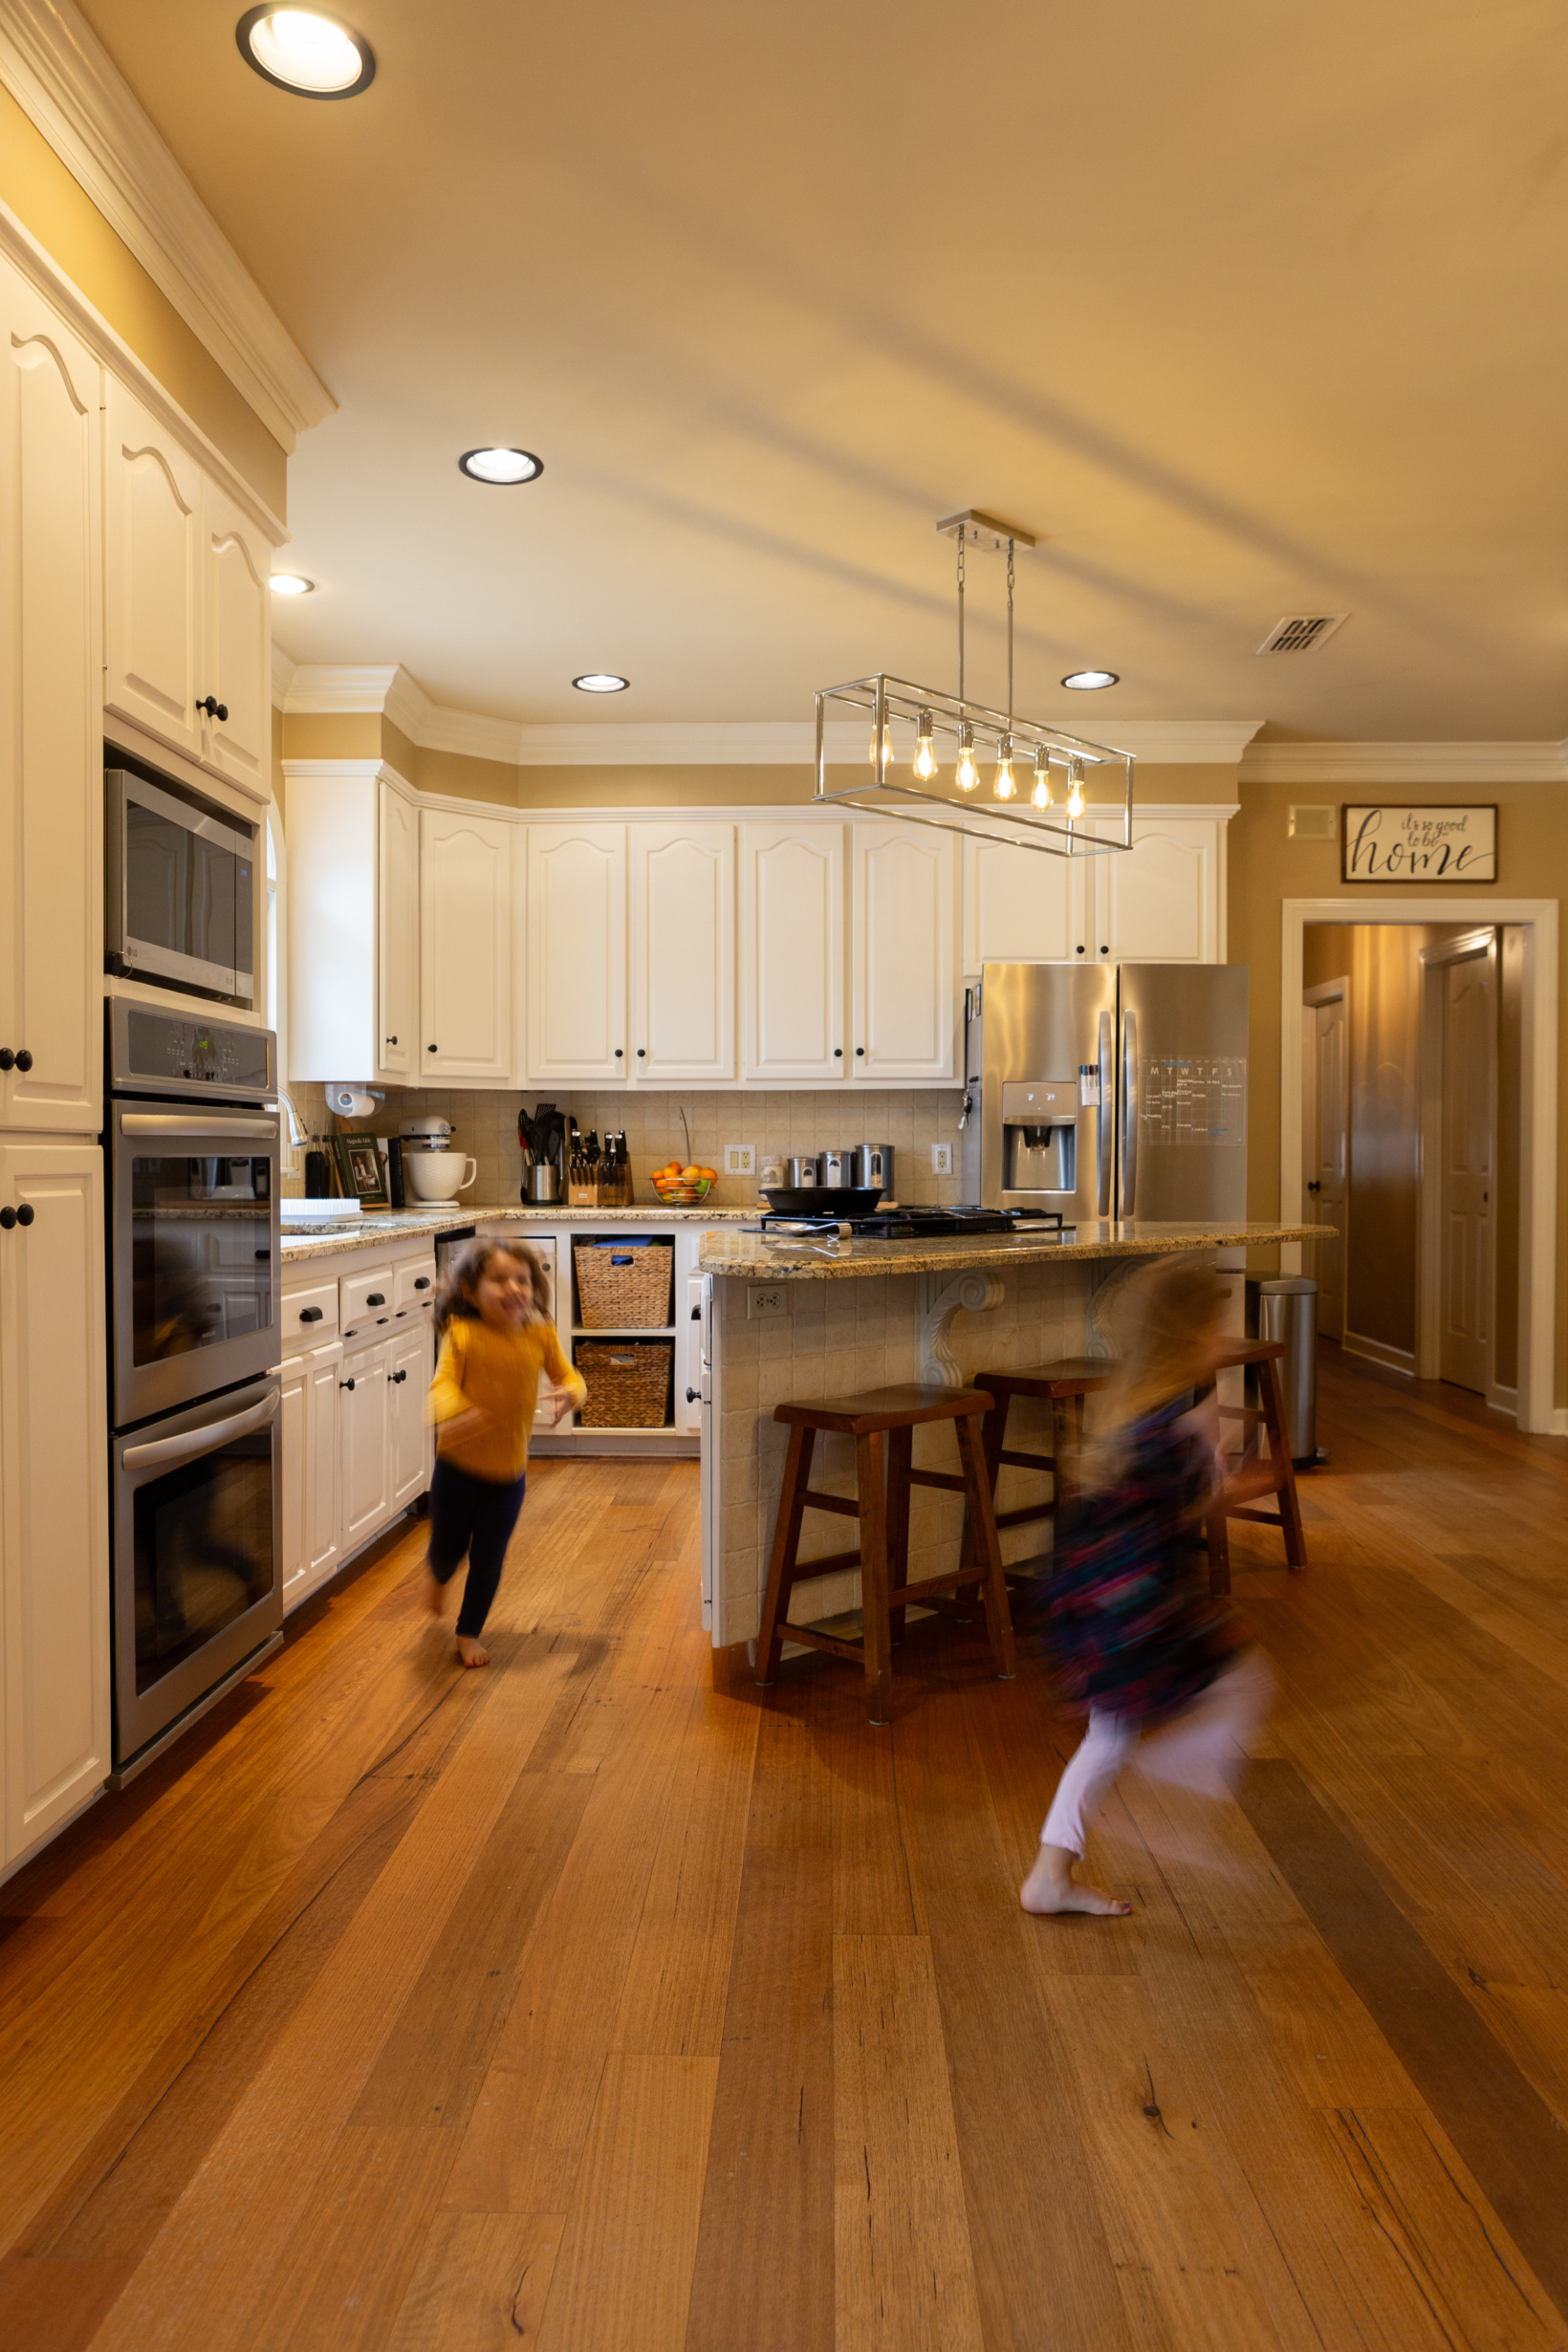
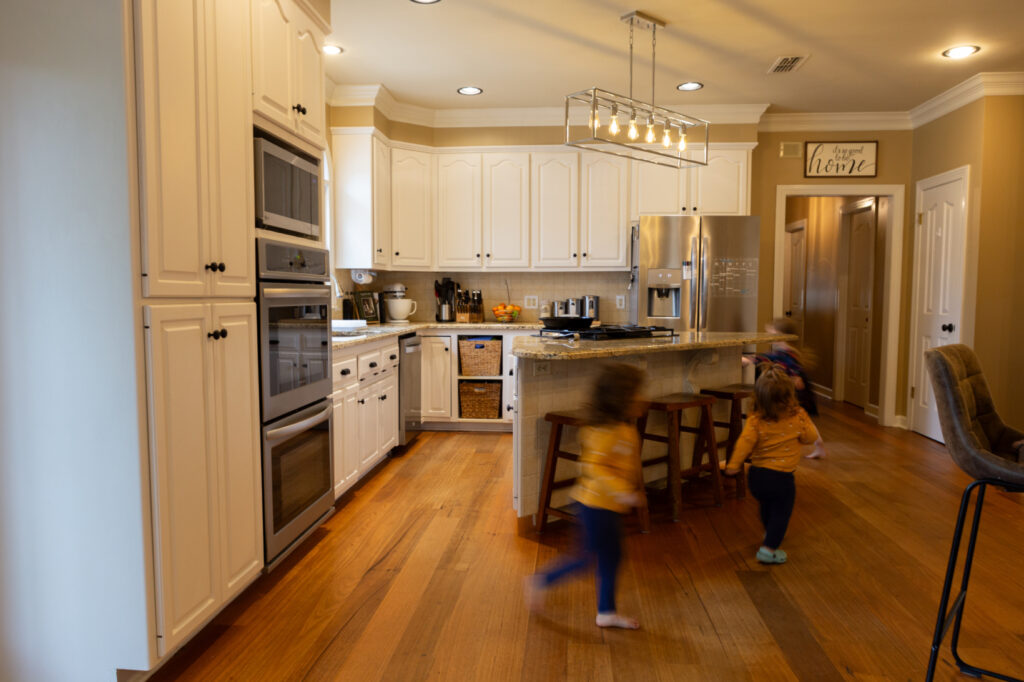
P.S. THIS RIGHT HERE ^^ is what it’s all about. In Emilee’s words, “blissful chaos.” The absolute best.
Here are the details on the HTP Black Friday sale (you can also get them in the Facebook group):
Get our Black Friday deals this weekend. 9 deals where you save up to 60%. Click the link below and view our TODAY’S OFFER at the bottom of your screen. Swipe right to see all 9 offers. And the best part! You can stack anything that says “No Coupon Required” with one of the coupon required. (One coupon code per order).
Shop: https://www.allinonepaint.com
I sincerely appreciate you all shopping through my affiliate links like the ones included in this post. I make a small commission when you purchase through these links at no extra cost to you. These funds help support my family and allow for us to produce better content for you all. I can’t thank you enough for supporting all that we do!
jordan jean
Leave a Reply


SHARE