October 5, 2021
Hi! I’m so excited to be on here with you today to share our bathroom progress and how we learned to drywall!
Before I get into a much needed update on the bathroom, this post gives a good picture of where it has been headed for months and months now (HAHA) in case you needed a refresher! We’re really excited about how it’s coming along but Stephen and I will both admit that we wish it was moving faster. We have learned to give ourselves a lot of grace through the process. These projects take time. They take money (we refuse to go into debt for anything… More on our money views can be found here!). We have a crazy fun baby to care for along with a business to run and Stephen’s full time job among other things. It’s a lot. These aren’t excuses. It’s simply LIFE! If you are in a similar boat while DIYing your own home, I hope you’re giving yourself a hefty dose of grace too.
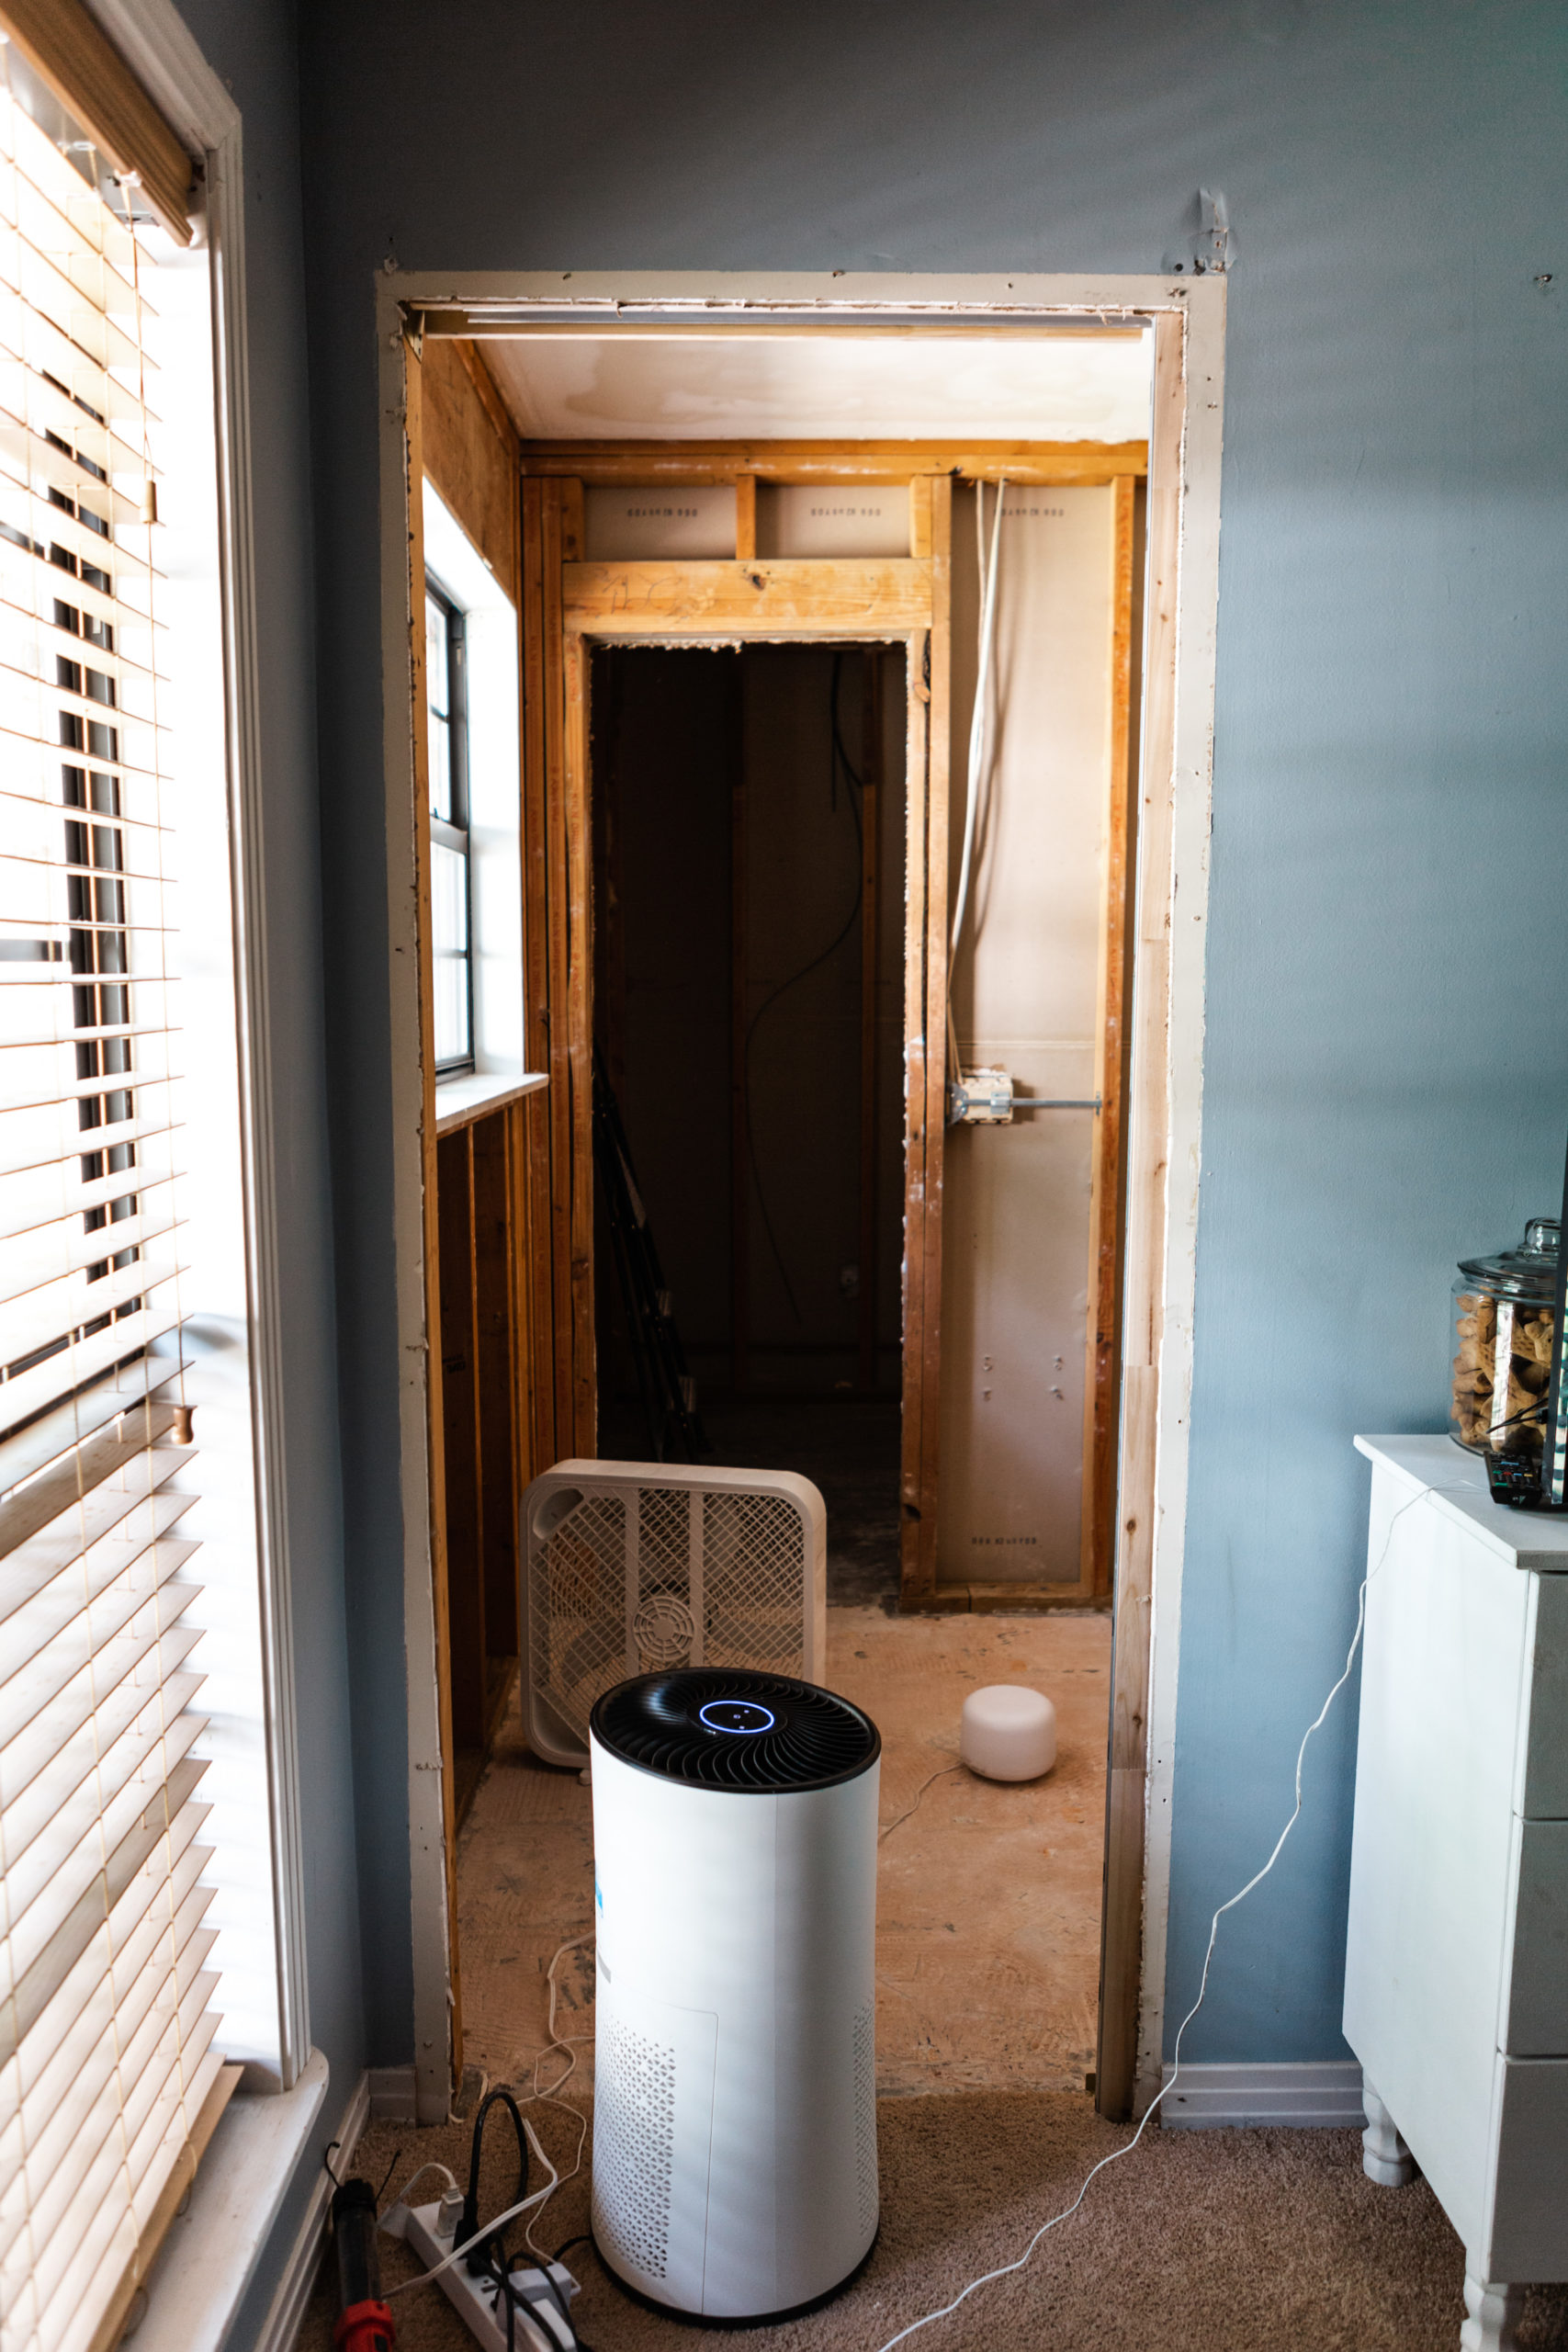
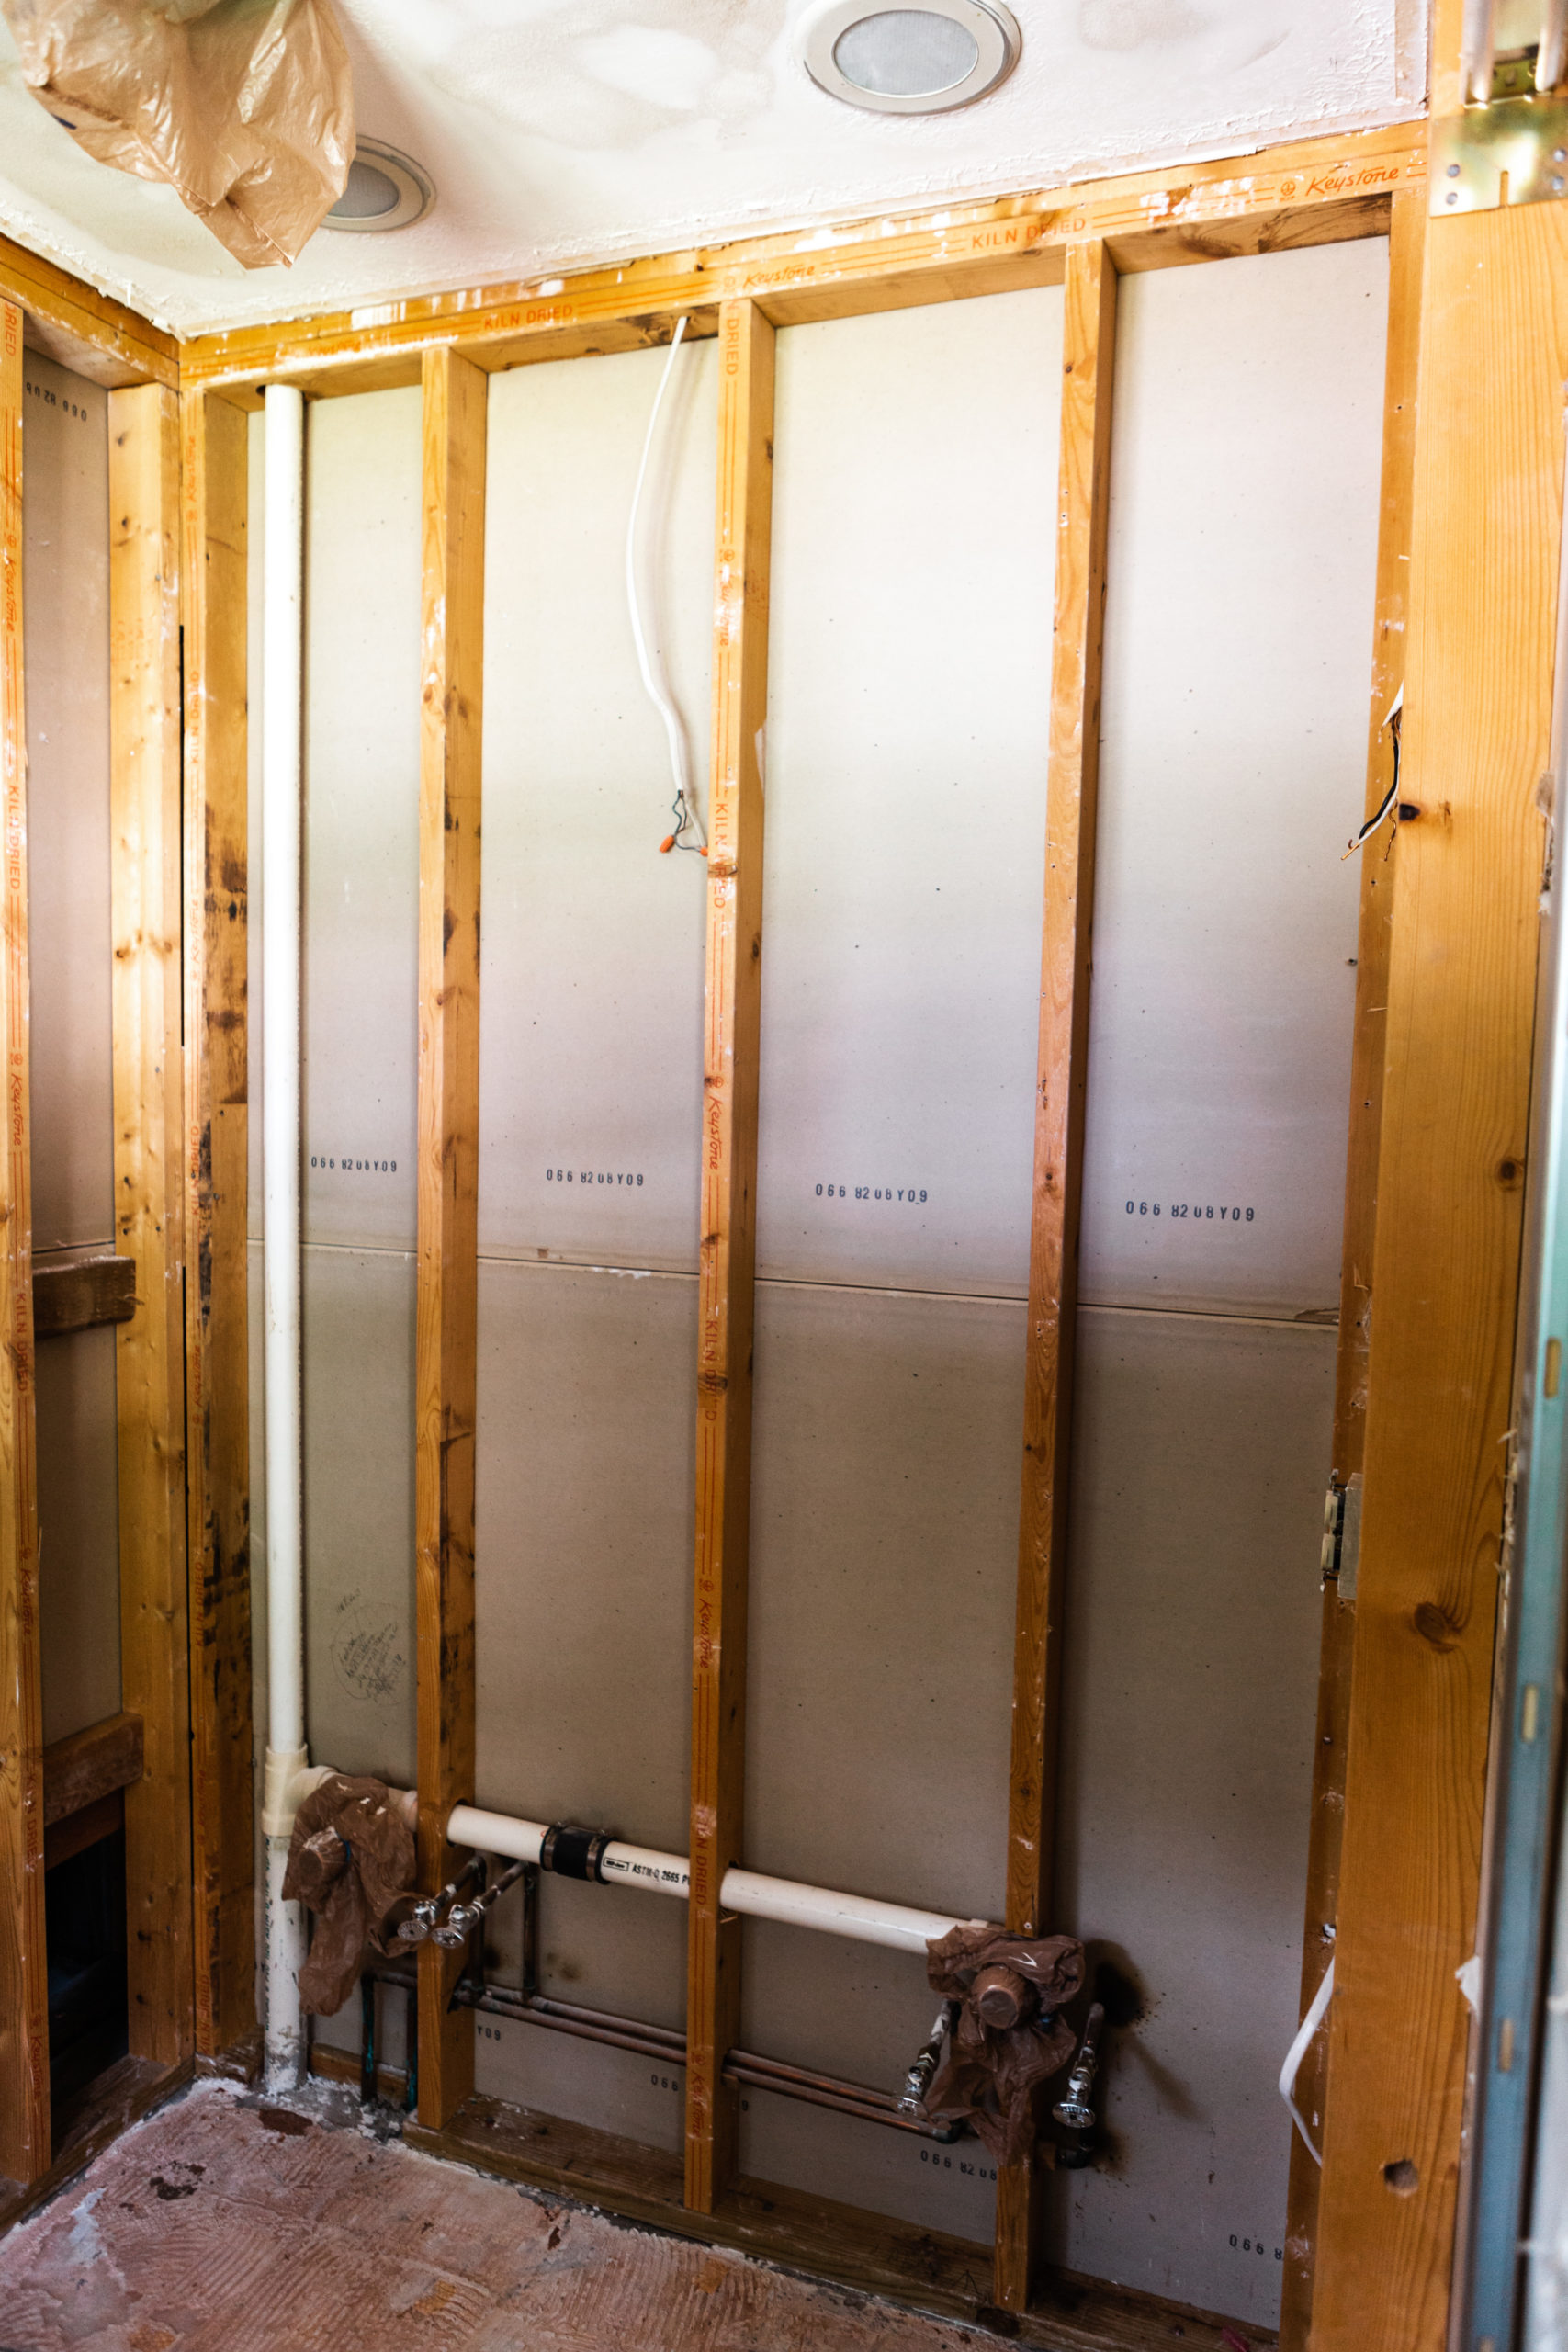
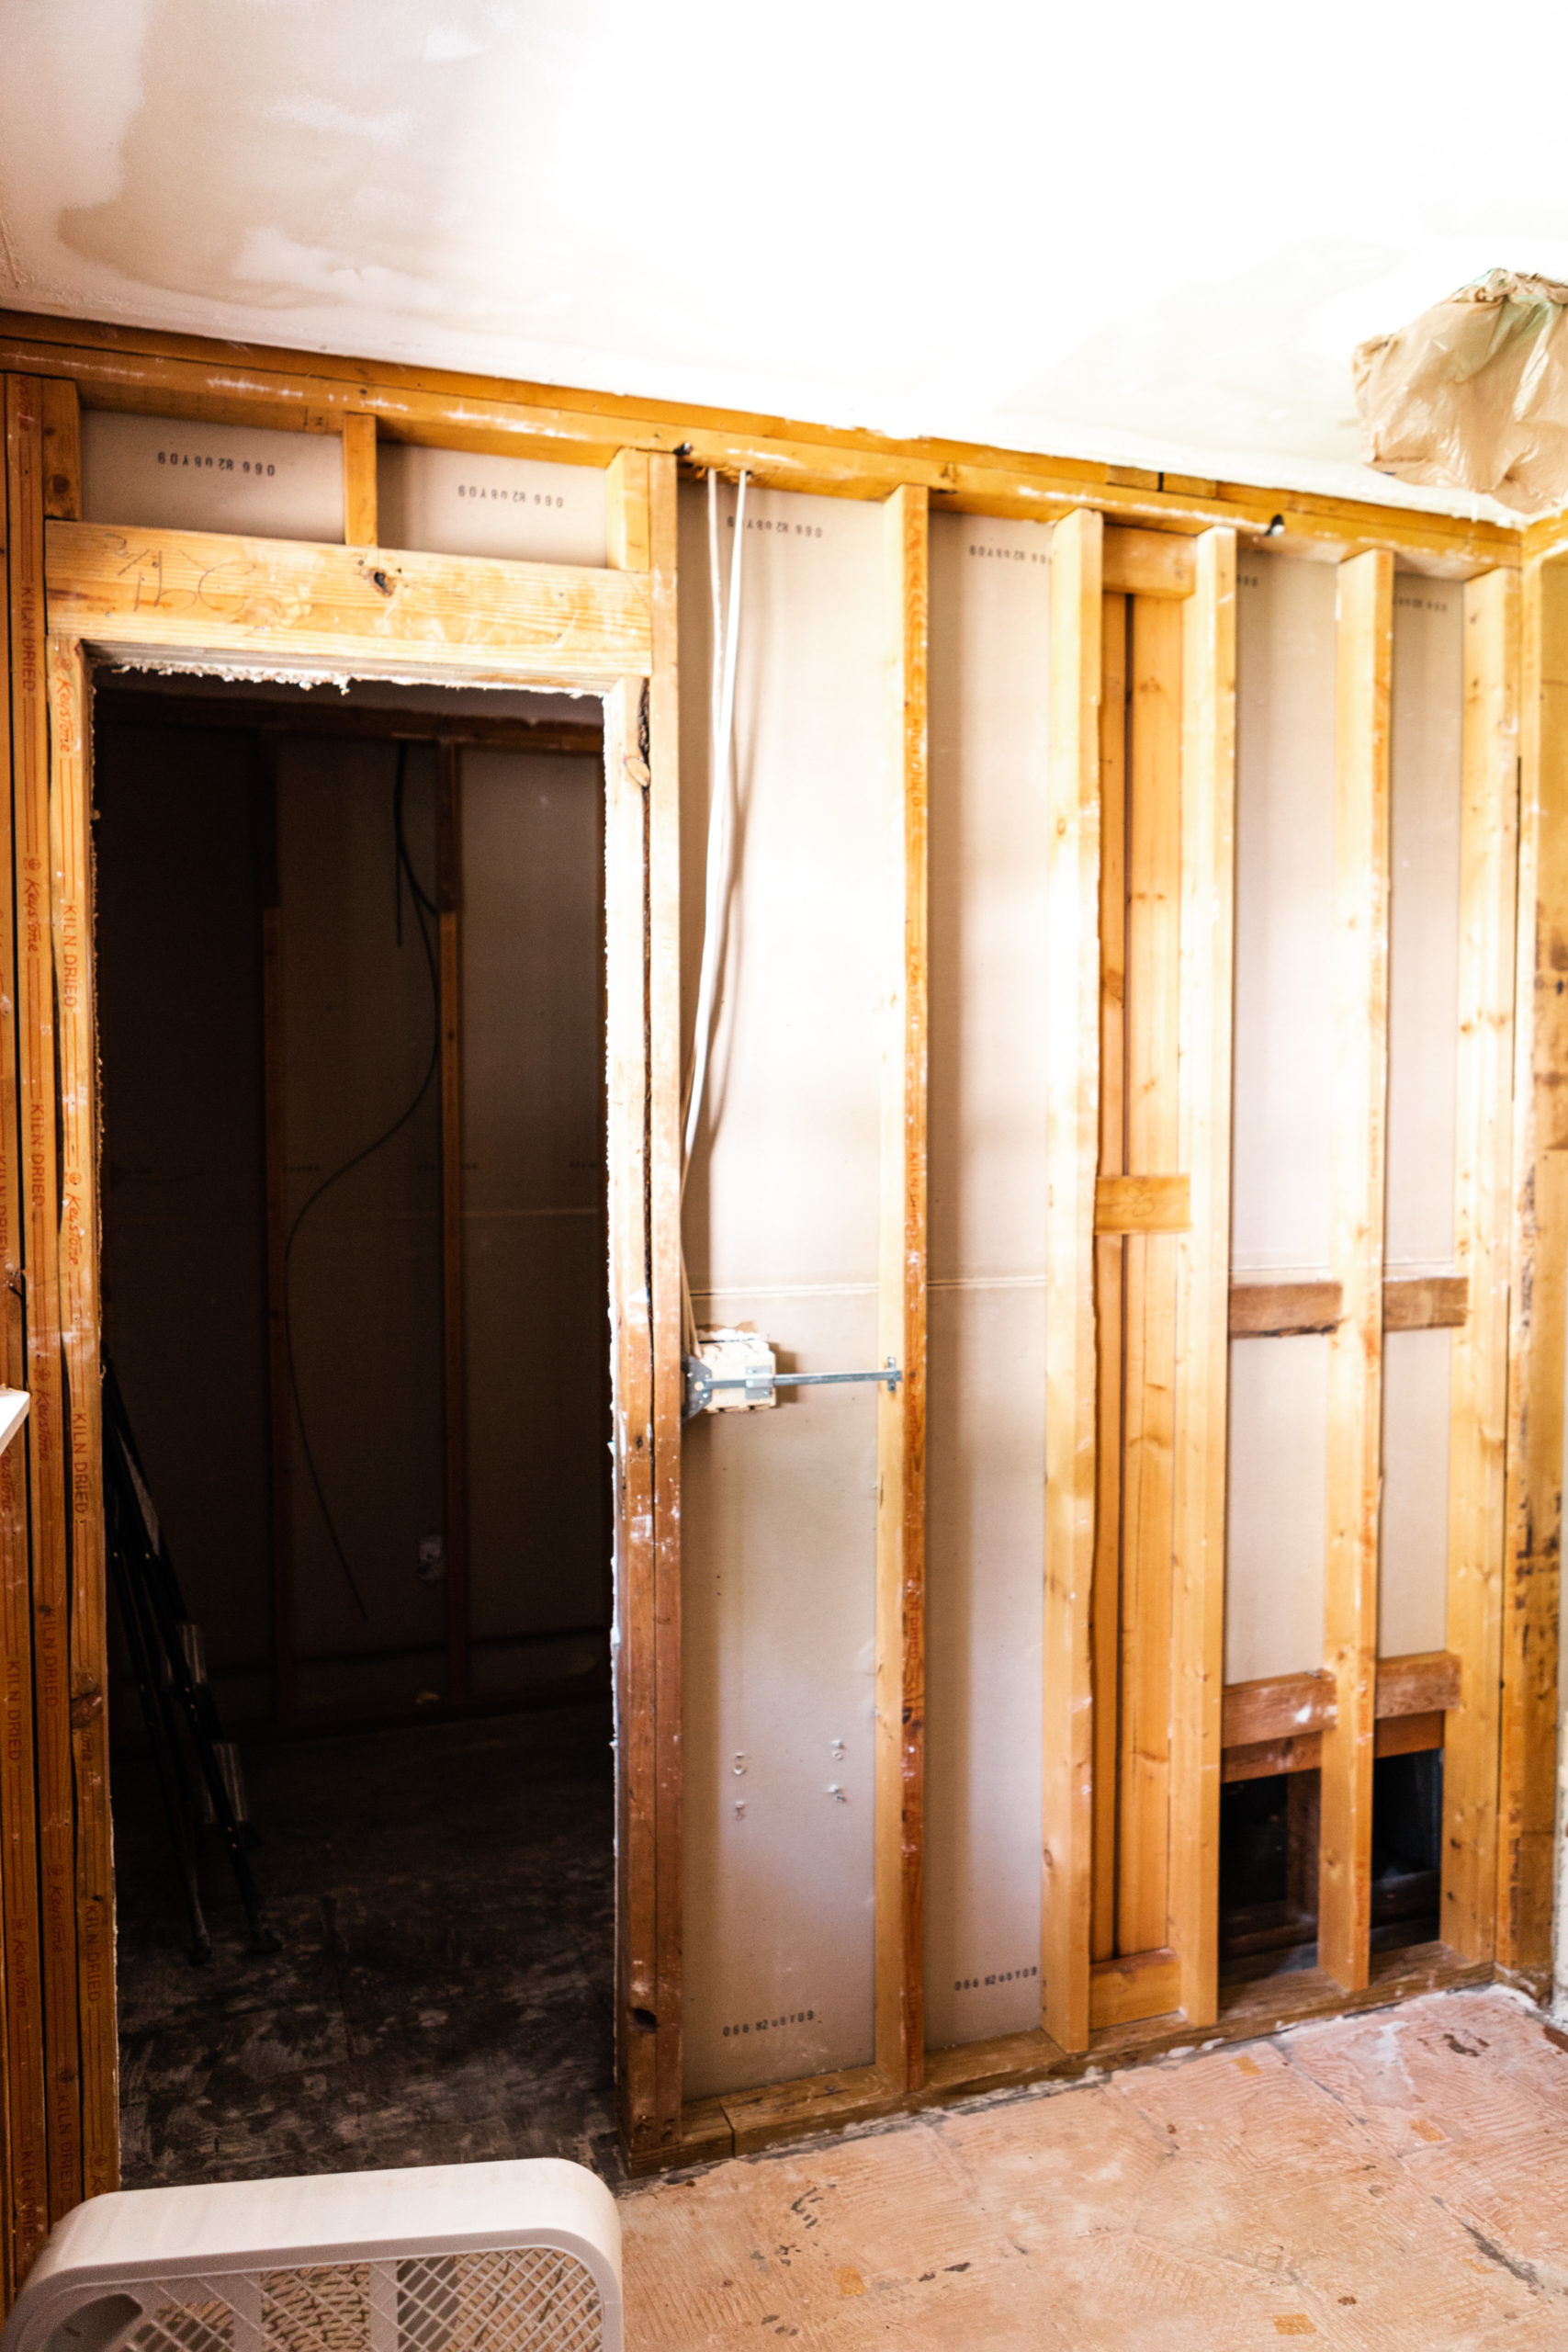
When we started on this bathroom we didn’t fully intend on taking everything down to the studs but I always had it in the back of my mind as something we might need to do. The bathroom just simply stunk. Not like poop… It was more of a musty smell but not like other musty smells I’ve experienced. It’s hard to explain but it just felt to me like the smell wasn’t going to be completely resolved until everything was removed from the room. As we got farther and farther along removing layers, we agreed that the only way to make this bathroom smell fresh again was to rip it all down to the studs. That meant that in order to move forward with a functioning space, we’d need to learn how to drywall on our own…
We could’ve hired this job out and it wouldn’t have put us in a financial bind. Stephen and I though figured we could do it ourselves. We’d save money on labor and we’d learn a new skill along the way. I had done quite a bit of mud work up to this point on various projects but never full drywall sheets. We were completely green in this field. We did a lot of research along the way and have gathered the resources that we feel are the most helpful and efficient in case you want to do this too. It is possible! You might (probably will) make mistakes. That’s okay. A lot of the time it’s nothing a sanding block can’t fix (even though it’s a pain).
DIY drywall videos we’ve found most helpful:
We found DIY Renovisions videos to be EXTREMELY helpful! Jeff has an entire playlist on drywall installation that covers every single detail that you can find HERE. He is focused on keeping cost down the best he can while remaining efficient and producing really high quality work.
Stephen followed this video to learn how to install the niche in the shower.
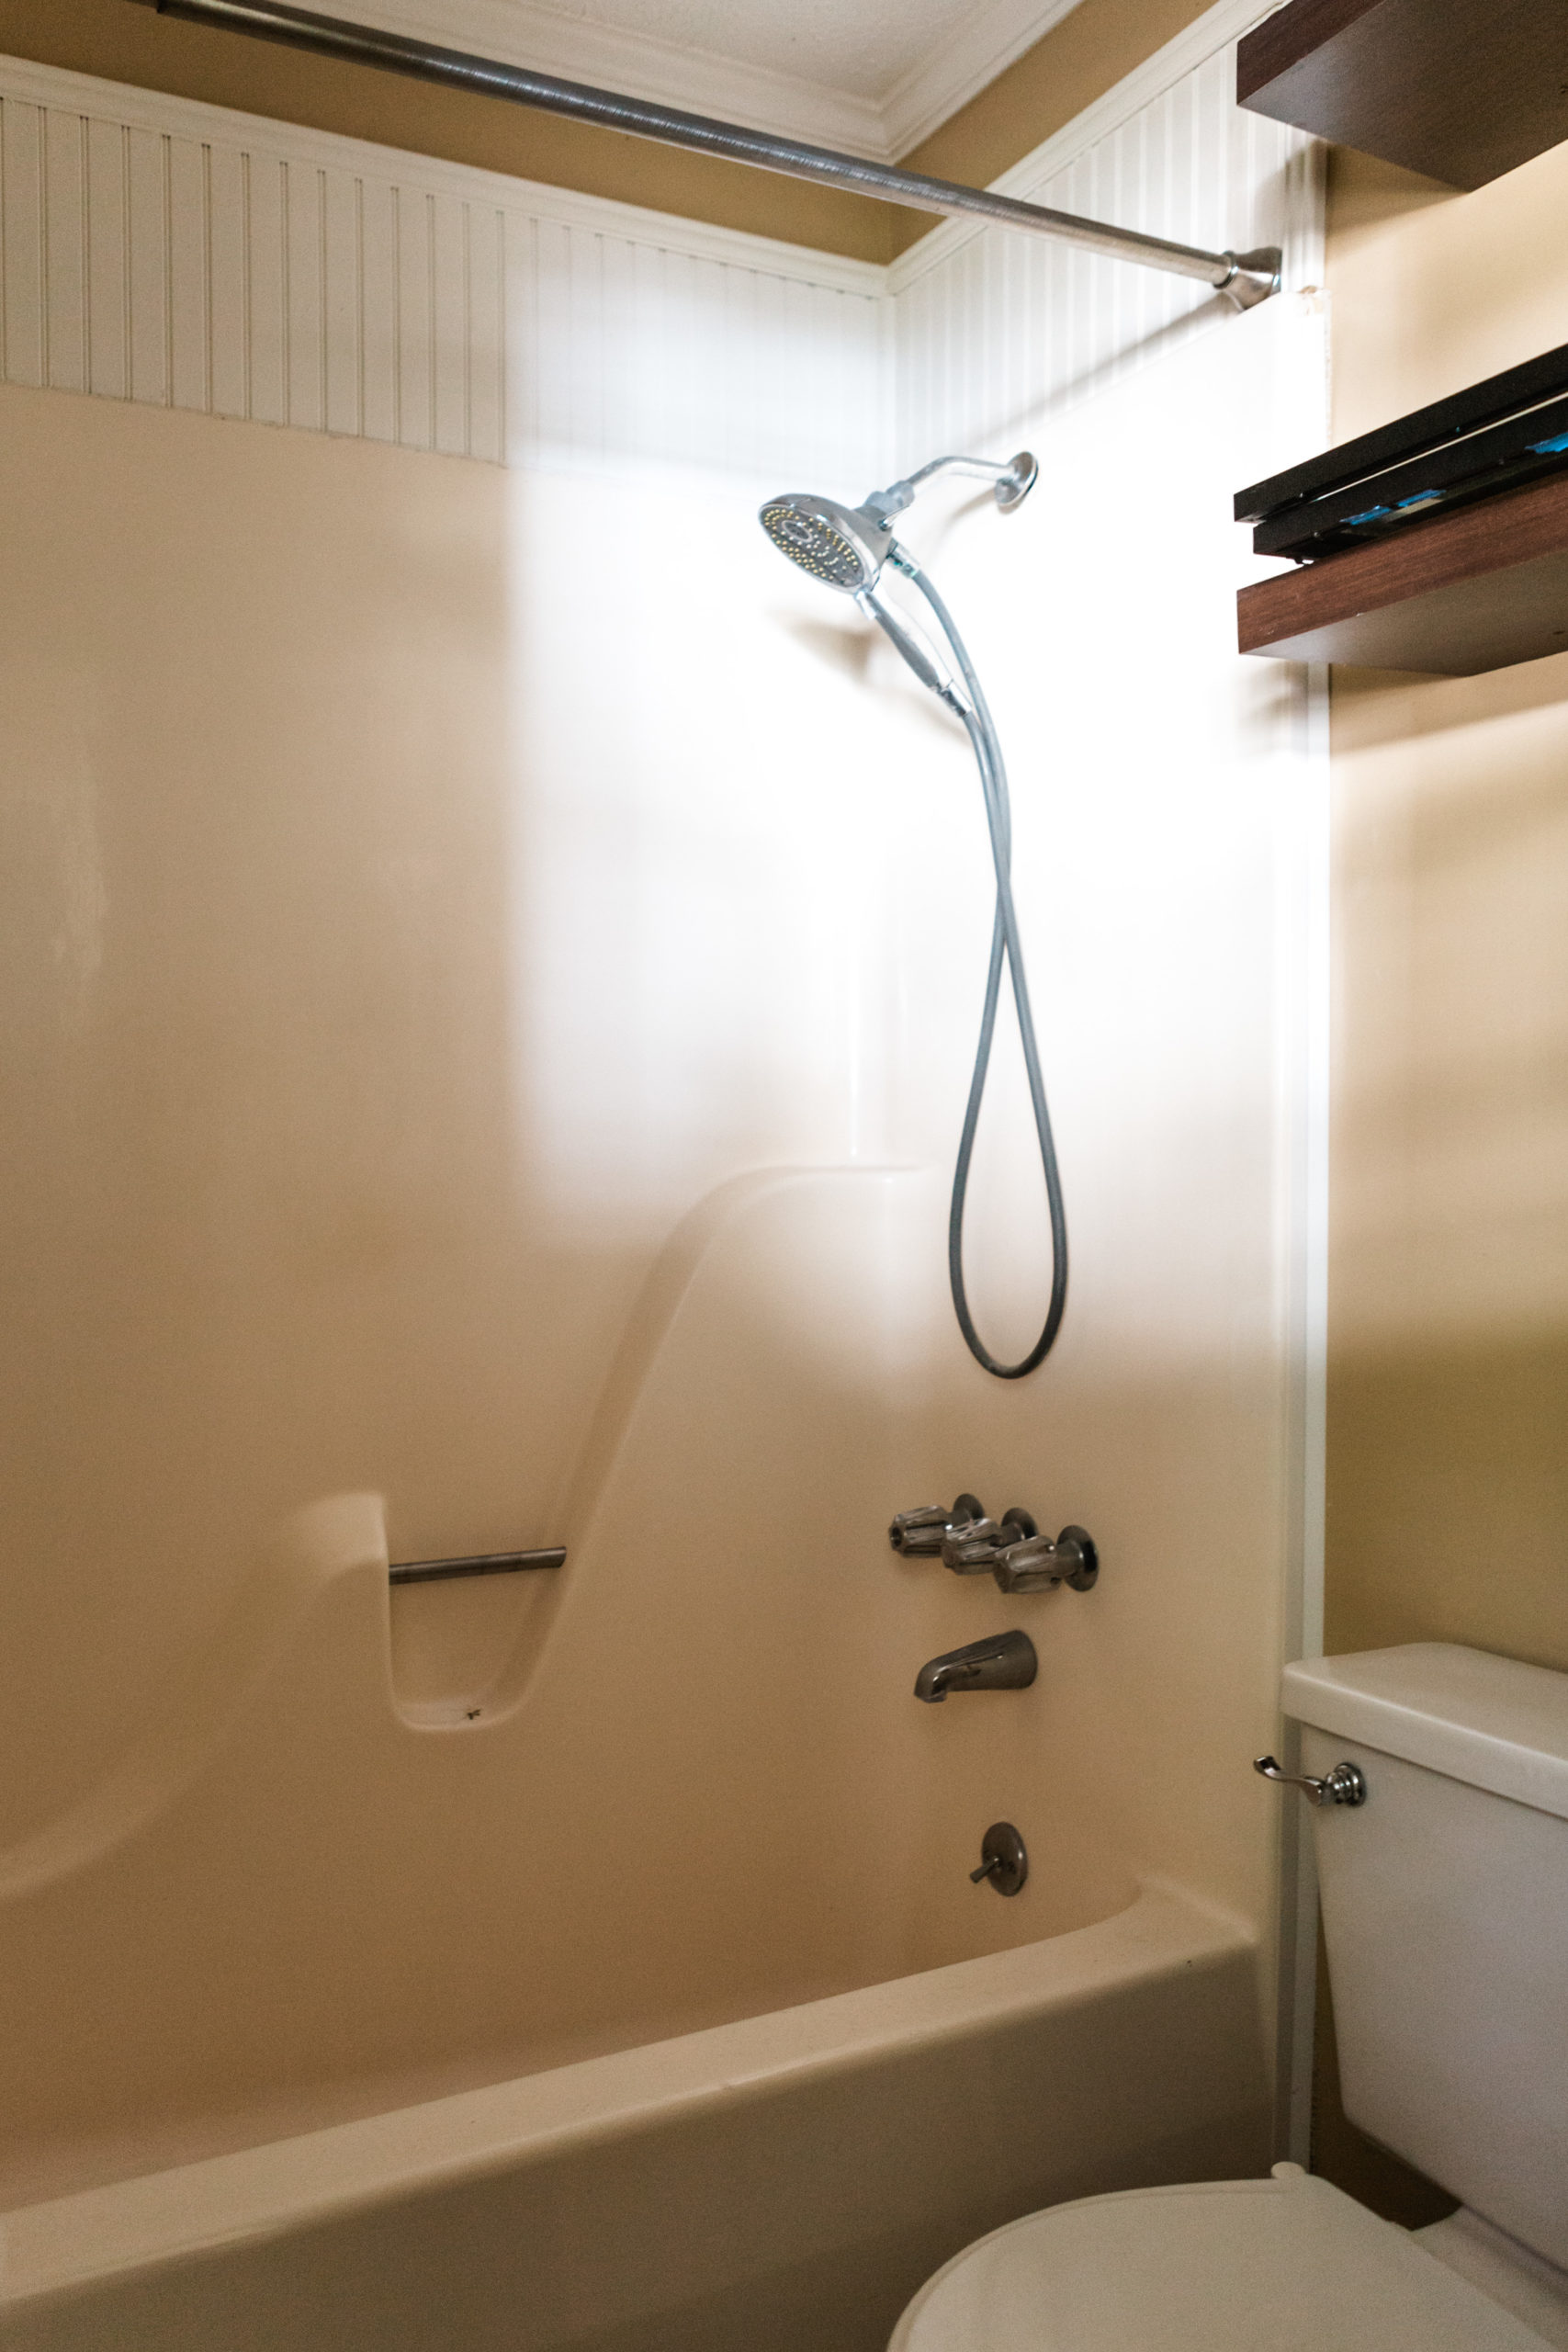
You can learn four different options to waterproof your shower here (we went with the last method he goes over).
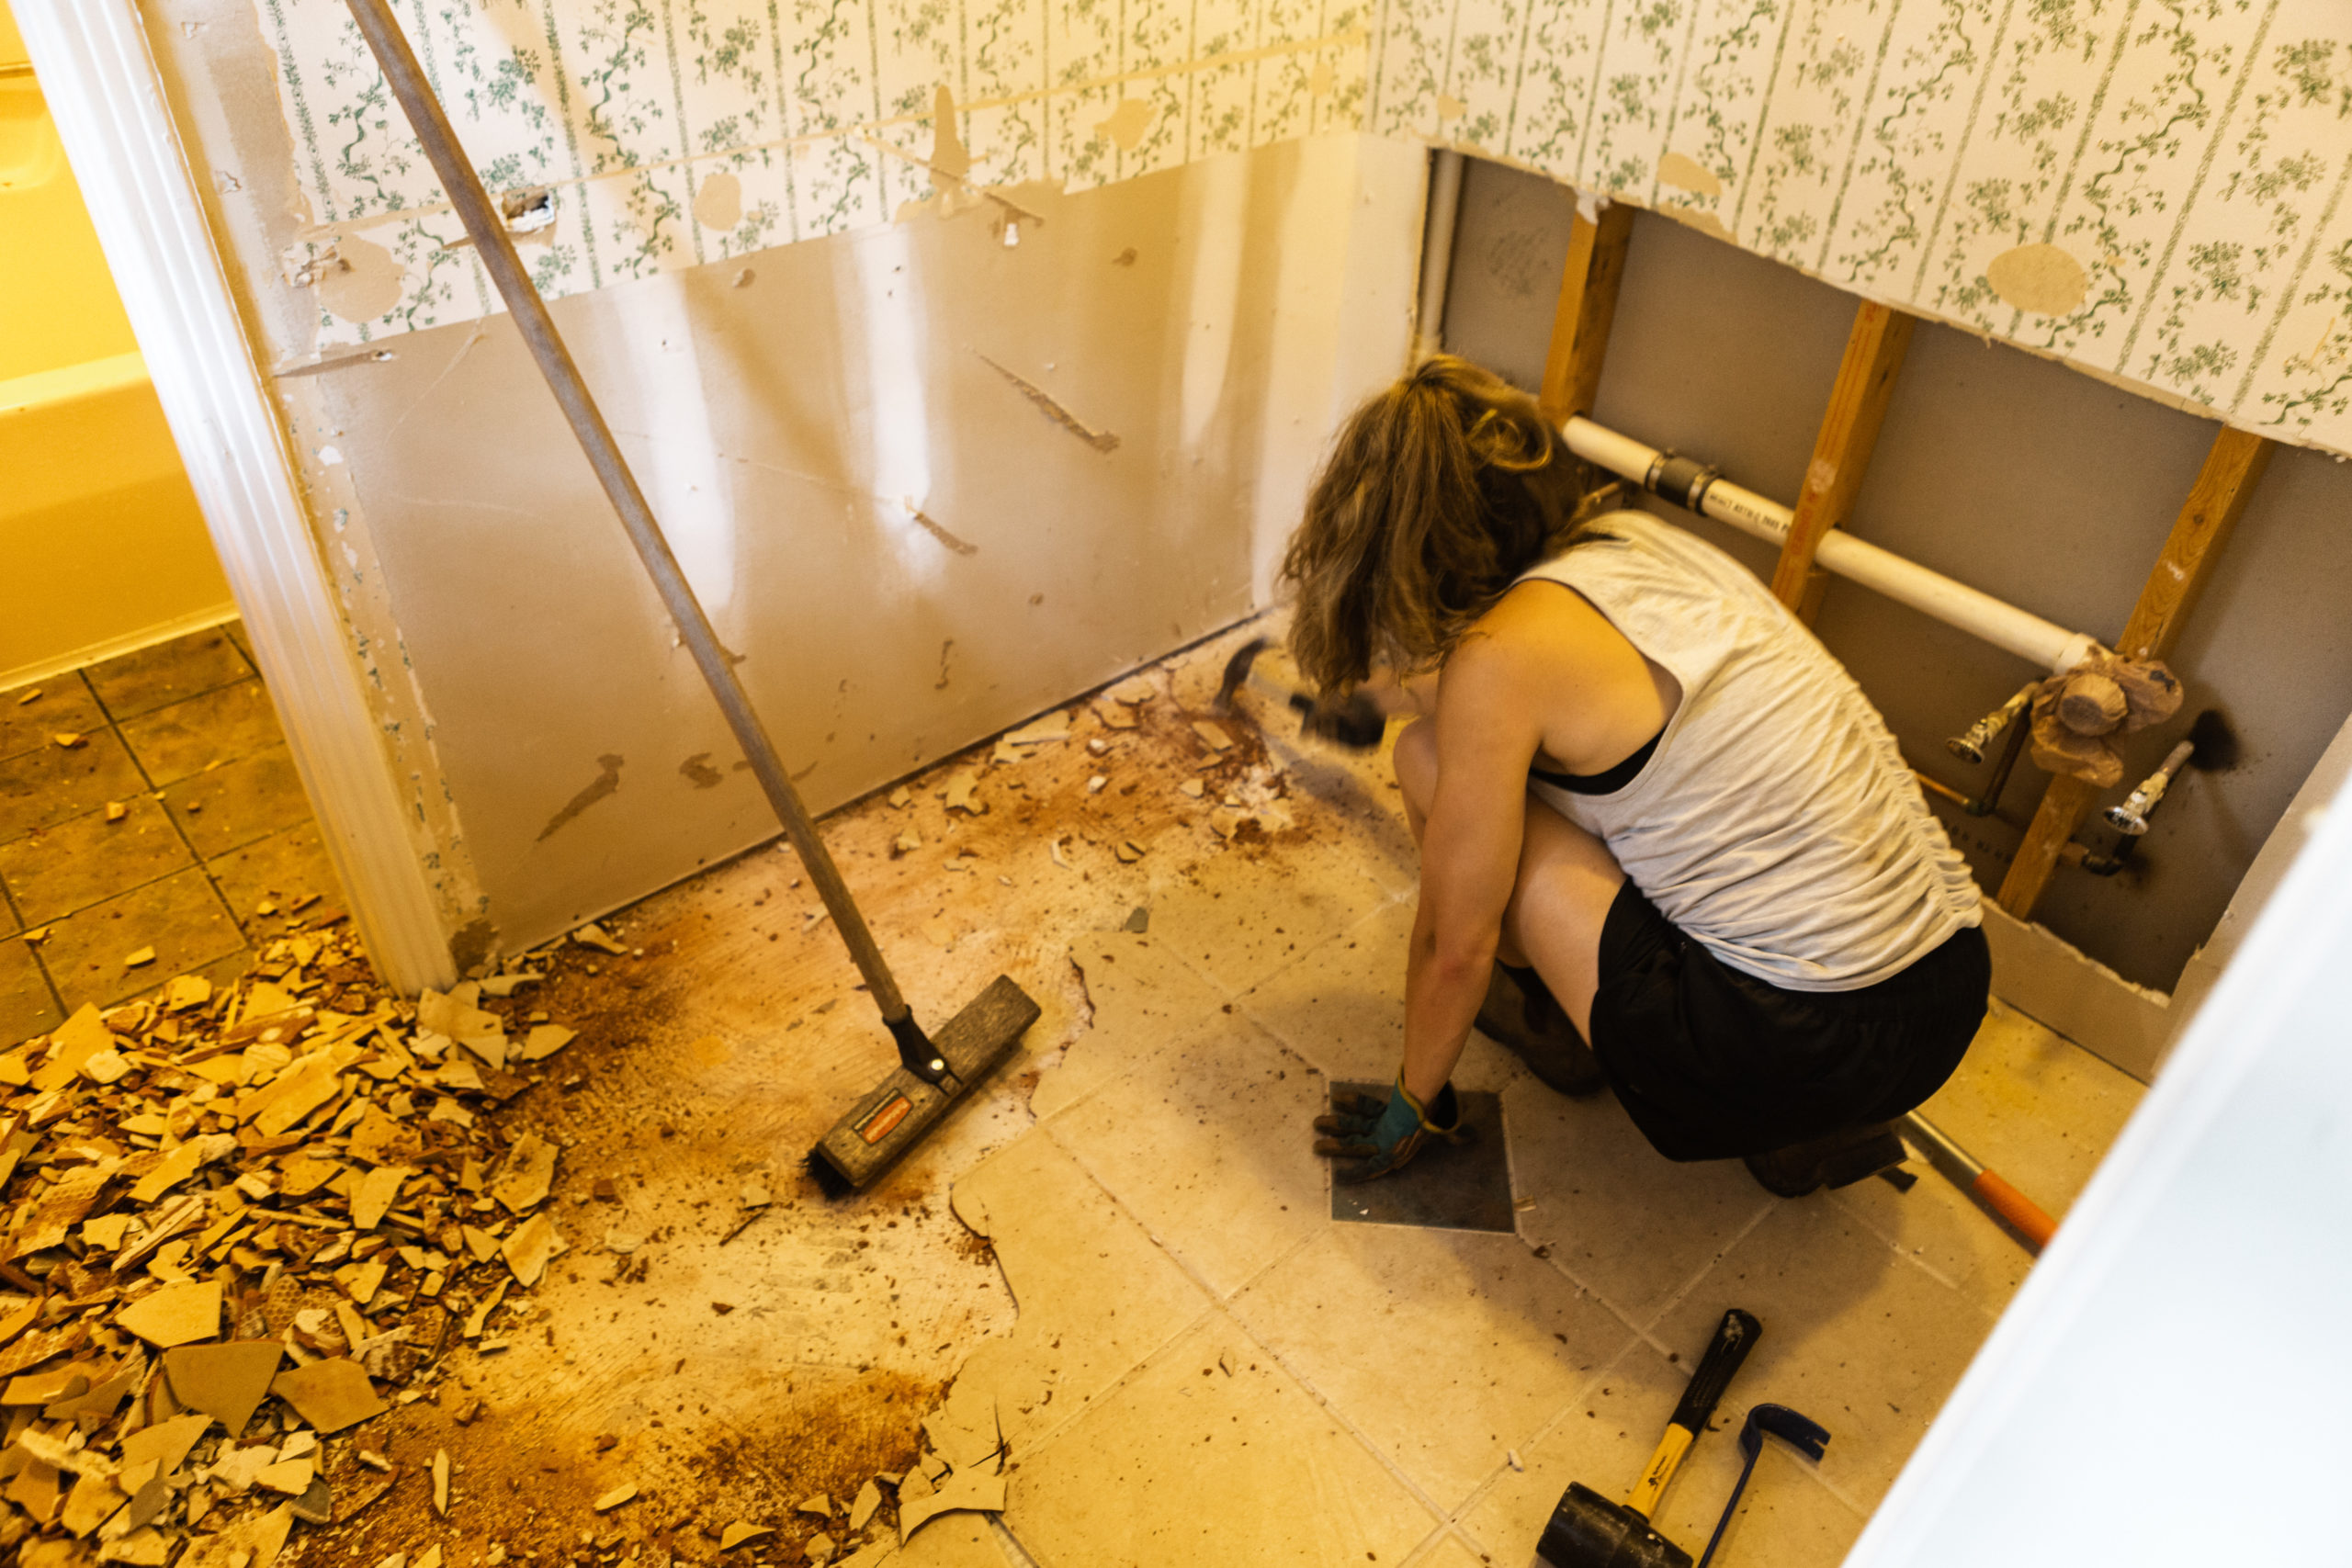
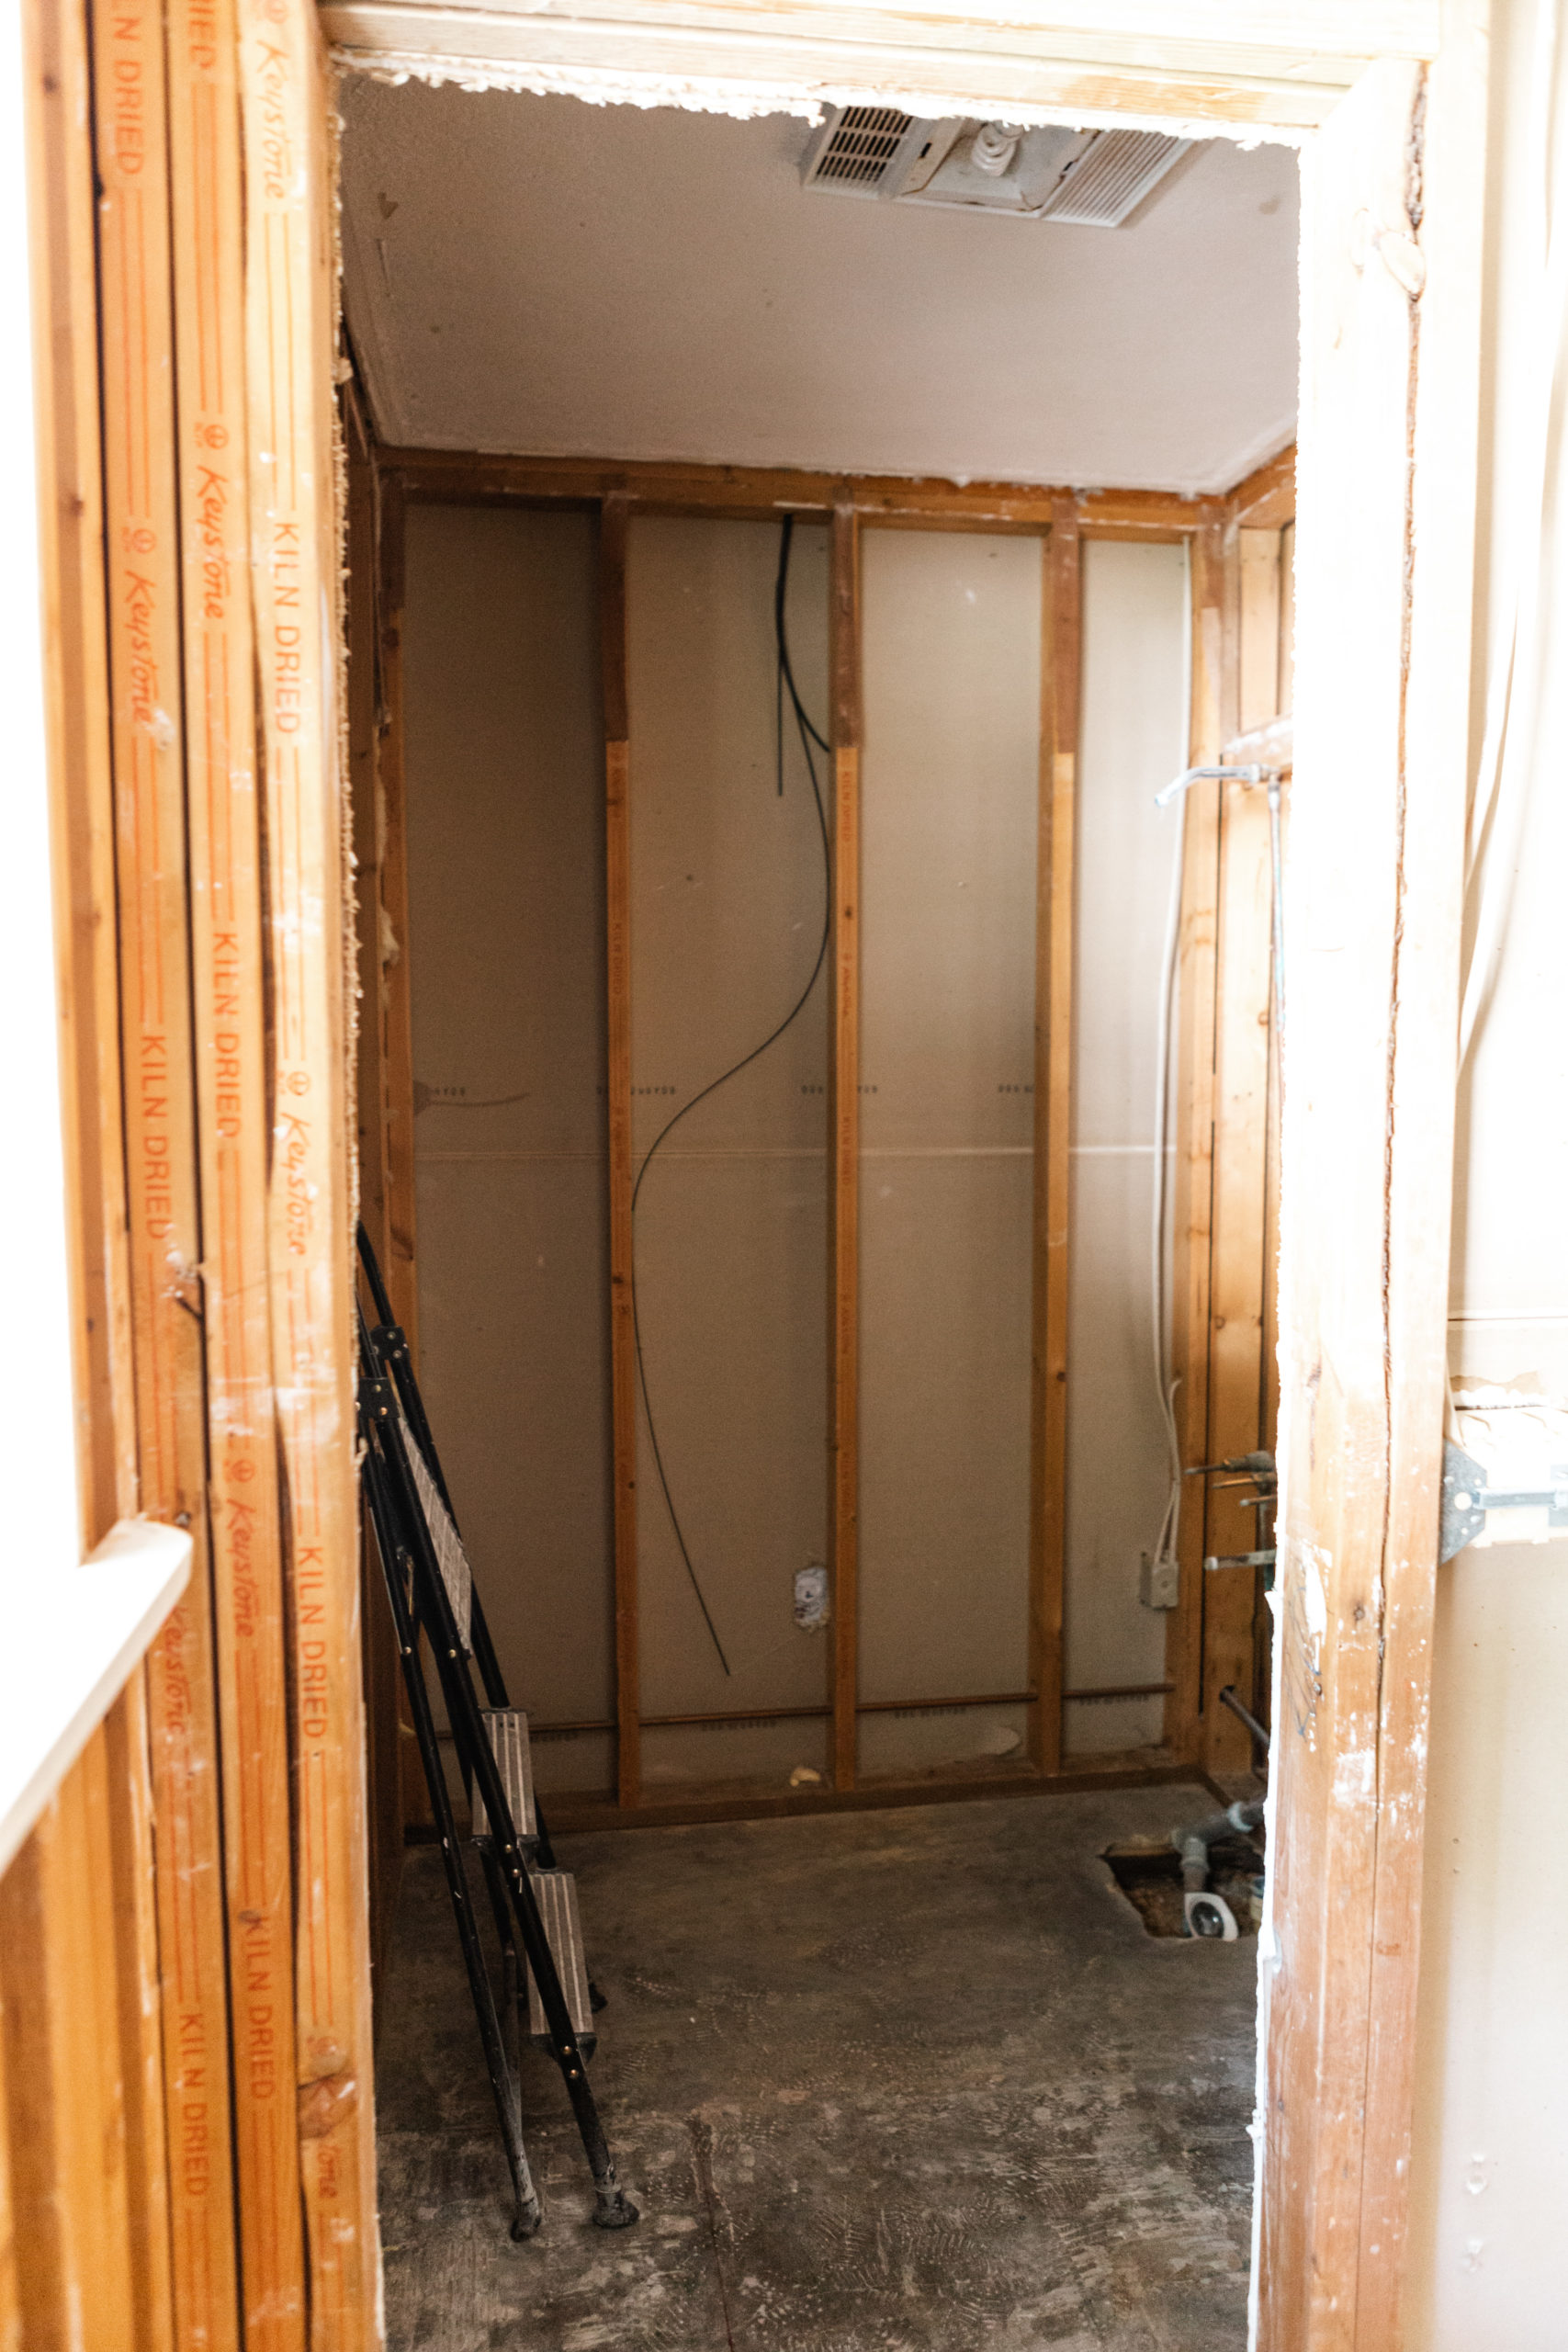
Here’s a reminder of where we started back in June:
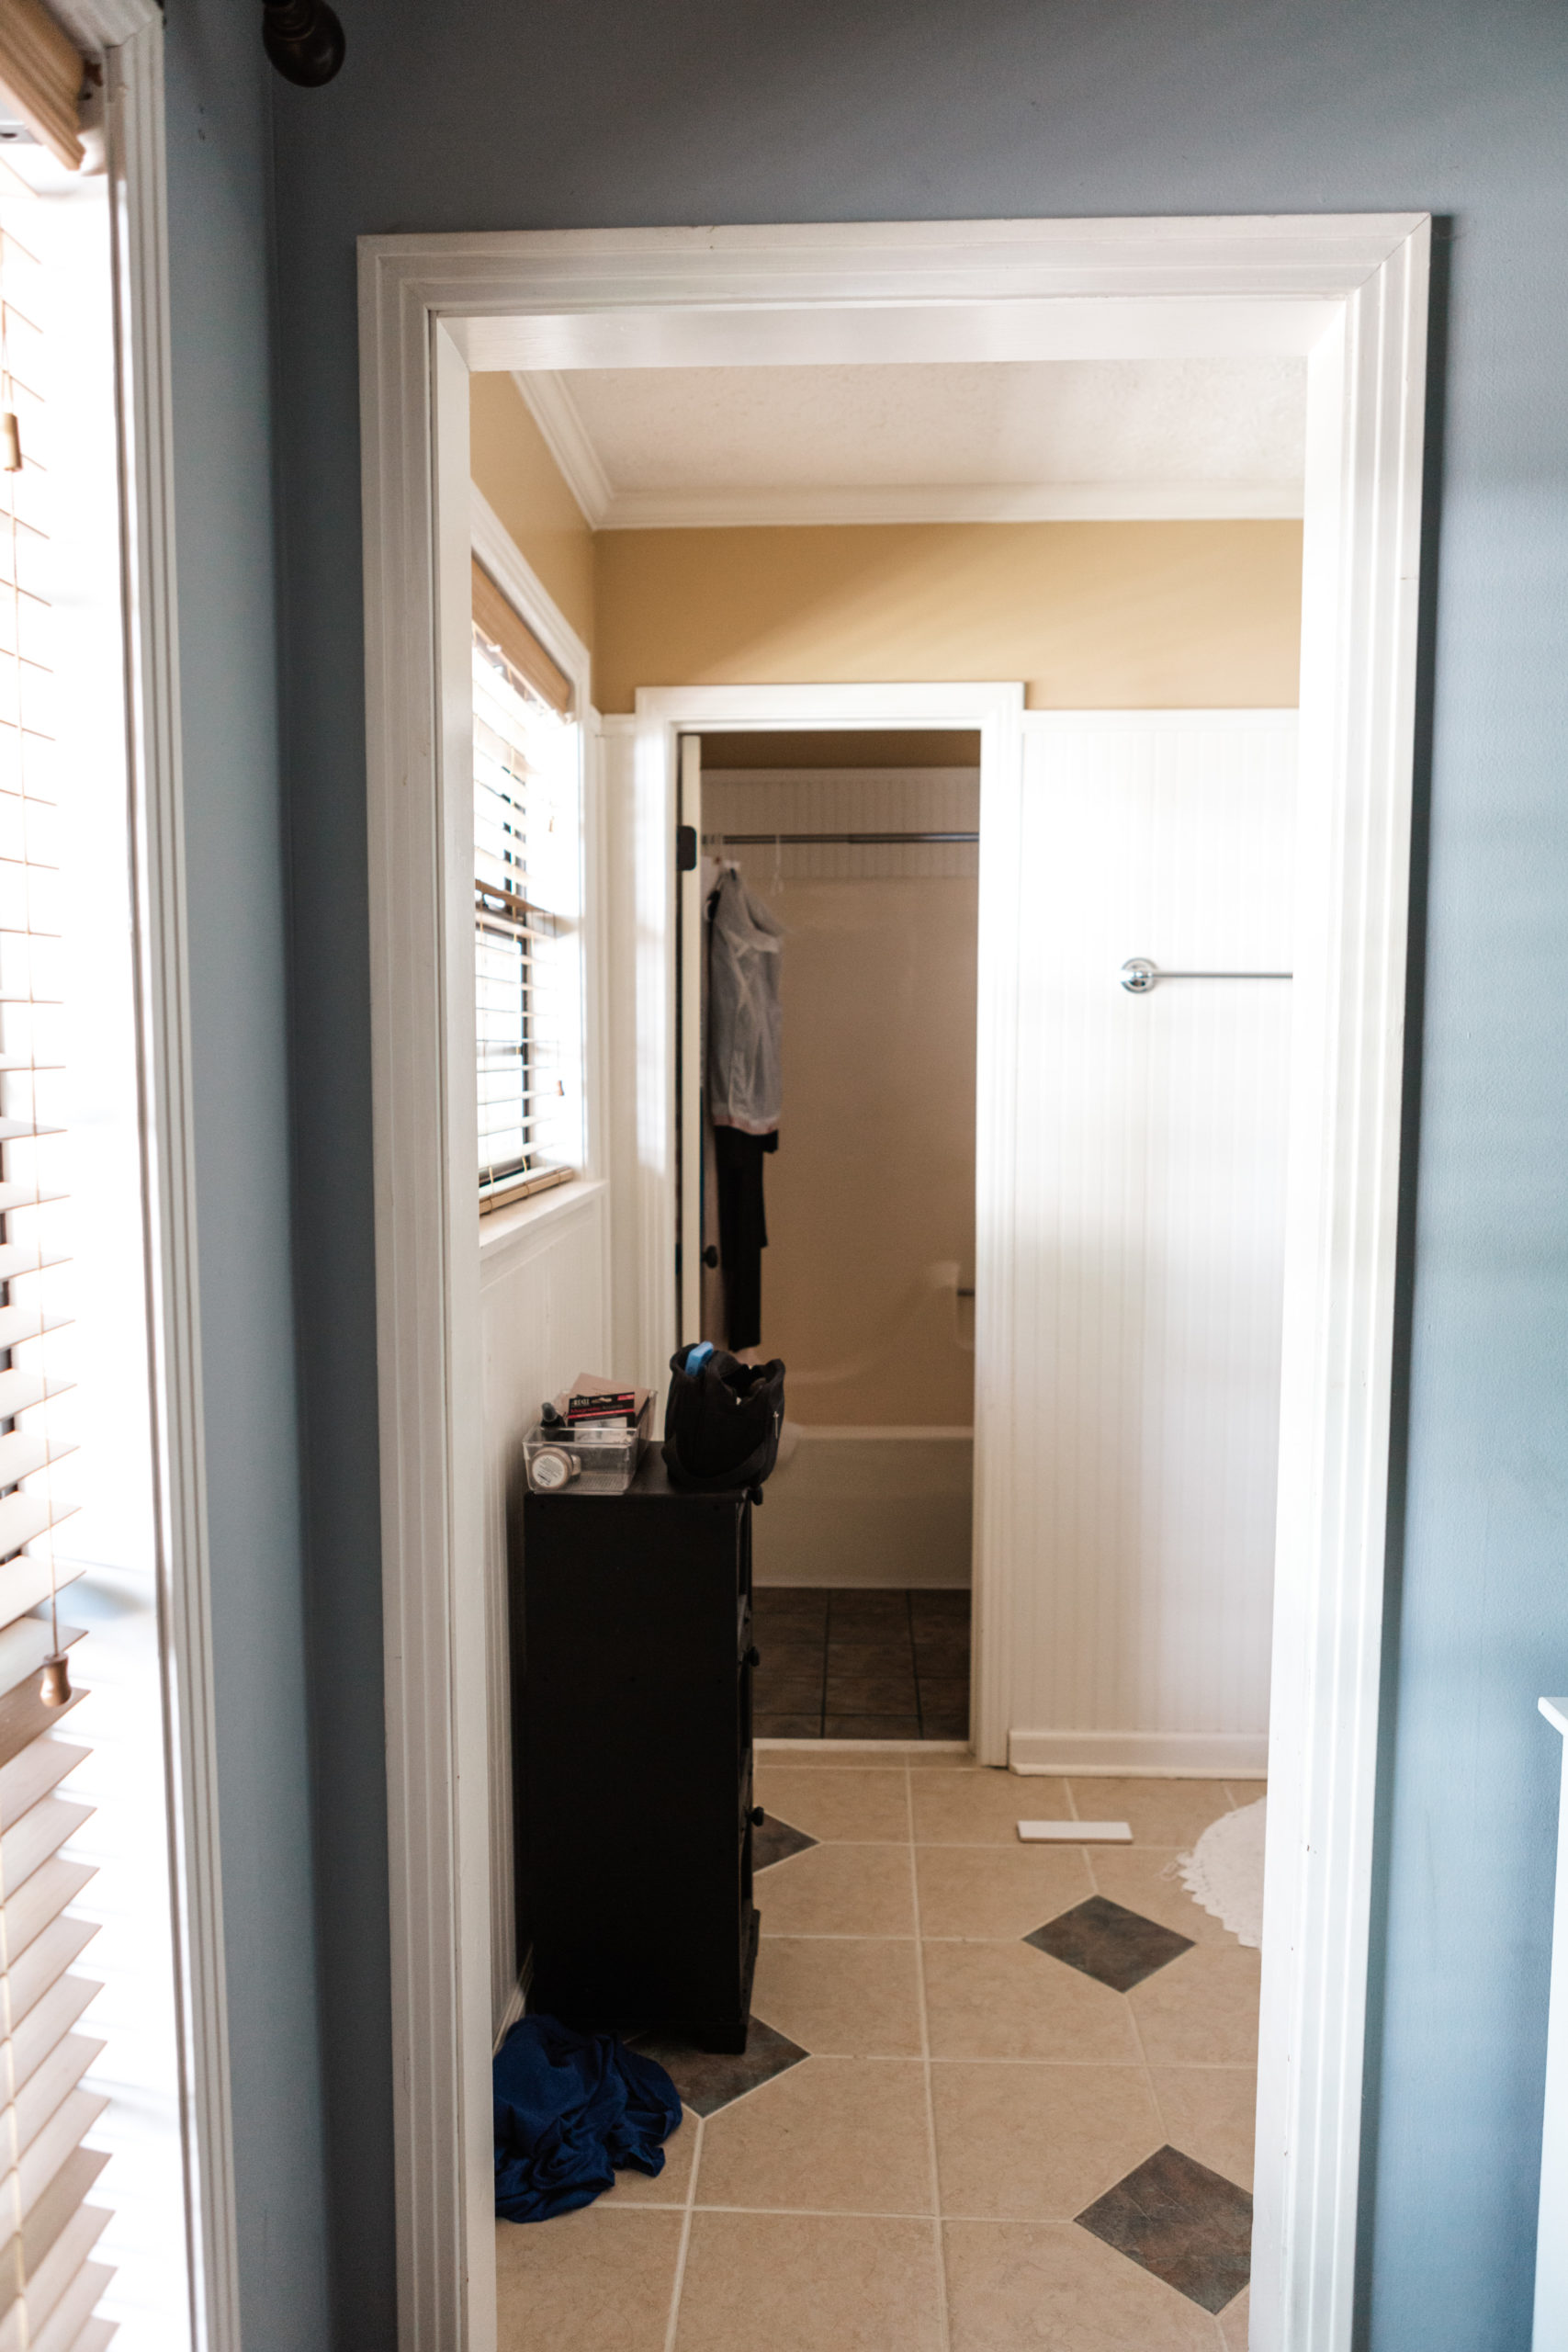
Removing everything down to the studs:

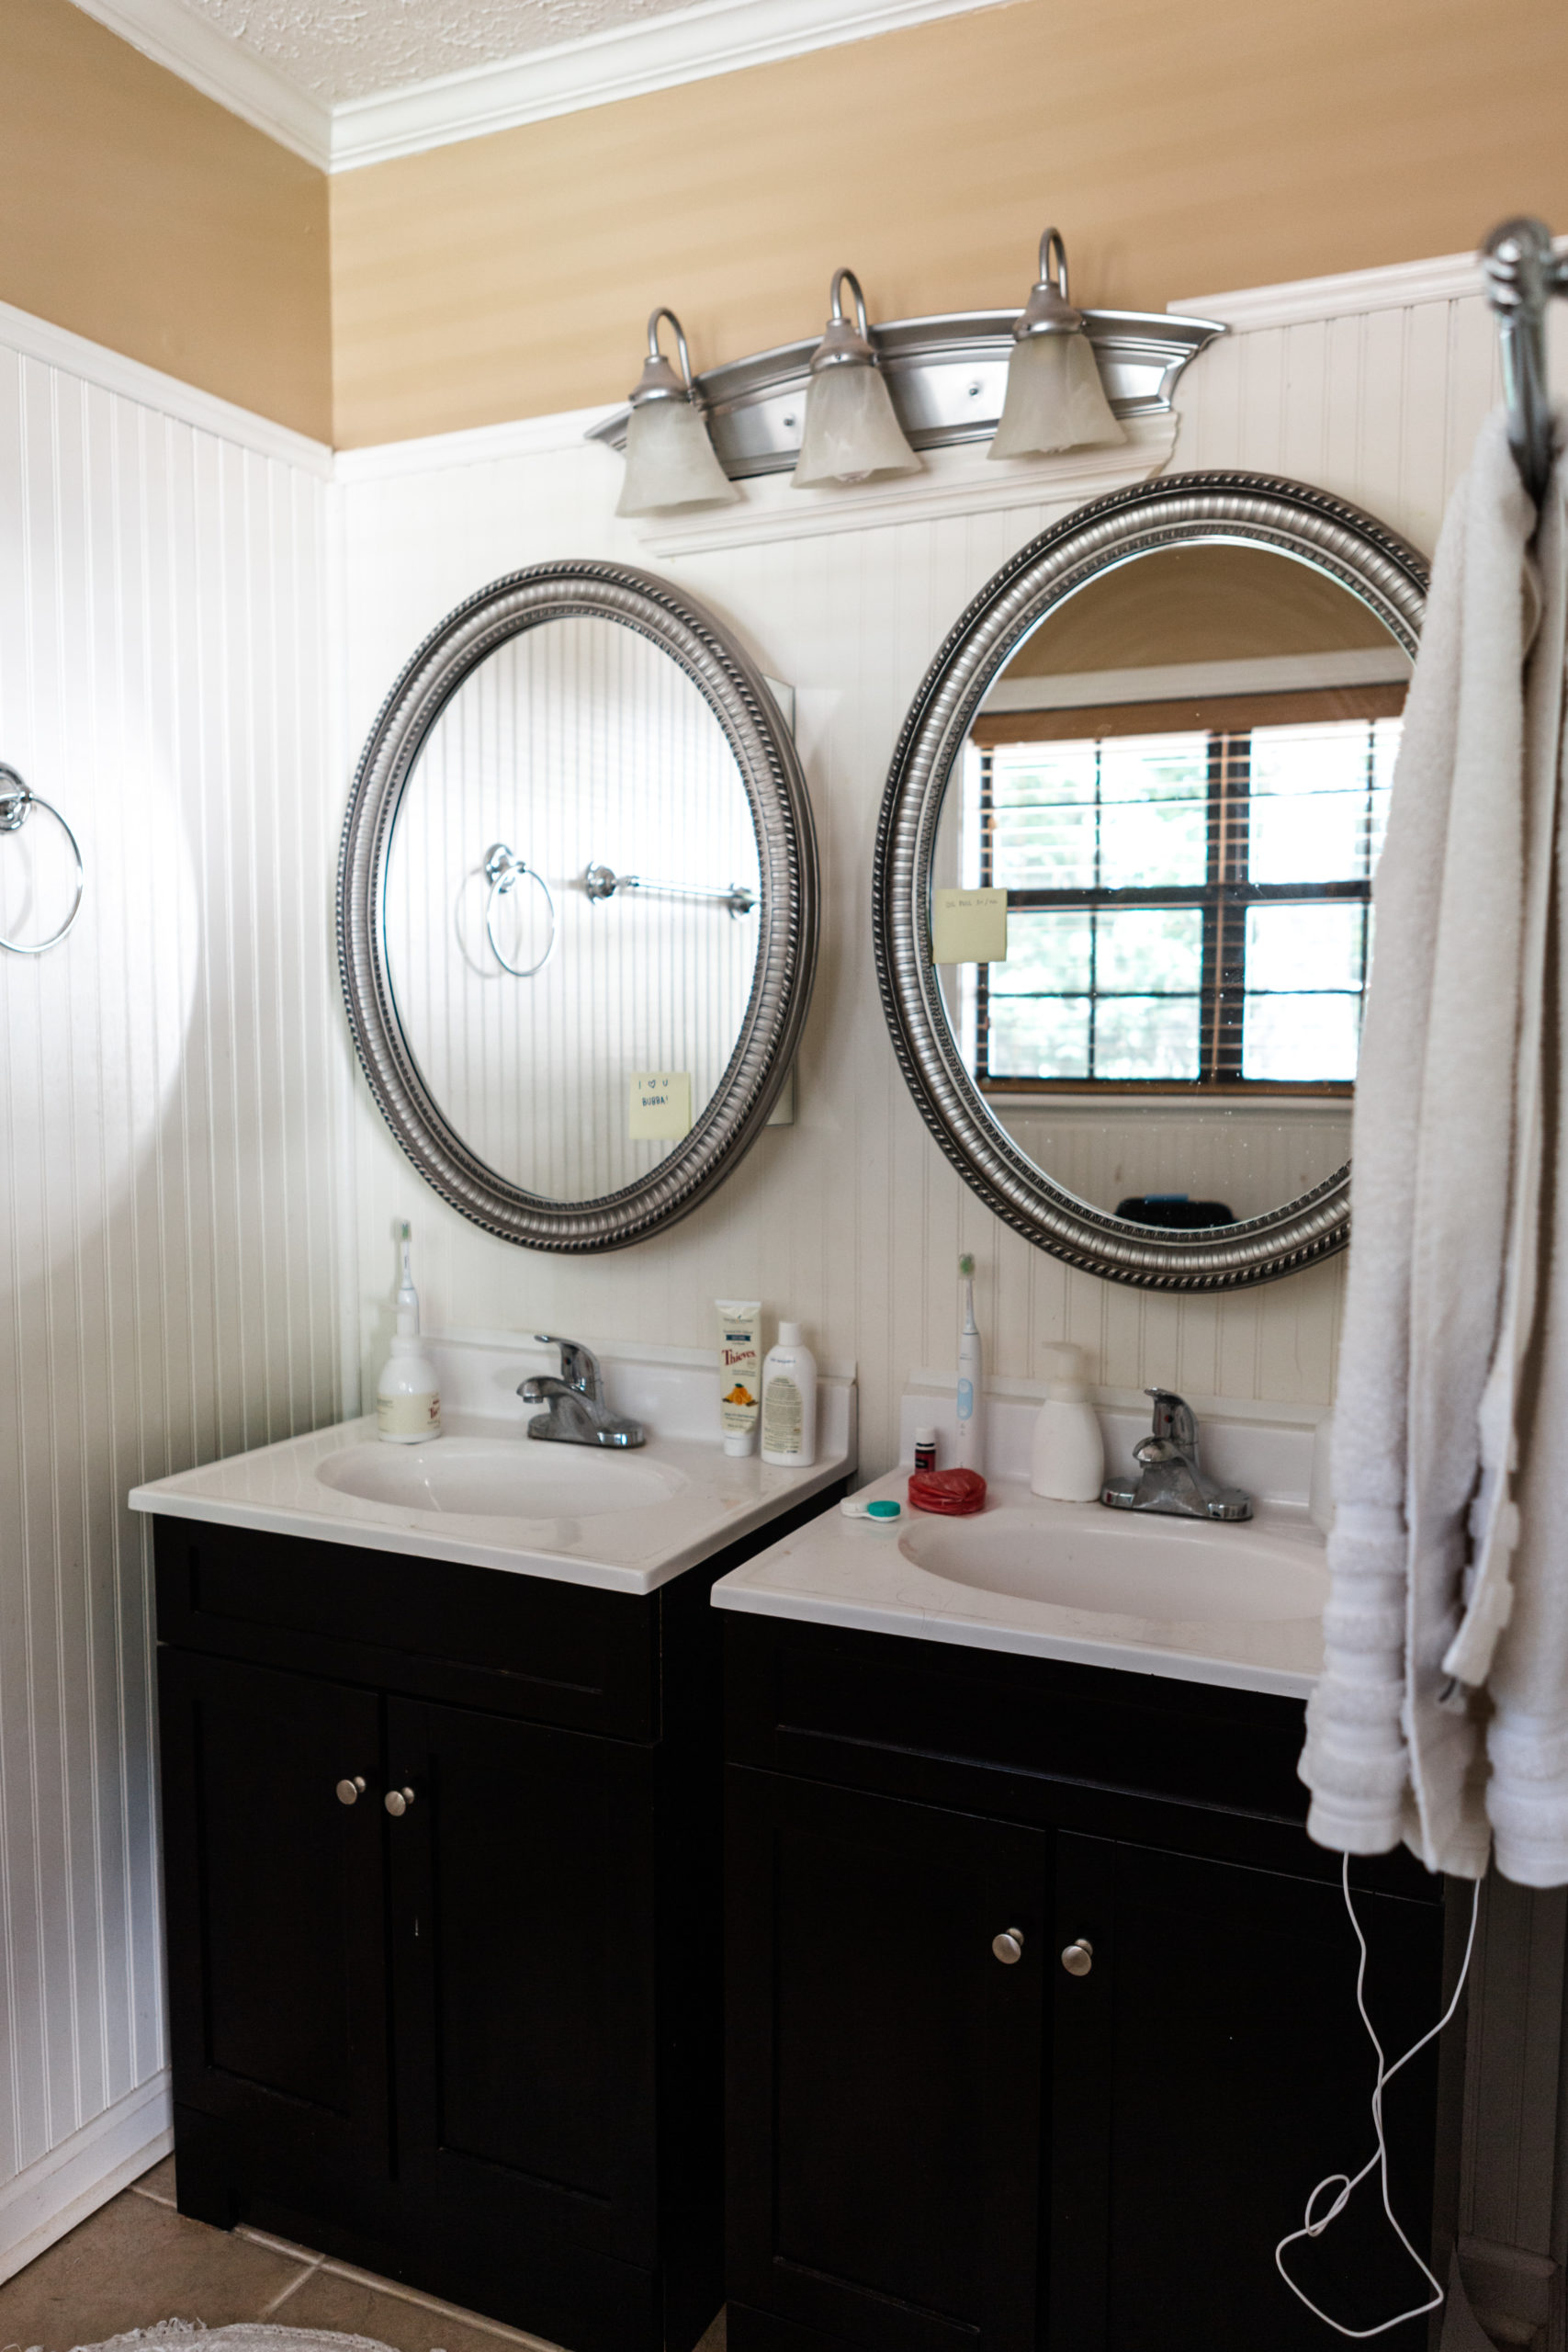
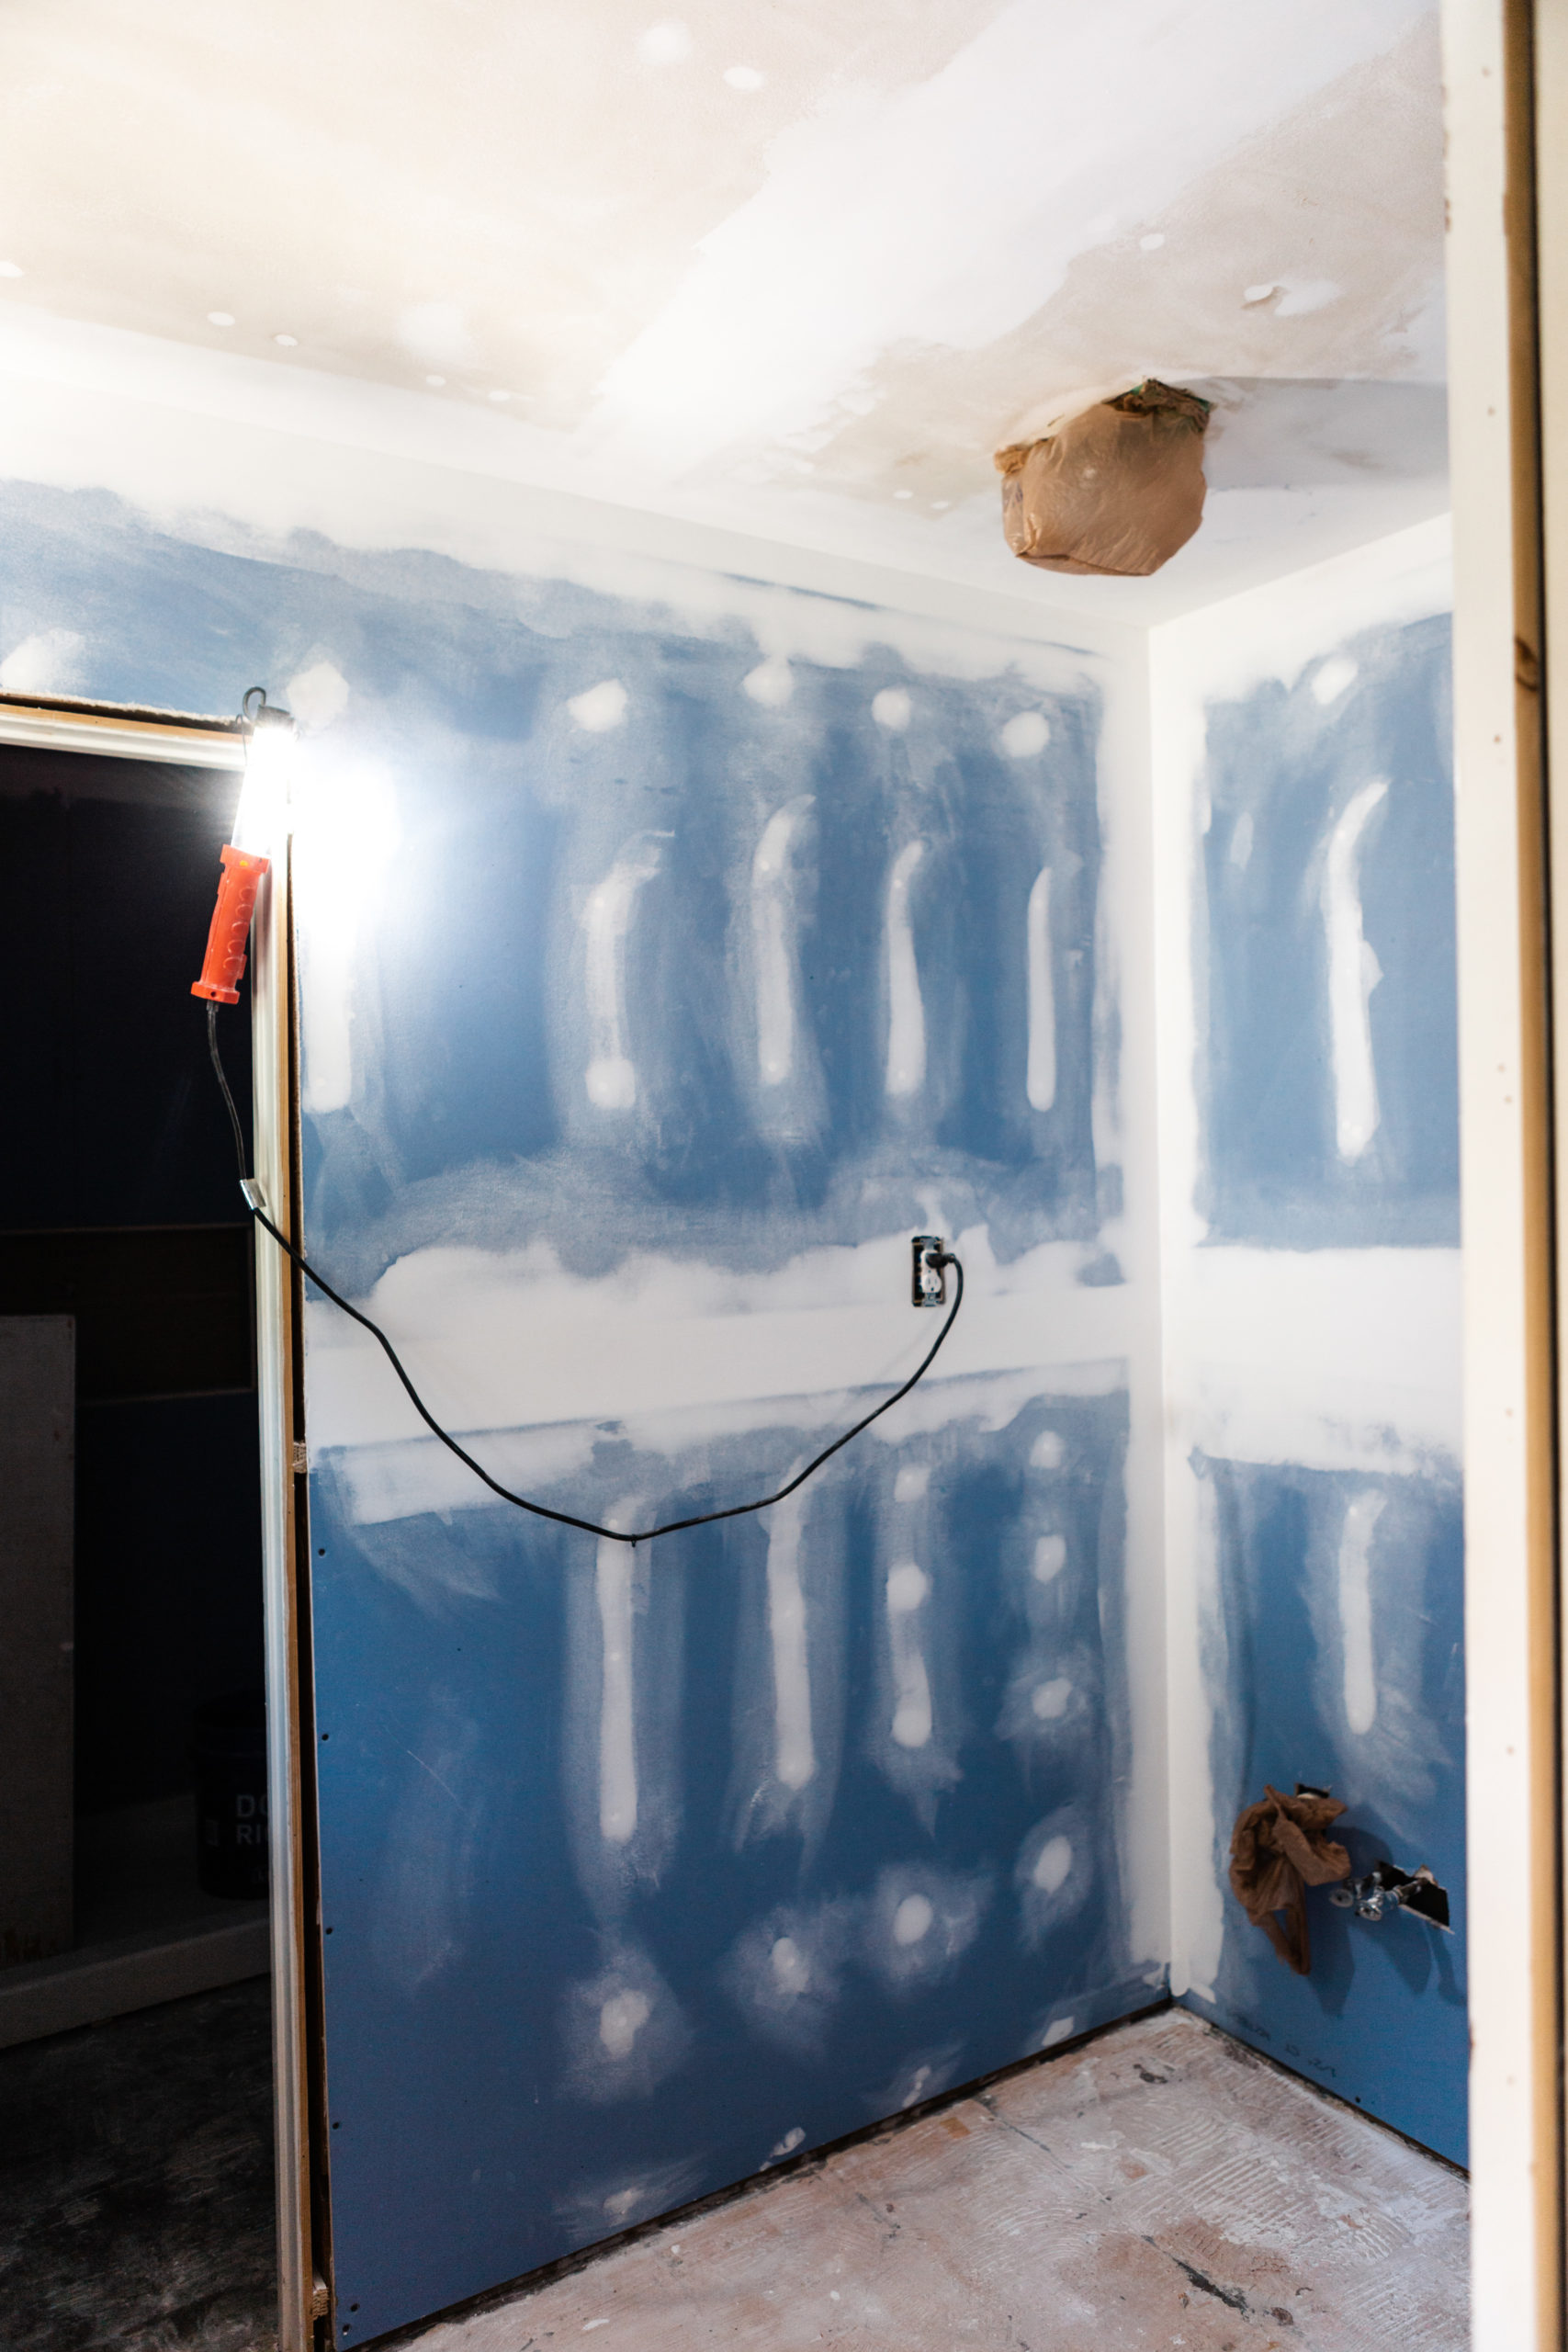
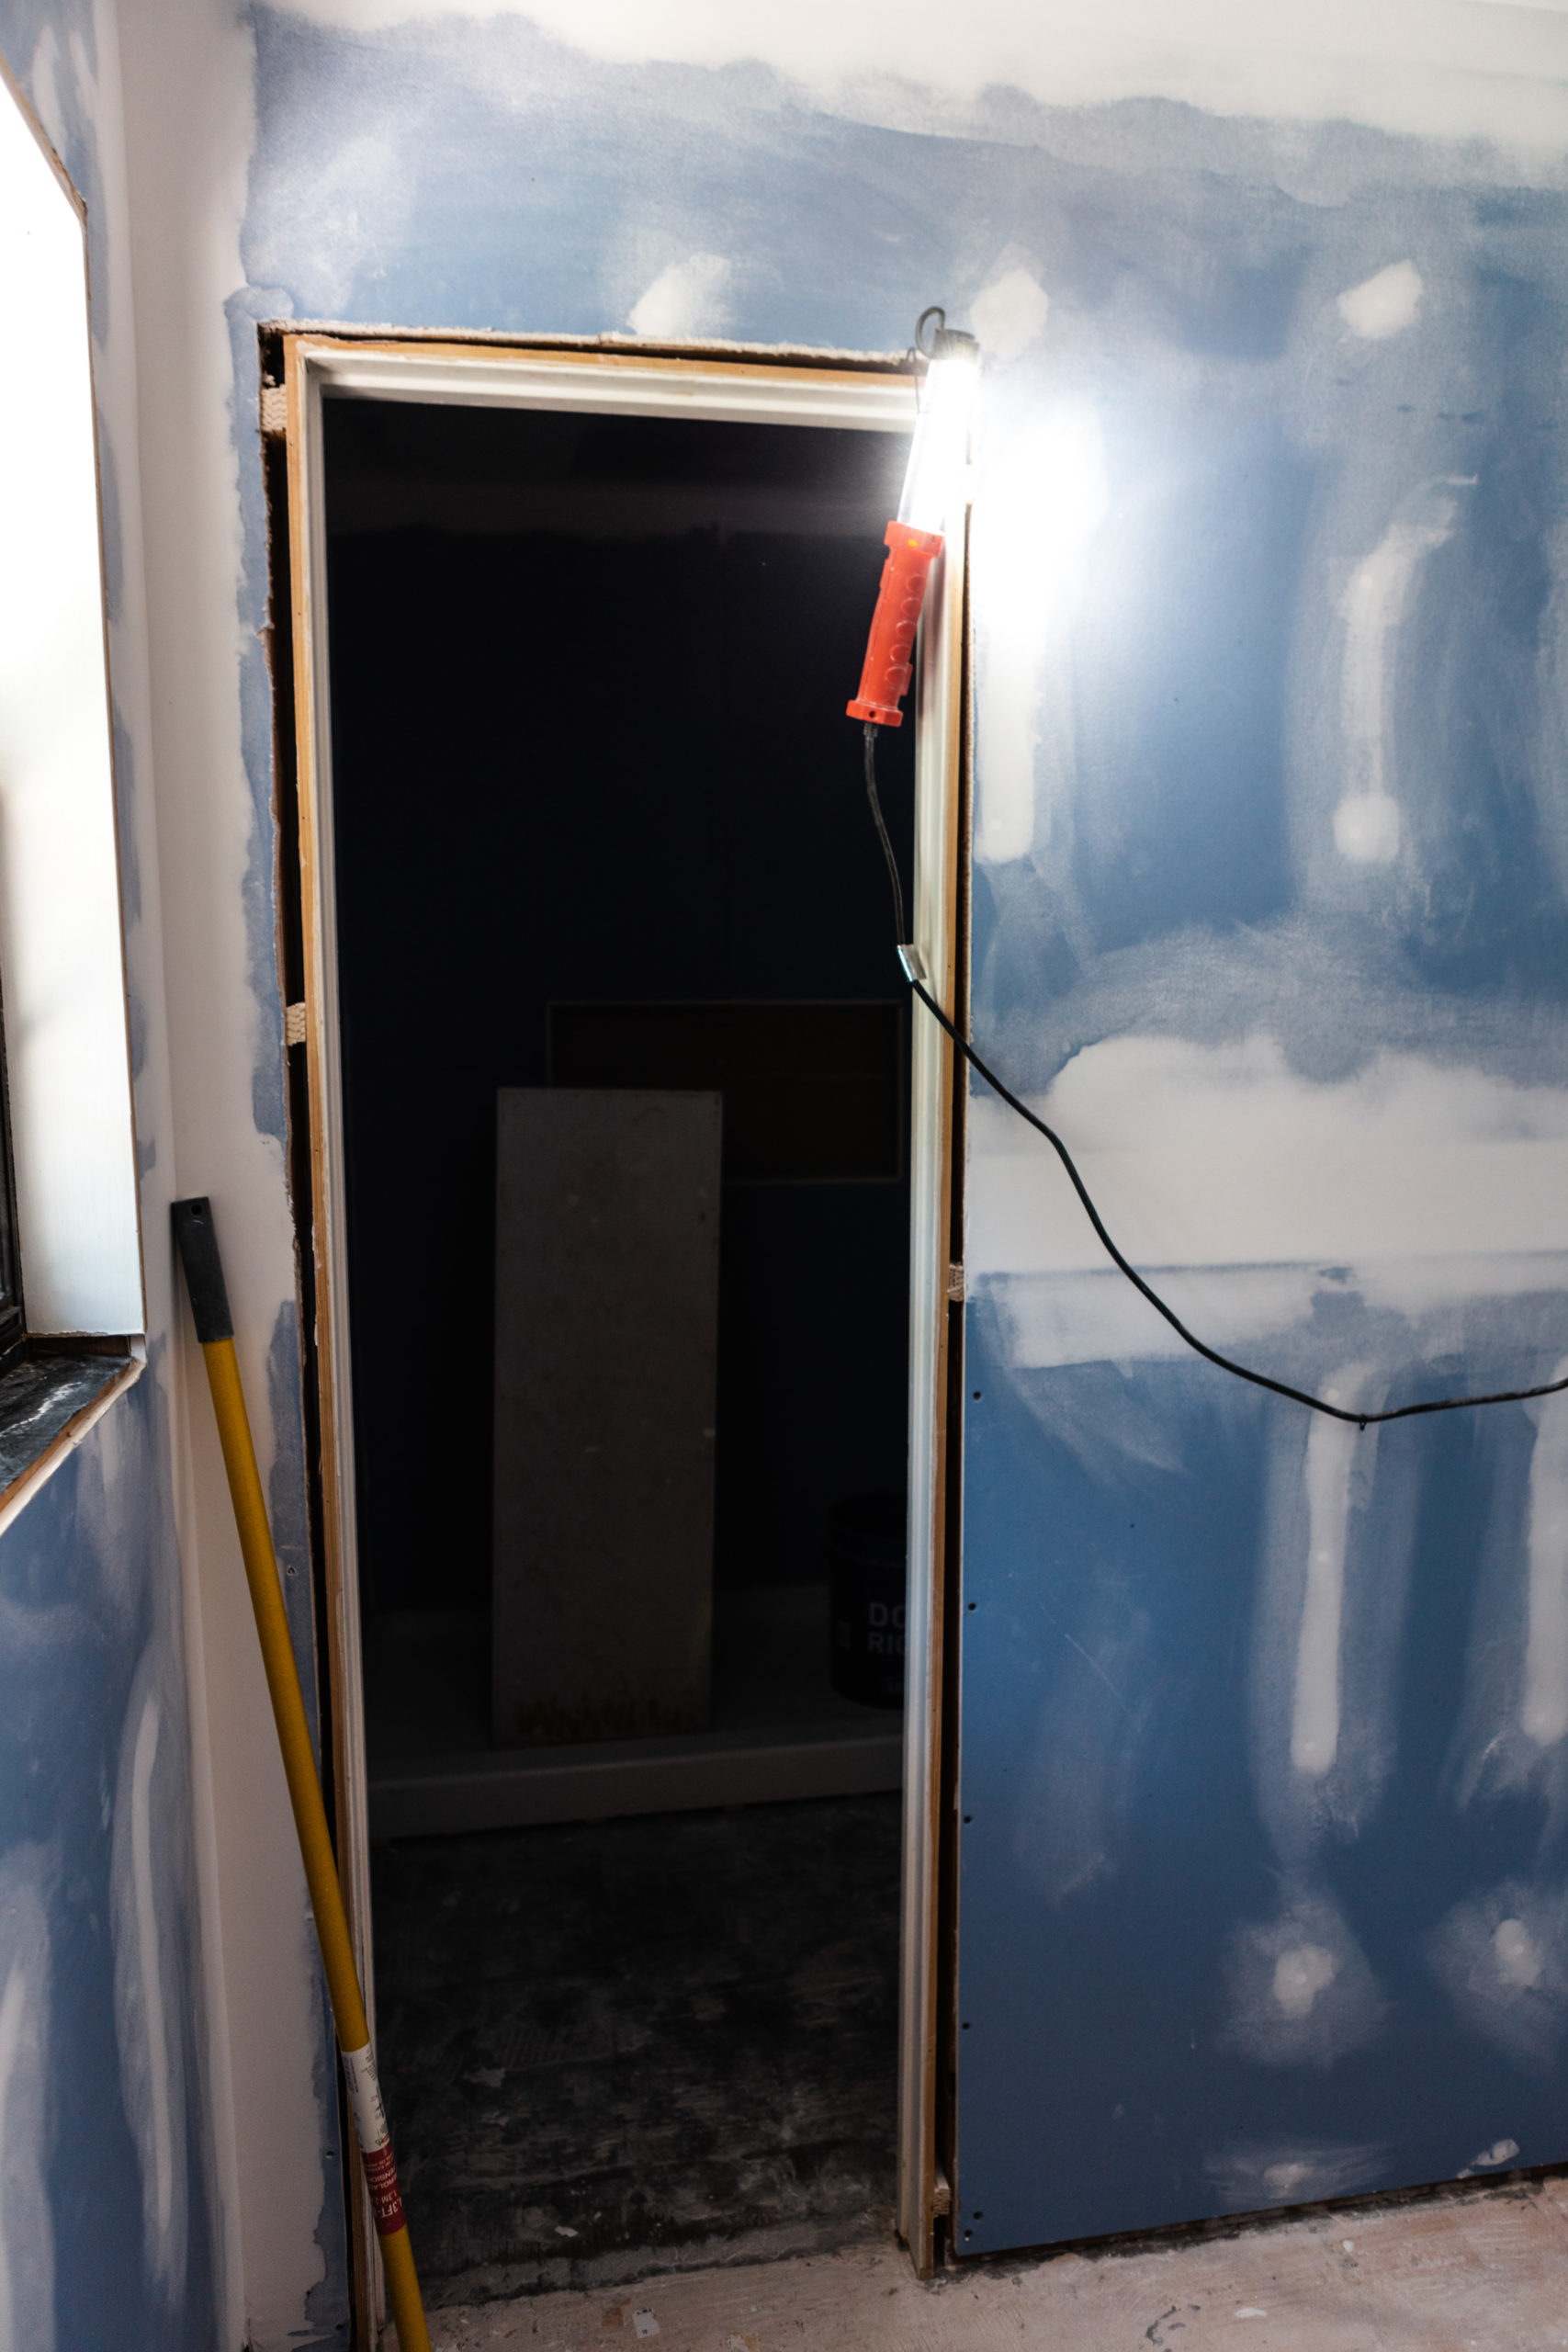
After we installed and mudded all of the drywall:


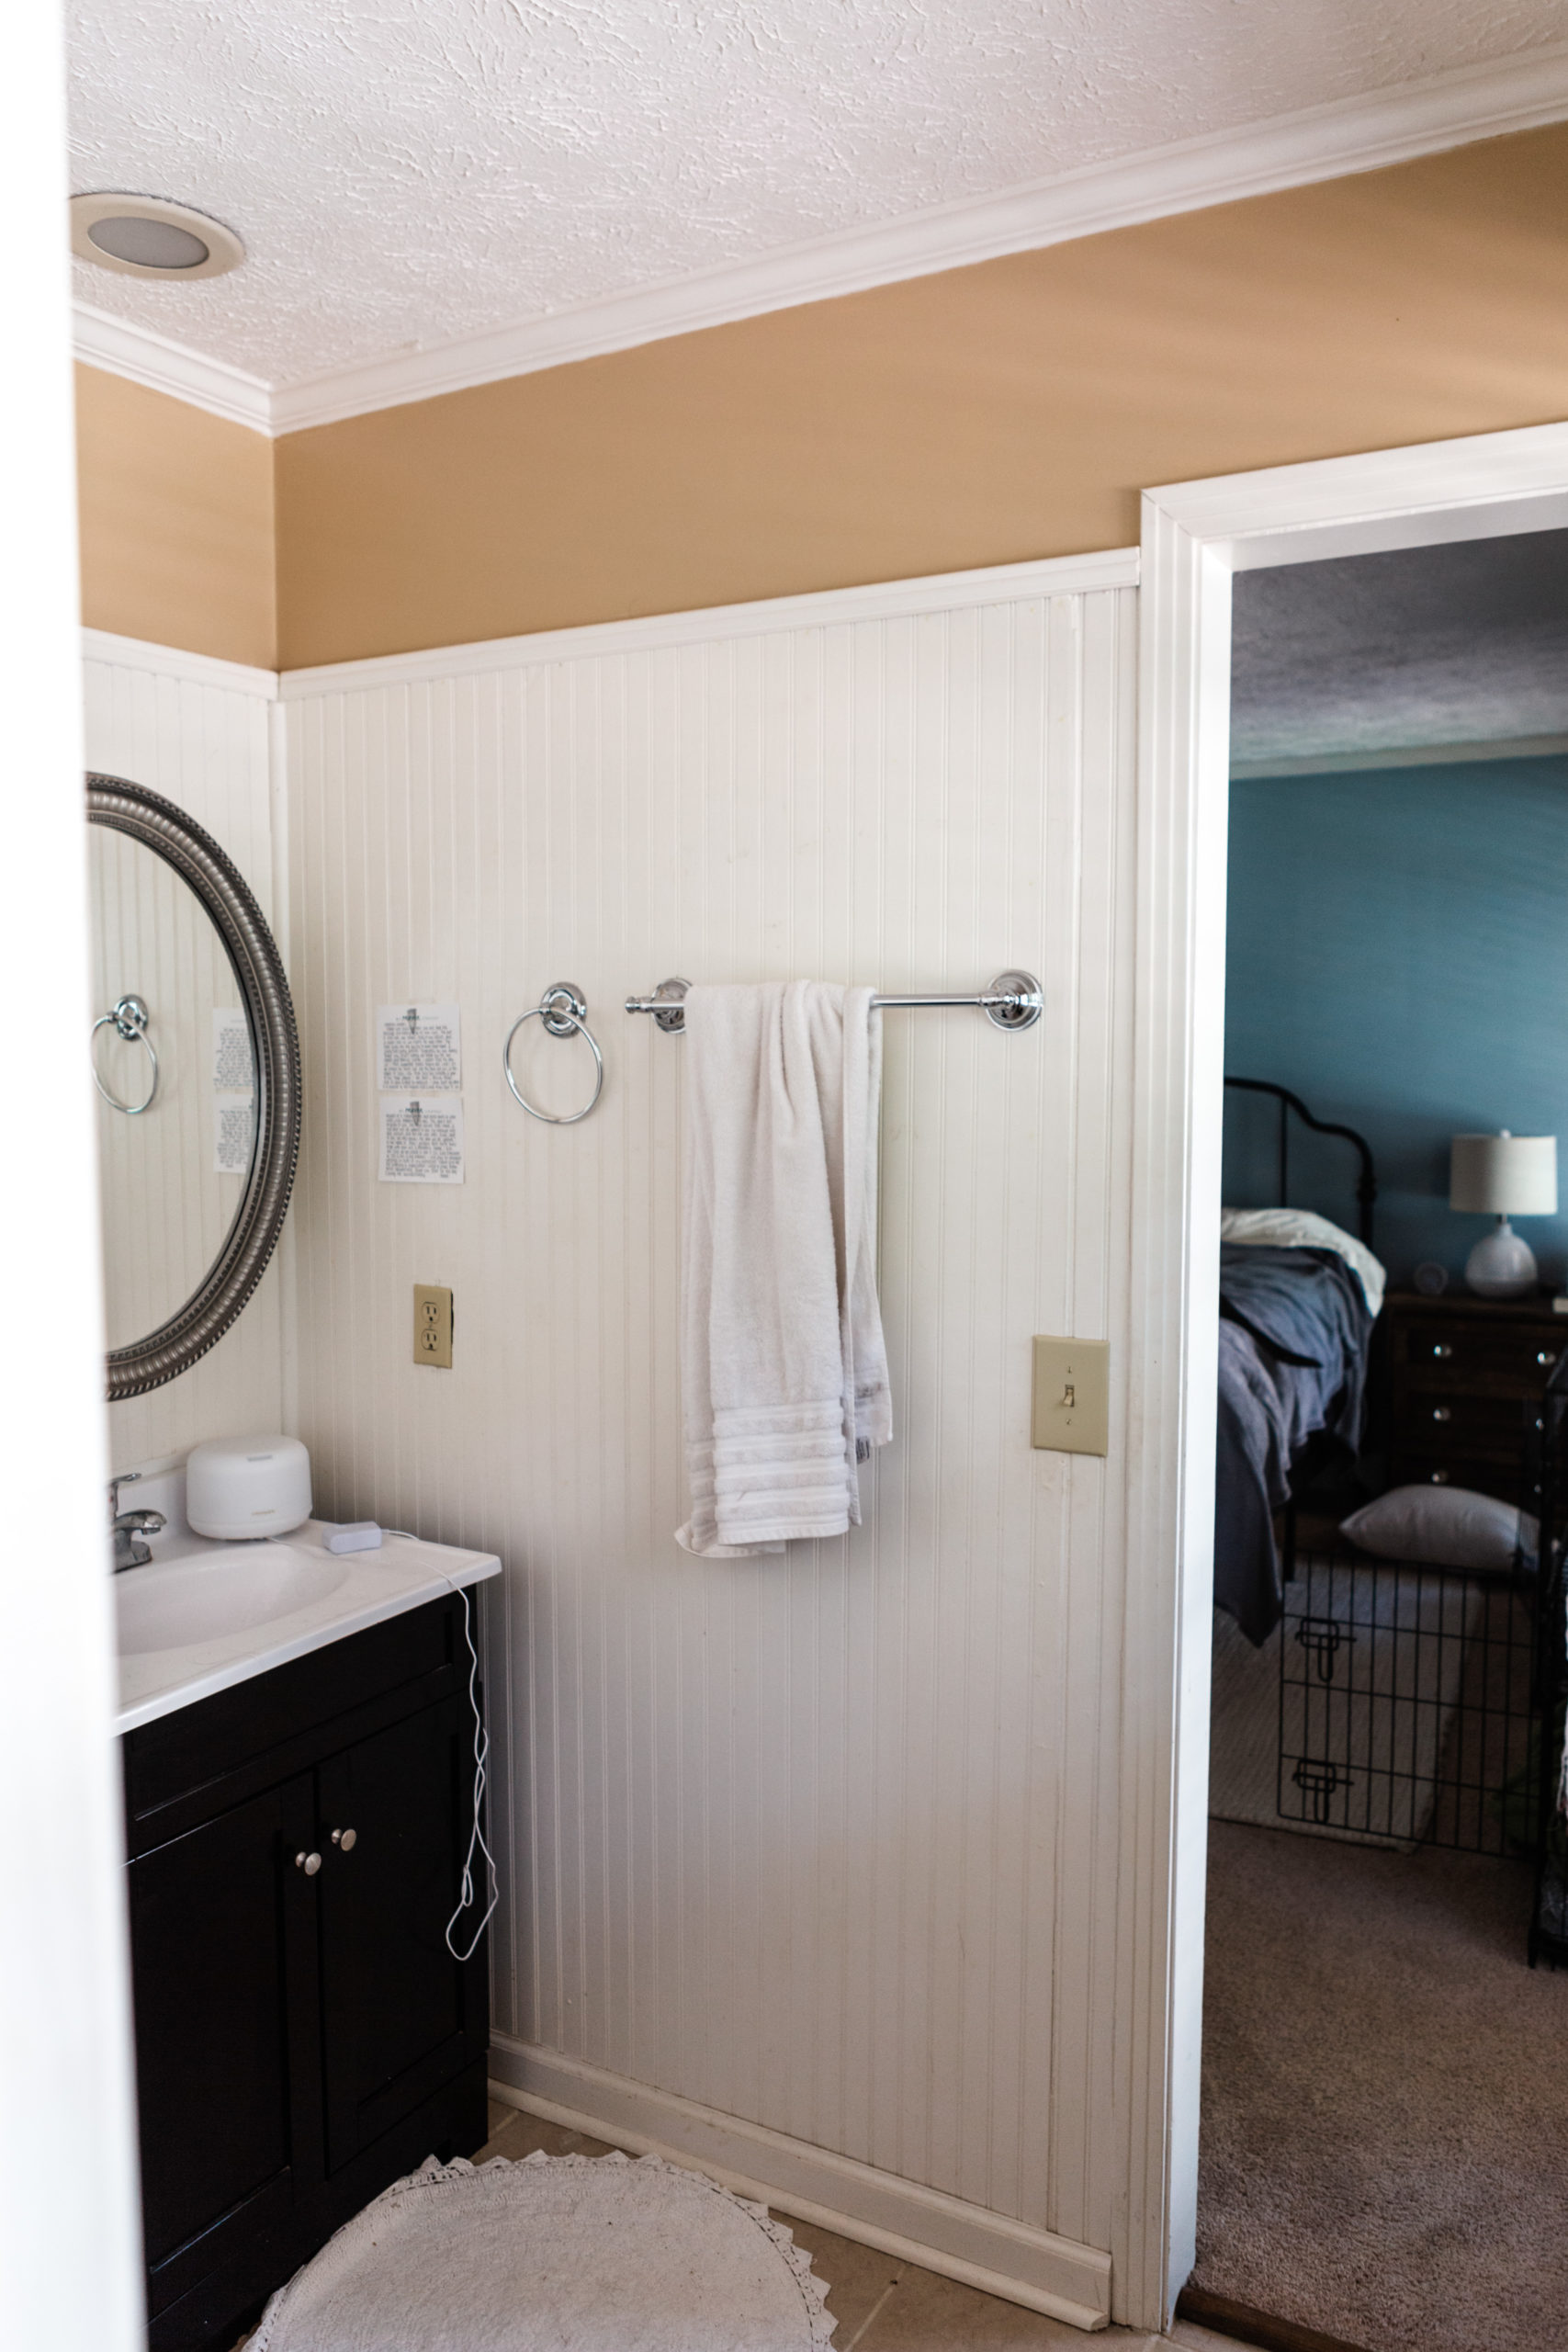
Stephen also learned how to install a pocket door! To see him close it for the first time and his reaction brought me so much joy. He was so excited and so proud. I wouldn’t want to do all of this work with anyone else!
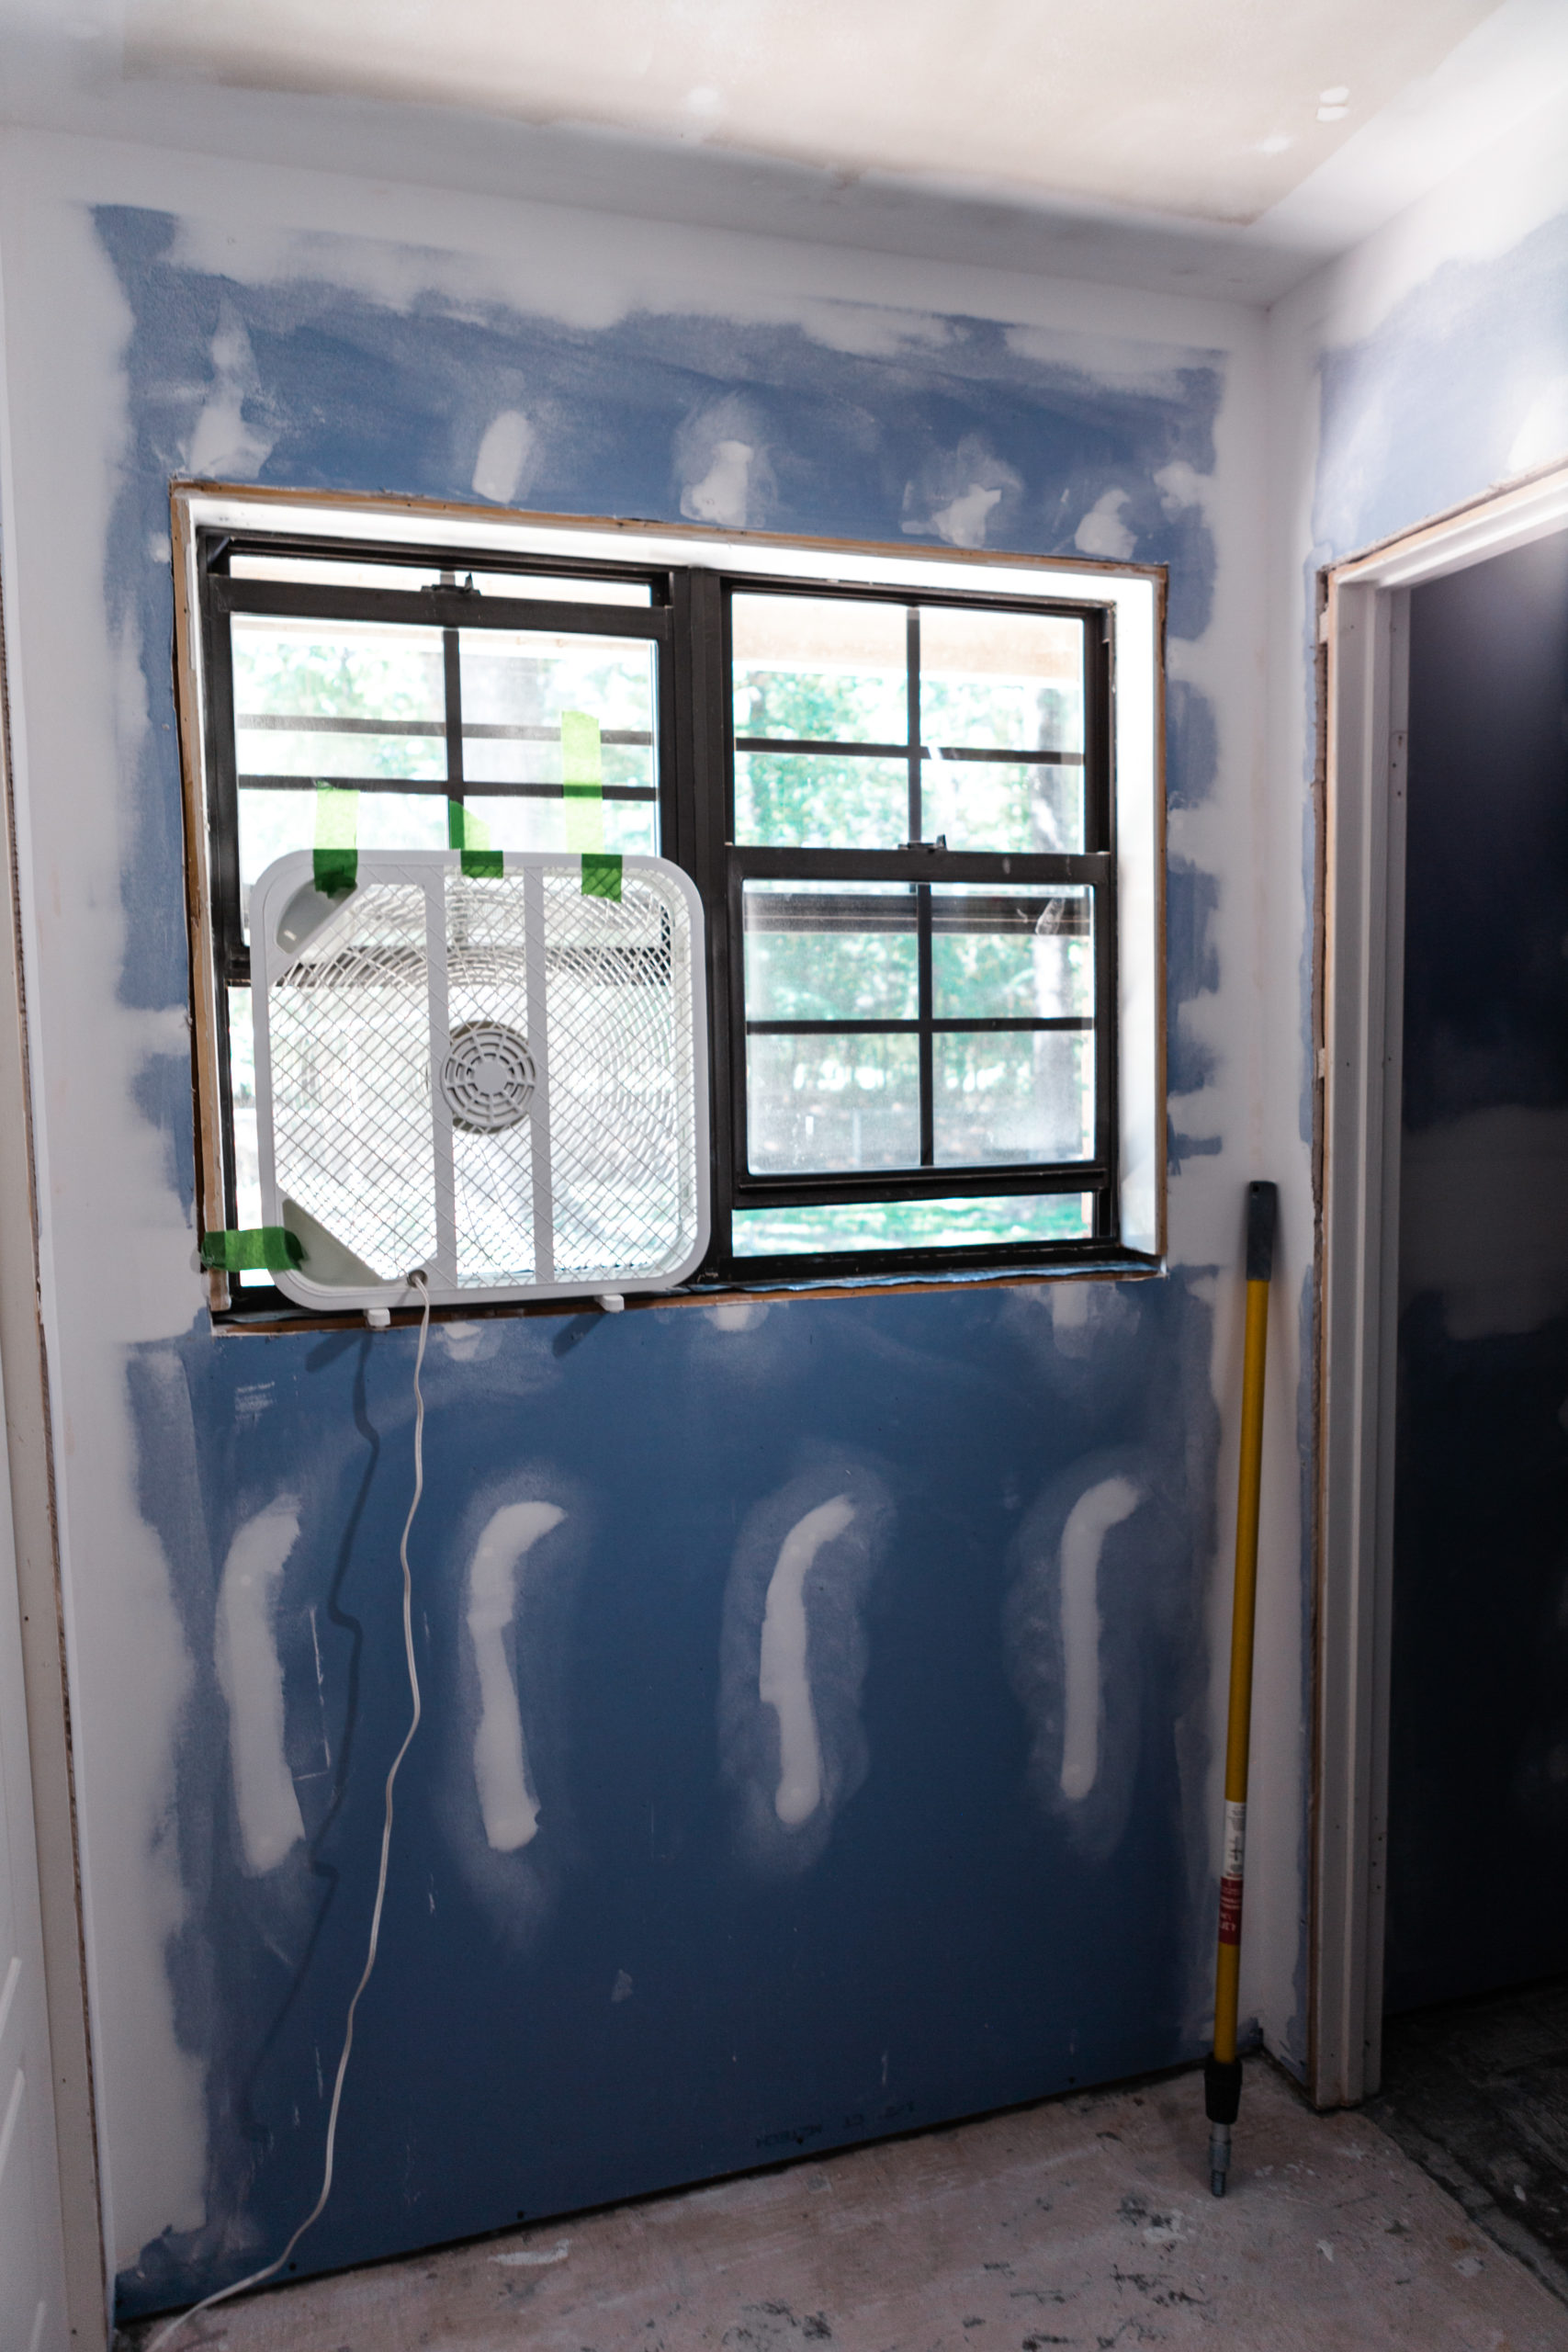
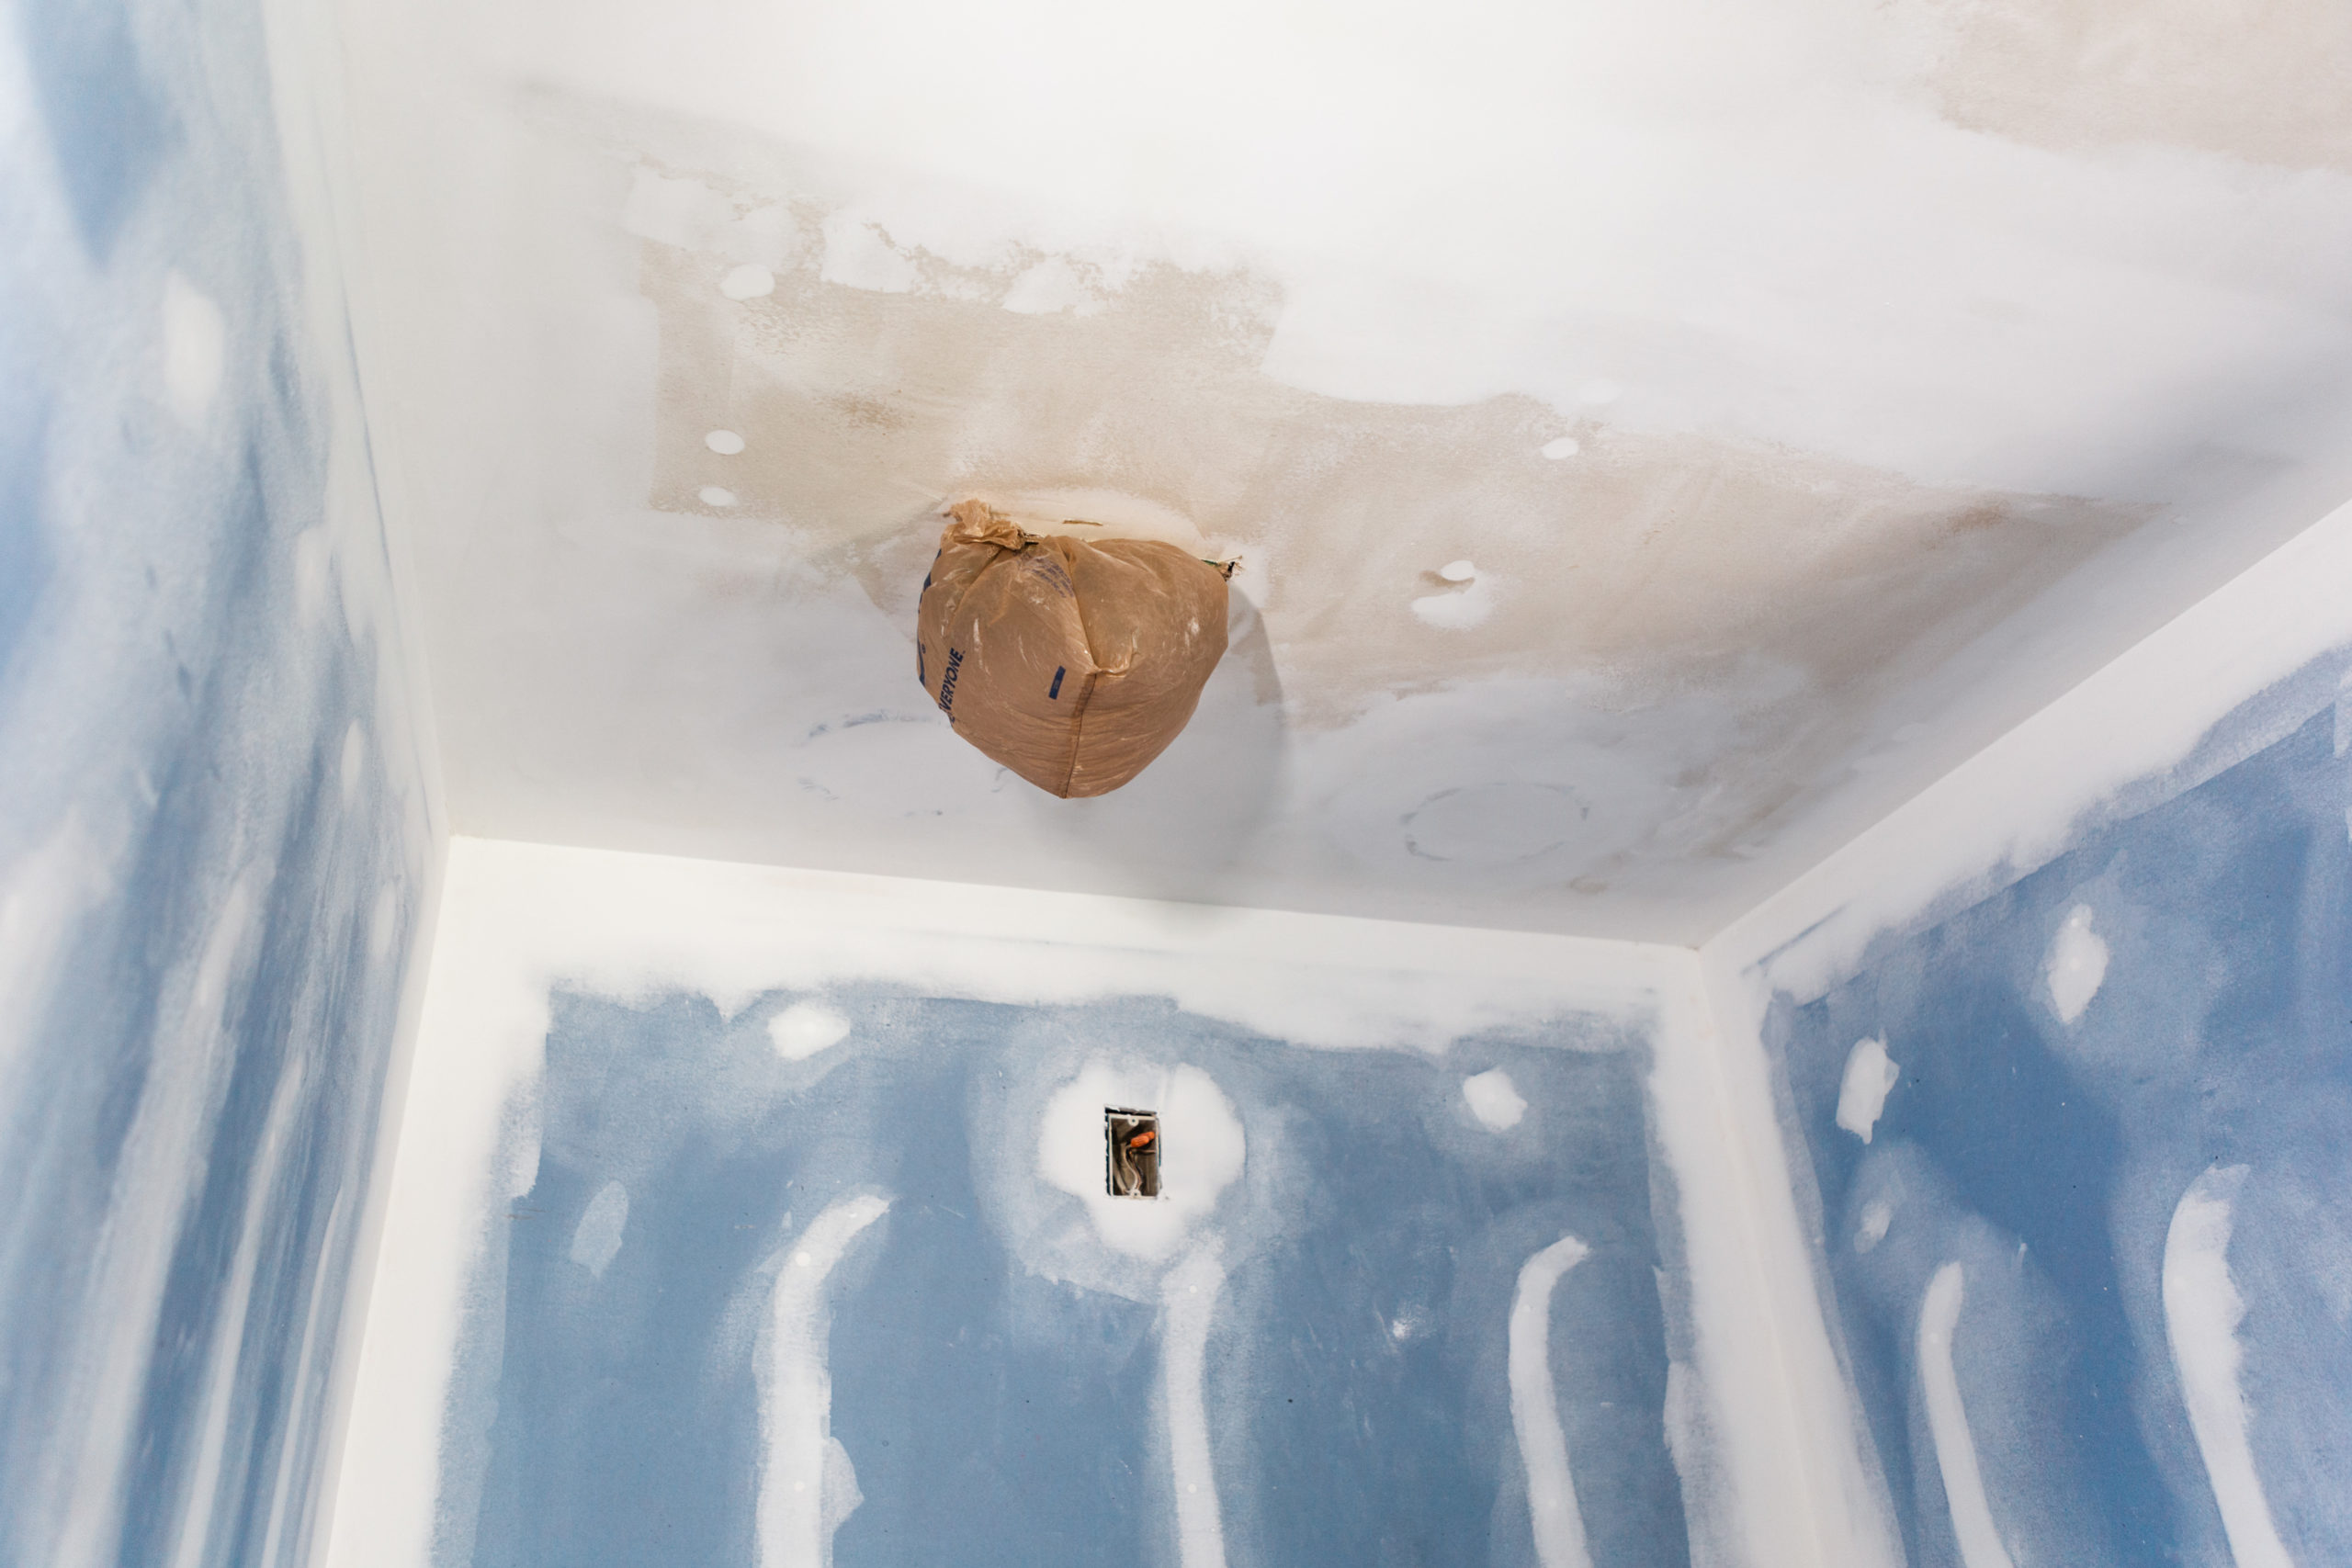
All of the drywall is done and perfected to the best of our ability except for the two lights over the old vanities. They need a couple more coats and then they should be good!
Important tips we’ve learned along the way:
- Use a hawk instead of a pan! It saves your hand from cramping after holding it for hours (which you will end up doing).
- Make sure you have adequate lighting! It is SO NEEDED. Otherwise you’ll go back the next day and look at your mudding job and be like “WHAT WAS I DOING?!!!!”
- Having multiple sized knives is really important. I included a set that would be convenient to get below. It doesn’t have a 4″ so I also included that because that was what I used most.
- If you watch the DIY Renovision prep for paint video you’ll learn that he does NOT wipe down the walls or vacuum before priming. This saved us so much time and results in a smoother finish when the dust fills in all of the small cracks.
- For the corners, use an angled edge sanding block at an angle while sanding. This is key so that you don’t dig into the corners! I linked the one we used below.
- After priming, make sure you do a prime check! Jeff describes how to do this in this video at 2:40. We had a lot to go back and fixed when we did that check but now it looks so much better!
I hope you found this post helpful! Please let me know if you have any questions in the comments below and I will do my best to help. YOU CAN DO IT!!!
Shop the post:

I sincerely appreciate you all shopping through my affiliate links like the ones included in this post. I make a small commission when you purchase through these links at no extra cost to you. These funds help support my family and allow for us to produce better content for you all. I can’t thank you enough for supporting all that we do!
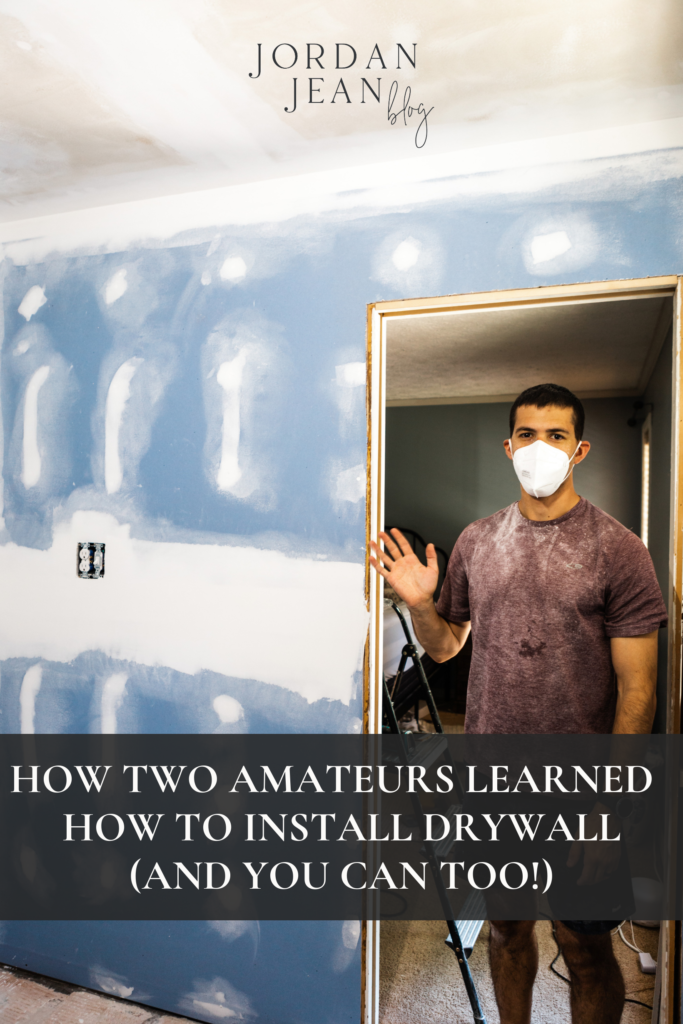
Pin this image to save the post for later:
jordan jean
Leave a Reply


[…] there. He redid the plumbing, made a new bench for the tub area, and reinstalled all new drywall. This process has gone so much faster than it did in our primary bathroom. Praise the Lord! Once he finished the […]
[…] is completely gone. We shared all about the drywall adventure and how we learned how to do it in THIS POST. We really like tackling things on our own but that is one thing that I will hesitate to do again. […]
[…] Although it can sound pretty daunting, it’s actually not going to be as intense as the primary bathroom was for us since we aren’t taking the walls down to the studs. It’s not necessarily […]
[…] though we have don’t have a functioning shower, sinks, or toilet in our bathroom yet, it feels like we’re finally getting close to finishing up this huge project! As we […]