March 22, 2022
Considering Stephen and I started this in June 2021, it feels pretty surreal to finally be sharing the reveal of the primary bathroom in our Mississippi home. And to think that we thought it would take us two months max!!! Oh bless our precious hearts… Instead of two, it took us nine months to complete but as I was taking these photos today, I couldn’t help but think about how much we learned along the way. We gutted and redid this entire space as two non experts with only our two sets of hands (except for the counter install and part of the tile grout that my dad did). I am so proud of us and excited to share this with you today!
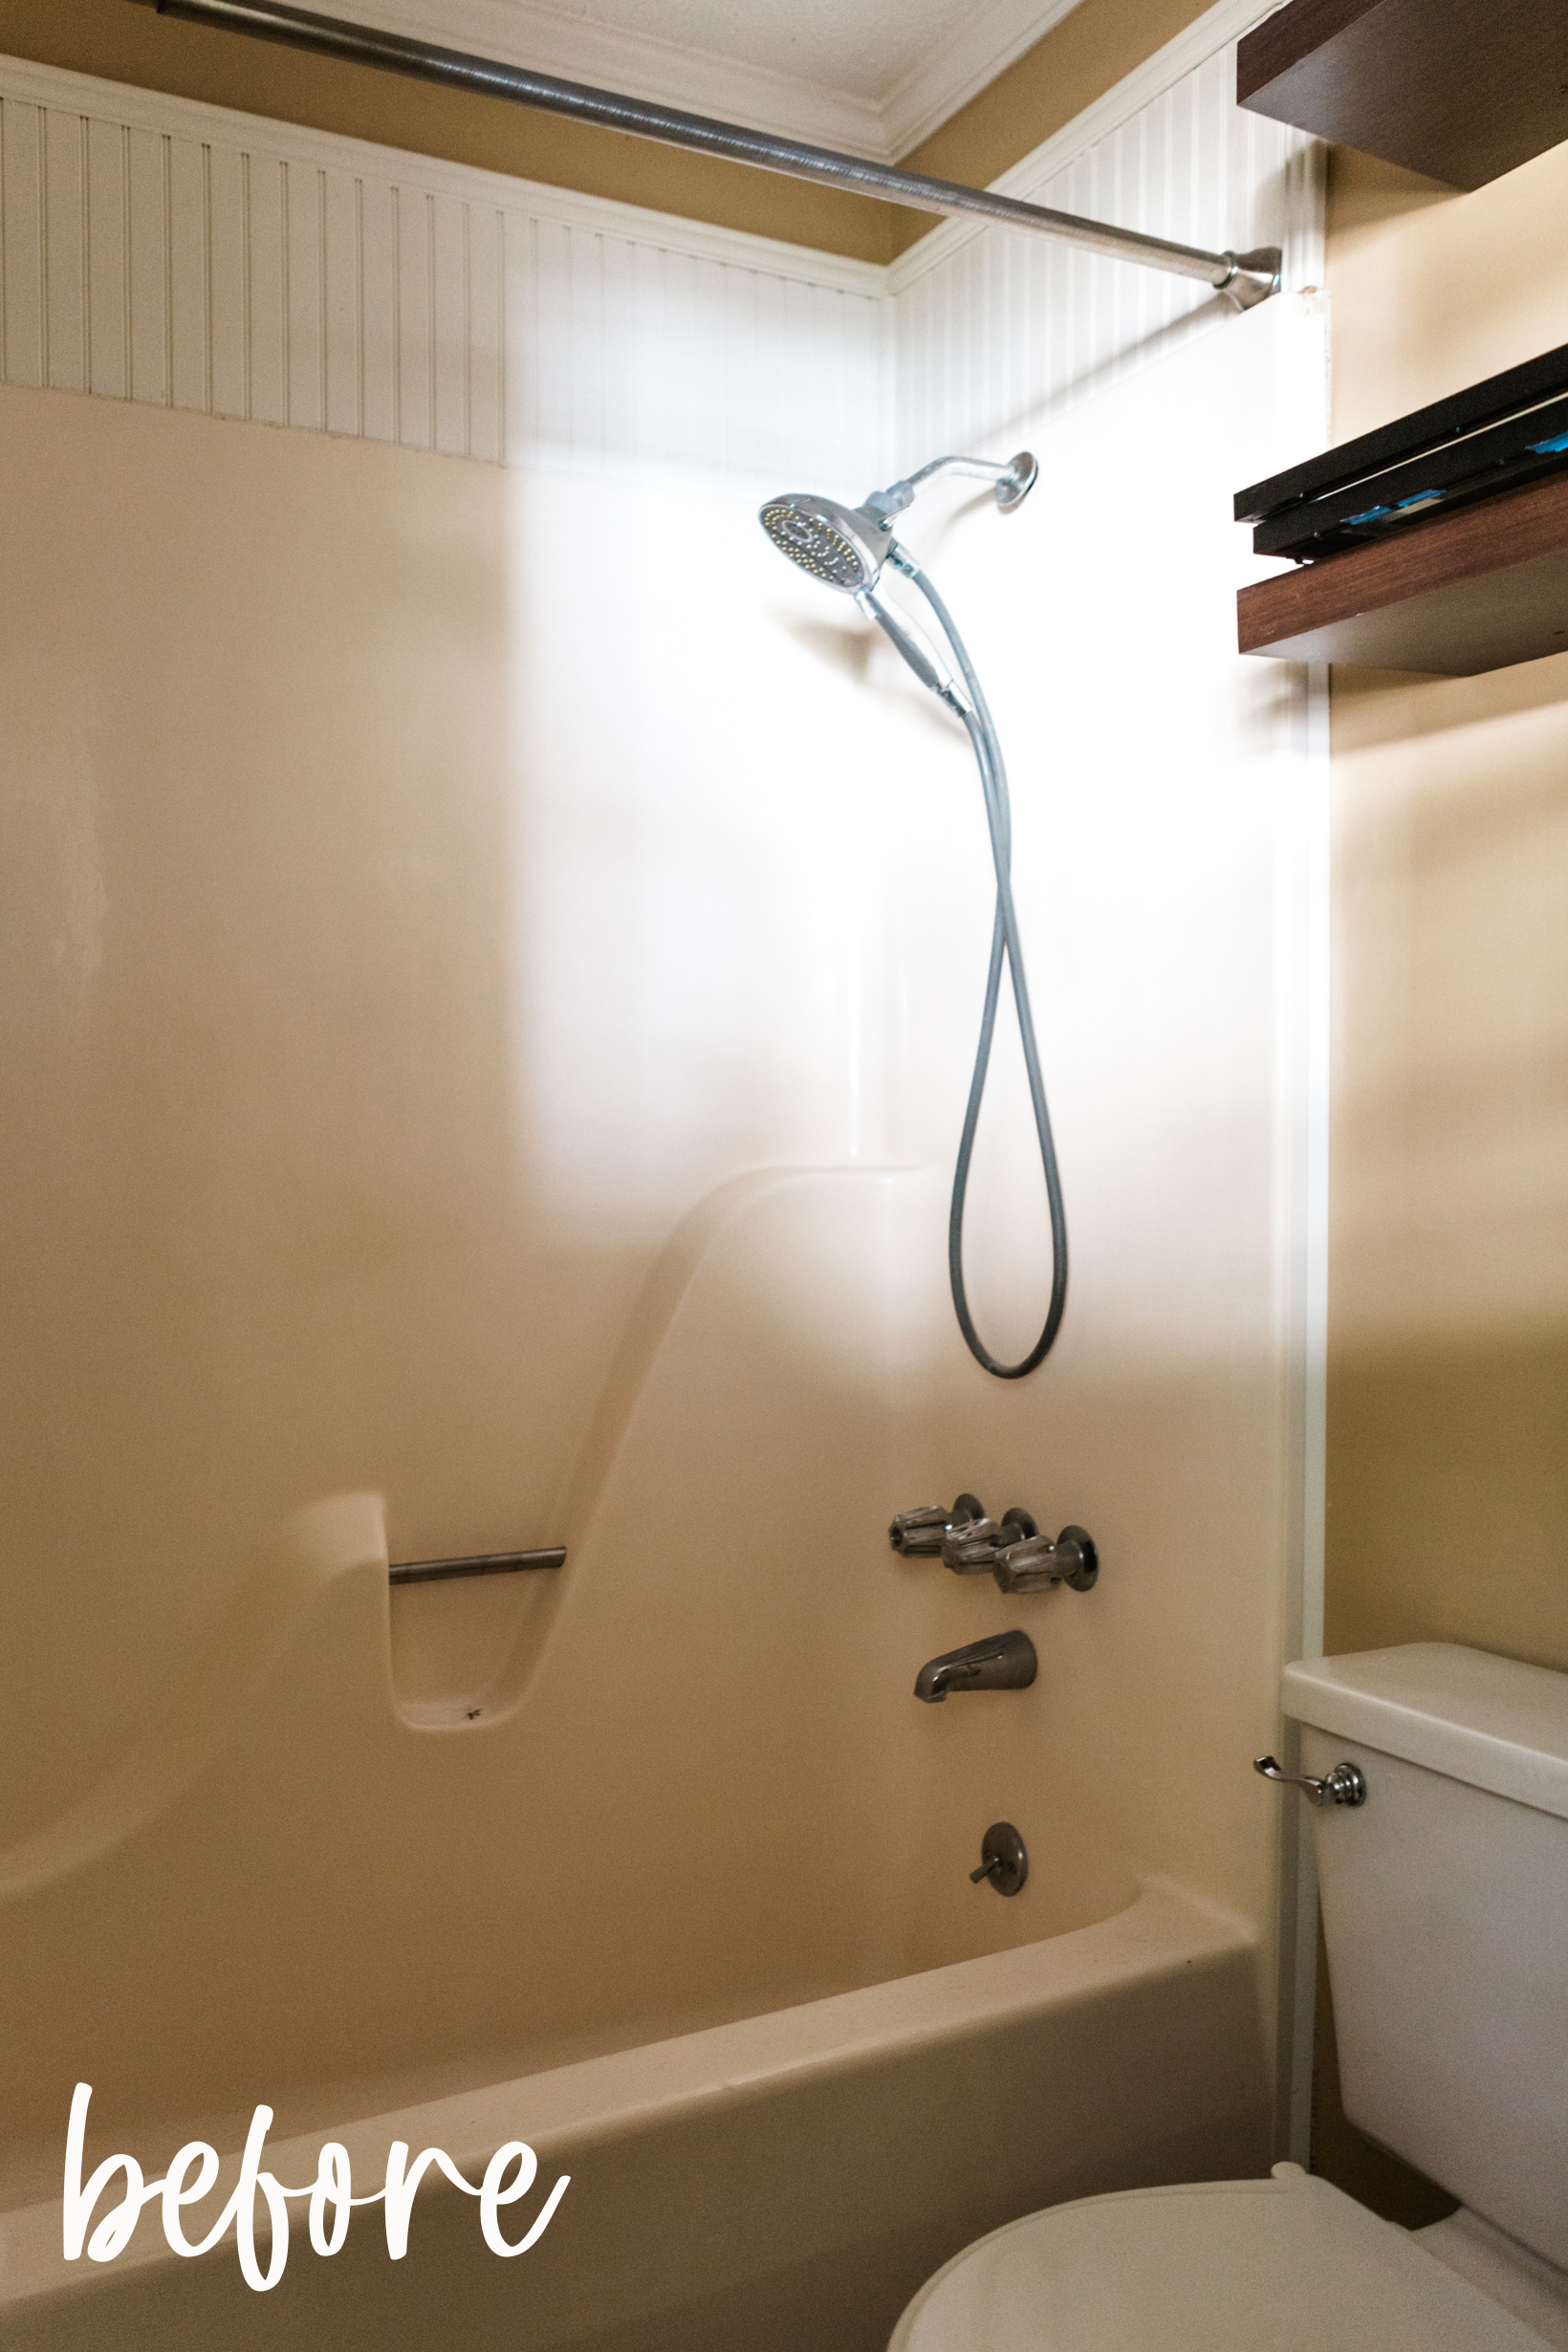
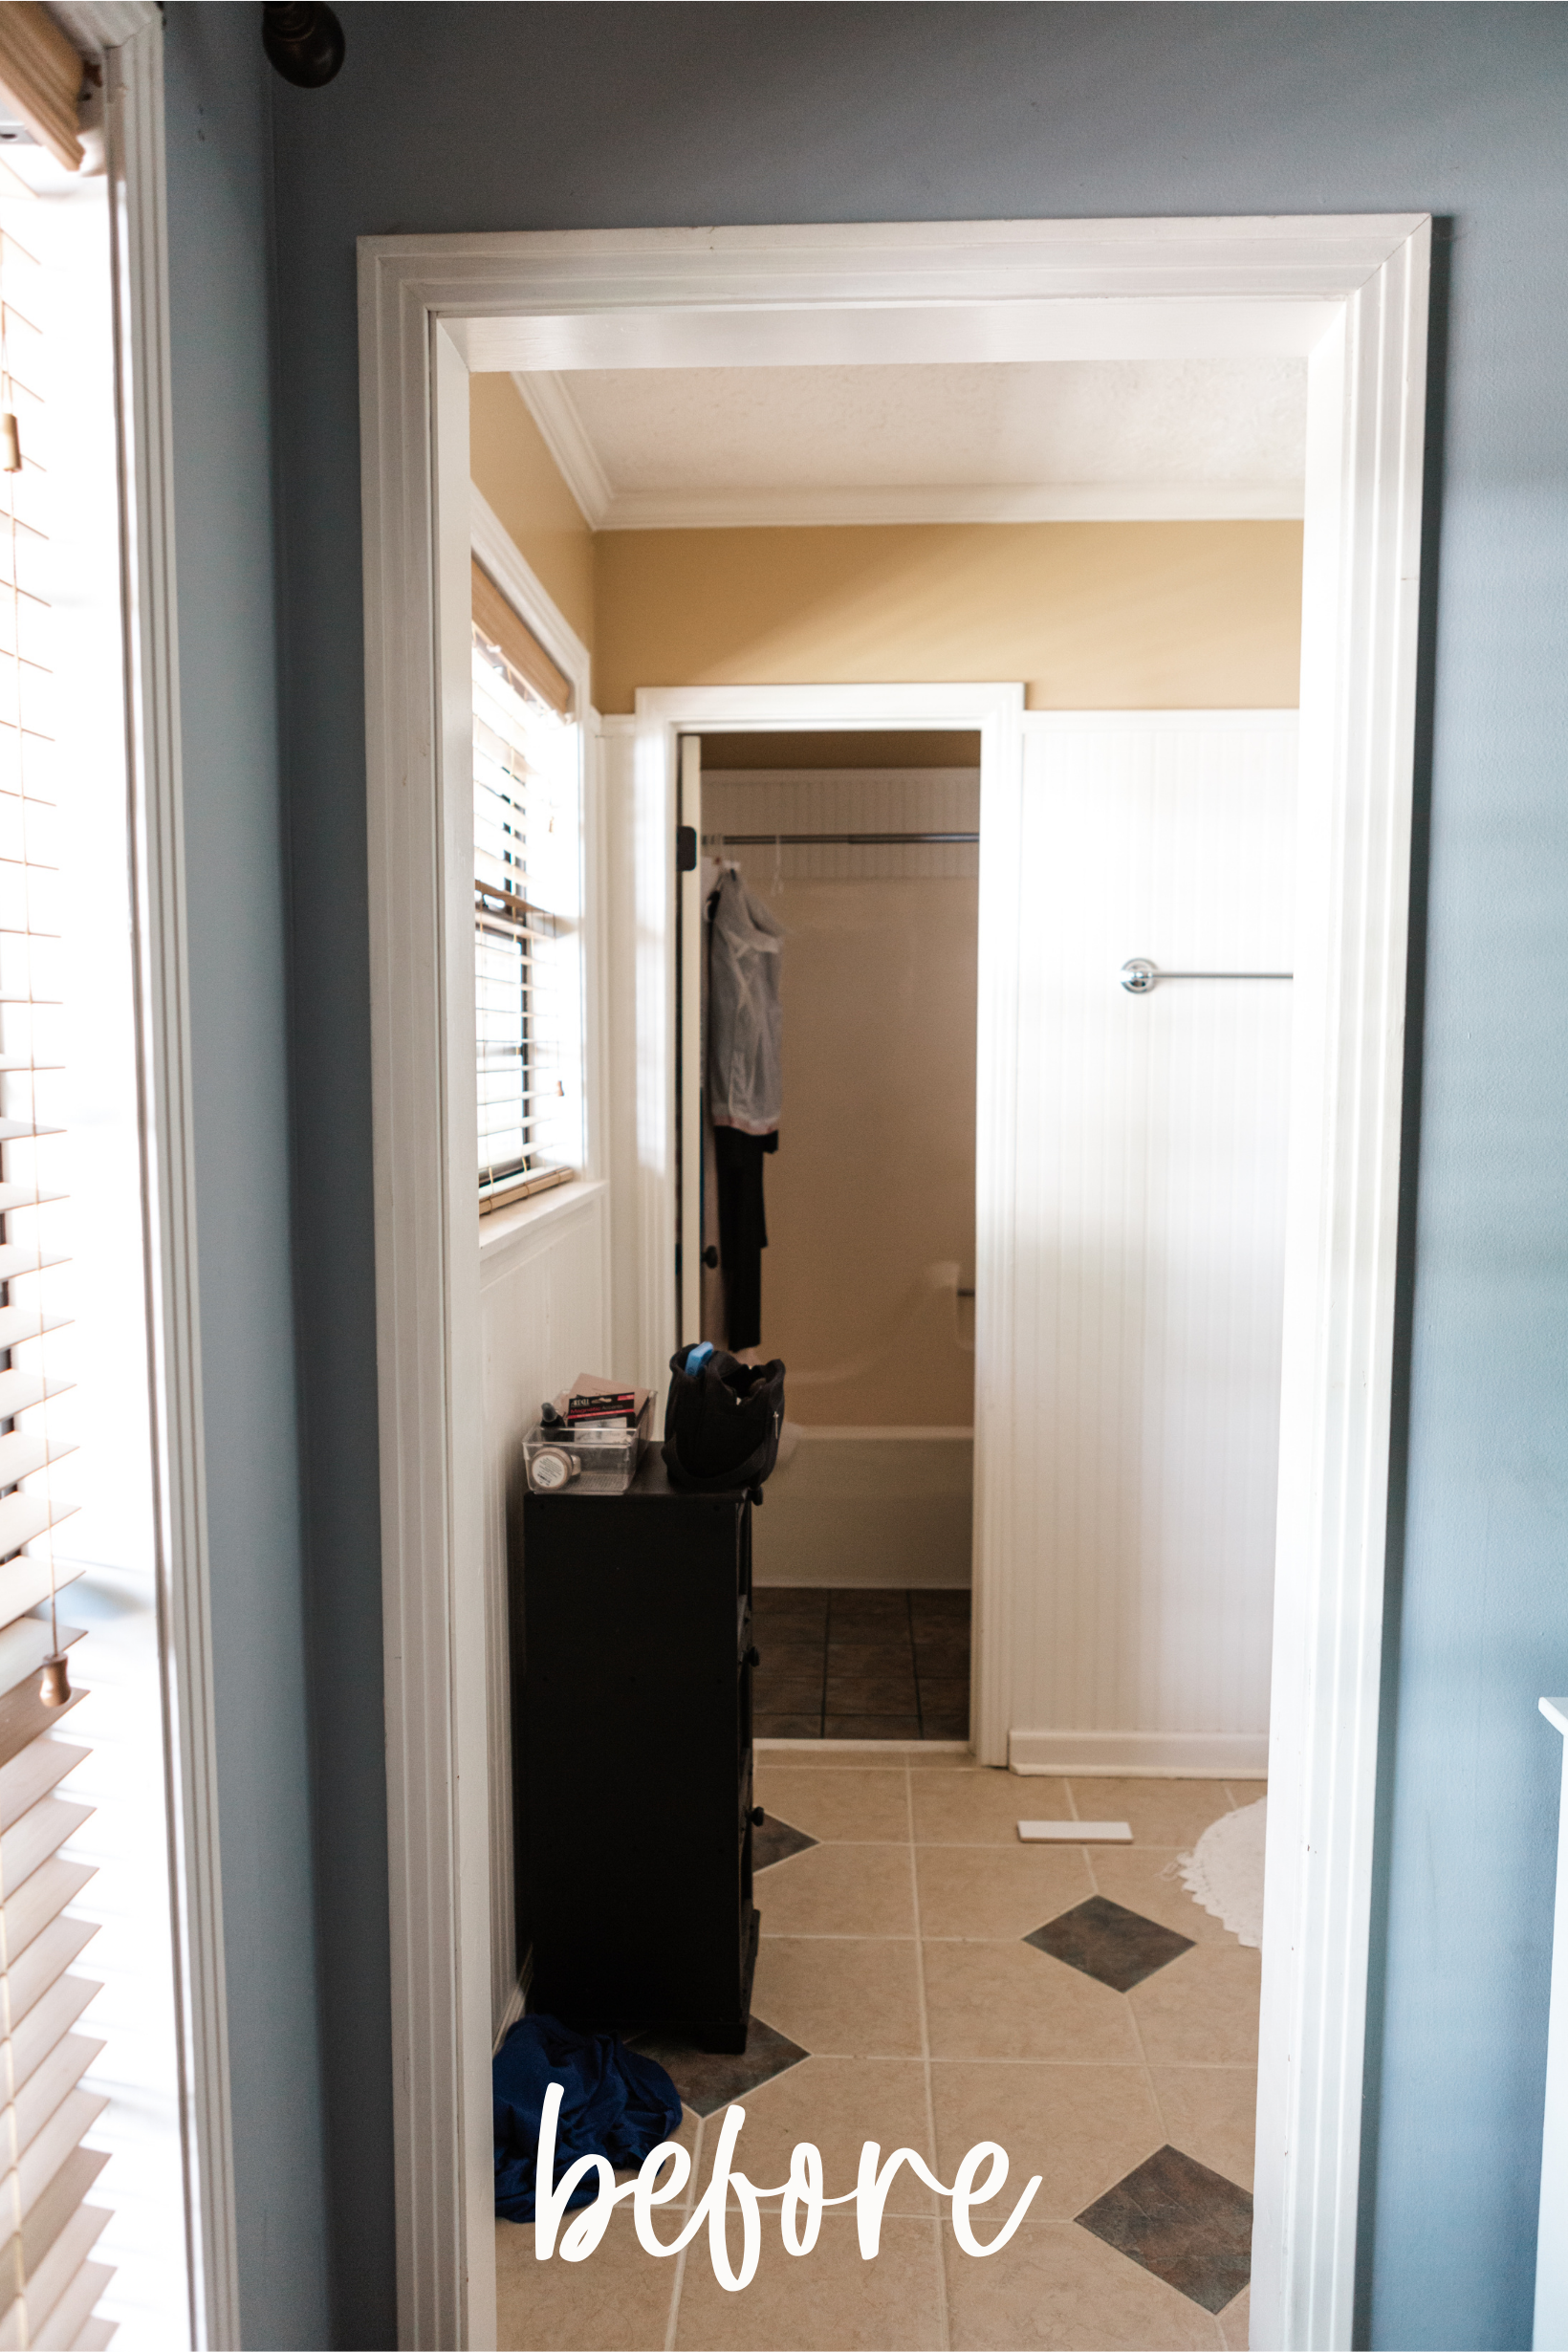
Here’s a reminder of where we started (our design plan can be found HERE):
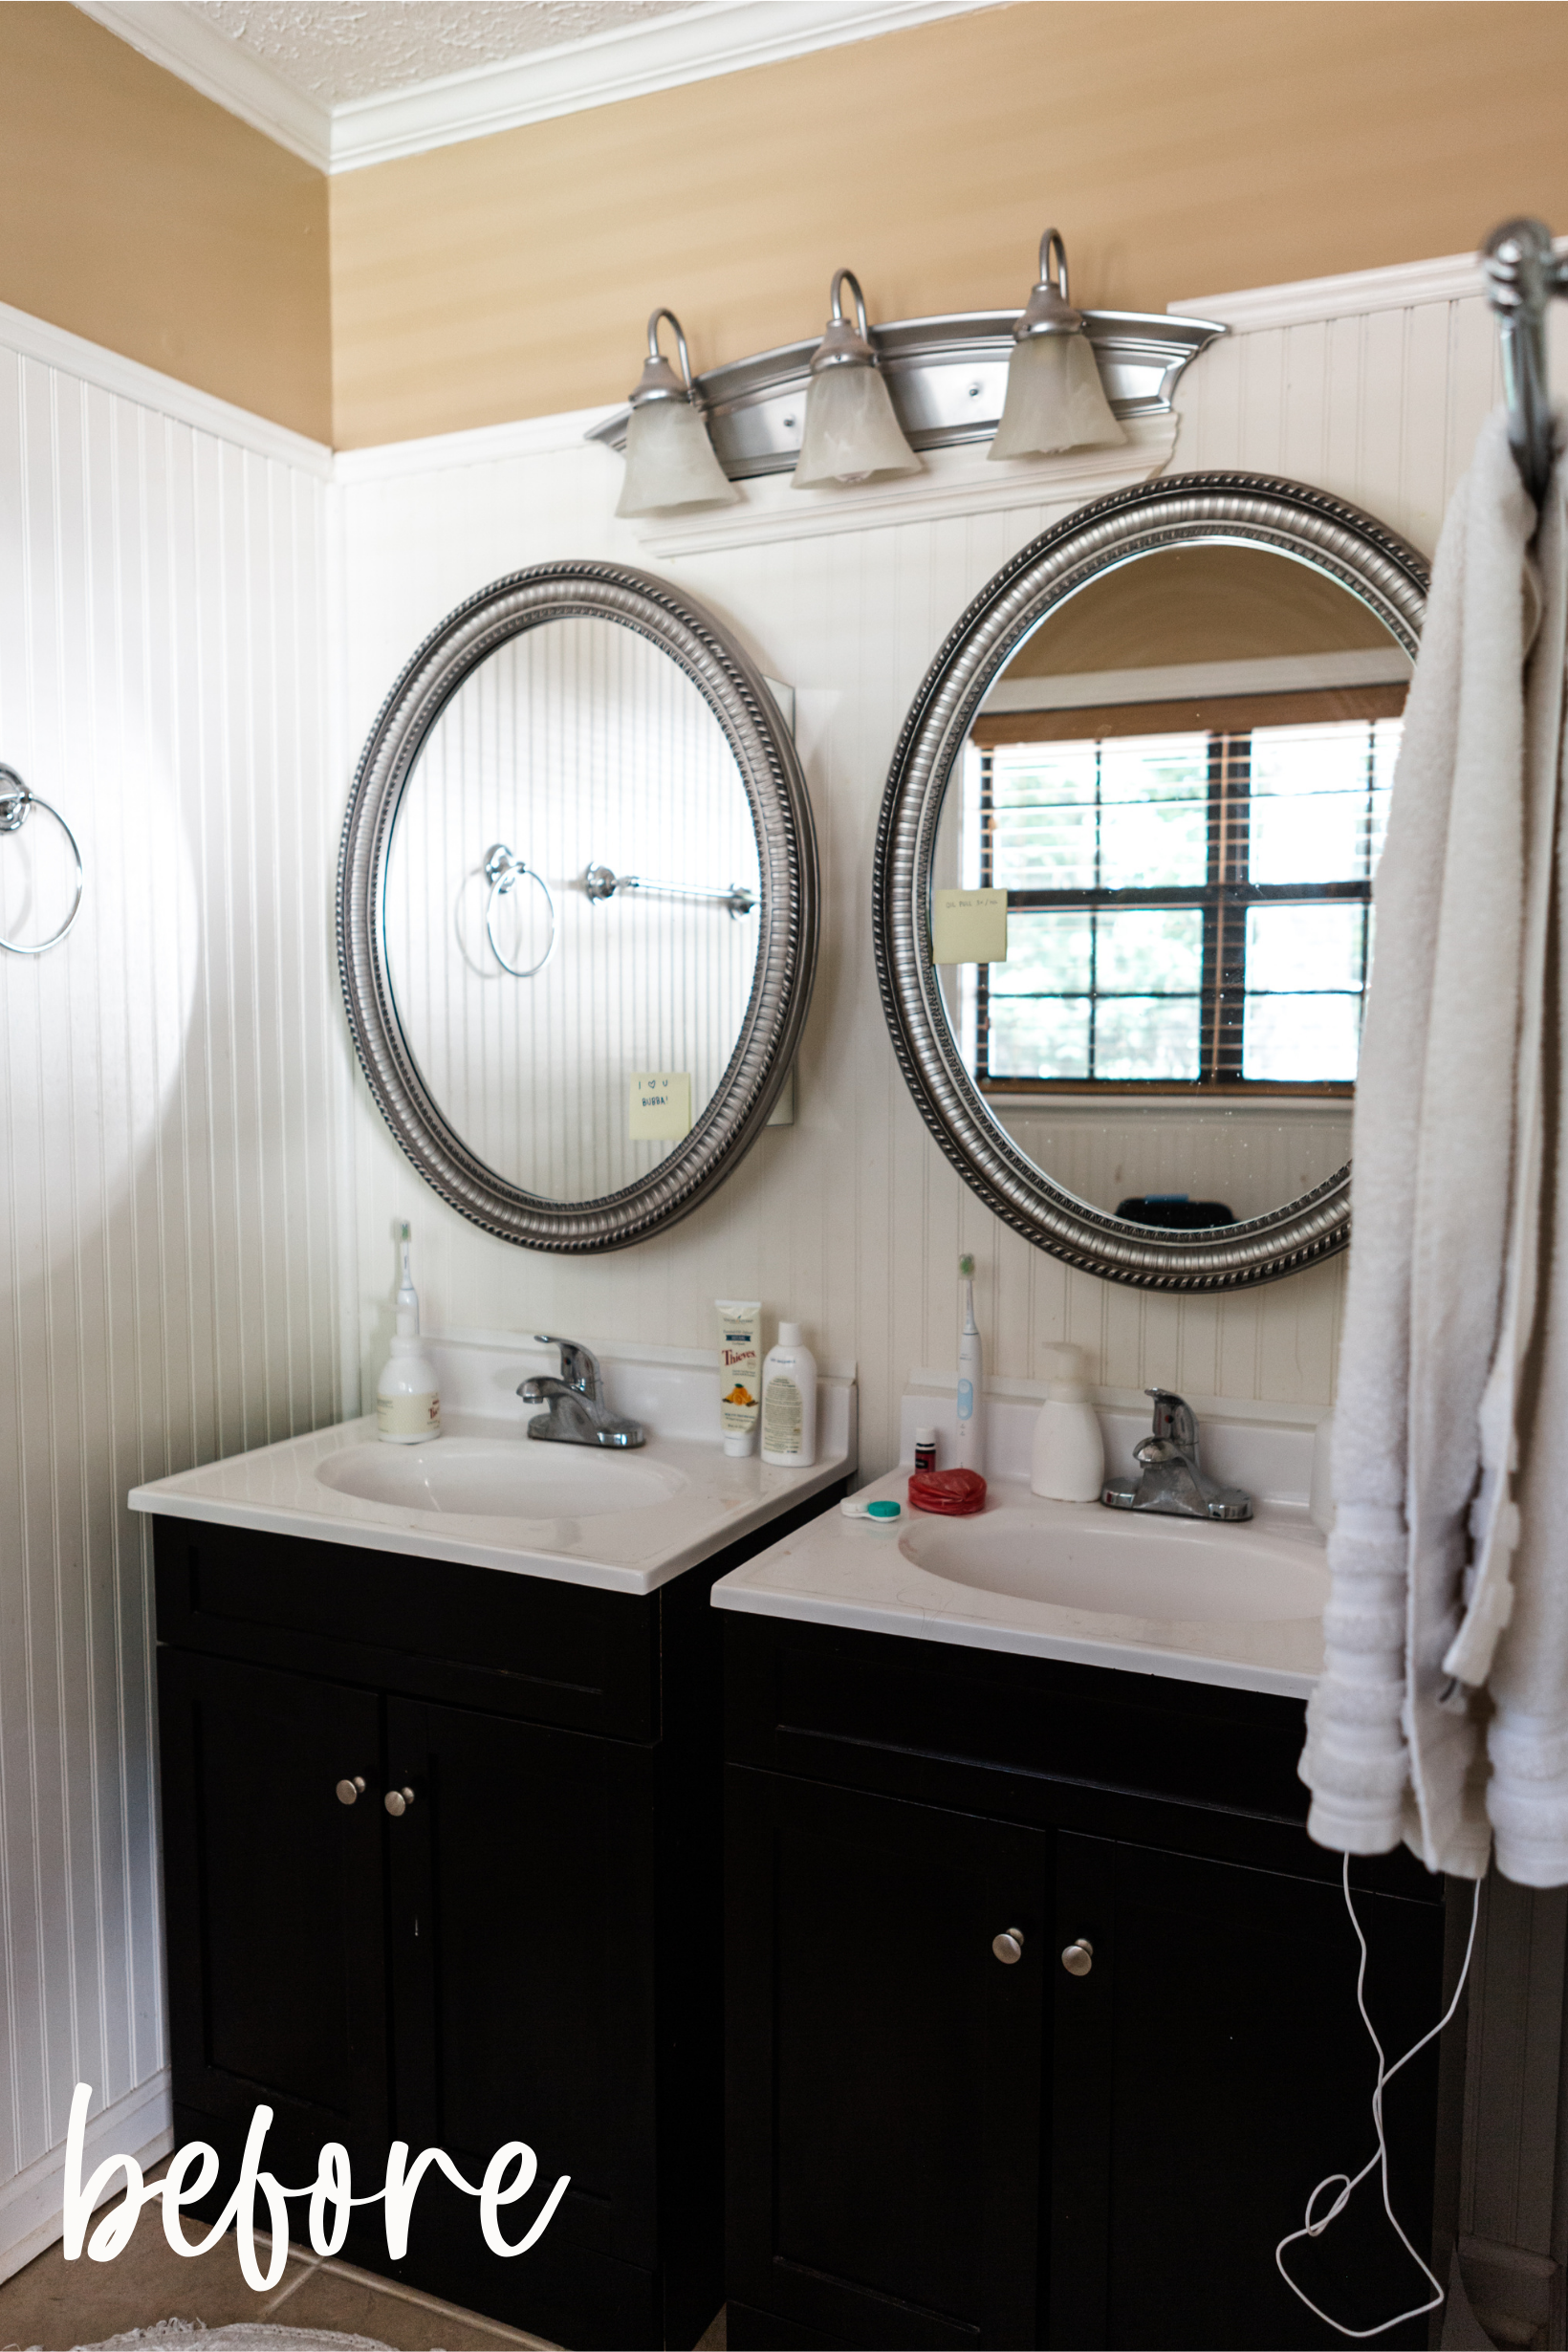
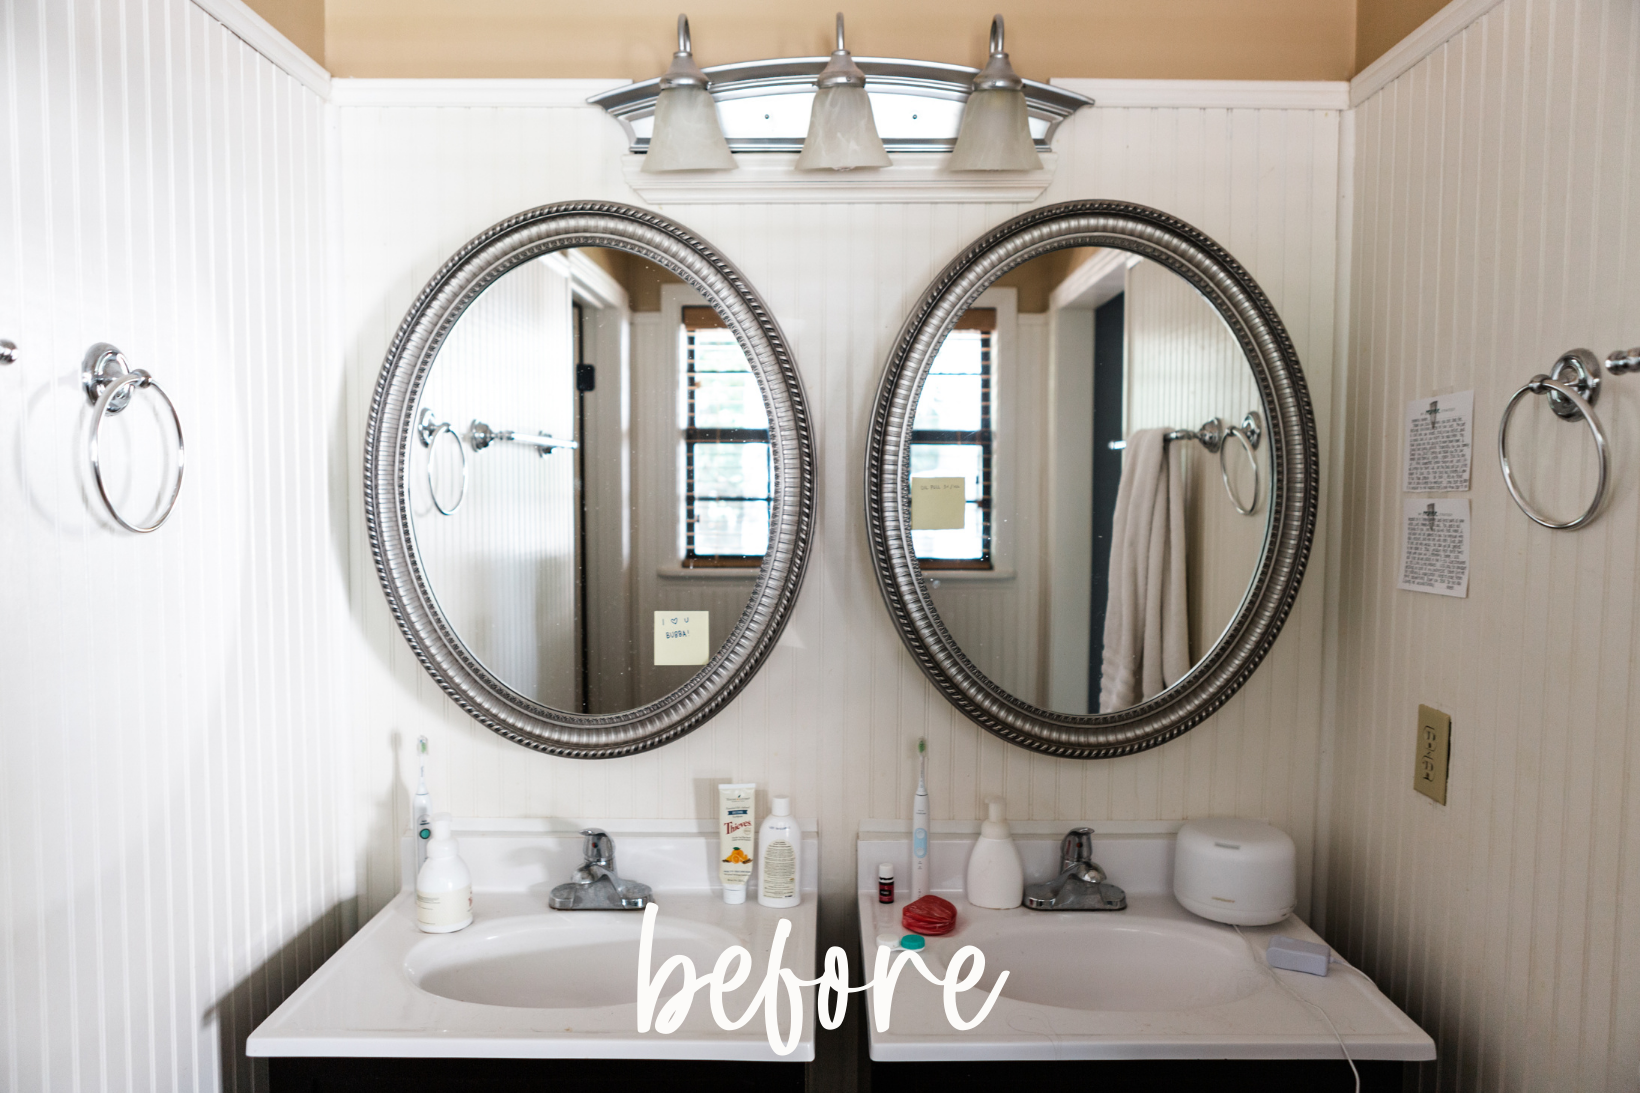
Along with these photos I wish somehow that I could share the before STINK with you too. Oh my lanta, that is one of the biggest improvements in here. It is also one of the reasons why this project went from 2 months to 9. Ha! As Stephen and I started removing the bead board, vanities, tub, etc. we figured that it might start to smell better. But unfortunately we were wrong. We ended up having to take it all down to the studs and re drywall it all which was a completely new venture for us. Since we didn’t find any visible mold, we still don’t know what was the source of the smell. All we know is that is completely gone. We shared all about the drywall adventure and how we learned how to do it in THIS POST. We really like tackling things on our own but that is one thing that I will hesitate to do again. It took so much time, so many little steps, and so. much. sanding. As much as I wouldn’t want to do it again (I know the joke is on me… I’m sure I will again some day), I will say it does make the final product feel even more gratifying!
Onto the reveal… New walls, tile, vanity built by Stephen, shower, toilet, literally everything else later:

I’d be lying if I said it didn’t make me giddy! It came out better than we intended it to! We kept it neutral while adding in lots of texture to make it feel more lived in, inviting, and fun. If I or the next home owner wants to add more color, it can be done with decor!

The trim and vanity are both painted Farrow & Ball Bone. While it is still neutral and adds a contrasting element to the floor, it is a chameleon of colors that can look a little different depending on the lighting. We love that about it! We originally were only going to paint the vanity Bone but we decided to also do the trim as well. It felt too white and felt like it “needed more”. Speaking of white, all of the walls are Sherwin Williams Alabaster despite our entire home being Benjamin Moore Chantilly Lace. Alabaster is just a tad more creamy and looked better next to the tile we used for the floor.
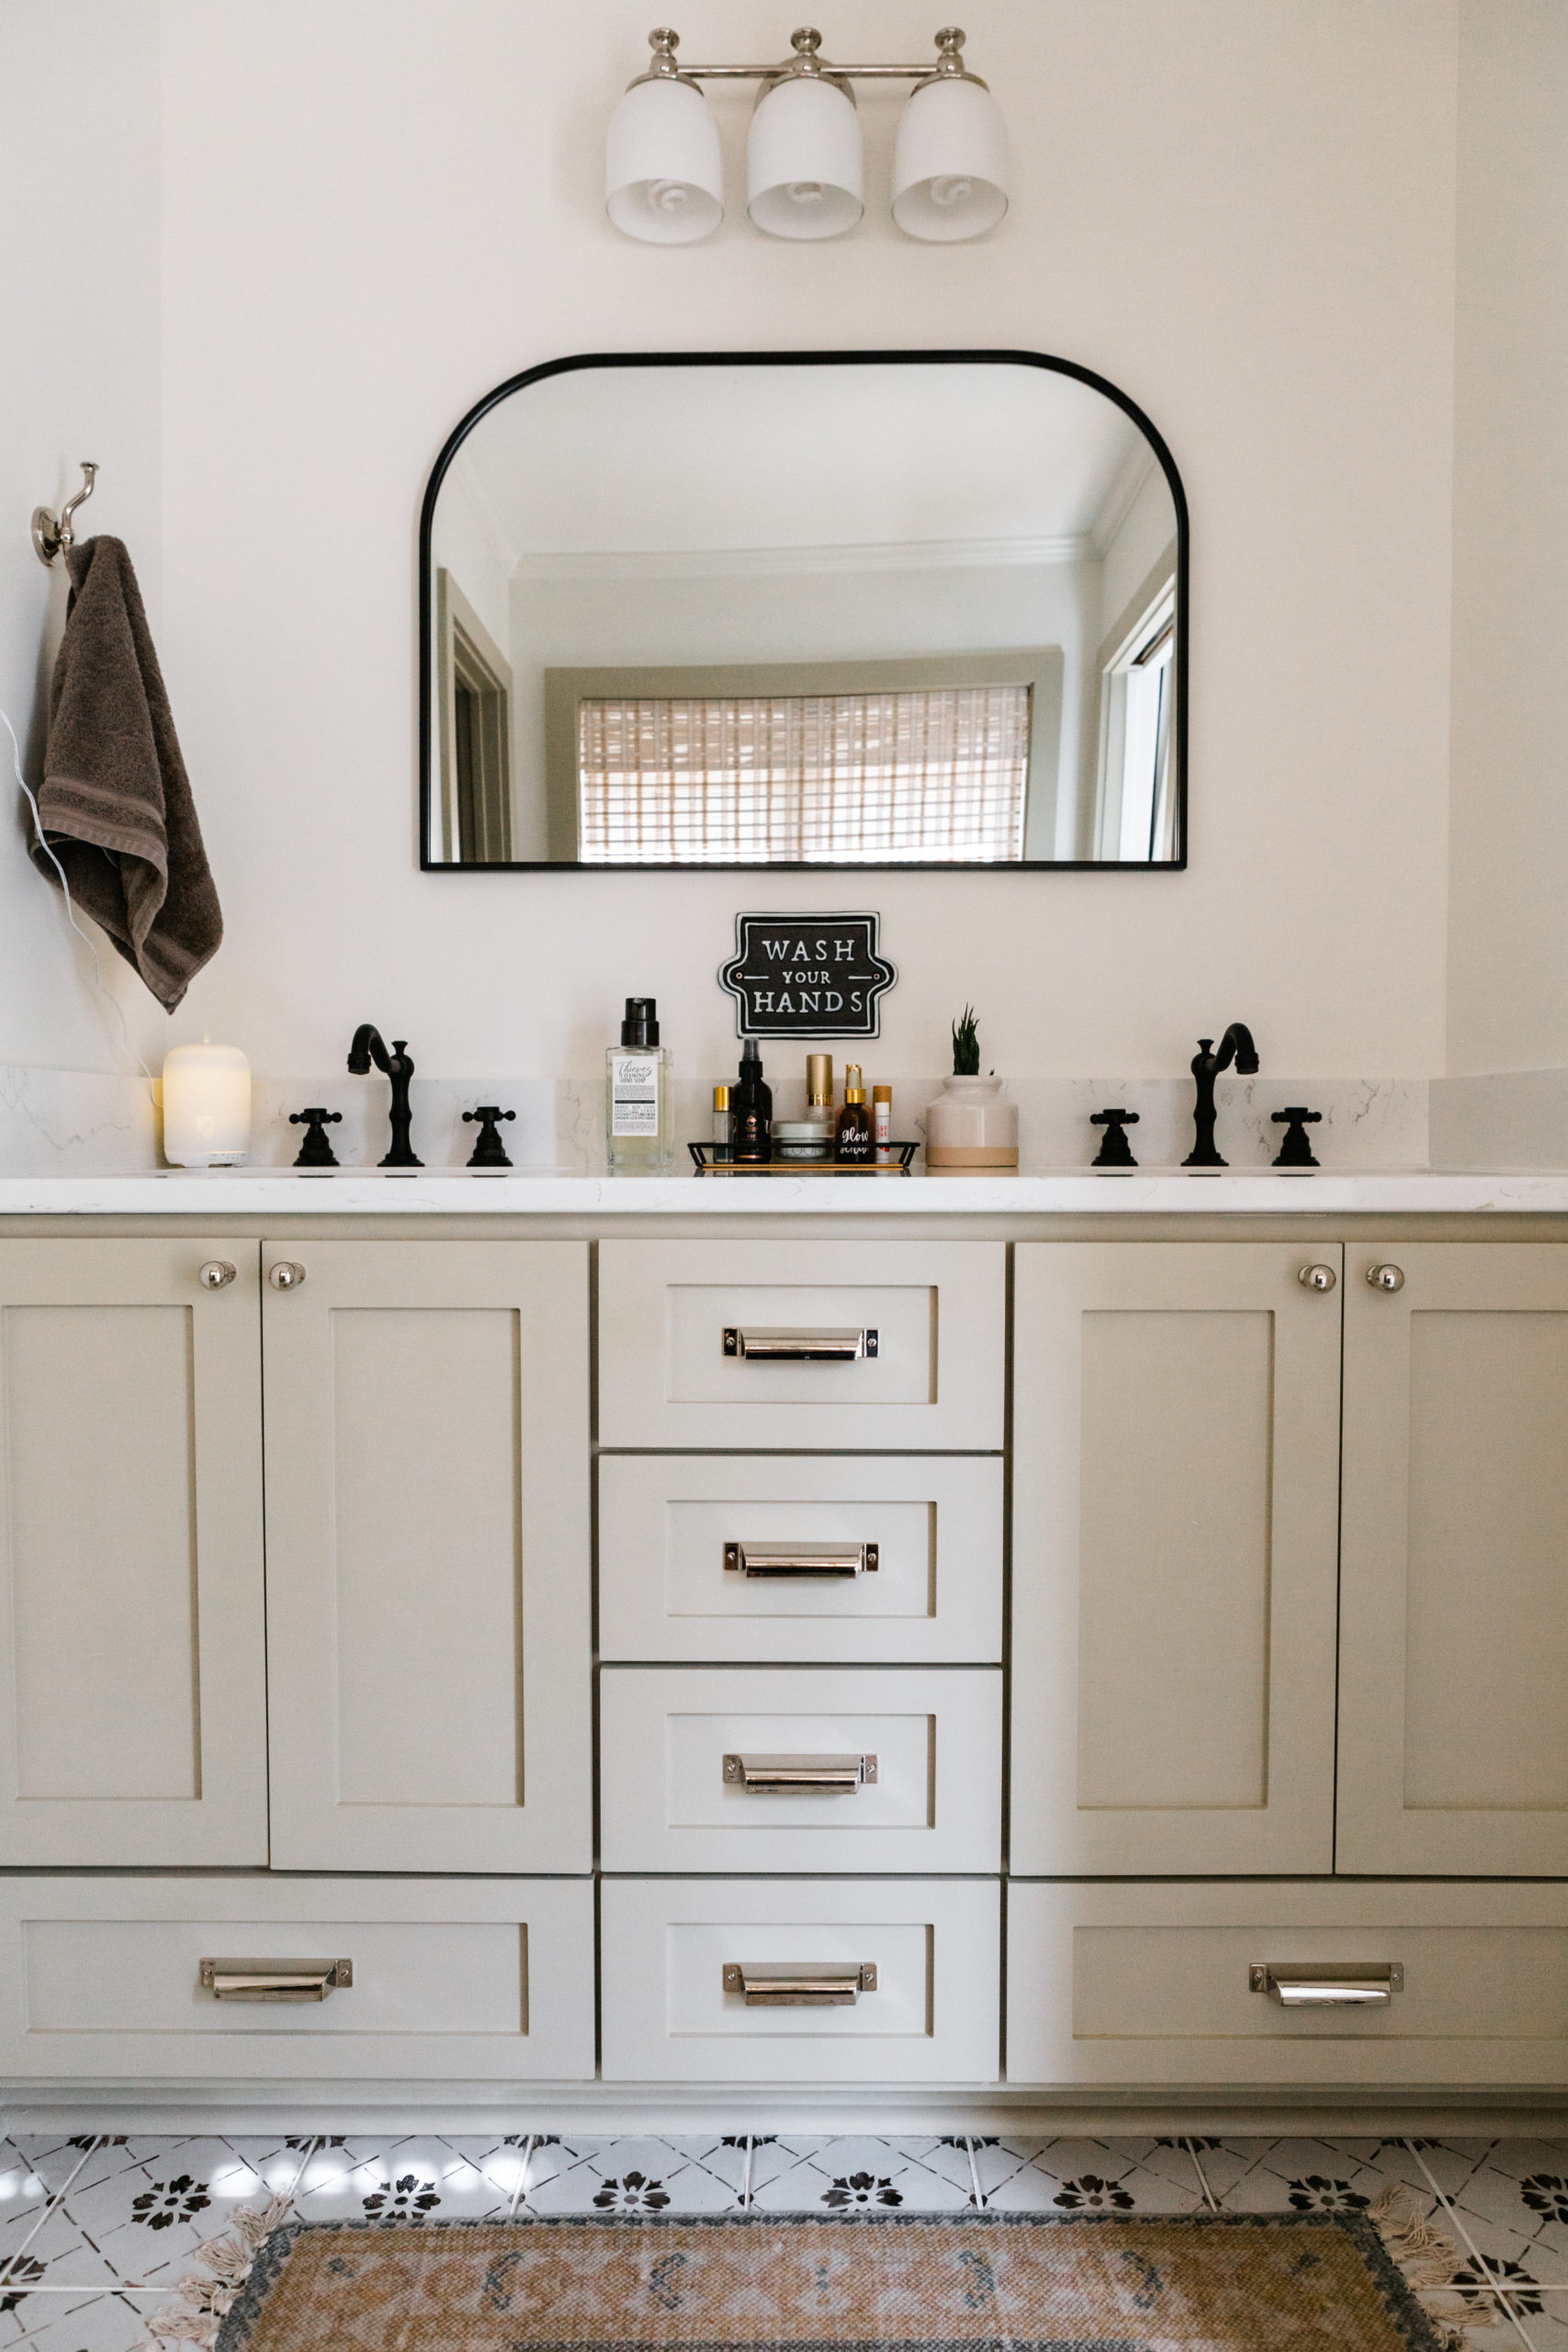
I’m a fan of mixing metals so that is what we did in here. I chose to do the hardware for the vanity, towel hooks, and light in a polished nickel finish to give it a clean, timeless look. I love how it contrasts with the vintage looking tile. I prefer polished nickel compared to chrome because it has warm undertones whereas chrome has cool ones. The black finishes add a more modern touch and also tie in the flooring and grout from the shower.
Did I mention Stephen built this vanity?! He continues to amaze me. There were a few reasons he decided to do this – the size needed to be custom, he wanted to see if he could do it, and because originally when we mapped it out it was going to save on cost. Now that we are working with our cabinet designer for the kitchen, we can’t say the cost part would definitely hold up. Either way, it looks great and I’m really proud of him. We did have the doors made by a local company for time purposes which ended up being a fiasco of its own (saved in my Instagram highlights) but it’s all good… It’s done and over with!
We ended up having to replace all of the trim and baseboards since we had to remove all of the drywall. We couldn’t find the trim that is everywhere else in the house and desired to have a more modern looking trim anyway. Woof, it can be expensive though! To keep cost down, we ripped down a 3/4″ sheet of MDF to 3″ around the windows and doors and 4″ for the baseboards.
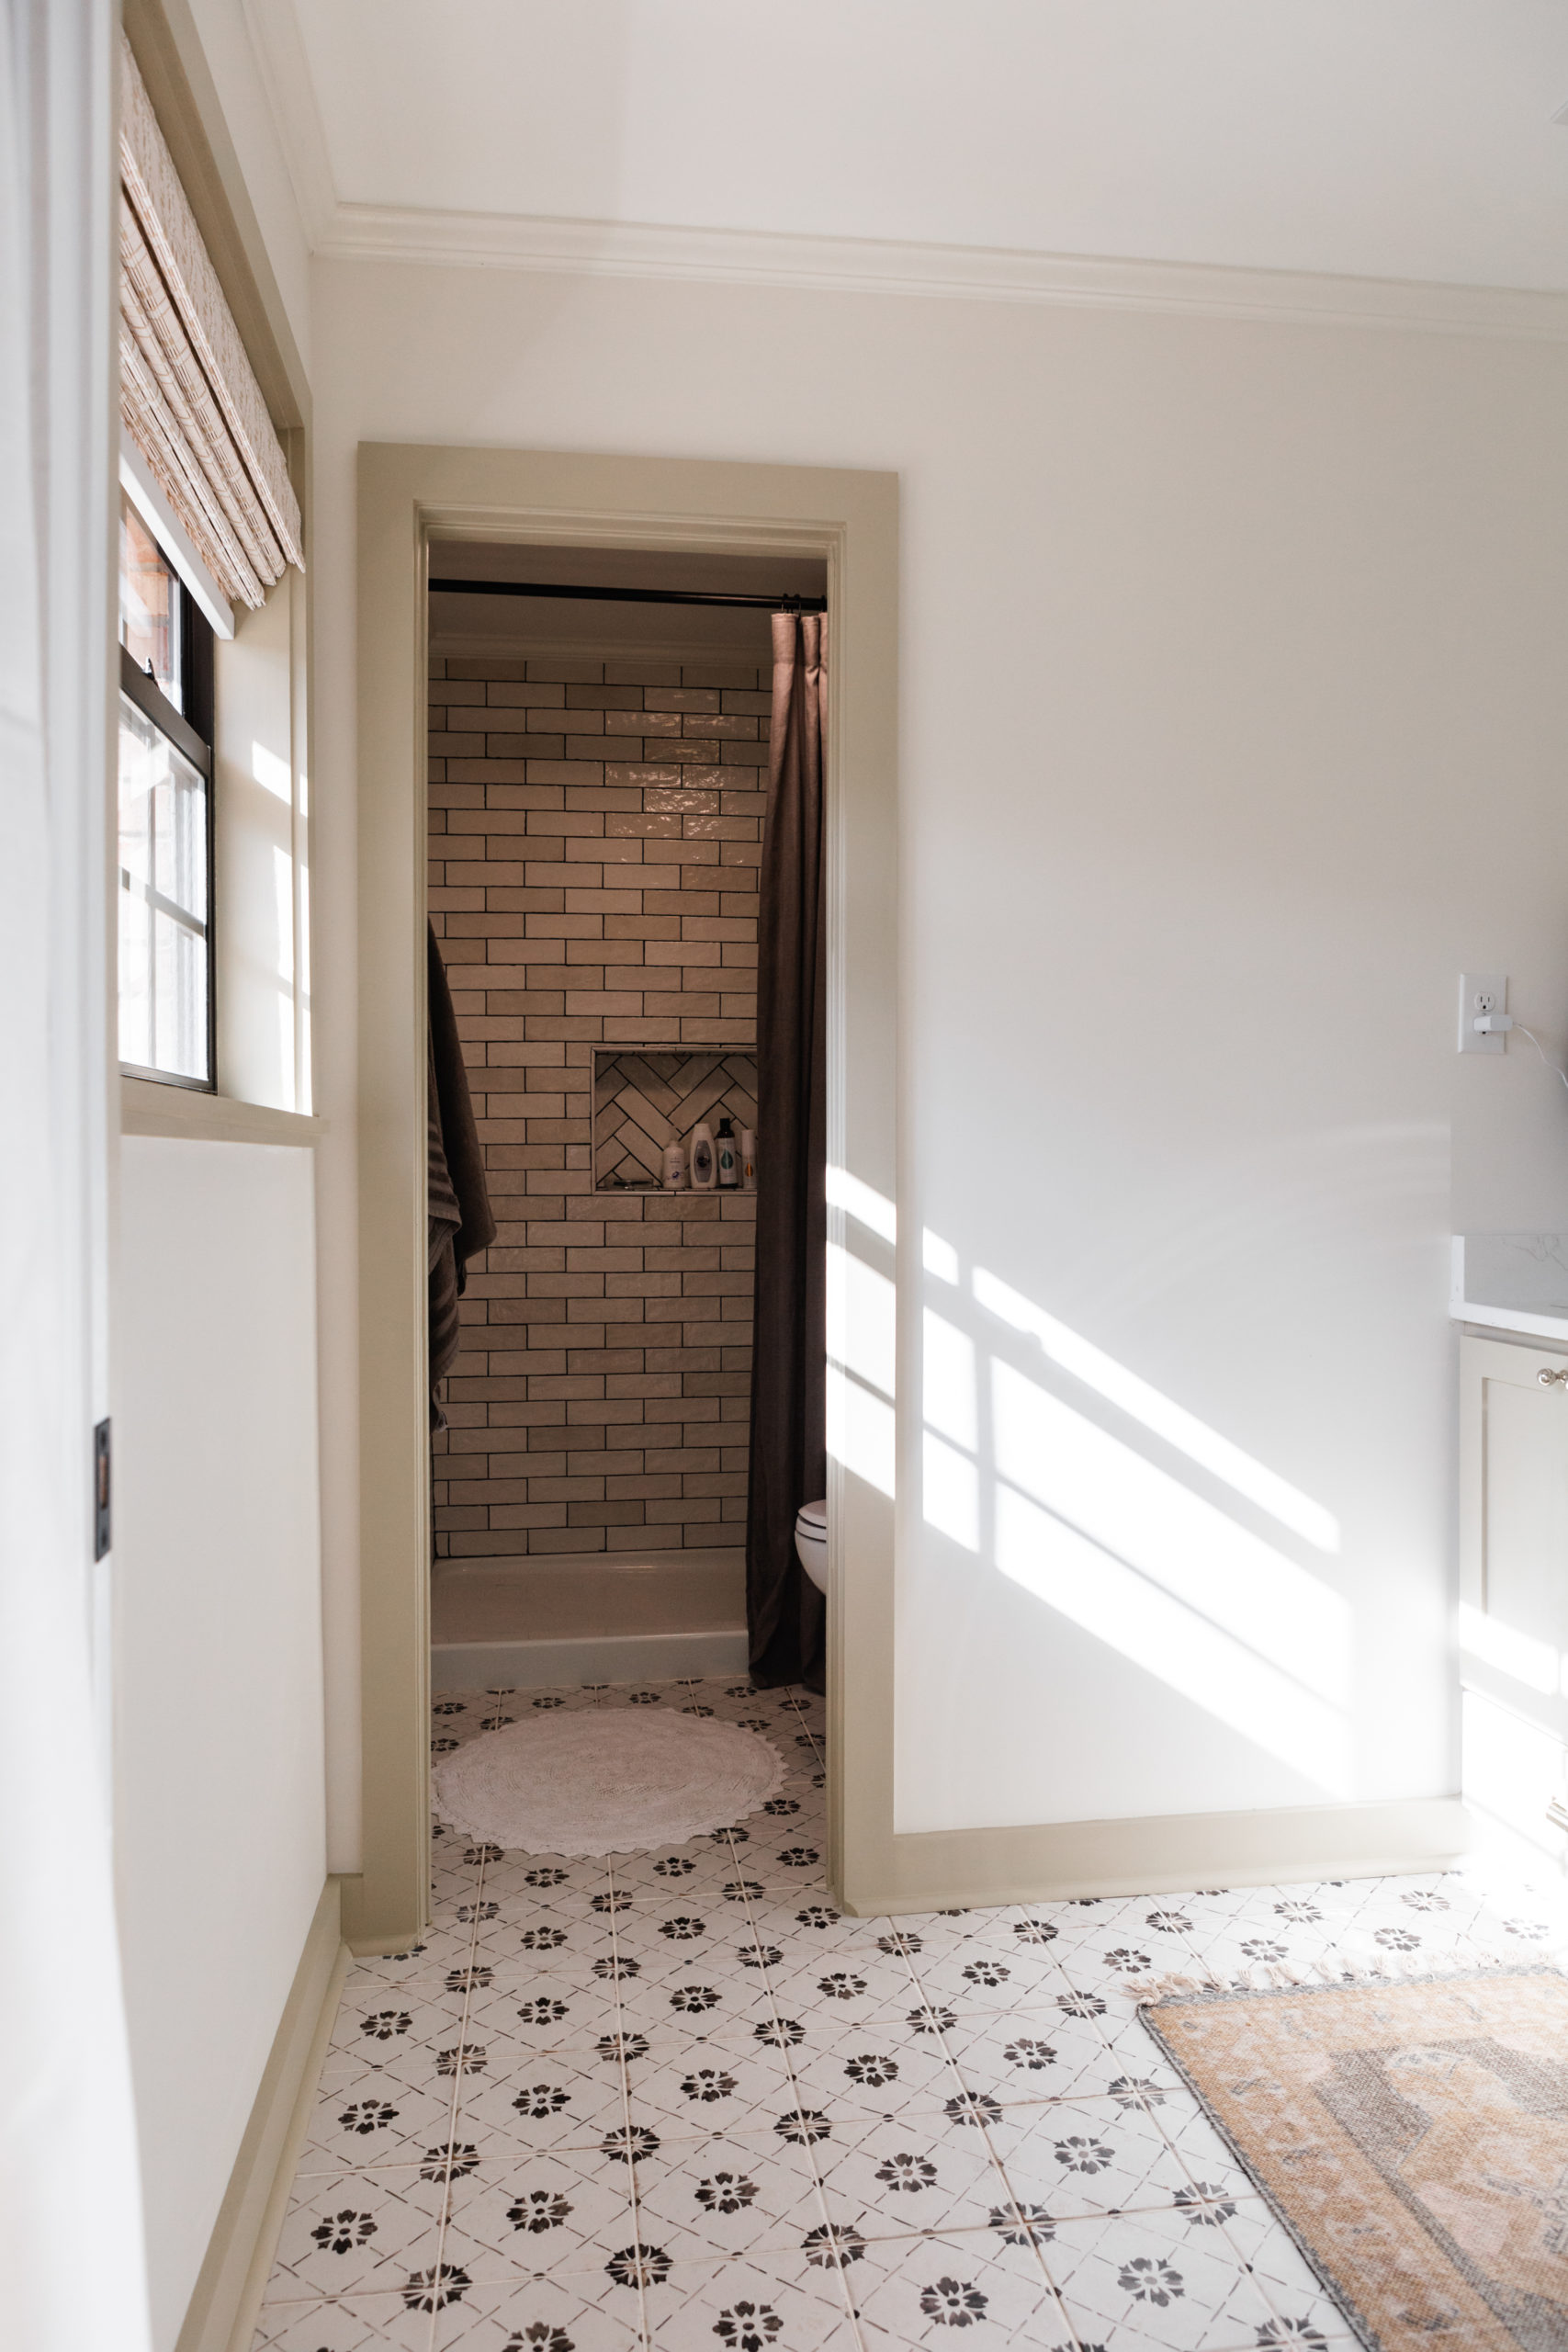
We originally planned on putting a barn door between the vanity and shower area (that’s the only option because of the electrical in the toilet area). We might do it eventually but for now we decided to live with it as is. I’d paint the door the same color as the pocket door going into our bedroom and the trim (Bone) so that it felt cohesive but in my head I think it might be a little too much and make it feel smaller so we’re just going to give it time and decide if it’s really necessary.
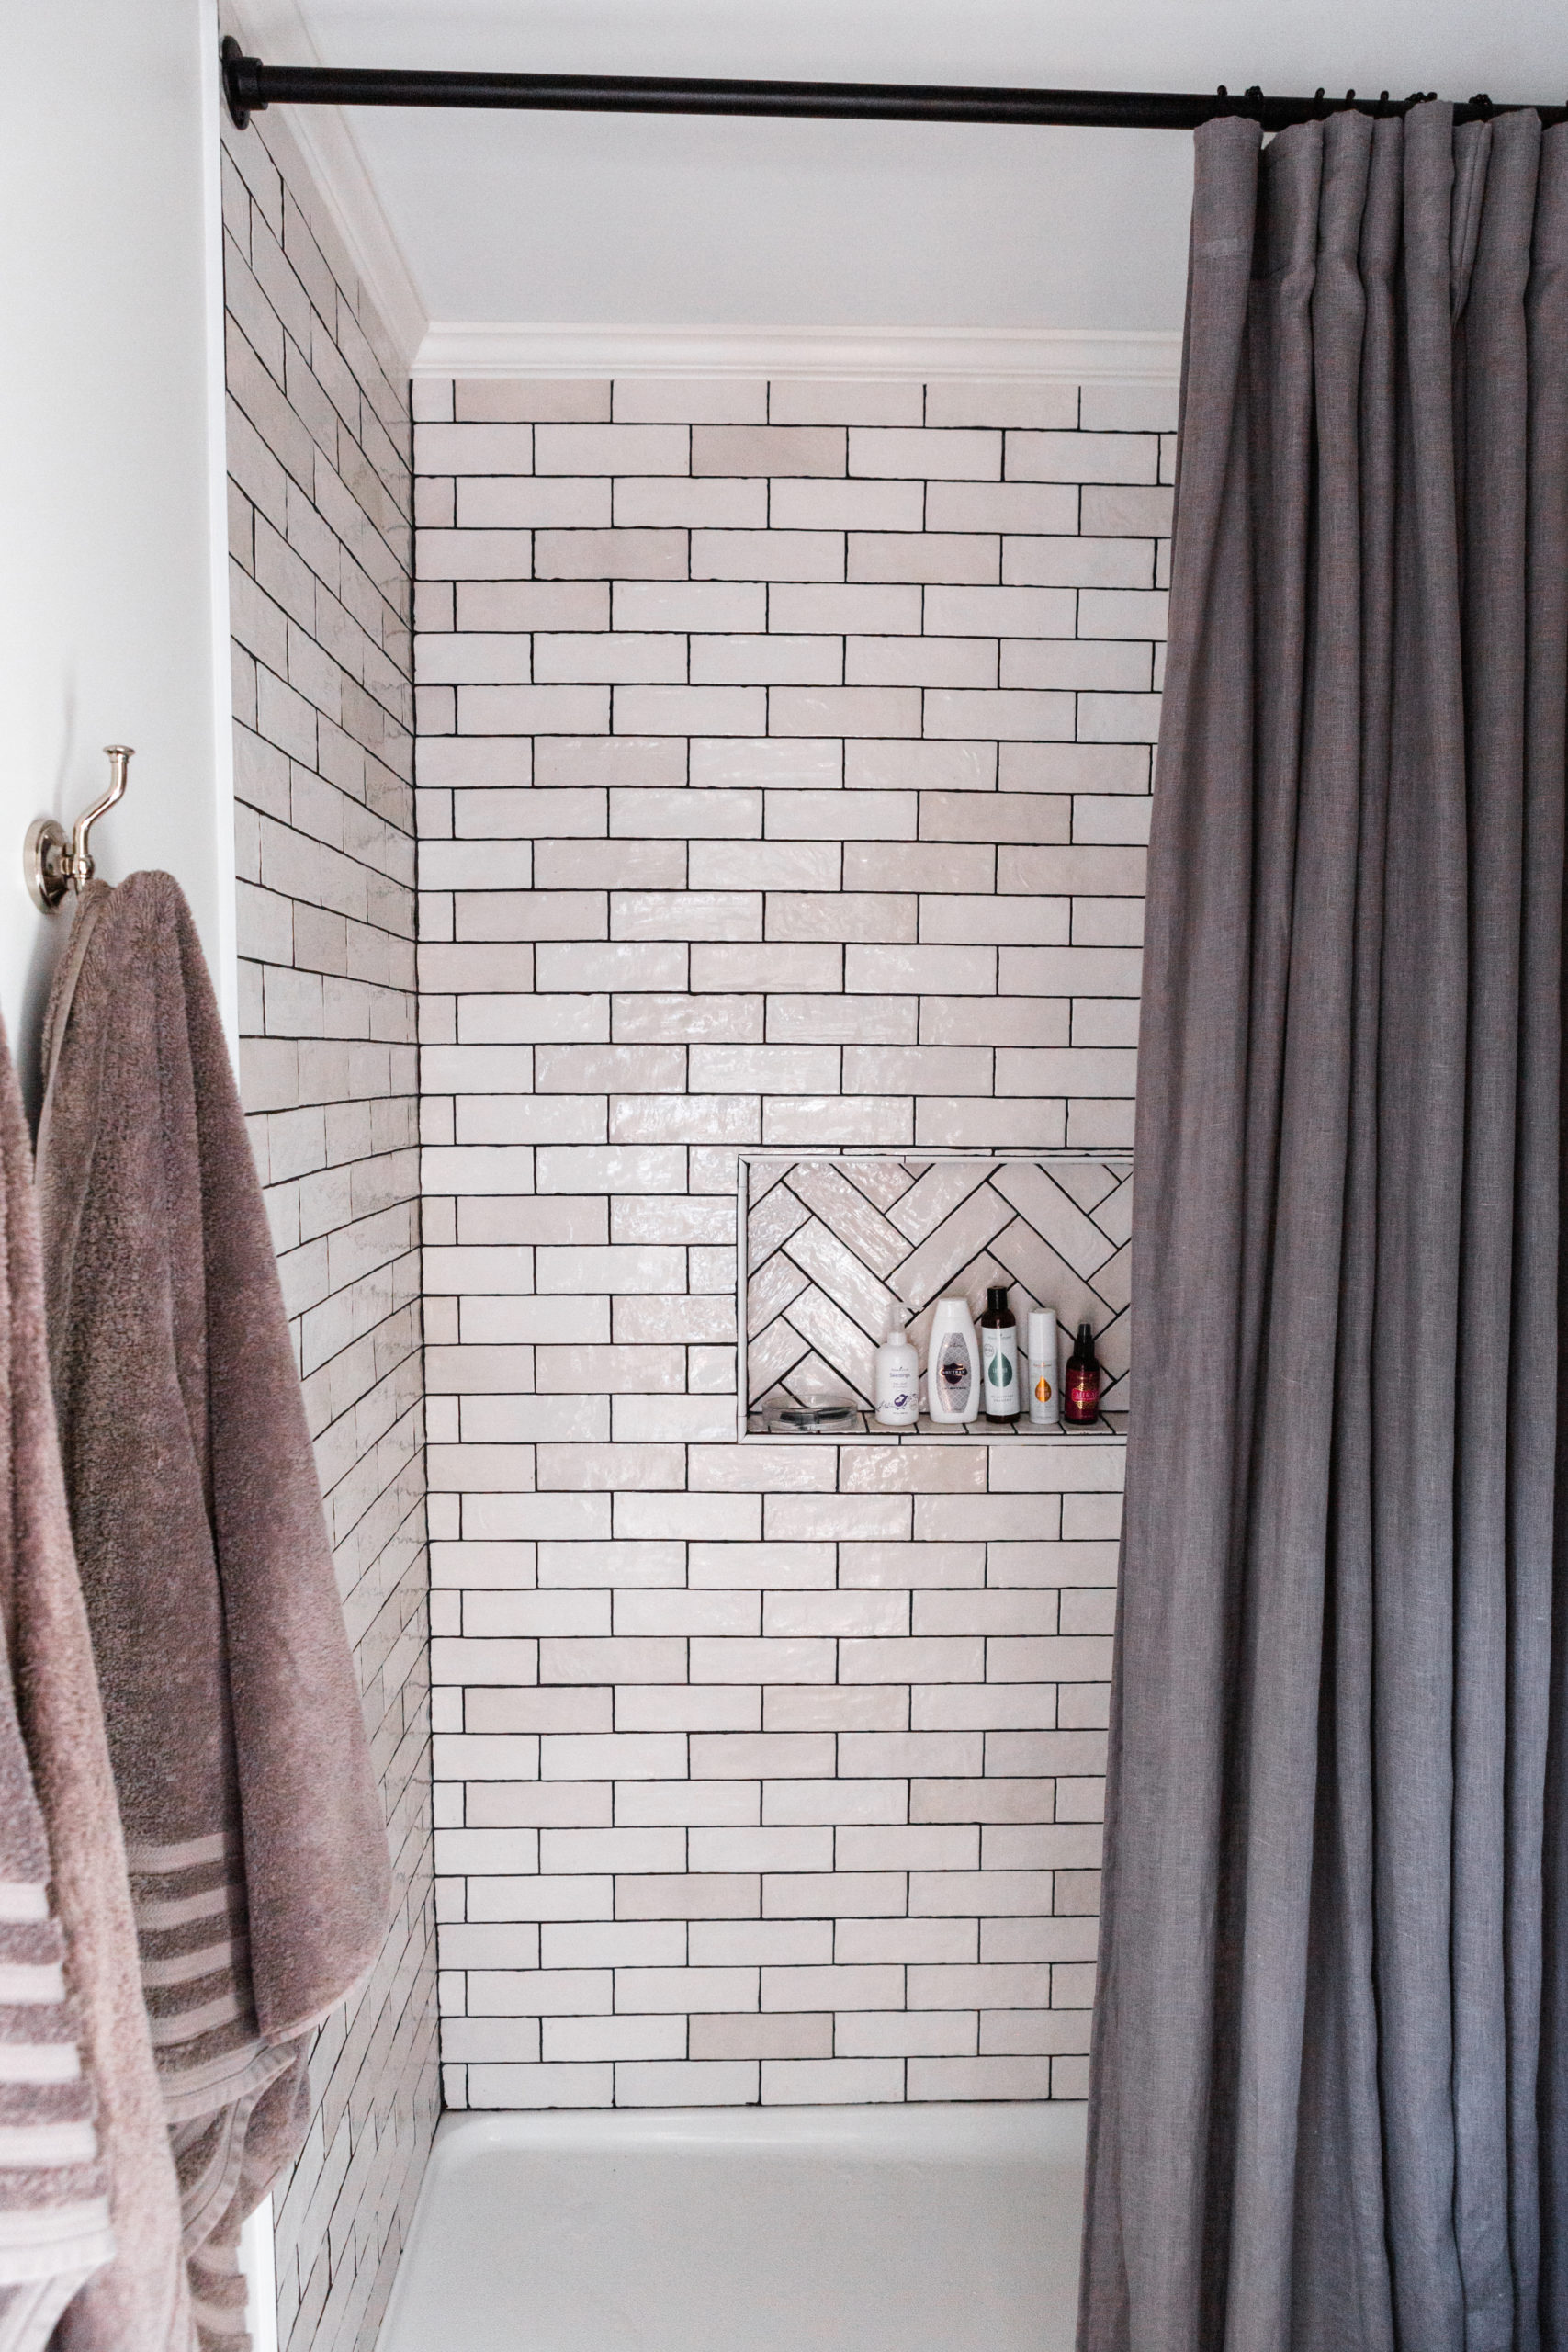
Other than all of the drywall work, Stephen and I are probably the most proud of the shower. We ripped the shower/tub insert out and decided to take the tile all the way up to the ceiling. It makes this very tiny room feel so much more grand! We had absolutely no idea what we were doing when we started this shower. We learned via YouTube using the videos below. Fortunately, I unintentionally selected a tile that is extremely forgiving! For the lived in feel I was going for, I wanted a more organic, imperfect looking tile. Not only do we love the way that it looks all together but because of the imperfections in the tile, it made it the perfect material to use for our first ever tiling project. We ended up having to do a herringbone pattern in the niche since we didn’t want to use a different tile and the rows wouldn’t line up. It took us an entire night to do and our brains were fried but it came out SO NICELY! We decided on black grout to add contrast, to highlight the imperfections in the tile, and because I hate when grout looks dirty. HA!
- This is the video we used to learn how to waterproof the shower.
- This is the video we used to learn how to tile a shower.
- This is the video we used to learn how to build a shower niche.
- This is the video we used to learn how to install the shower pan.
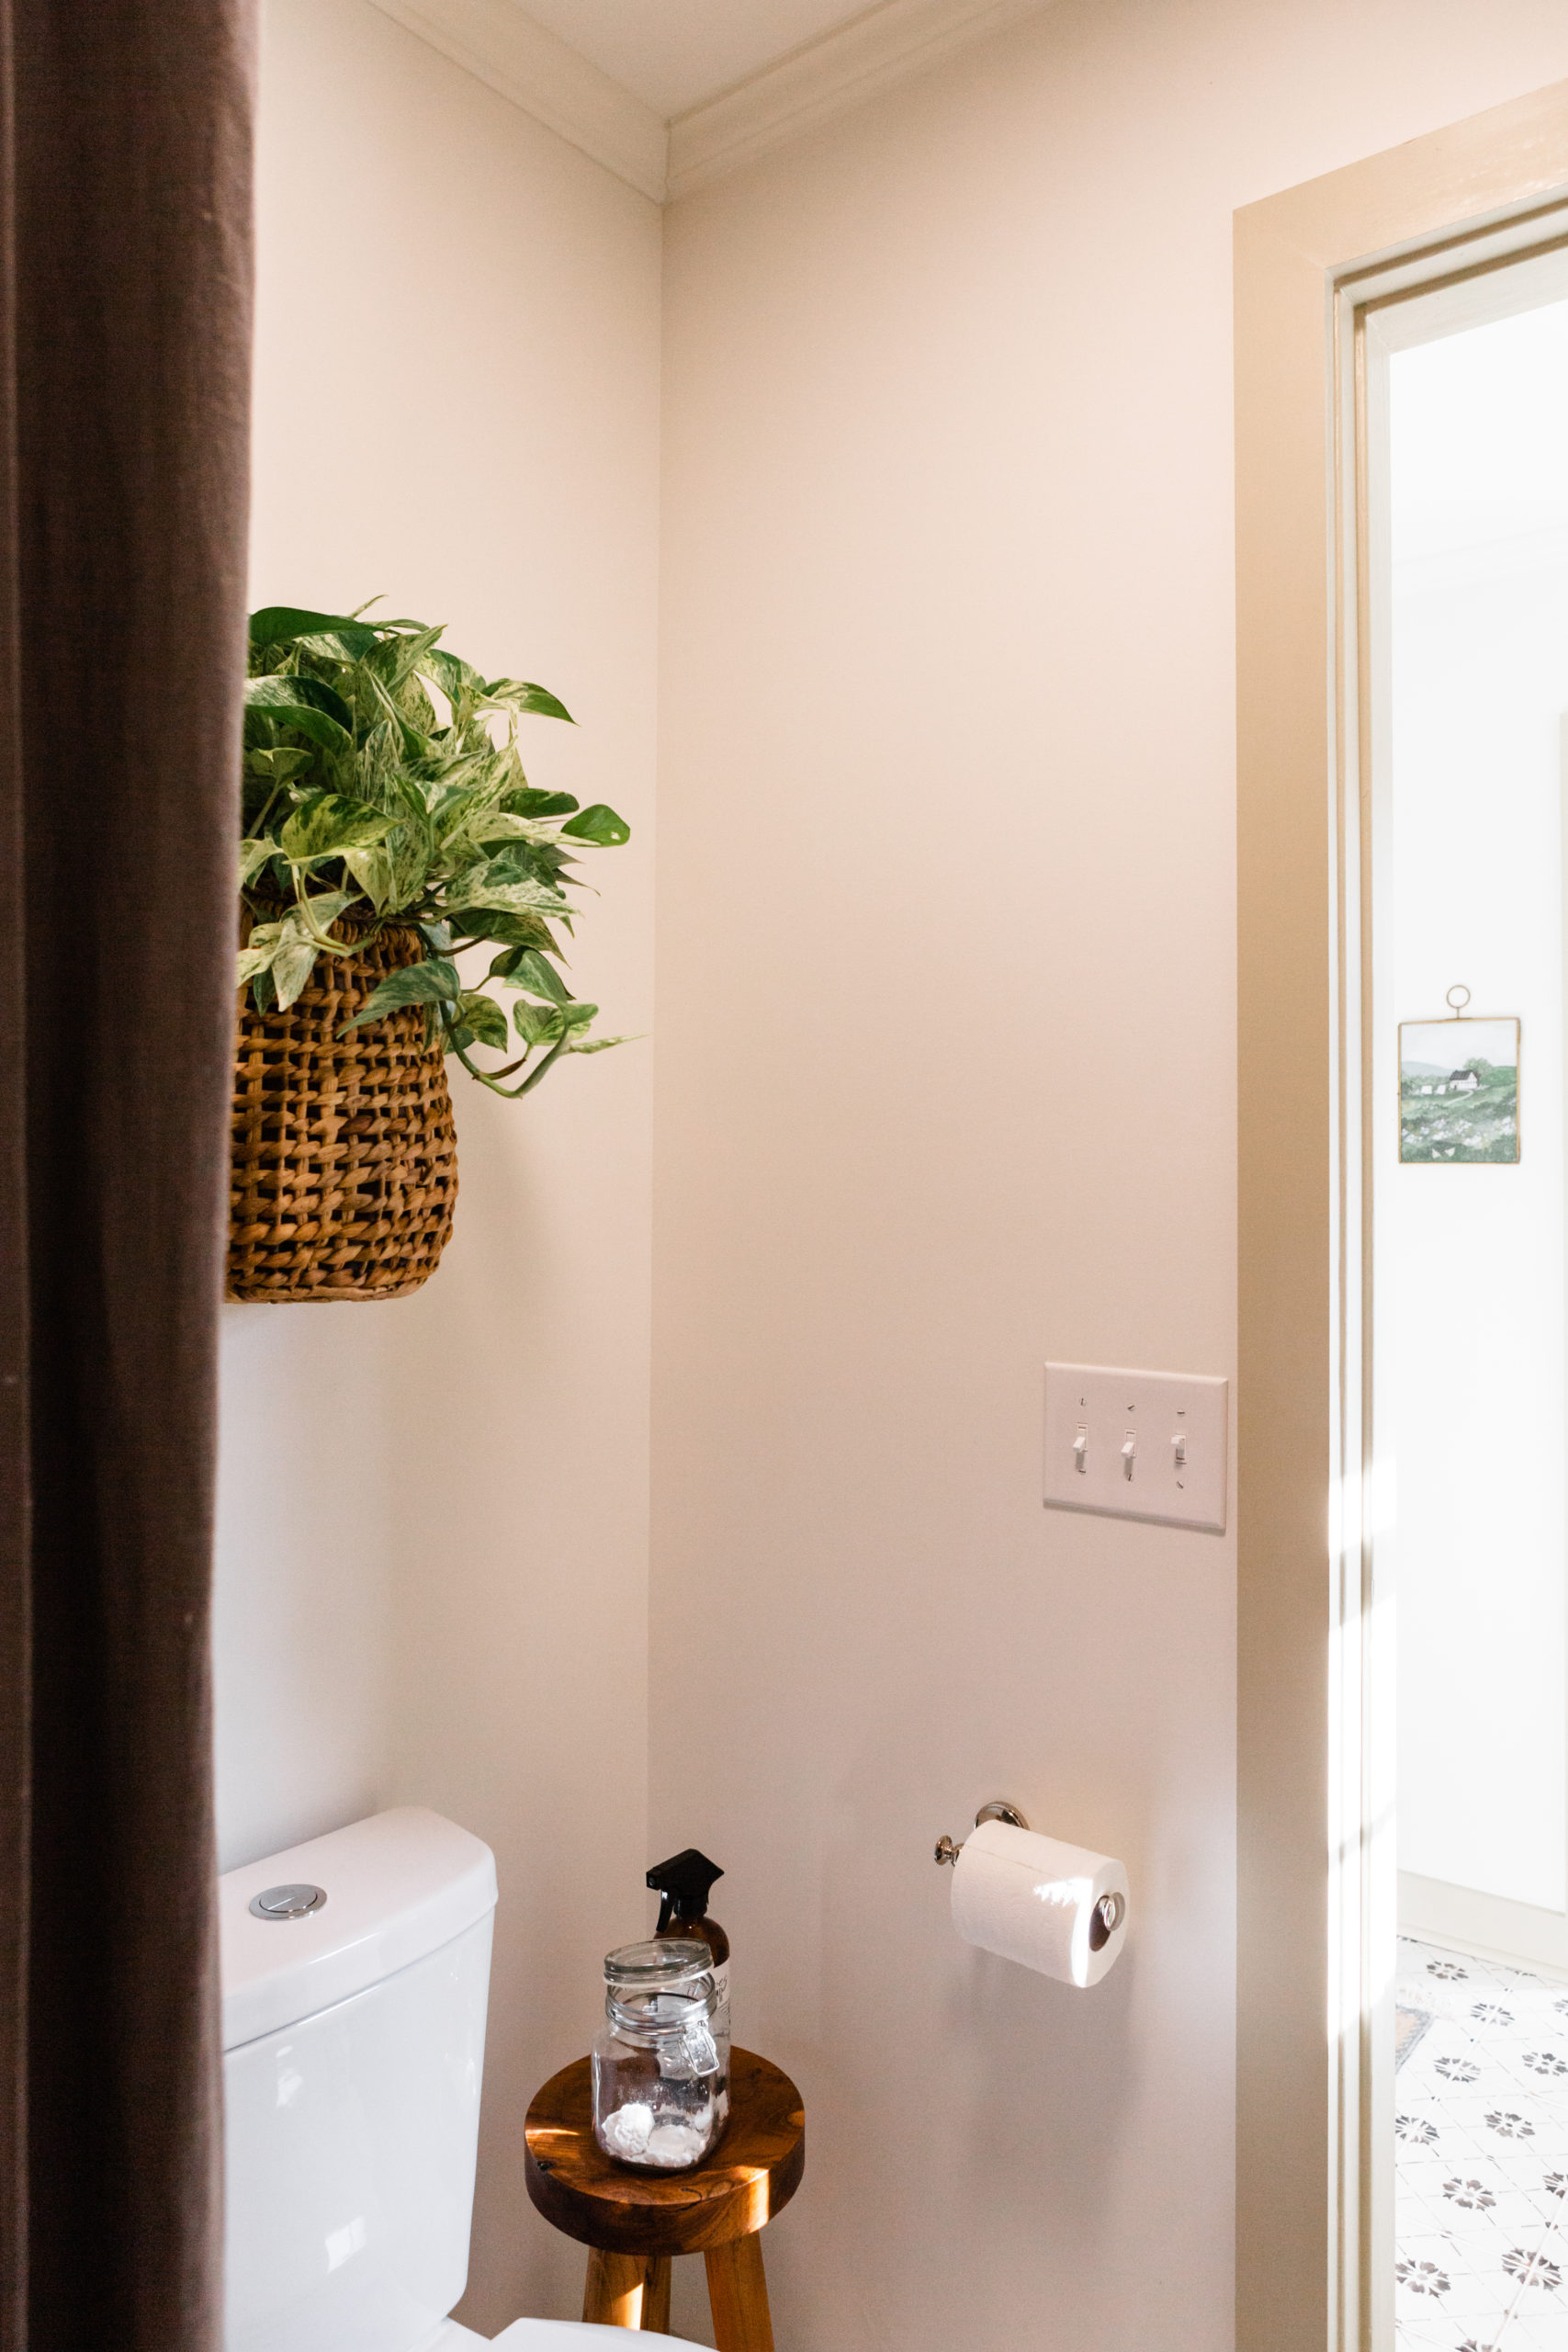
One of the reasons it took me so long to share this room is because I hadn’t landed on artwork and decor that I loved. I’m sure it sounds silly to some but I try really hard to fill our home intentionally and not just for the heck of it. For above the toilet, I finally decided on adding a plant to give the tiny space more life! I was worried any plant in here would die without a direct natural light source but this Marble Queen Pothos has done really well! I used an old basket I had, lined it with a paper bag, and then added plastic bags inside of it and put the plant directly in them. It really enjoys the steam from the shower and gets just enough light from the big window in the vanity area to keep it happy.
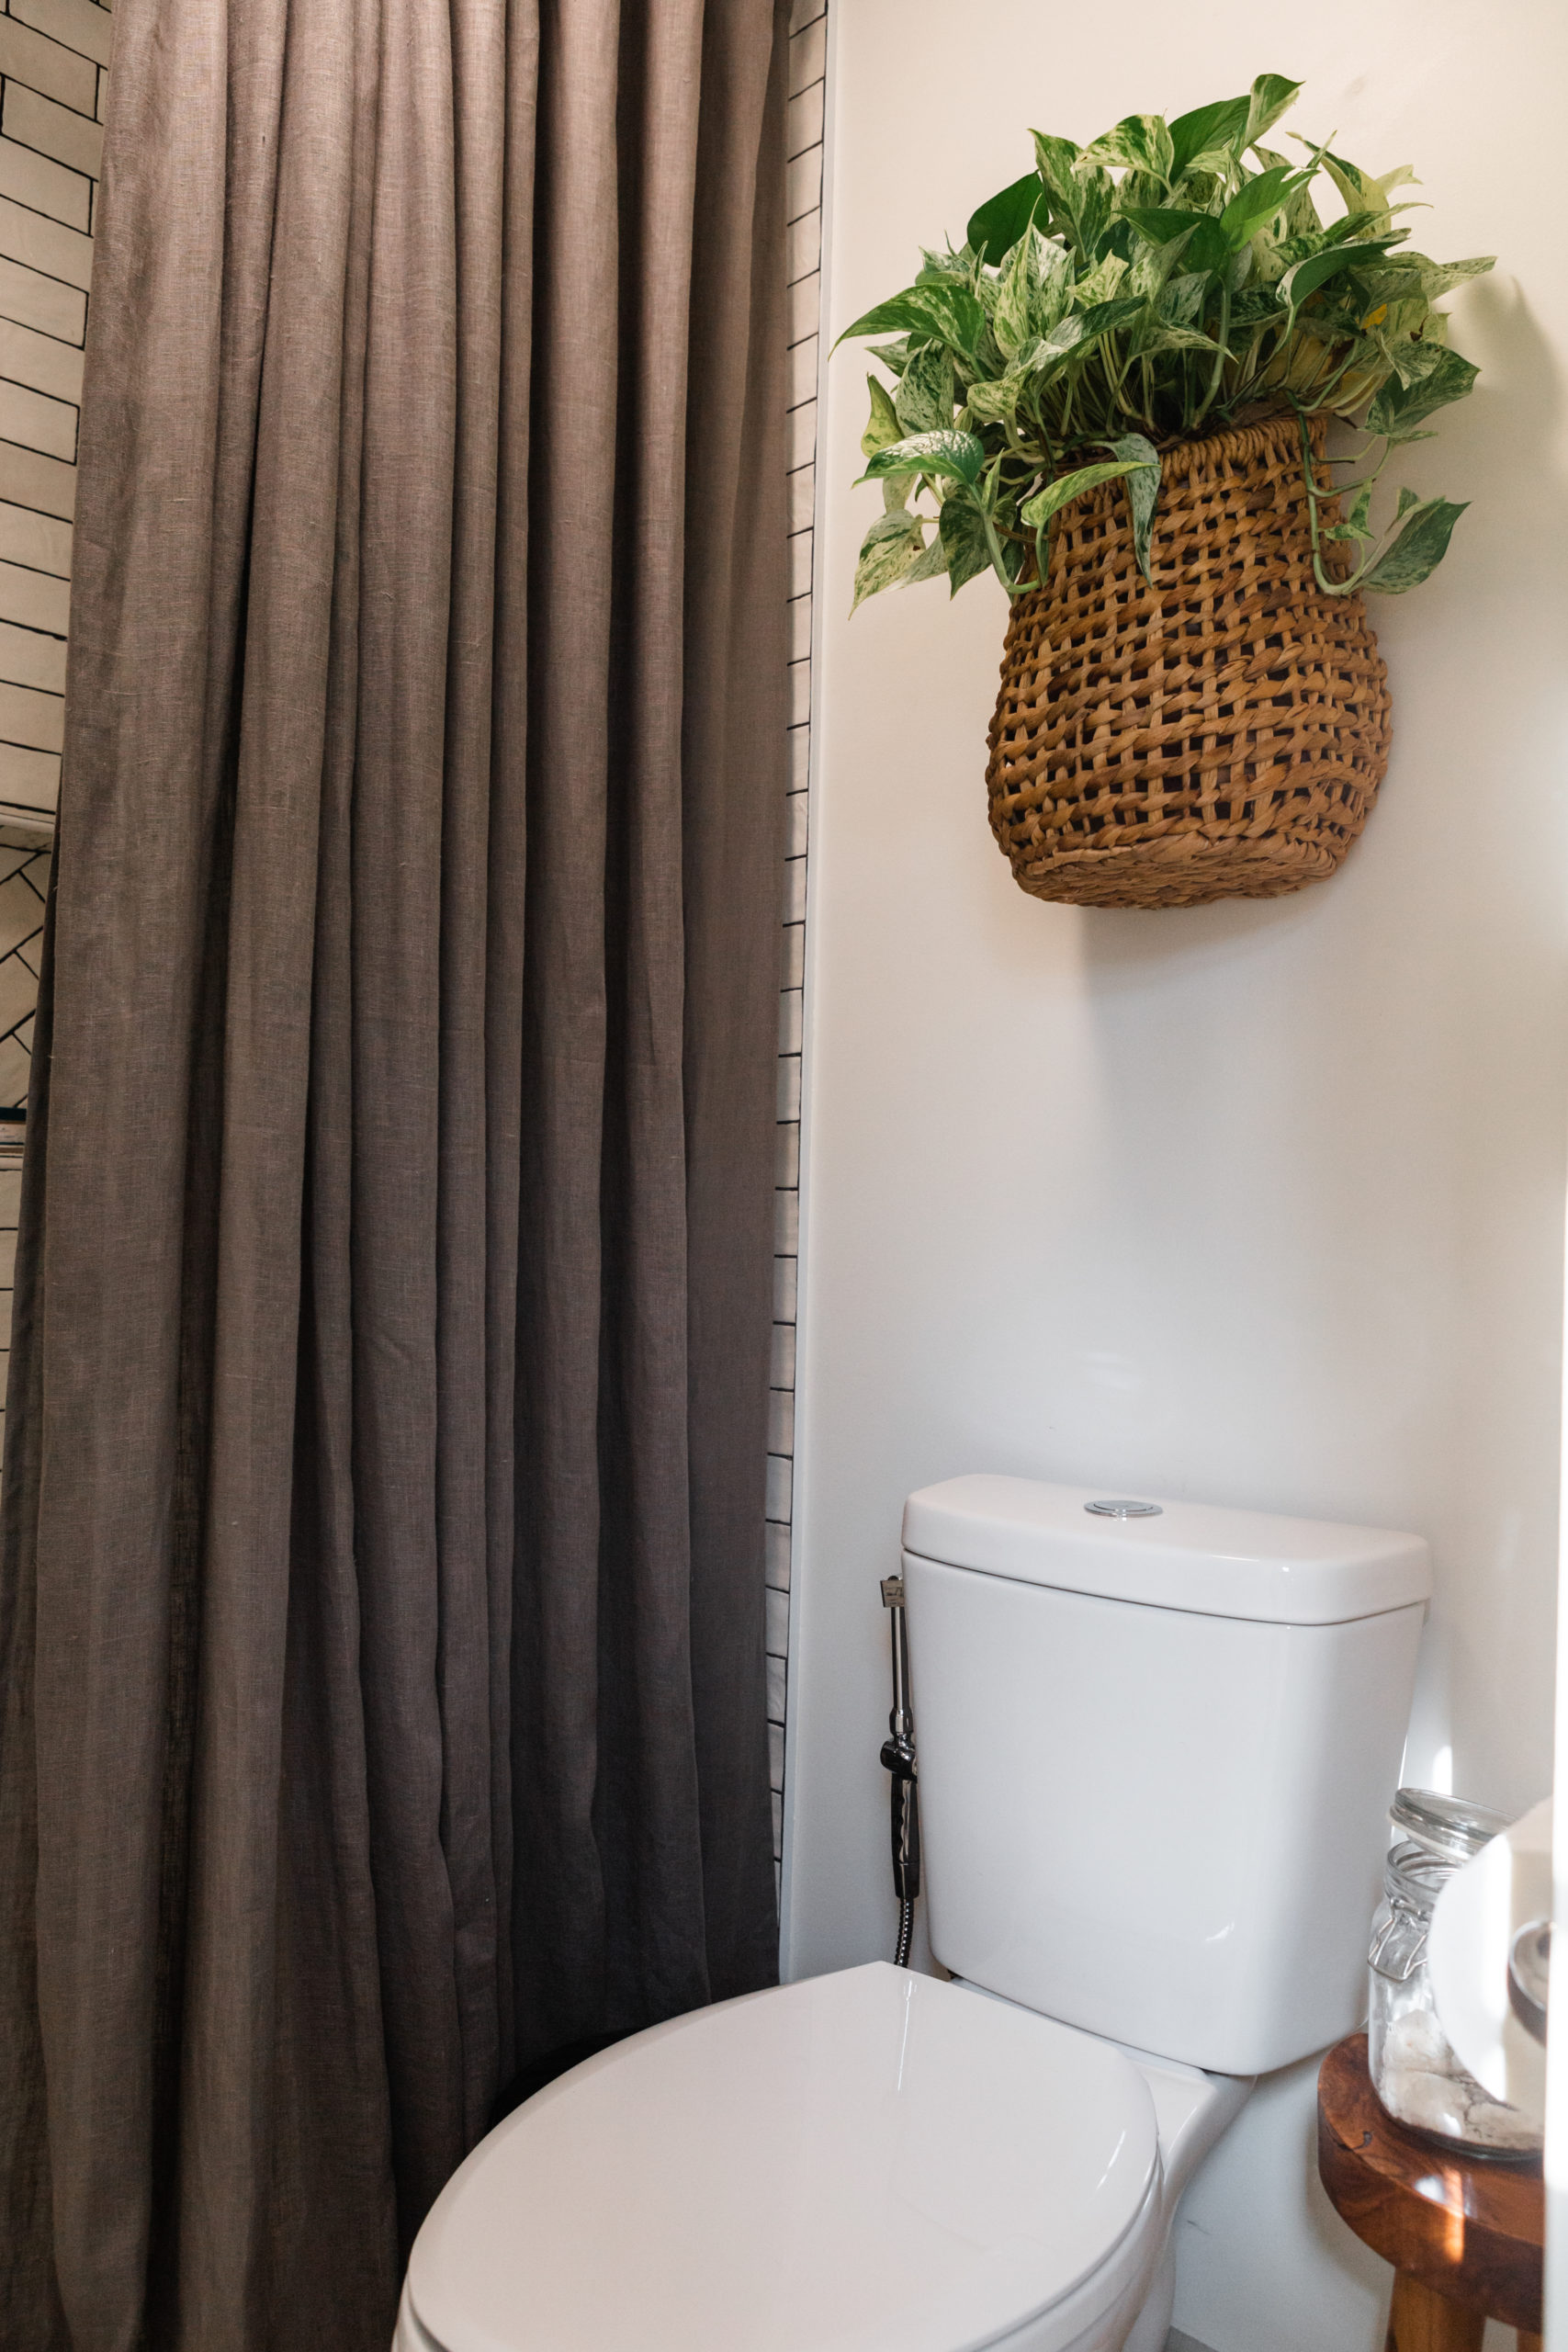
We opted to do a shower curtain instead of a glass door because after talking with my uncle who is a realtor, we don’t believe the cost of the door is going to add significant value to the home, because I don’t think glass shower doors ever look as clean as the day they’re installed, and because I like the texture a curtain adds. We put the rod up high so that it made the room appear to be more grand. The downside of that though is finding a curtain that would be long enough. They pretty much don’t exist unless you want to pay hundreds of dollars! That wasn’t going to happen so I bought a set of linen blend curtains from IKEA and my mom and I sewed them together.
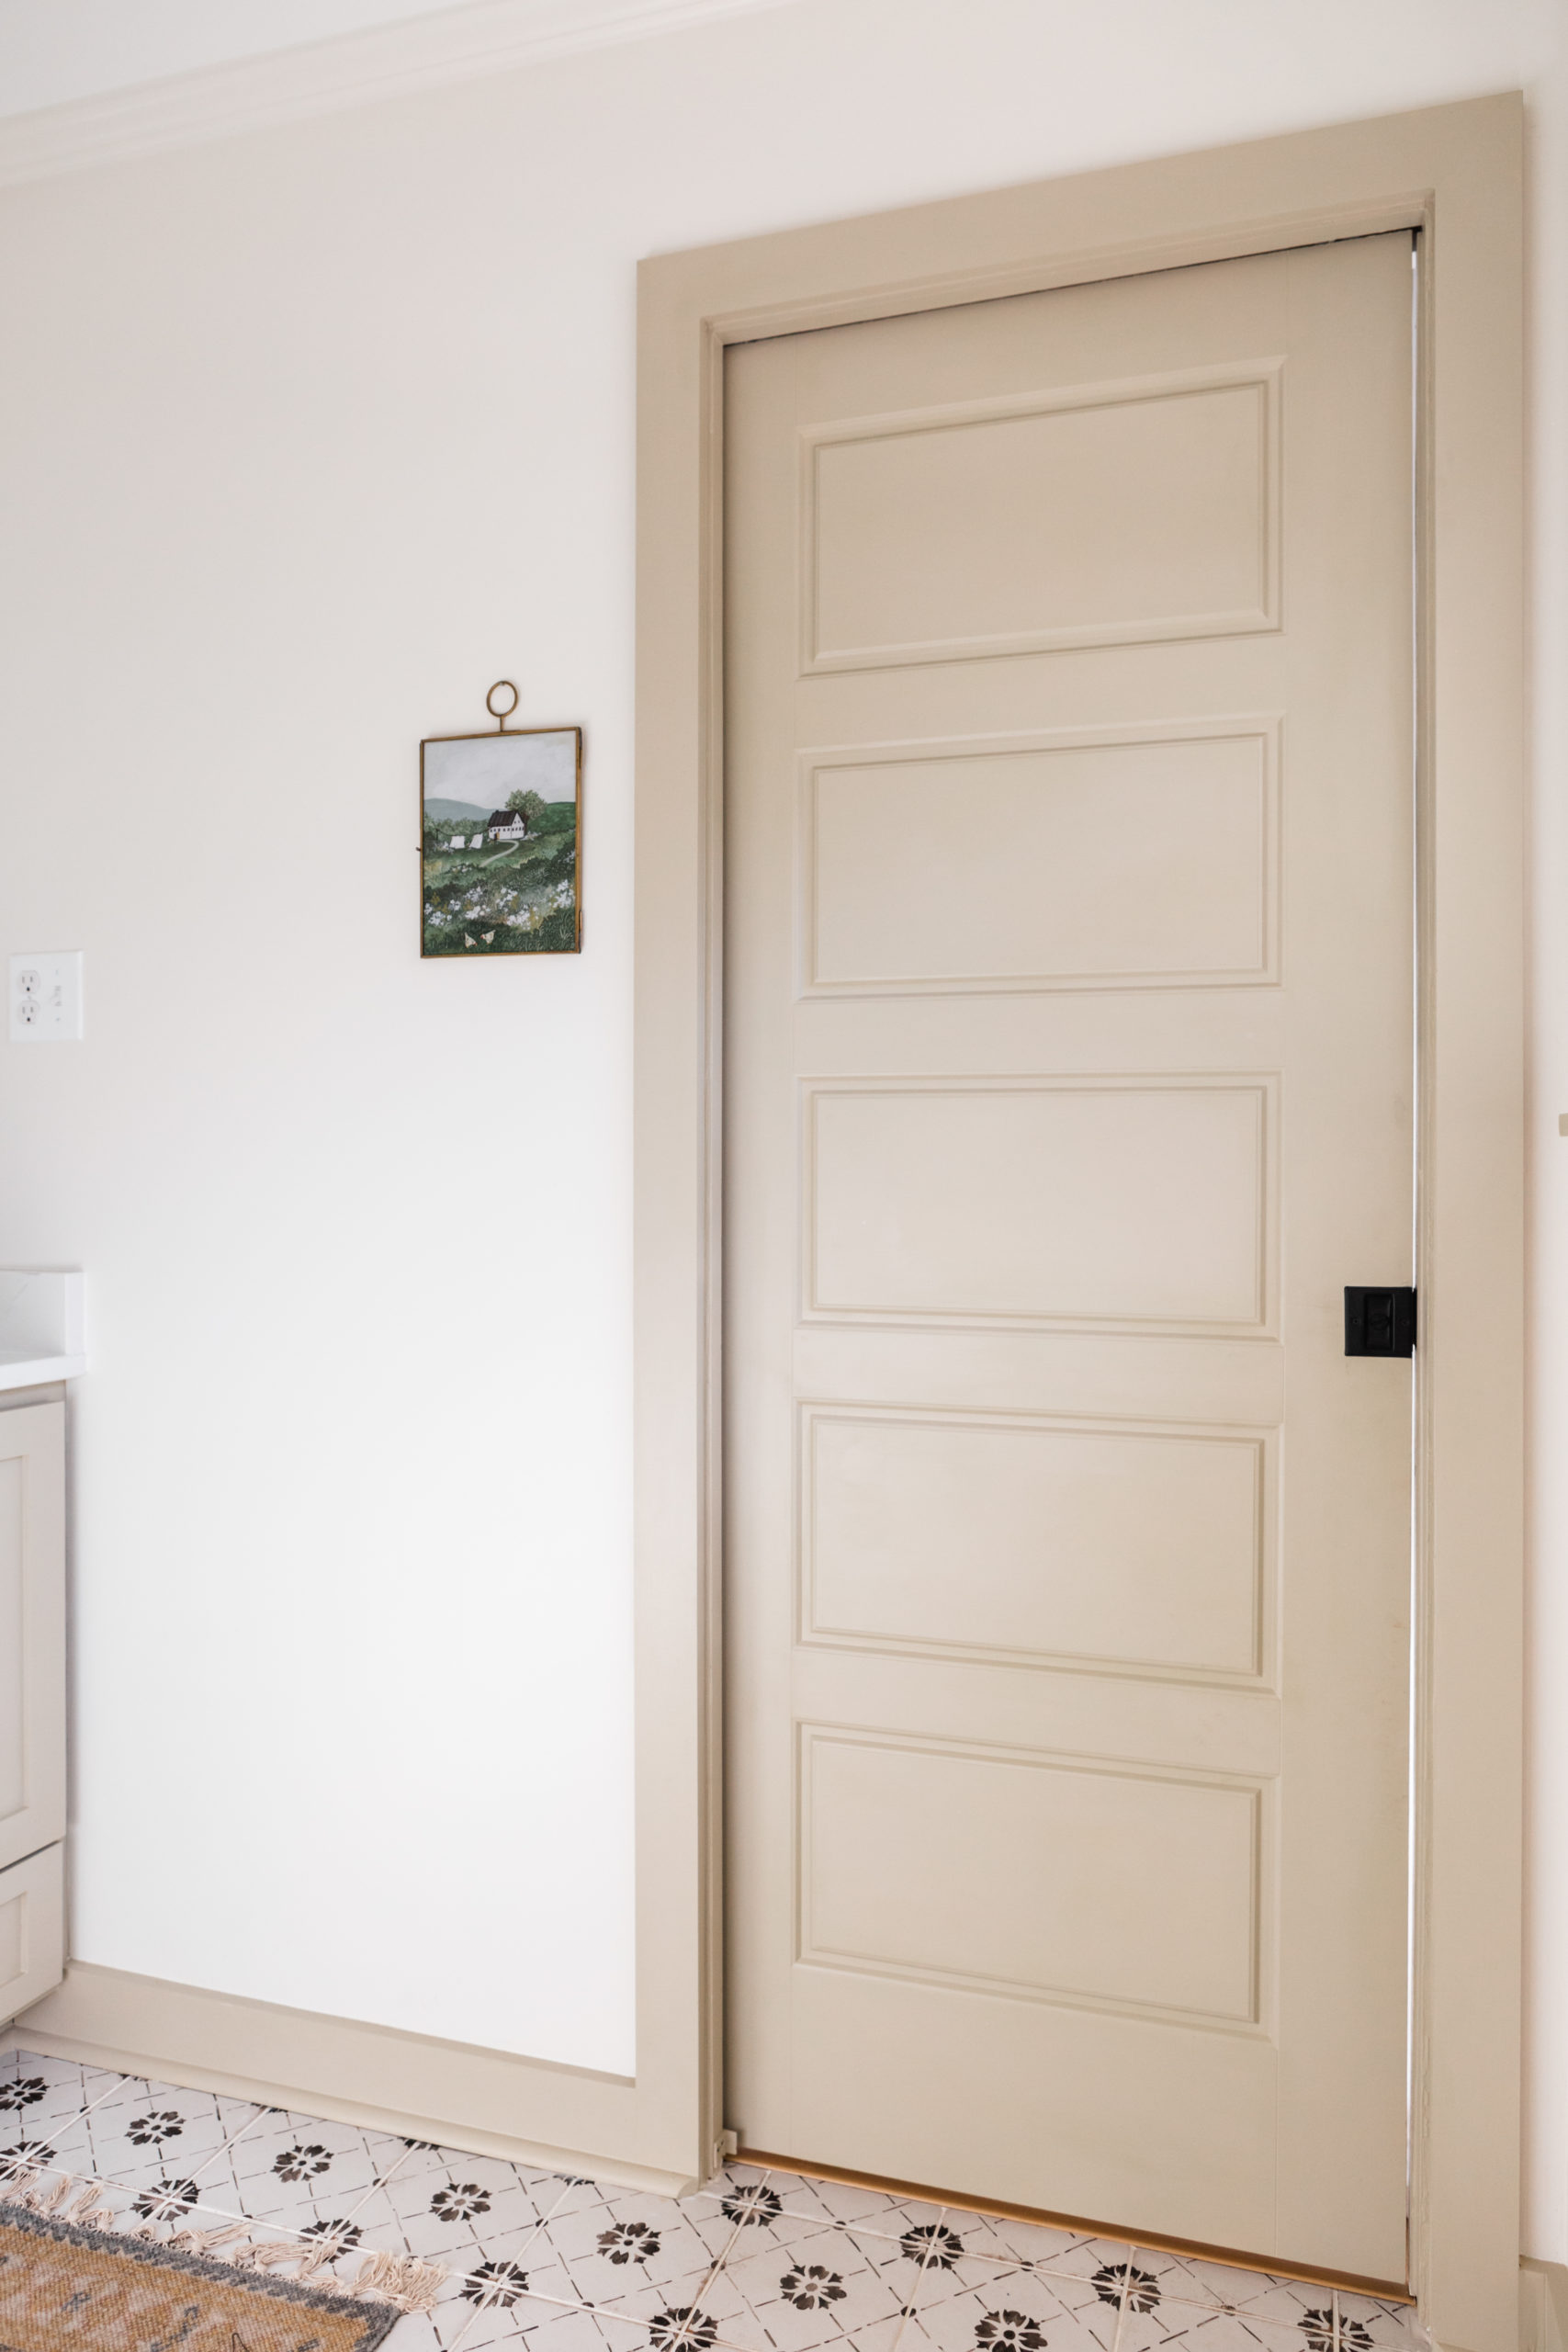
I searched for artwork for this bathroom for months and months. Like I said, I try to be very intentional! I hadn’t come across anything that I felt like 100% belonged in here until I found Sofie Swetter’s work. It reminds me of the land we dream of having someday and just makes me feel at peace when I look at it. I also love how it ties in the colors from our bedroom, which I can’t wait to share with you too!
When we moved in there wasn’t a door to separate the bedroom and bathroom so Stephen added a pocket door which has been SO NICE! We painted it Bone as well so the entire room feels cohesive.
I think that’s all! I know that was lot. I hope this room makes you feel inspired to do what makes you and your family happy in your home. Please let me know if you have any questions or need any help!
Room Sources:
- Shower tile
- Shower grout
- Shower curtain – Two sewn together in the color light gray
- Shower curtain liner
- Shower curtain rod
- Shower curtain hooks
- Shower faucet
- Towel hooks
- Toilet paper holder
- Toilet
- Fan/light combo
- Stool
- Mirror
- Wash your hands sign
- Artwork
- Shower room rug
- Rug
- Floor tile
- Faucets
- Knobs
- Pulls
- Vanity light
- Bamboo shades
- Diffuser
- Foaming soap dispenser
- Pocket door hardware
- Walls are Sherwin Williams Alabaster
- Vanity and trim is Farrow & Ball Bone
- Counter is quartz – I’ll have to track the name down from our counter guy!
I sincerely appreciate you all shopping through my affiliate links like the ones included in this post. I make a small commission when you purchase through these links at no extra cost to you. These funds help support my family and allow for us to produce better content for you all. I can’t thank you enough for supporting all that we do!
jordan jean
Leave a Reply


I love this bathroom so much!!! Good job!! We plan to use the same floor tile in one of our bathrooms. It adds so much character. I may have missed it in the room sources, what grout color did you all use? Is it white?
We used Mapei Keracolor grout in the color black.
[…] home so we’re very grateful! It was actually the only bathroom we used until we demoed the primary bathroom in 2021. Like that bathroom though, there was a lingering musty smell and no matter how much elbow […]
[…] fall of 2021 (wow that feels like ages ago…), Stephen and I tackled the DIY remodel of our primary bathroom. While we were working on that, it made the most sense logistically to tackle our bedroom at the […]