June 25, 2018
Happy Monday! I hope you all had a great weekend. We spent ours with friends and working on our home. We got so much done! It’s not really exciting stuff but I think we can say that we have officially unpacked the entire house. FINALLY! That spare bedroom pictured here is finally unpacked and pretty much empty. Now to decide how we want to fill it…
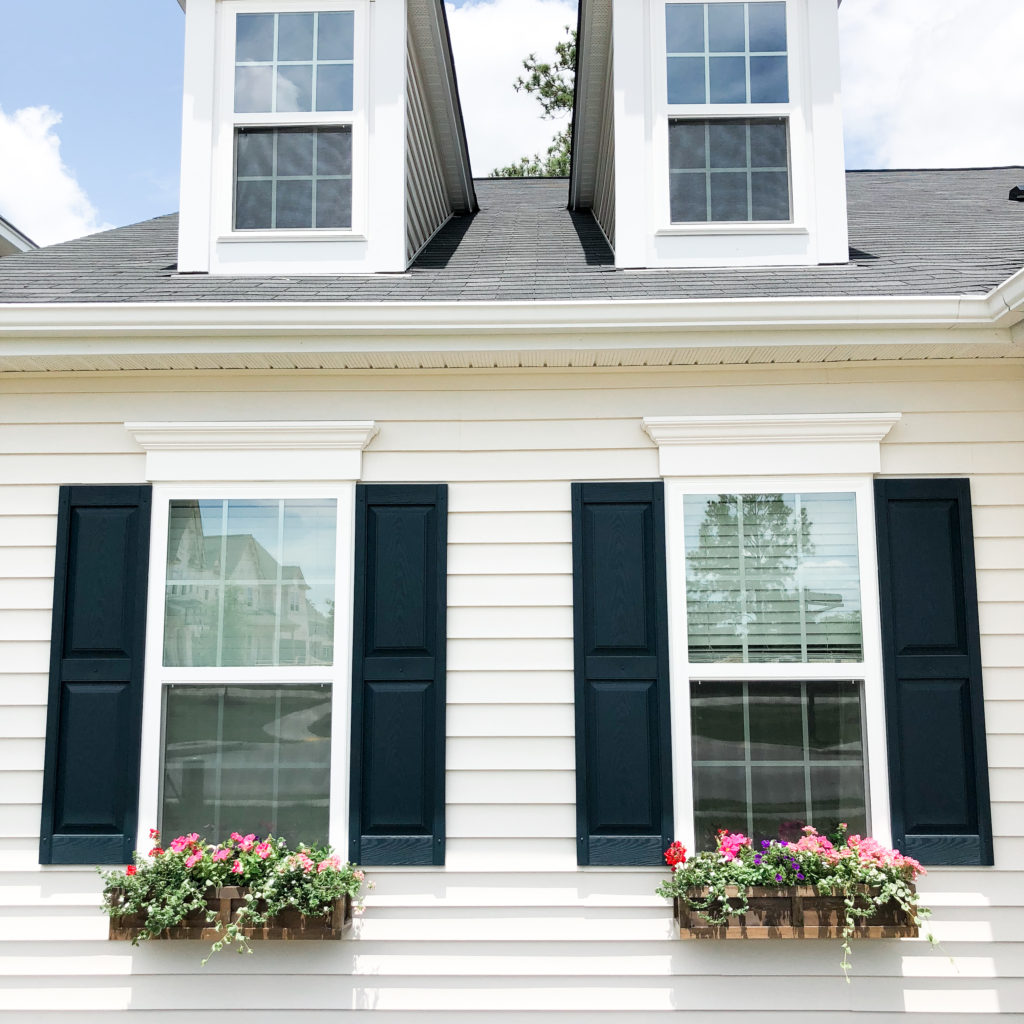
Last week I shared what we planted in our DIY window boxes and now it’s time to share how we made them! When we were deciding how to landscape the front yard I had this tiny thought of adding some window boxes and I mentioned it to Stephen. The idea started to grow and eventually it became part of our landscaping plan. We love the charm that it adds to a home! I searched all over the internet to find options that were inexpensive and would fit well with our home but I just couldn’t seem to find what I was looking for. I asked Stephen if he could build them himself and he happily obliged. I told him what I was imaging and bam, he did it. He’s awesome. Since he’s the handyman behind this beautiful DIY he also wrote this post. Did I mention he’s awesome? I’ll let him take over from here!

For our window boxes we decided to use cedar wood for the main box because it has good rot-resistant qualities and they are going to be hung outside with lots of exposure to water and dirt. We decided to use poplar for the trim because it is relatively cheap and they had the dimensions we wanted at Lowe’s. Constructing our window boxes was not as complicated as it seems. It mainly boils down to being able to accurately measure and cut the wood and drill some screws in. Here’s the step by step process as well as a list all of the materials and tools we used to build them –
Materials You’ll Need (for two window boxes):
- 3 x 1″x8″x8′ Cedar Boards
- 4 x 1″x2″x4′ Poplar Boards
- 5 x 1″x2″x2′ Poplar Boards
- 1 x Bottle of Wood Glue/Adhesive
- #8×1.75 inch Exterior Wood Screws
- 18 gauge nails (optional)
Tools You’ll Need:
- Power Drill
- 1/8″ drill bit
- 1/2″ drill bit
- Miter Saw
- Sander
- 1.5″ 18 gauge brad nailer w/ air compressor (optional)
- Tape measure
How To Build Them:
Step 1: Measure the size of the window to determine what size box to build. Our windows measured 30.5 inches from side to side so we just rounded up and said we were going to make them 31 inches long.
Step 2: Since we were building two boxes we could use some of the excess wood we cut from the big pieces we bought to use for the other box. For each box we cut the wood down to make the following pieces:
- 3 x 31″ cedar
- 2 x 9″ cedar
- 2 x 33″ poplar
- 7 x 5″ poplar
- 4 x 9.5″ poplar
Step 3: Attach the long (31″) pieces of cedar together. These go together so that when you look at it from the side it makes a “U” which is wider than it is taller. We used 5 screws on each side and pre-drilled the holes with a 1/8″ bit so that it would help prevent the wood from splitting. We made sure to line the wood up evenly before drilling so that the sides were all flush with each other.
Step 4: Add the short sides (ends) of the boxes with the 9″ pieces of cedar. We had to trim the pieces slightly on the sides to get it to slide in and fit snuggly and then cut the top of the wood so that it was even with the top of the rest of the box. Once this fit in snuggly and fit level with the top, we drilled two screws on each side again pre-drilling the holes so that the wood didn’t split. The key to this step was make multiple small, precise cuts trimming away a saw blade width at a time to make sure the pieces fit in precisely. We could have stopped after this step but decided to add trim around the edges to give it more flare.
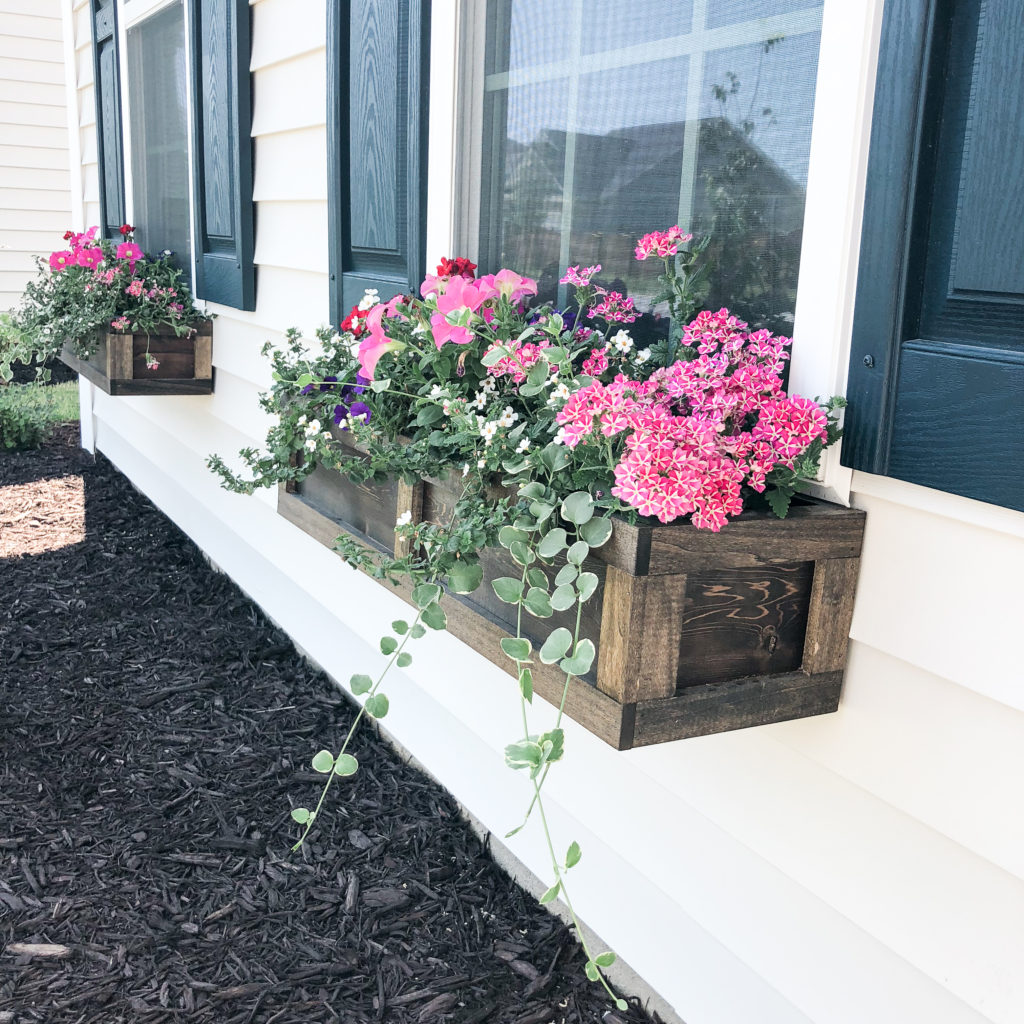
Step 5: Attach the trim on the sides of the box. It is important to do the side trim first before the front trim so that when you do the front trim it will cover up the wood from the side. We took the 9.5″ poplar pieces and trimmed them so that they fit evenly with the sides of box. Again we made multiple cuts sometimes only a blade width or less to make sure they were flush with the sides. We then put wood glue on one side of the poplar and stuck it horizontally on the top and bottom of the side of the box. Instead of holding the wood in place until it dried or using something like clamps, we decided to nail the pieces together with 1.5″ 18 gauge nails because we already had some leftover from another project. These nails are small enough to where it is difficult to see the holes from far away, but also sturdy enough the hold the wood without it moving. After all the horizontal pieces were put in, we went back and used the 5″ poplar pieces as vertical pieces so that the trim made a rectangle. Again we precisely cut them to fit snuggly in between the horizontal pieces of trim and then attached them to the window bow using wood glue and the nails to secure them in place while the glue dried.
Step 6: Attach the trim on the front of the box. This step is identical to the previous step with the exceptional that we used and cut the 33″ poplar pieces as the horizontal trim on the top and bottom because the front is longer. After those were attached using the wood glue and nails we added the vertical pieces from the 5″ poplar, again putting 2 pieces on the edges to make a rectangle and then an additional in the middle just to give it some design.
Step 7: Drill drainage holes. This step is pretty simple. Just drill 4 holes in the bottom of the wood to allow for excess water to drain out when the dirt and plants are added. No one is going to see the bottom of the planter so you don’t have to be extremely precise with how evenly spaced these are, just eyeballing it is fine.
Step 8: Paint/Stain the boxes. Now its time to decide what color you want the window boxes to be. For us, we have “linen” colored vinyl and navy blue shutters around the windows. We were originally planning on doing either of those two colors but then decided last minute to do a Minwax dark walnut (Jordan’s go-to) color because it matched the color of our front door and we loved our decision! It compliments the front of the house so well and they would look great even without flowers in them.

Overall, they’re pretty darn simple and much less expensive than purchasing them premade. It cost a little less than $100 total for all of the materials. It would’ve been nice to save some more money of course but cedar (which is rot-resistant and sturdy) is not cheap. We love how they turned out so we’re hoping that these last for years and years to come! If you have any questions let us know!
and Stephen 🙂
Other window boxes posts:
Full and Colorful Summer Window Boxes
jordan jean
[…] DIY Window Boxes […]
[…] Now that we have told you how to make the window boxes and how to fill them with flowers we are going to teach you the final step in the process, how to […]