June 26, 2018
Hi! Now that we have told you how to make the window boxes and how to fill them with flowers we are going to teach you the final step in the process, how to attach them to the house. We researched a ton to figure out how to do this but we never really found a good way four houses (like ours) with vinyl siding. Everything we saw/read we needed to remove the siding which we didn’t want to do. We were determined to figure out a different way of doing it and we finally did. It really wasn’t that hard and let me tell you… Those boxes are not going ANYWHERE!
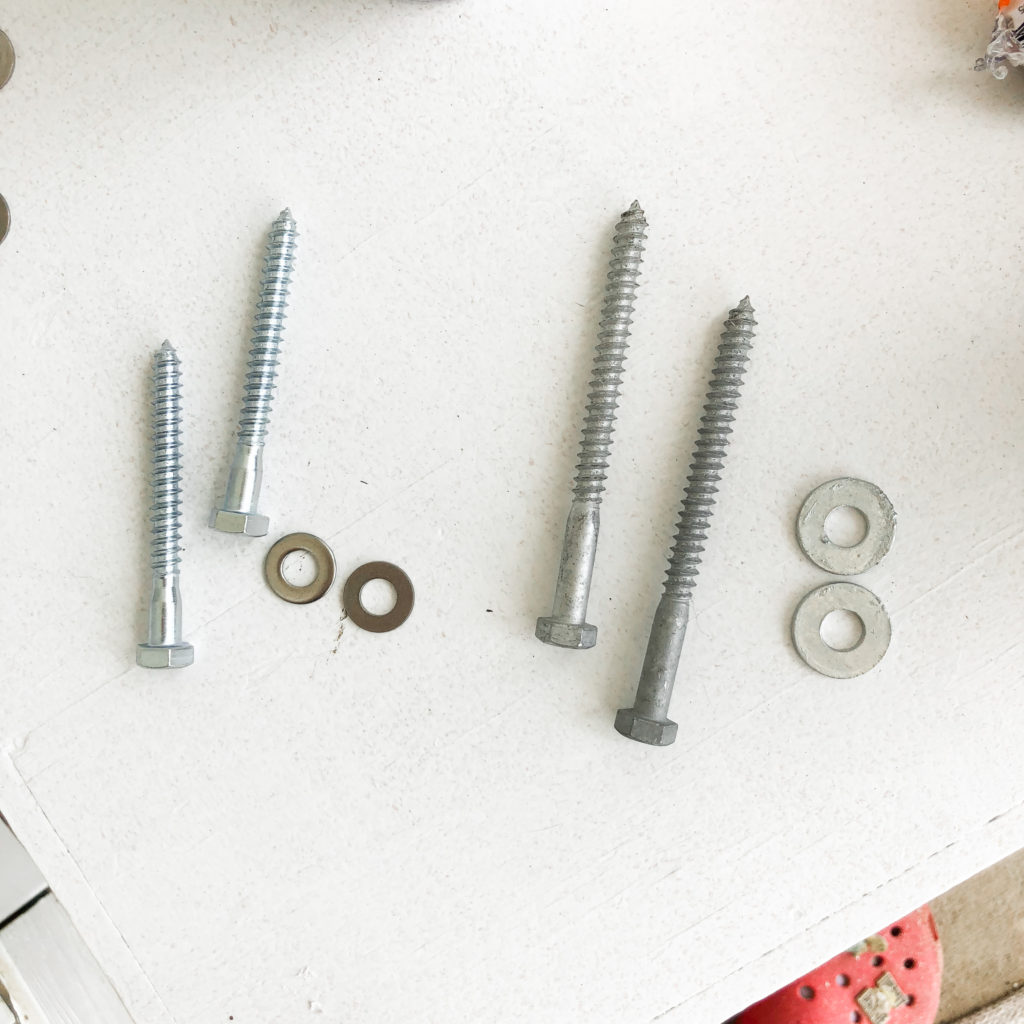
Materials You’ll Need (to attach two window boxes):
- 4 x 3/8″x3.5″ Galvanized hex-head lag screws
- 4 x 3/8″ galvanized washers
- White Caulk
Tools You’ll Need:
- Stud Finder
- Power Drill
- 11/32″ drill bit
- 1/2″ drill bit
- Socket wrench with 9/16″ hex head
- Speed Square
- Caulk Gun
What To Do:
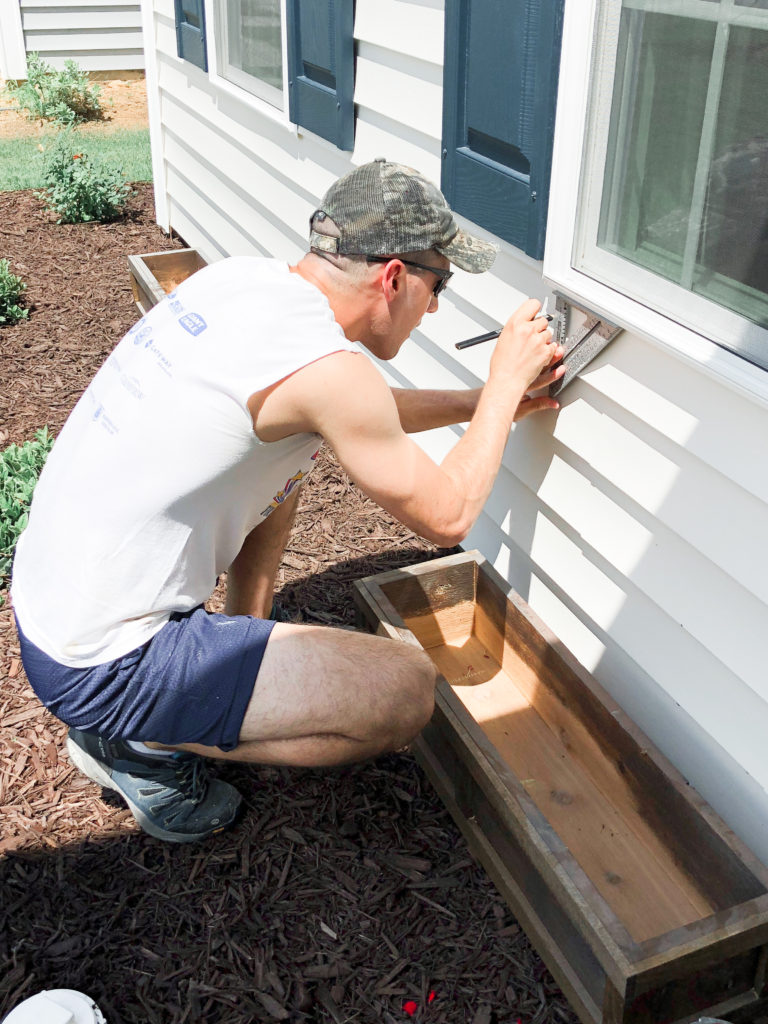
Step 1: Locate the studs on the house using a stud finder. This part was the trickiest and I was honestly a little unsure as to whether I was going to find the studs and could actually attach the weight of the boxes without ripping the siding off the house. We did not have a zip tool to remove the vinyl siding so we could not get behind it to get a better look and figure out where the studs were so we had to make do with the tools we had. We could not attach our window boxes to the jack studs (the studs on the outer edge of the window frame) because our box was too short and didn’t reach to those so we had to find the studs under the bottom seal of the window. The shape and size of the vinyl made it a little tricky to use the stud finder as well as the fact that we were searching through multiple layers of building material to find them. We used the Deep Scan mode of the stud finder and swiped it back and forth along the vinyl underneath the window probably close to 20 times because we got multiple false returns or just nothing at all. We made sure we were pressing the stud finder firmly against the siding but not too hard and had to make sure it was a perfectly straight line across. After about 15-20 times we were pretty confident we found the two studs under each window and marked their location with a pencil.
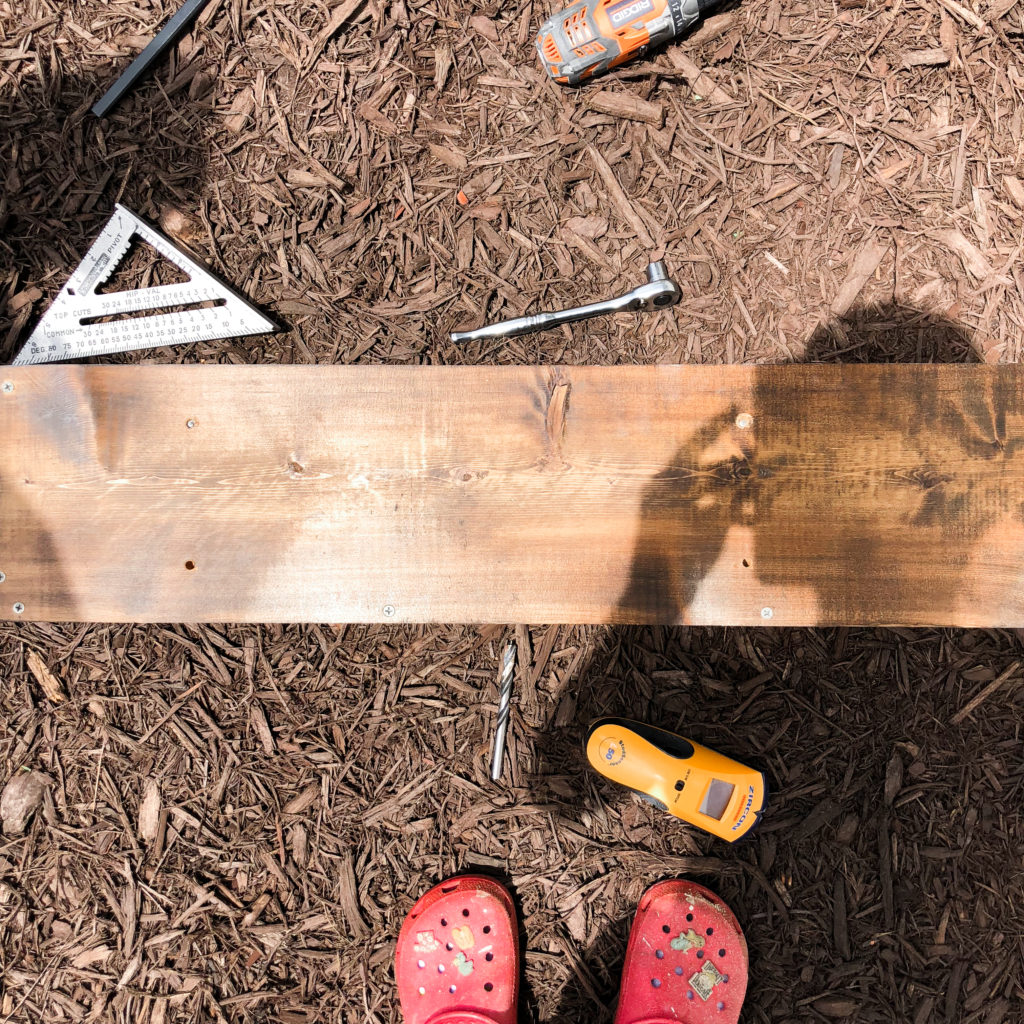
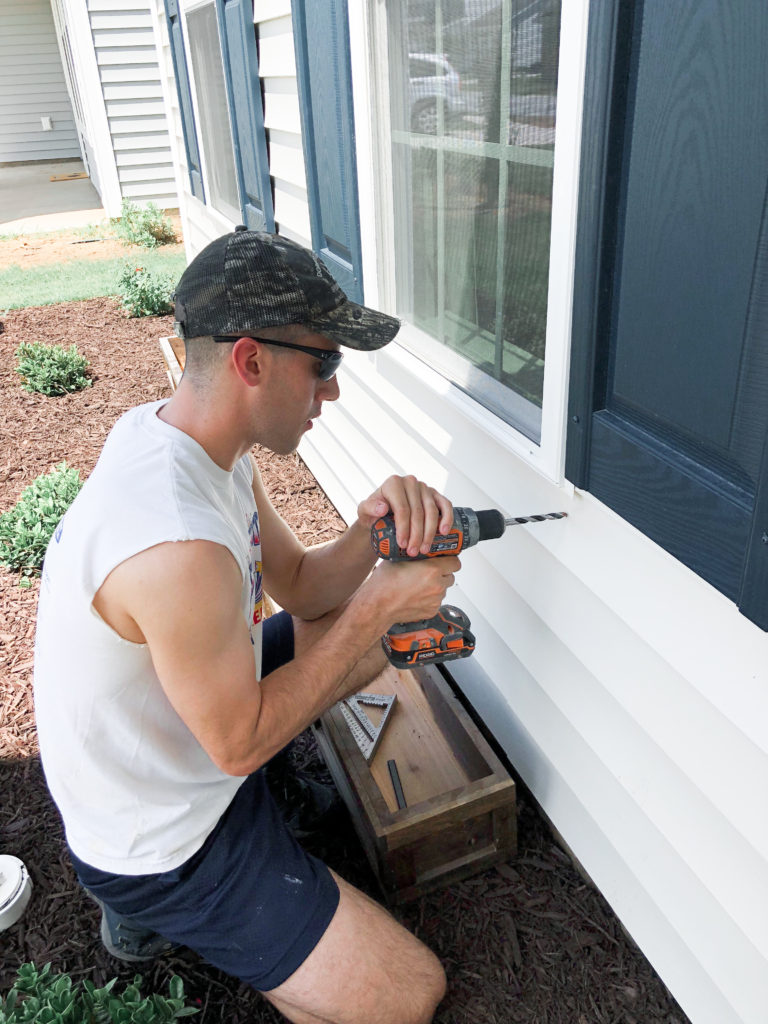
Step 2: Drill the pilot holes in the house. After locating the studs and marking them, we placed two marks where each stud was. One mark was 1.5 inches below the bottom of the window frame, and another 3 inches below that mark. We used the 1/2″ drill bit because it is slightly bigger than the 3/8″ lag screws we were going to use and would give us some wiggle room with the vinyl siding. We drilled enough so that we were through the vinyl, weatherproofing wrap and just started to go through the wood after that but not all the way through. We then changed out to the 11/32″ drill bit (just slightly smaller than the lag screws) and finished drilling that all the way through, which luckily was the stud. We did this for all 4 marks.
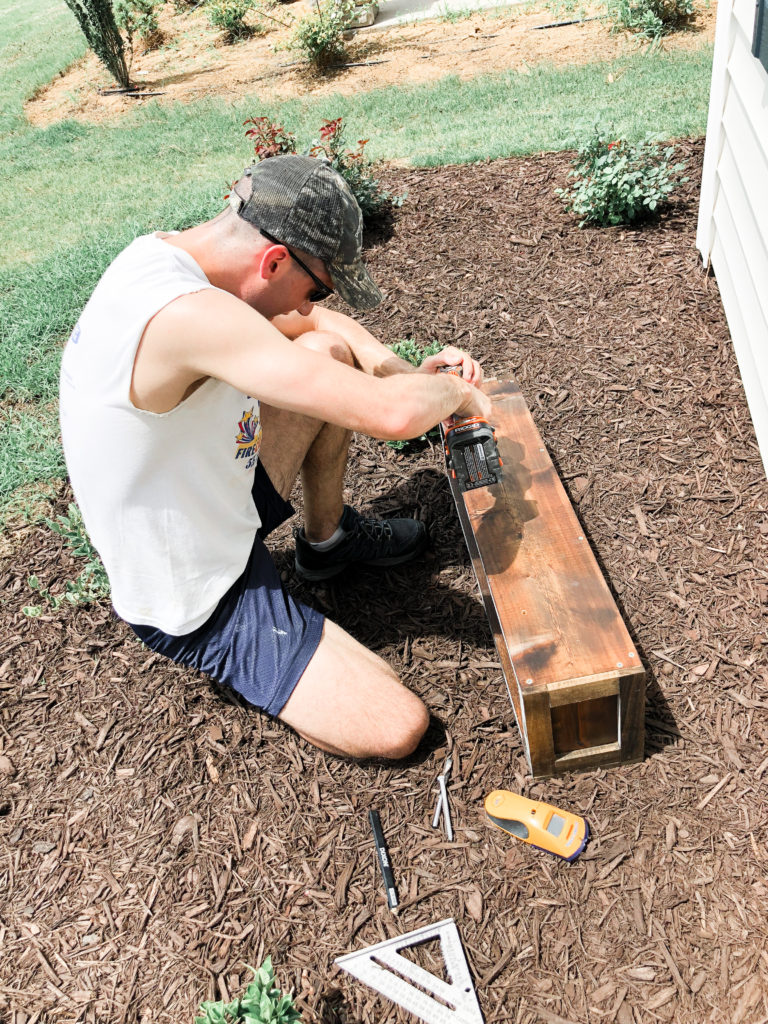
Step 3: Drill holes in the window boxes. This step involves translating the holes we just drilled into the house and making sure they will line up with the holes on the back of the boxes. We took the boxes and held them under the window so that the top was even with the bottom of the window frame and marked on the back side of the box where the studs would be. From there we made a mark aligned with the studs 1.5 inches from the top of the box and another 3 inches below that mark so that they would line up the holes we just drilled into the house. We used the 11/32″ drill bit to drill through the back side of the window boxes where the marks were.
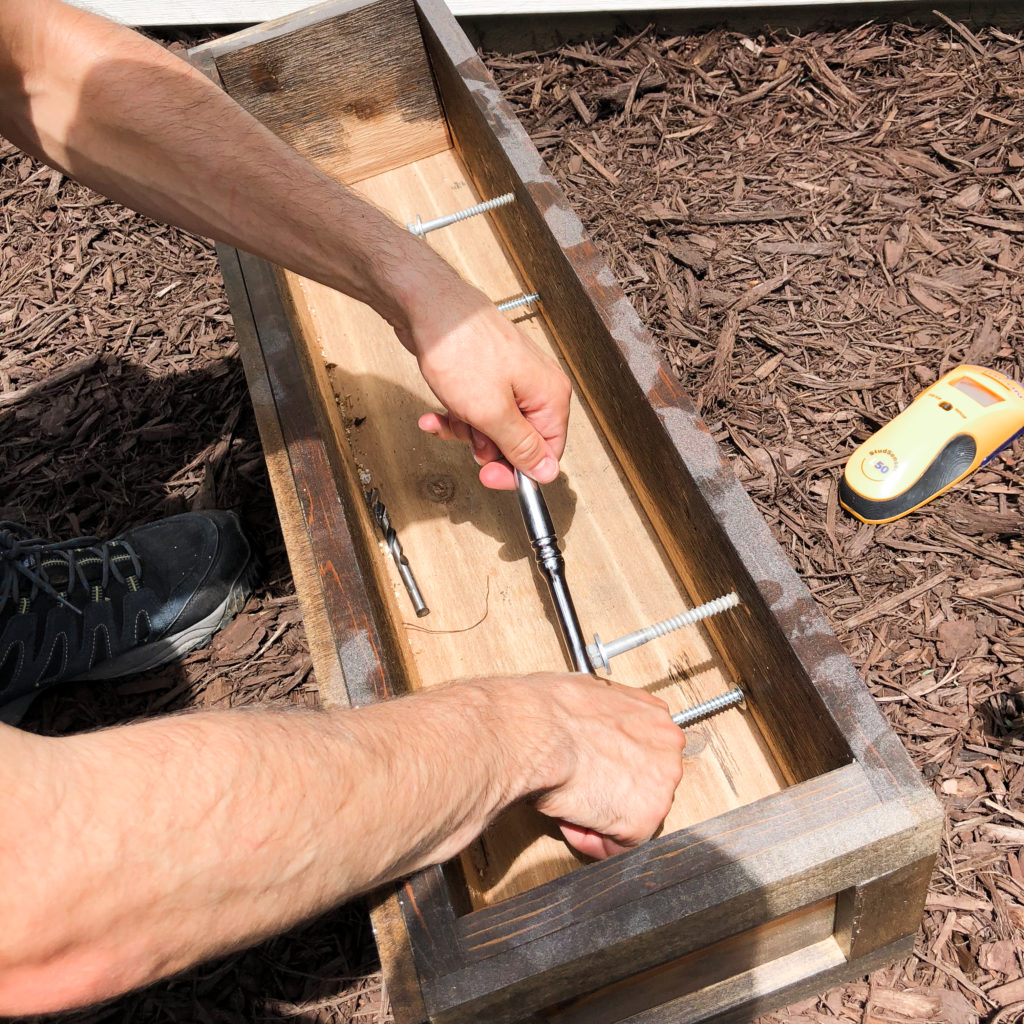
Step 4: Make sure your measurements are correct. Put the lag screws through the holes in your box and line them up with the holes you made in the house to make sure all of the measurements are correct before caulking the holes.
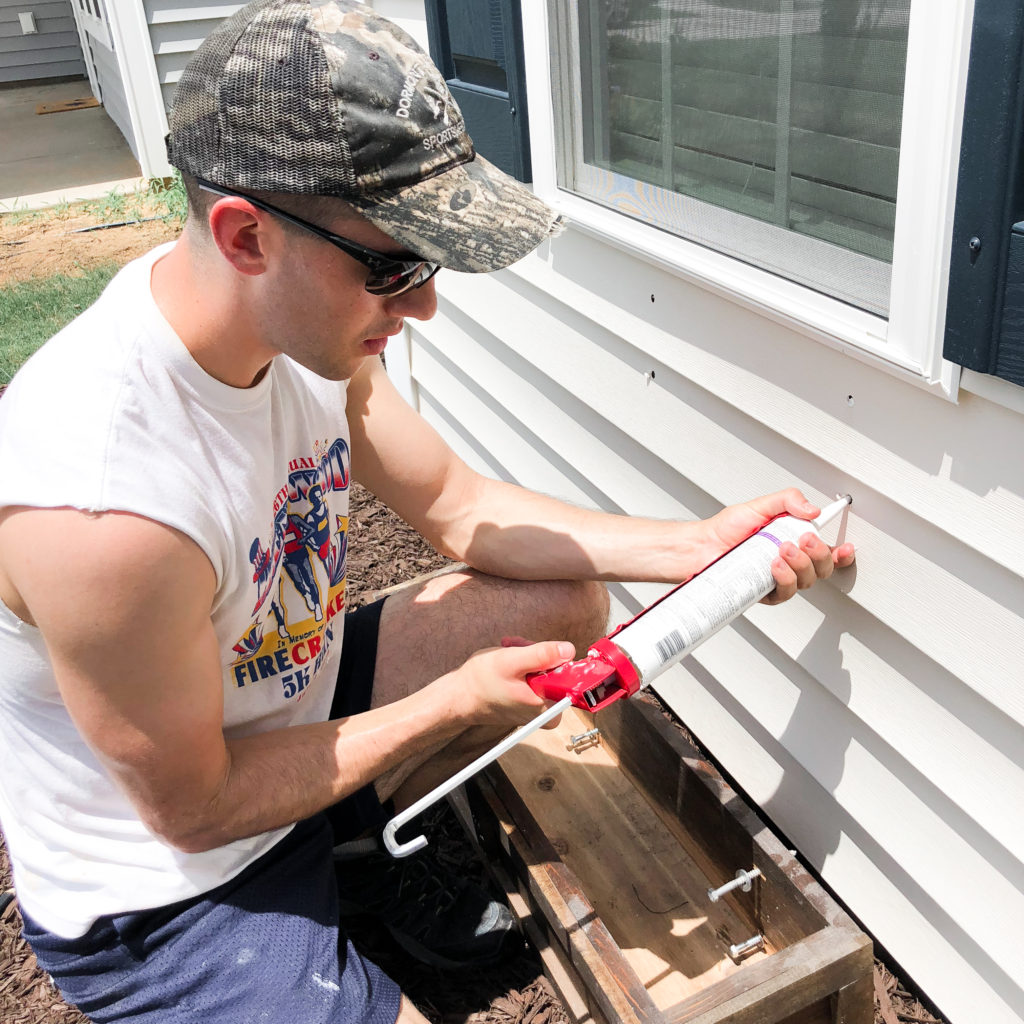
Step 5: Caulk the holes in the house. Caulk the holes in the wall to keep them waterproof and seal off the vinyl.
Step 6: Attach the boxes to the house. Lastly, we put the lag screws through the holes in the window boxes with the washers on the inside of the box, lined up the screws with the holes in the wall and used the 9/16″ socket wrench to ratchet the screws into the side of the house. We tightened the screws down. Not too tight so that it squished the vinyl siding but tight enough to make sure it is secured against the house. That box isn’t going ANYWHERE!
Step 7: Step back and enjoy your new project!
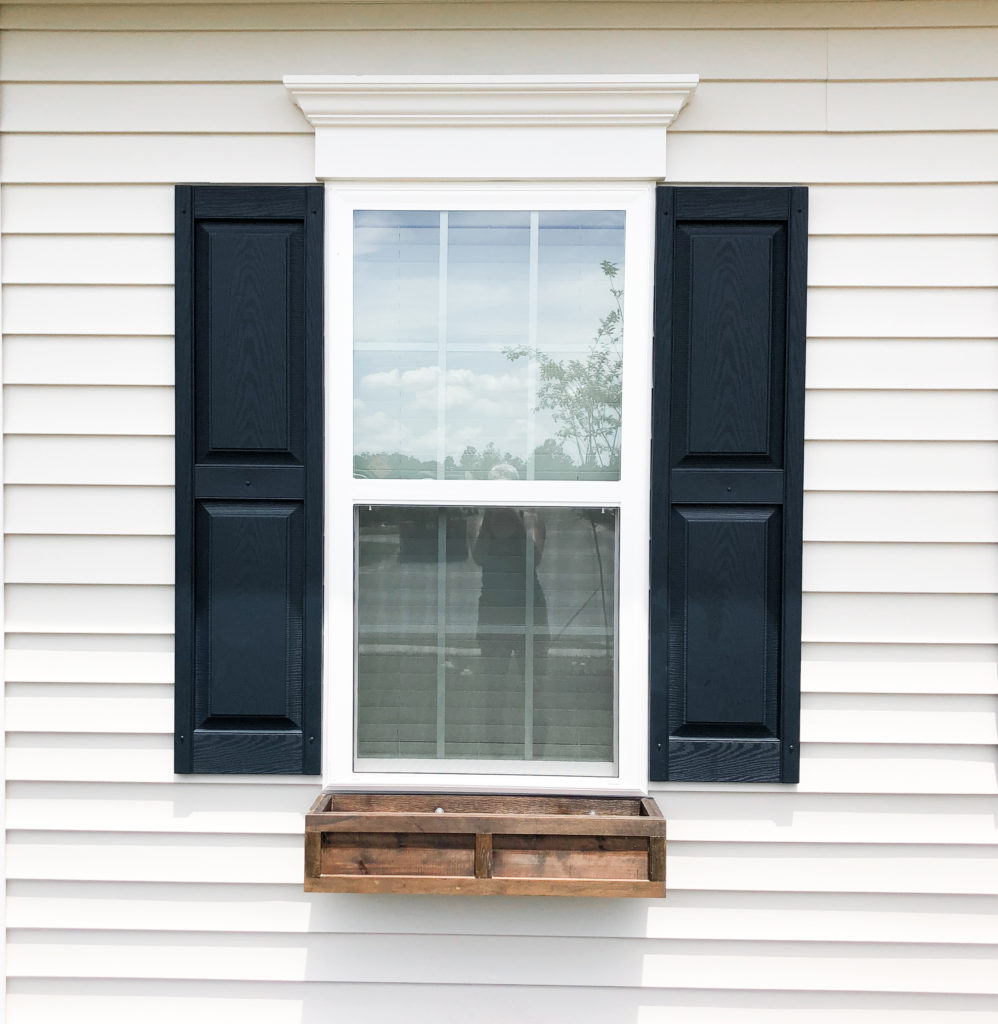
Full and Colorful Window Boxes
Window Box DIY
jordan jean
Leave a Reply


The box looks great! Thanks for posting this process. I’m about to try to mount a bird house to my vinyl siding and there’s lots of good info in your post that I’m going to put to good use. Thanks for taking the time to share. 🙂