September 28, 2016
Happy Wednesday!
This is a reminder that if you have a “normal” work schedule, you are HALF WAY THROUGH YOUR WORK WEEK! Keep chuggin’ along!
It has been a while since I’ve written a DIY post so this is super exciting and impromptu. My new apartment is spacious. However, there is no room in the kitchen/living room area for a kitchen table. Fortunately, it’s just me (for now) so a kitchen table isn’t entirely necessary but I do have a bar area that I figured I could use as a nice little eating/work space. My mom and I had both been hunting for some stools at thrift stores and while I had no luck, she finally did! She purchased both of these oak wood stools at Salvation Army for a whopping $10 total and brought them up to me when she visited for the marathon we ran in Indiana.
I thought long and hard about what to do with these stools. I personally don’t love the color of oak wood… I prefer either a grayish tint wood or a dark, rich wood color so I knew that I was either going to stain the stools or paint them. I went back and forth between gray and white and eventually decided on doing a mixture of the both by painting them white and doing a rustic gray finish on the top.
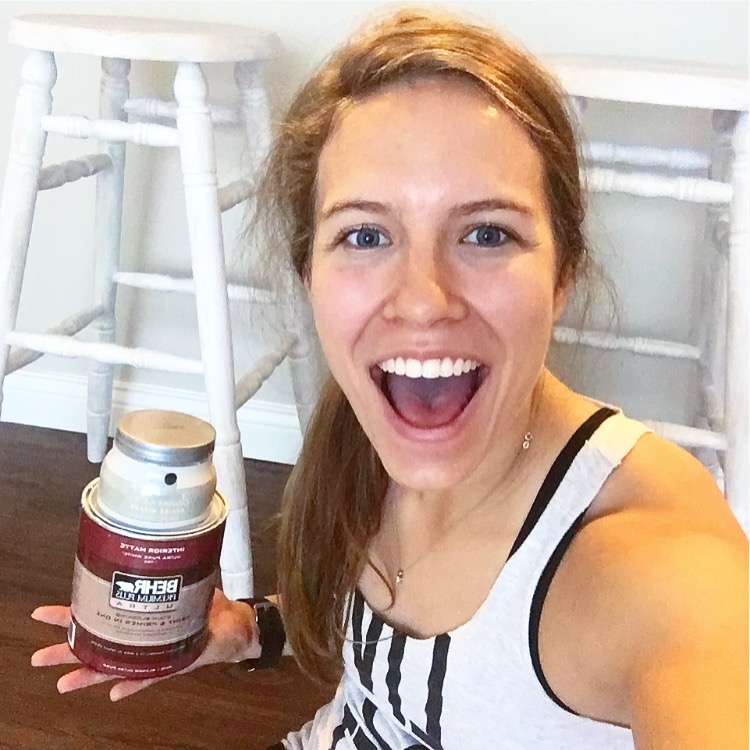
Like I said, this tutorial is pretty impromptu. I posted a picture on my Instagram asking if people would like to learn how to do this and received multiple texts asking for a tutorial so here we are! I apologize the pictures aren’t perfect… I really was just taking them for my own record and not with the intention of posting. Anyway, I hope you all enjoy this! If you ever have any questions feel free to comment below or email me at jordyjeanfit@gmail.com!
Materials:
- Stools
- Fine grit sand paper
- Paint brush
- Behr Marquee Interior Matte Paint (or whatever white paint you have on hand)
- Divine Color Mirage Paint (or some sort of gray color)
- Damp paper towel
Directions:
Step 1: Acquire stools. Like I said, my mom found these at the local Salvation Army for $10. Woohoo!

Step 2: Sand the top. The stools looked as though they had some sort of finish on them. In the perfect world I probably would’ve sanded the entire thing (legs and all) so that the paint stuck better to the wood. But let’s be honest… This girl does not have time for that so I just sanded the top and moved on with it. Also, the paint that I used has a primer in it so I figured it would be okay.
Step 3: Paint a coat on the stools. I did this very quickly/roughly because I knew that I would go over it again. I had this Behr paint (which also has a primer in it) in the color Maui Mist leftover from the dresser that I painted (another DIY coming soon!) so I decided to use that for the stools as well. I chose this color because it has a very, very small hint of blue in it and considering I tend to gravitate towards blue/grays, I went with that.
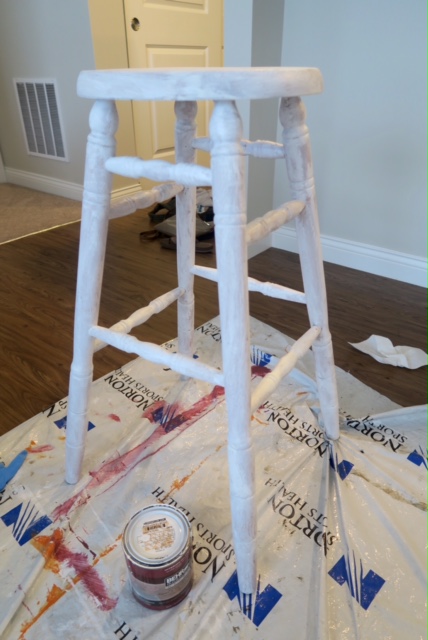
Step 4: Paint the other stool.
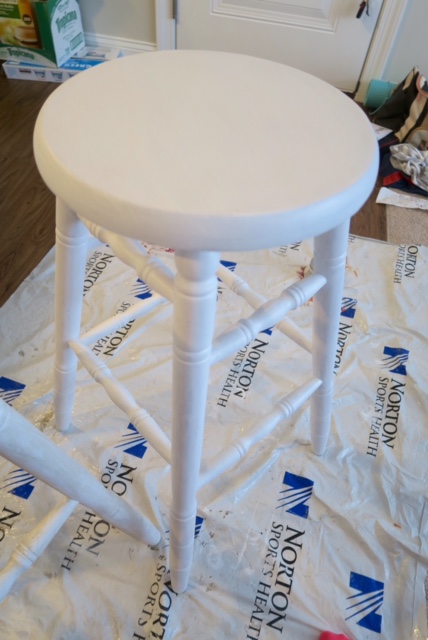
Step 5: Paint a second coat on the first stool.
Step 6: Paint a second coat on the second stool.
Step 7: Now for the fun part! The paint was mostly dry on the first stool but I didn’t let it dry completely before starting this step. I dipped only the very tip of my brush into the gray paint and then very lightly painted with the grain. I did about 3 strokes on the stool before I would gently rub the damp paper towel over the paint to give it a smudged effect. If some of the paint looked too thick, I would rub more on that spot to remove more of it. I do like the look of having some places dark than others so sometimes I would just rub very gently all over even if the paint was thick. Rub the damp paper towel also with the grain. I wouldn’t suggest painting the entire stool with the gray and then going back over it with the damp towel because the paint dries really quickly since it is a very thin stroke! Just do about 3-4 paint strokes at a time and then work on it with the towel. When painting the legs I was very rough with it and didn’t care if I was with the grain or not. The towel is especially handy on the small nooks and crannies on the legs!
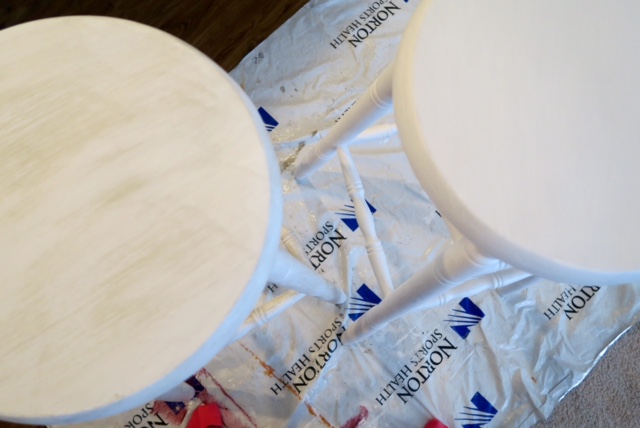
After “distress” on the left and before on the right!
Step 8: Repeat the same process on the second stool.
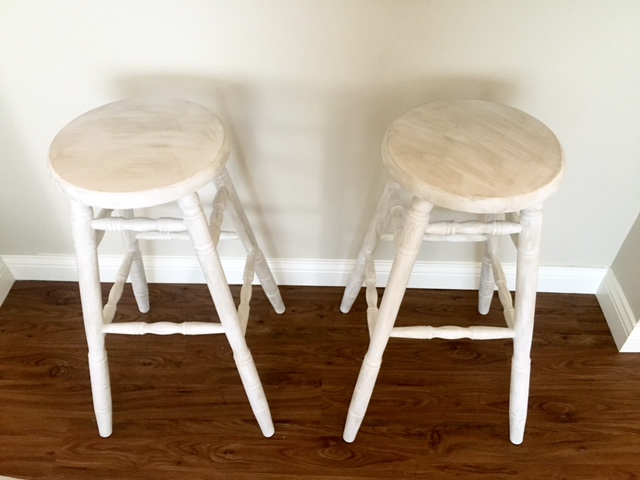
Step 9: Let them dry and tahdah! You have yourself some white rustic stools!
The great thing about this is that this technique can be used on pretty much any sort of wood piece (hint hint for another DIY 😉 ). Let me know if you try this out in the comments below! Have a great Sunday!
jordan jean
Leave a Reply


SHARE