July 30, 2016
Happy Saturday!
This is something a bit different today but it has been requested by so many people so I’m happy to finally be writing this! I do want to warn you though, I’m still trying to figure out how to take pictures of the back of my head (it’s a lot harder than I thought). Don’t worry, though! Soon enough I’ll have a handsome husband to help me. 🙂 Anyway, if you have any requests for other styles please let me know!
Without further ado… My go to updo! I prefer wearing my hair up versus down because let’s face it, I never know what kind of mood my hair is going to be in. If I leave it down, there’s too much opportunity for my hair to throw a temper tantrum and poof out an extra foot so I avoid that at all cost. Anytime I don’t feel like doing my usual sock bun or want something a little bit fancier this is what I do. I always receive so many compliments when I wear my hair like this so I hope you receive the same! It’s actually very simple and it’s possible even with short hair. Lastly, the best part is that it doesn’t have to be perfect! I’ve realized after doing this over and over again that the less I try to make it perfect, the more beautiful it is.
Step 1: Wash your hair. Some people say that their hair curls better when they have some natural oil in it but I prefer working with it when it’s clean. My hair is pretty course, however, so if you have smooth and silky hair, I would suggest not washing it.
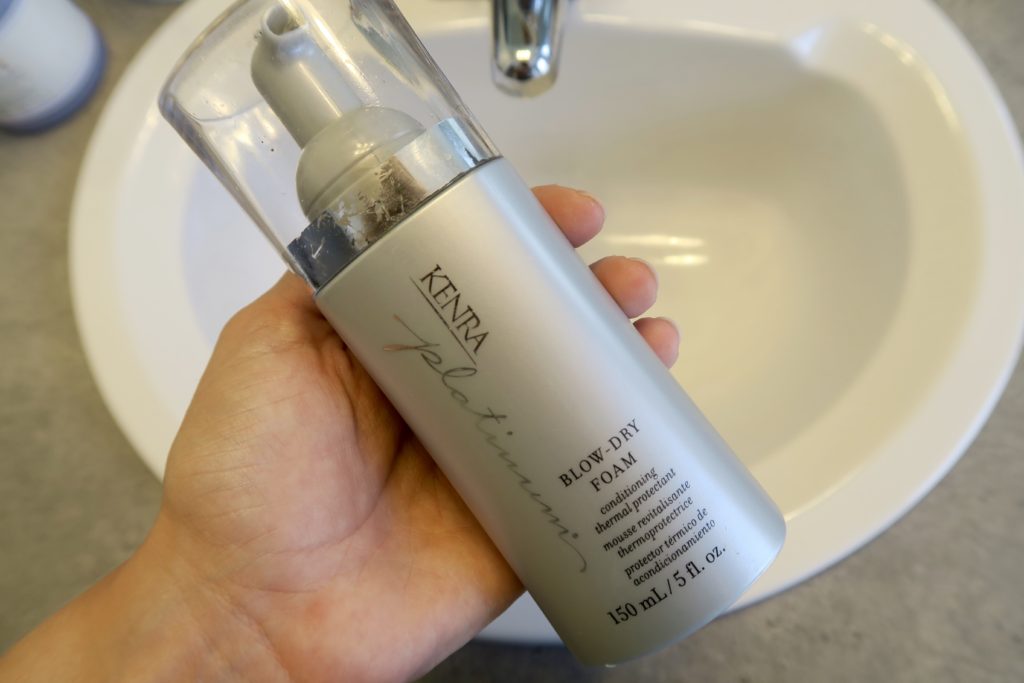
Step 2: Use Kendra Platinum Blow-Dry Foam. It cuts the amount of time required to dry my hair in half.
Step 3: Blow dry your hair.
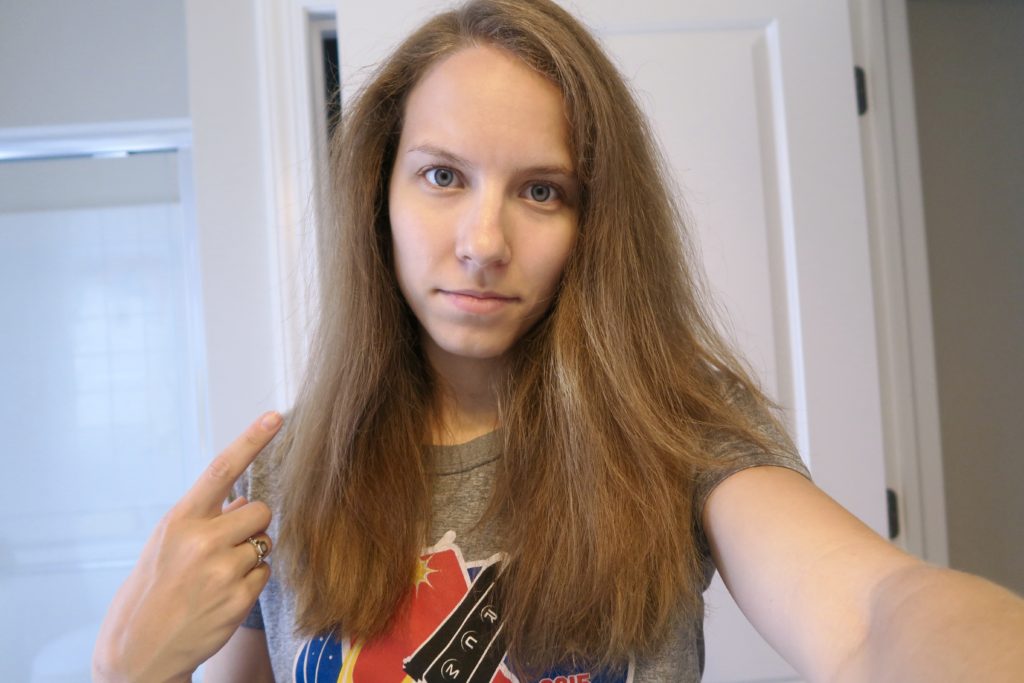
This is what I’m working with here- a whole lot of hair and a naked face. My hair is actually less frizzy than normal… Today is a great day!!
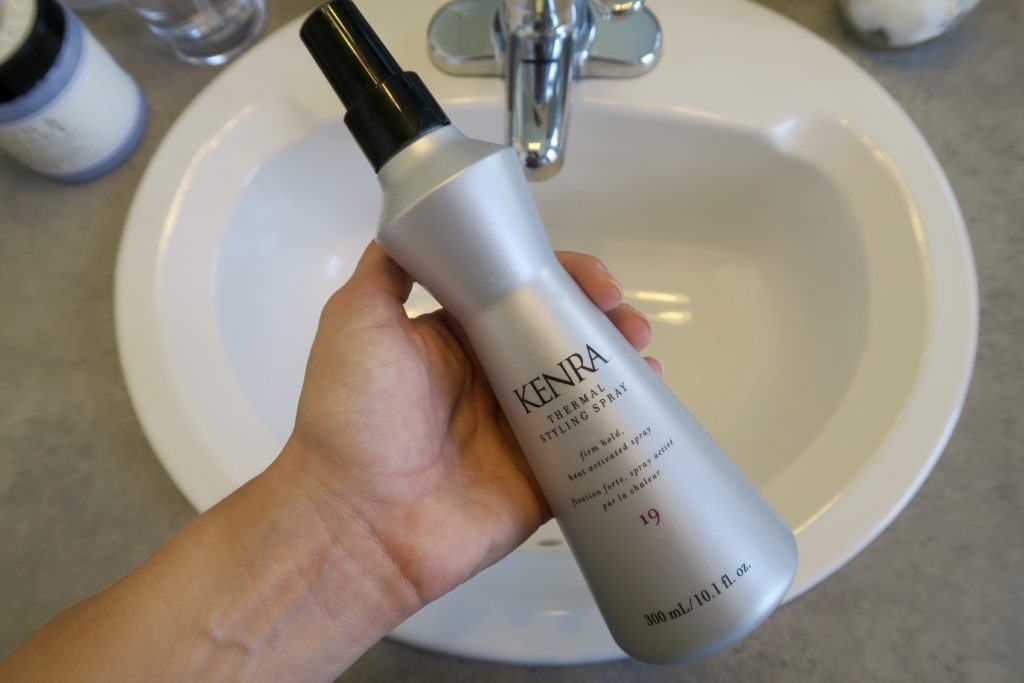
Step 4: Section off the hair and lightly spray with Kendra Thermal Styling Spray 19. Spray this far away from the hair and very, very lightly. I’ve found that it can make the hair sticky and hard if too much is sprayed on the hair.
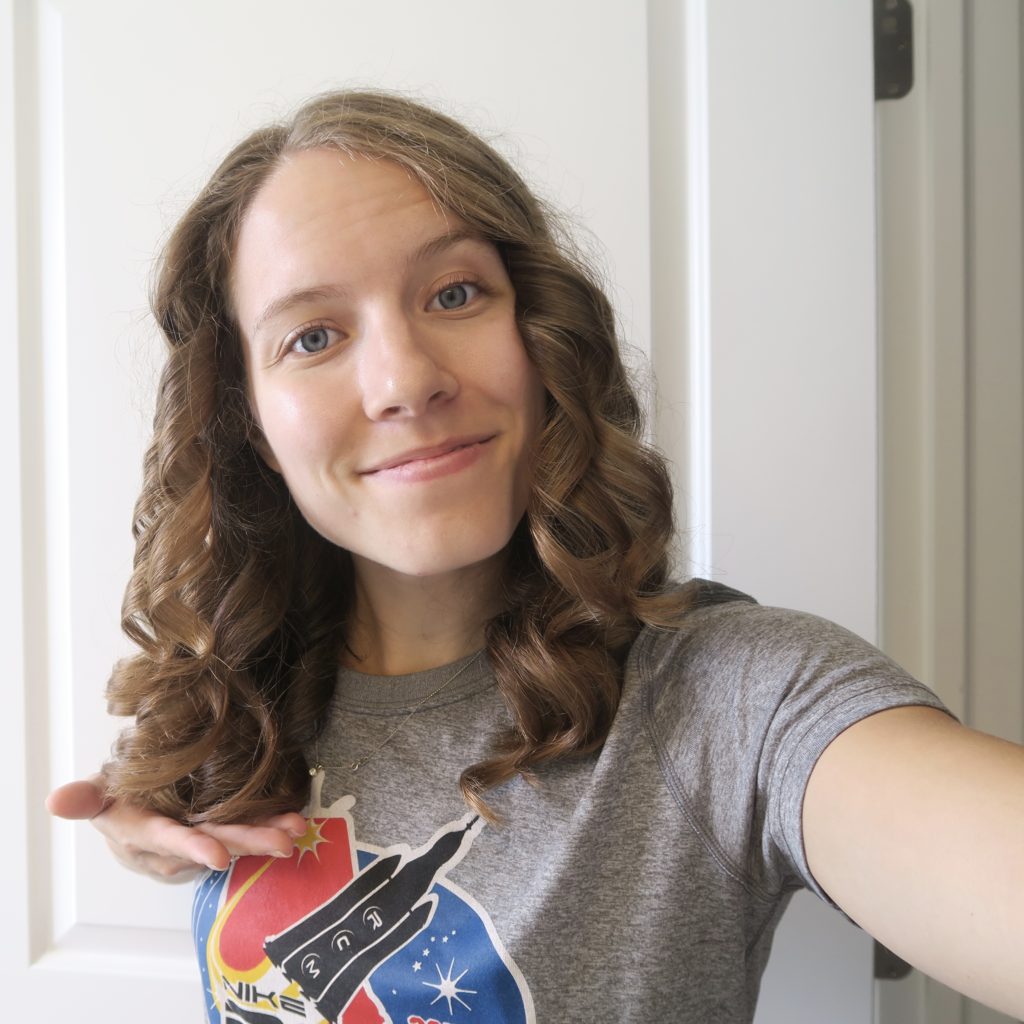
Step 5: Tightly curl small sections. If you all would like a tutorial on how I curl my hair comment “yes!” below! I’d be happy to do a tutorial for that!
Step 6: Part your hair.
Step 7: Use small, clear plastic hair ties to make two pony tails on top of each other. They should be stacked vertically. I leave about 2-3 inches between the ponytails.
Step 8: Working with the hair on the top ponytail, separate groups of curls and crunch the curl together so that it makes a loop. In other words, twist the curl and then hold the curl at the bottom and press upward with the curl to make an O. Once you have the curl made into a loop, twist it/arrange it so that the side of the loop (or O) is against the ponytail. I do NOT do it so that the O is not directly flat on the head. I twist the O so that only the side is pinned and the rest of the O points outward so that the bobby pin is hidden if that makes ANY sense at all. It’s a little difficult to explain. Again.. NO FLAT Os against the head!
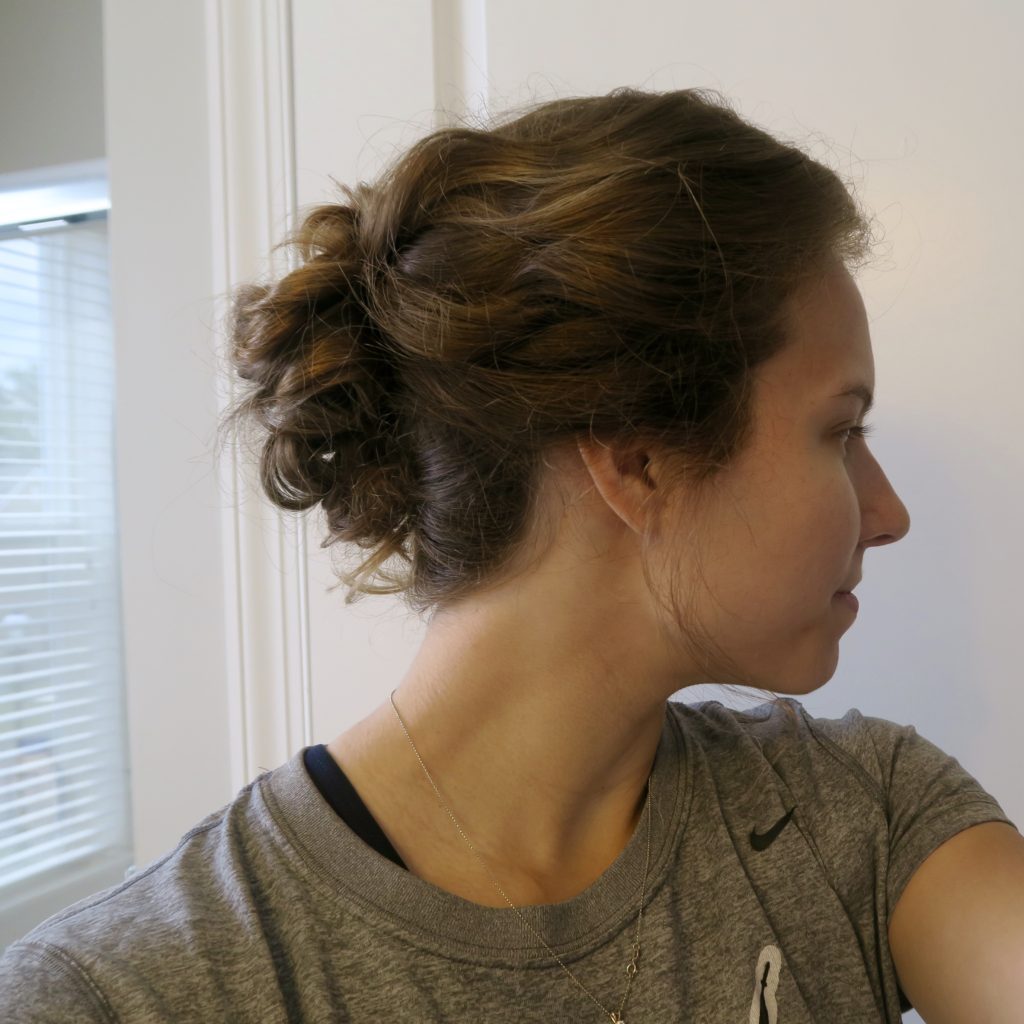
Step 9: Pin the loop.
Step 10: Repeat steps 8 and 9- continue working with sections of curls by pushing up from the bottom of the curl to make a loop, arrange the loop so that the side of it can be pinned to the head.
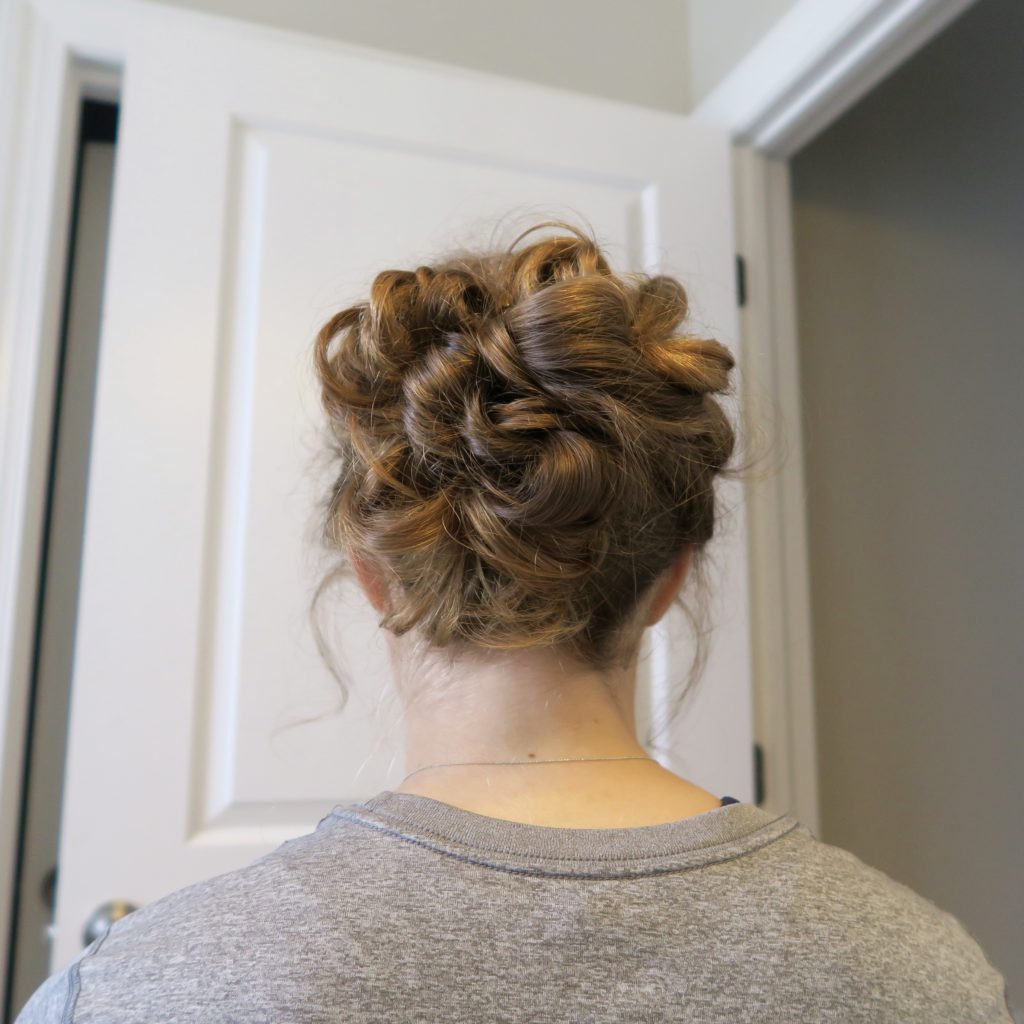
Step 11: Once all of the hair in the top pony tail is pinned, continue with the bottom pony tail.
Step 12: Add in any extra bobby pins to make sure everything is secure.
Step 13: Pull out very small sections of hair near the ears if you want a more flowy, airy (not real words, I know) look.
Step 14: Spray your hair with light-hold hair spray. I use Herbal Essences because it doesn’t leave a sticky residue and doesn’t weight my hair down.
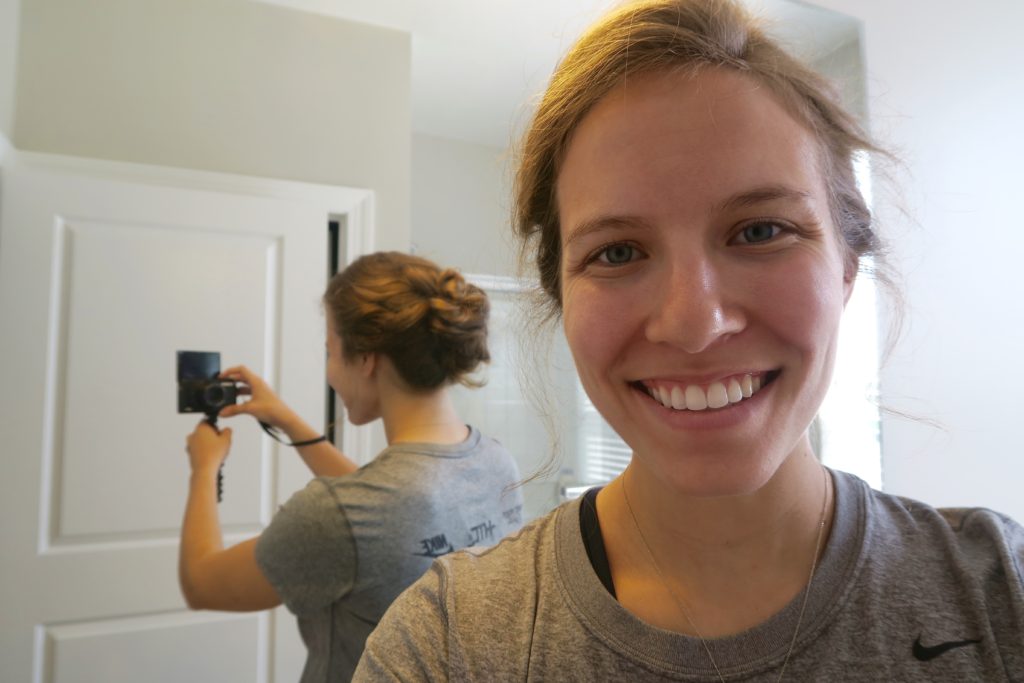
I hope this tutorial helps! Please let me know if you would like to see more!
Have a great rest of the weekend!
jordan jean
Yes to the curl lesson!