September 6, 2018
Oh happy day! It’s time to share my everyday makeup routine on here. I shared about this on Instagram stories (in my highlights) but I also think it could help to have it in a blog post. Everyone learns and absorbs information a little bit differently, ya know?
You know what makes me happy? Two things in particular – feeling pretty when I walk out the door in the morning and sleeping. Definitely sleeping. Because of my love of sleep and my desire to look presentable when I go to work every day, I had to find a routine that got the job done but didn’t take me forever. There are so. many. posts and videos out there with Everyday Makeup Tutorials. I think they’re fun to watch and I love comparing different routines that people have but I struggled to find one that didn’t take forever or wasn’t too complicated. Needless to say, I compiled all of the information in my noggin from blogs I’ve read/videos I’ve watched and came up with my own.
Now, before I get into this I want to mention again that I have what some would call a “dirty job”. I don’t go into a normal office wearing a pant suit or dress fancy whatsoever so I don’t feel like I need to wear eyeshadow, bake, contour, yadda yadda. Who am I kidding? Even if I did have an office job I wouldn’t do that. I would do this exact routine. Don’t get me wrong, I love watching videos of my favorite makeup artists in action and I love to get fancied up from time to time (heck, I had to do it for dance weekly+ in college) but wearing that stuff on a daily basis? That is so far from me. This routine may seem long with all of the text below but it’s simple yet makes me feel pretty and awake in the morning and that brings me joy. Oh and did I mention it takes me about 5 minutes from start to finish?
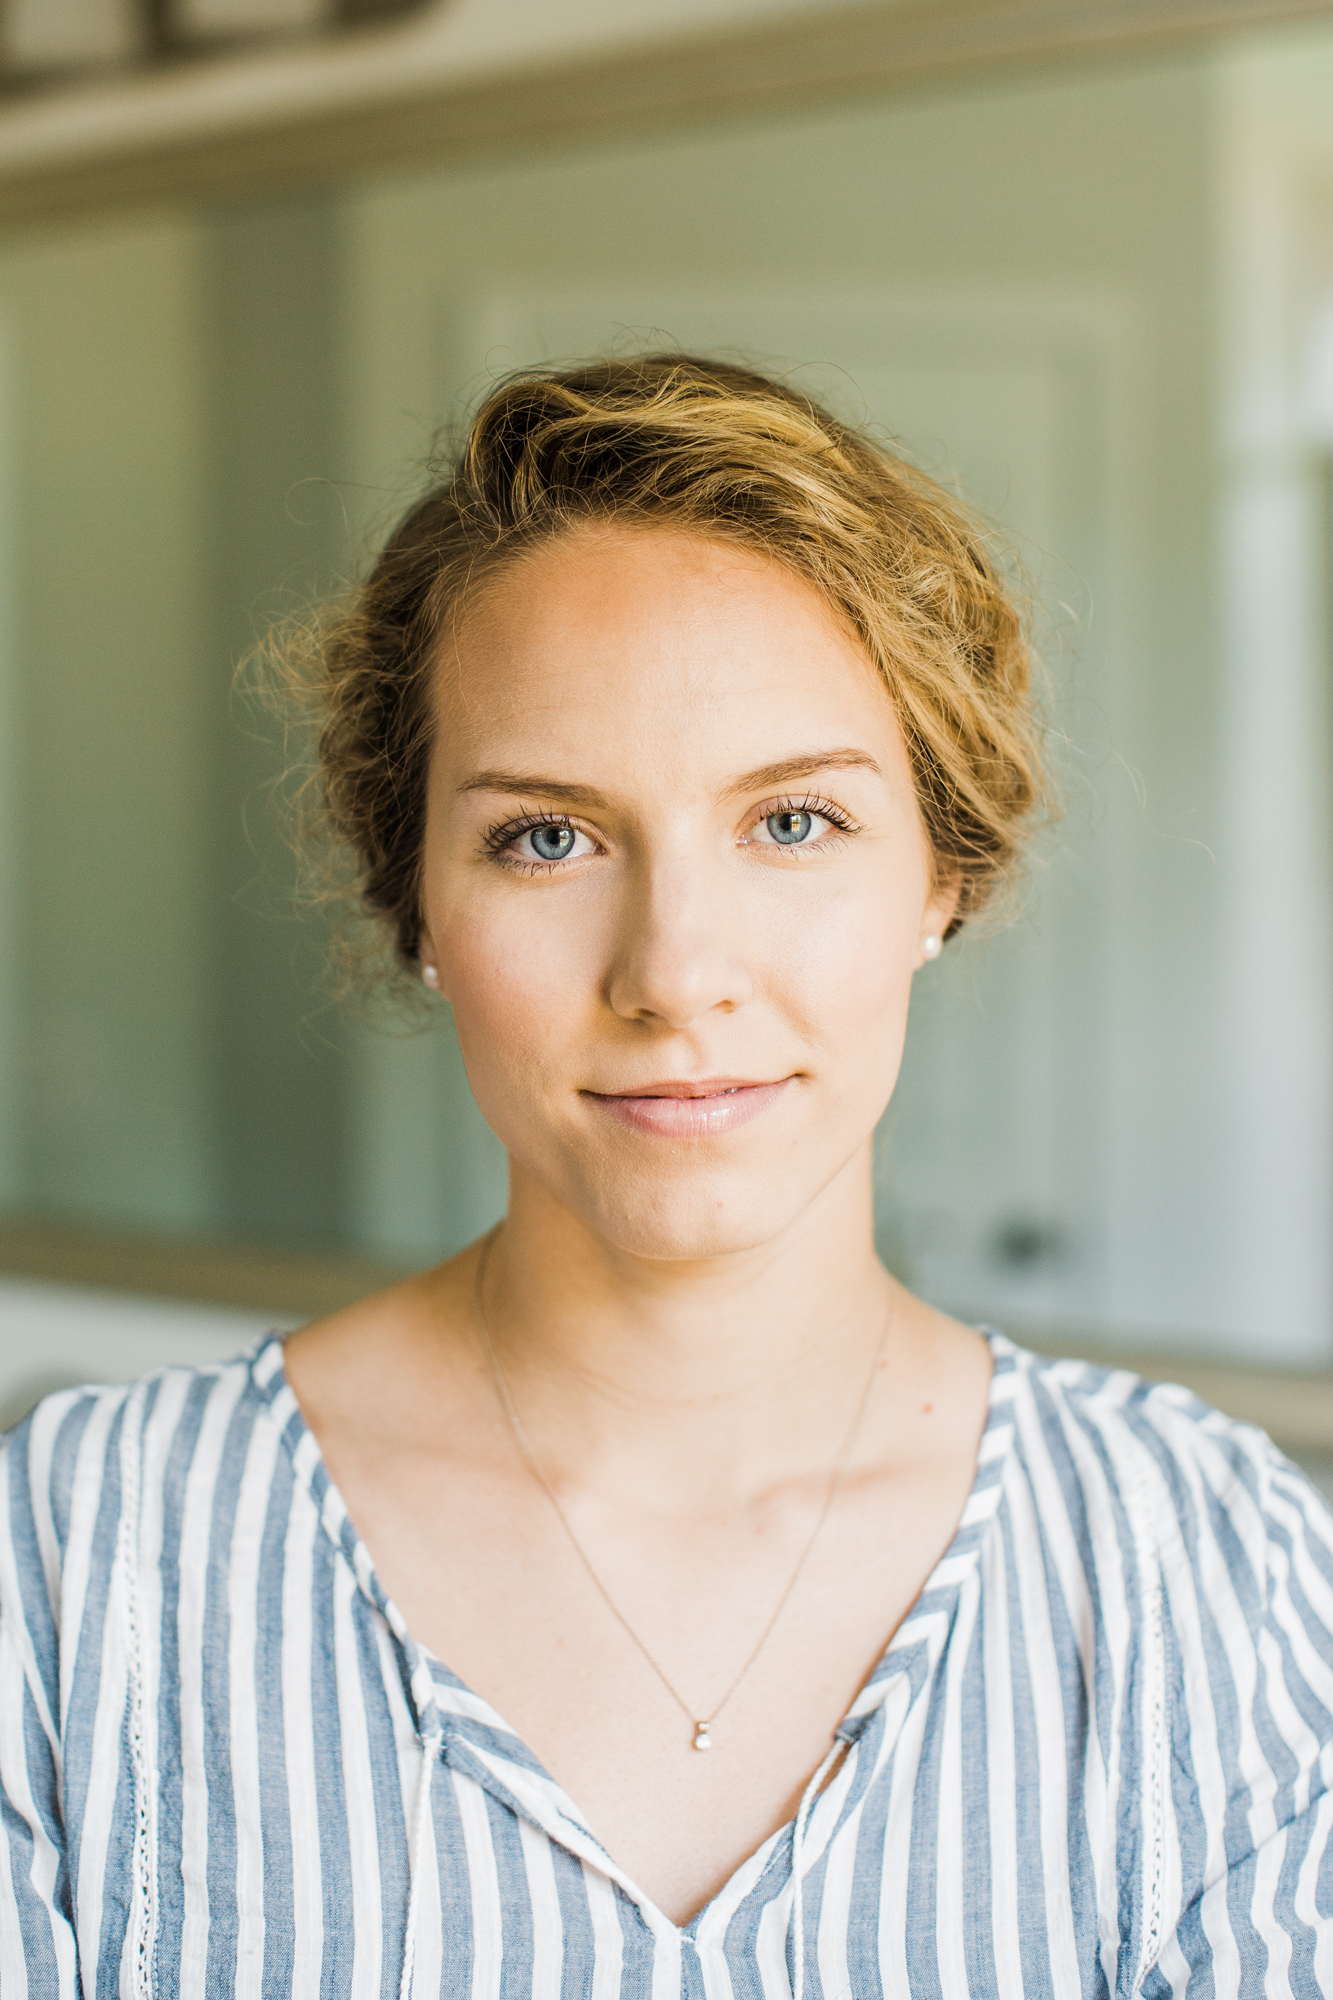
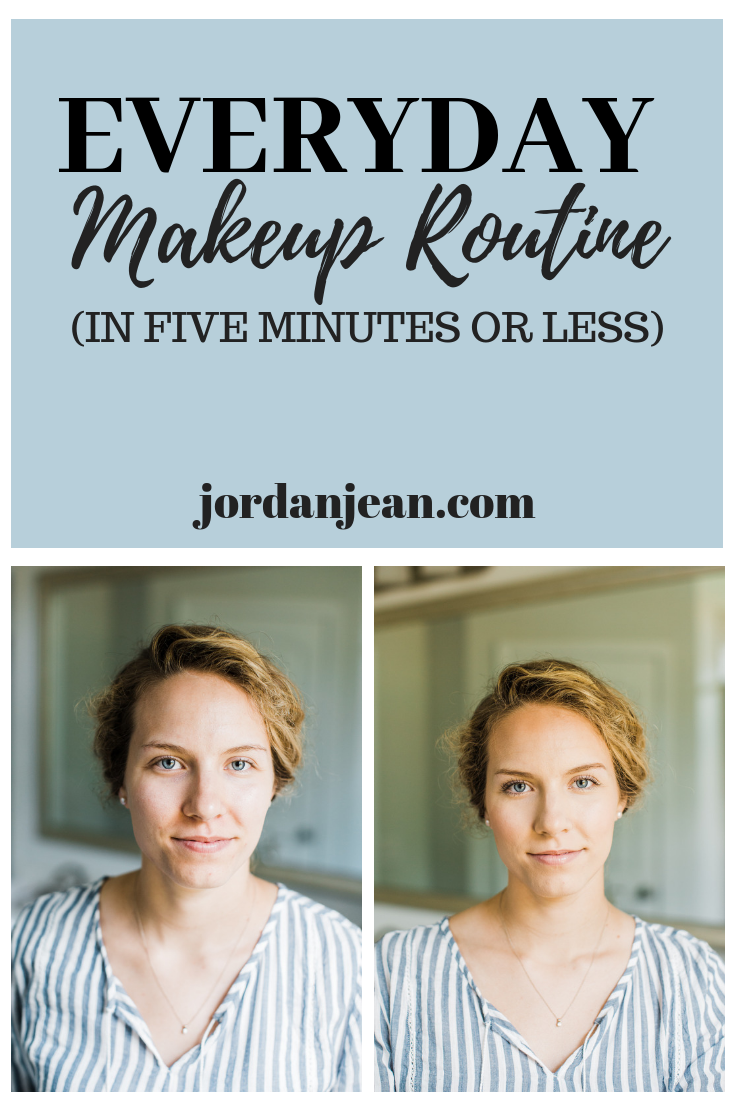
On the left is the “canvas” I start with every morning and on the right is how I look 5 minutes later:

I also want to mention – I am NO pro at this. If you are and this makes you cringe, I apologize in advance. Also, I don’t know about you but I don’t make the cutest faces while putting makeup on so I apologize in advance for that too. HA!
The timing of this post is also perfect because the Ulta 21 Days of Beauty Sale is going on now! I’ve included my affiliate links below for your convenience (I make a very small commission if you purchase items through these links at no extra cost to you. Thank you SO MUCH for your support!) for Ulta, Target, and Amazon. However, you can get pretty much everything at Ulta on this list. Don’t forget to use a coupon if you can!
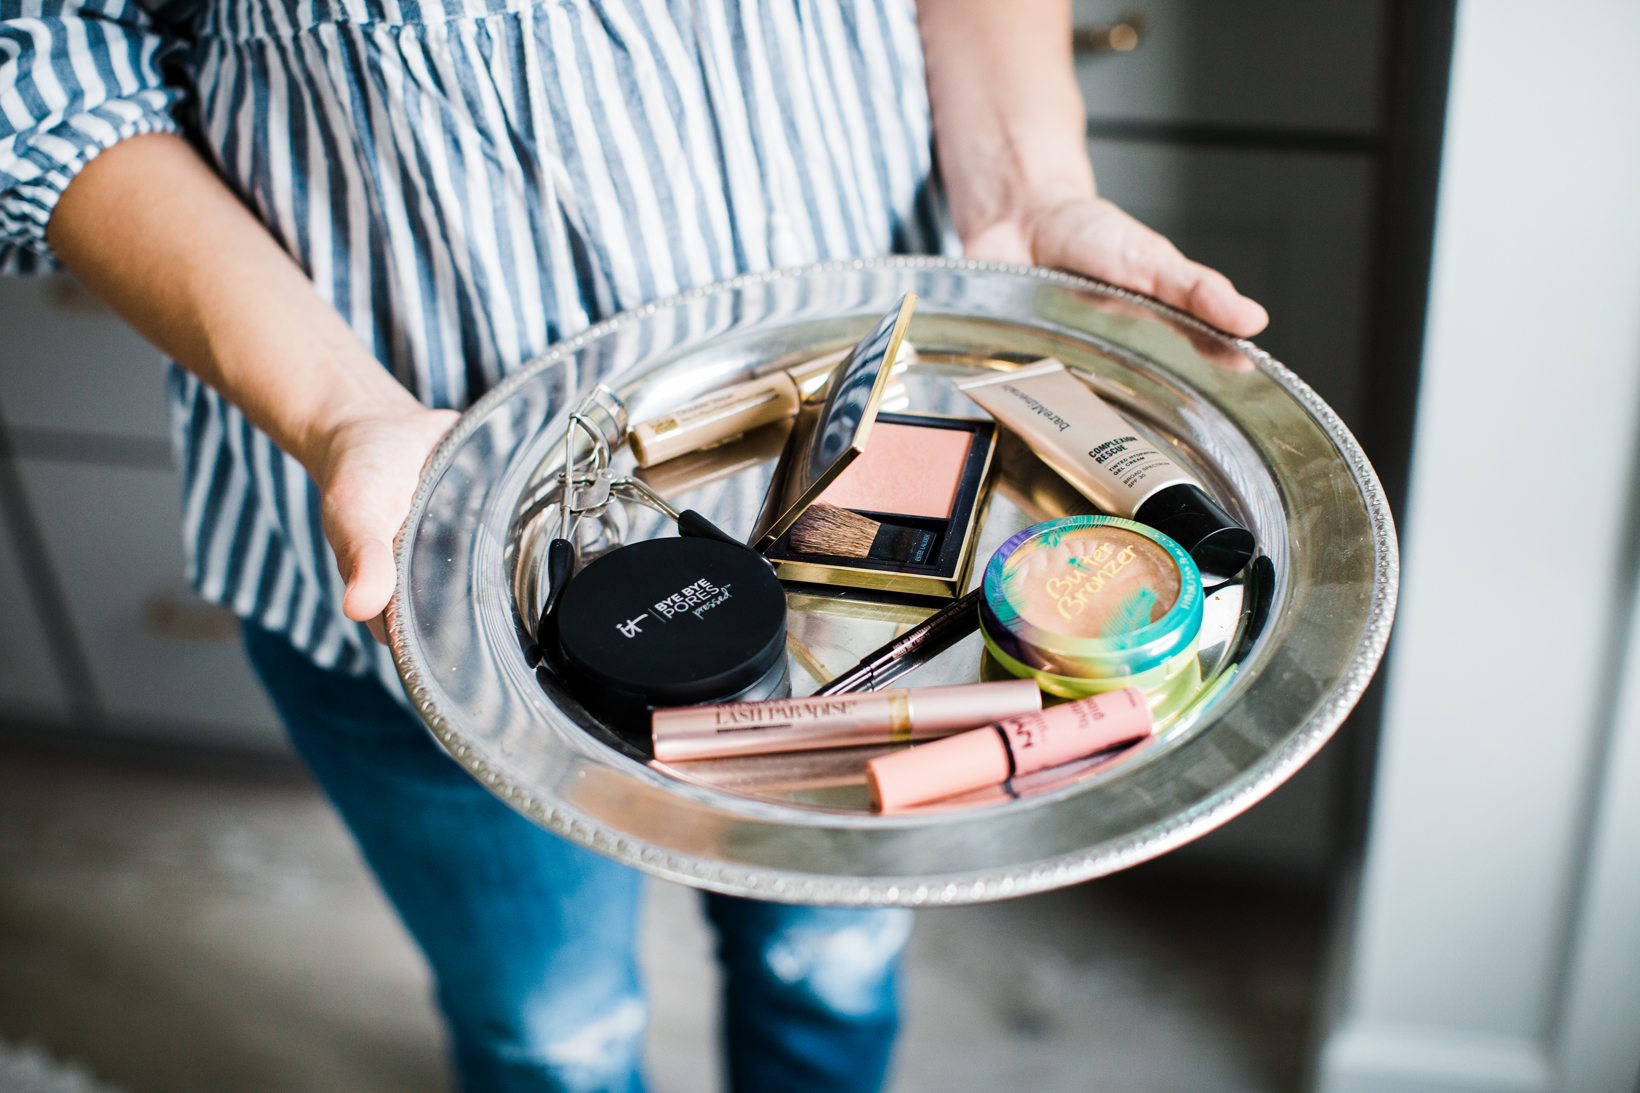
What I Use:
- Bare Minerals Complexion Rescue (Vanilla 02) OR Neutrogena Anti-Aging Perfector (ivory to fair)
- Estée Lauder Double Wear Concealer (extra light) but this is what I’ll use after I finish my current tube
- IT Cosmetics Bye Bye Pores Pressed Powder OR No. 7 Loose Powder/pressed powder version
- Physicians Formula Butter Bronzer (light bronzer)
- Estée Lauder Blush (Sensuous Rose) OR ELF Blush OR Milani Baked Blush
- Better Than Sex Mascara OR Loreal Lash Paradise Mascara
- Anastasia Beverly Hills Brow Wiz (Taupe)
- Eyelash curler
- NYX Lip Gloss (Fortune Cookie or Crème Brulee)
- These brushes + beauty blender
As for all of these Estée Lauder products… Last year I went to Ulta and I’m fairly certain I blacked out. I went in with the intent of buying nothing and the next thing I knew I was walking out with a bag of very expensive (in my opinion) Estée Lauder makeup. I love all of this stuff but it is pricey so I’ve included all of my (much) less expensive favorites below.
What I Do:
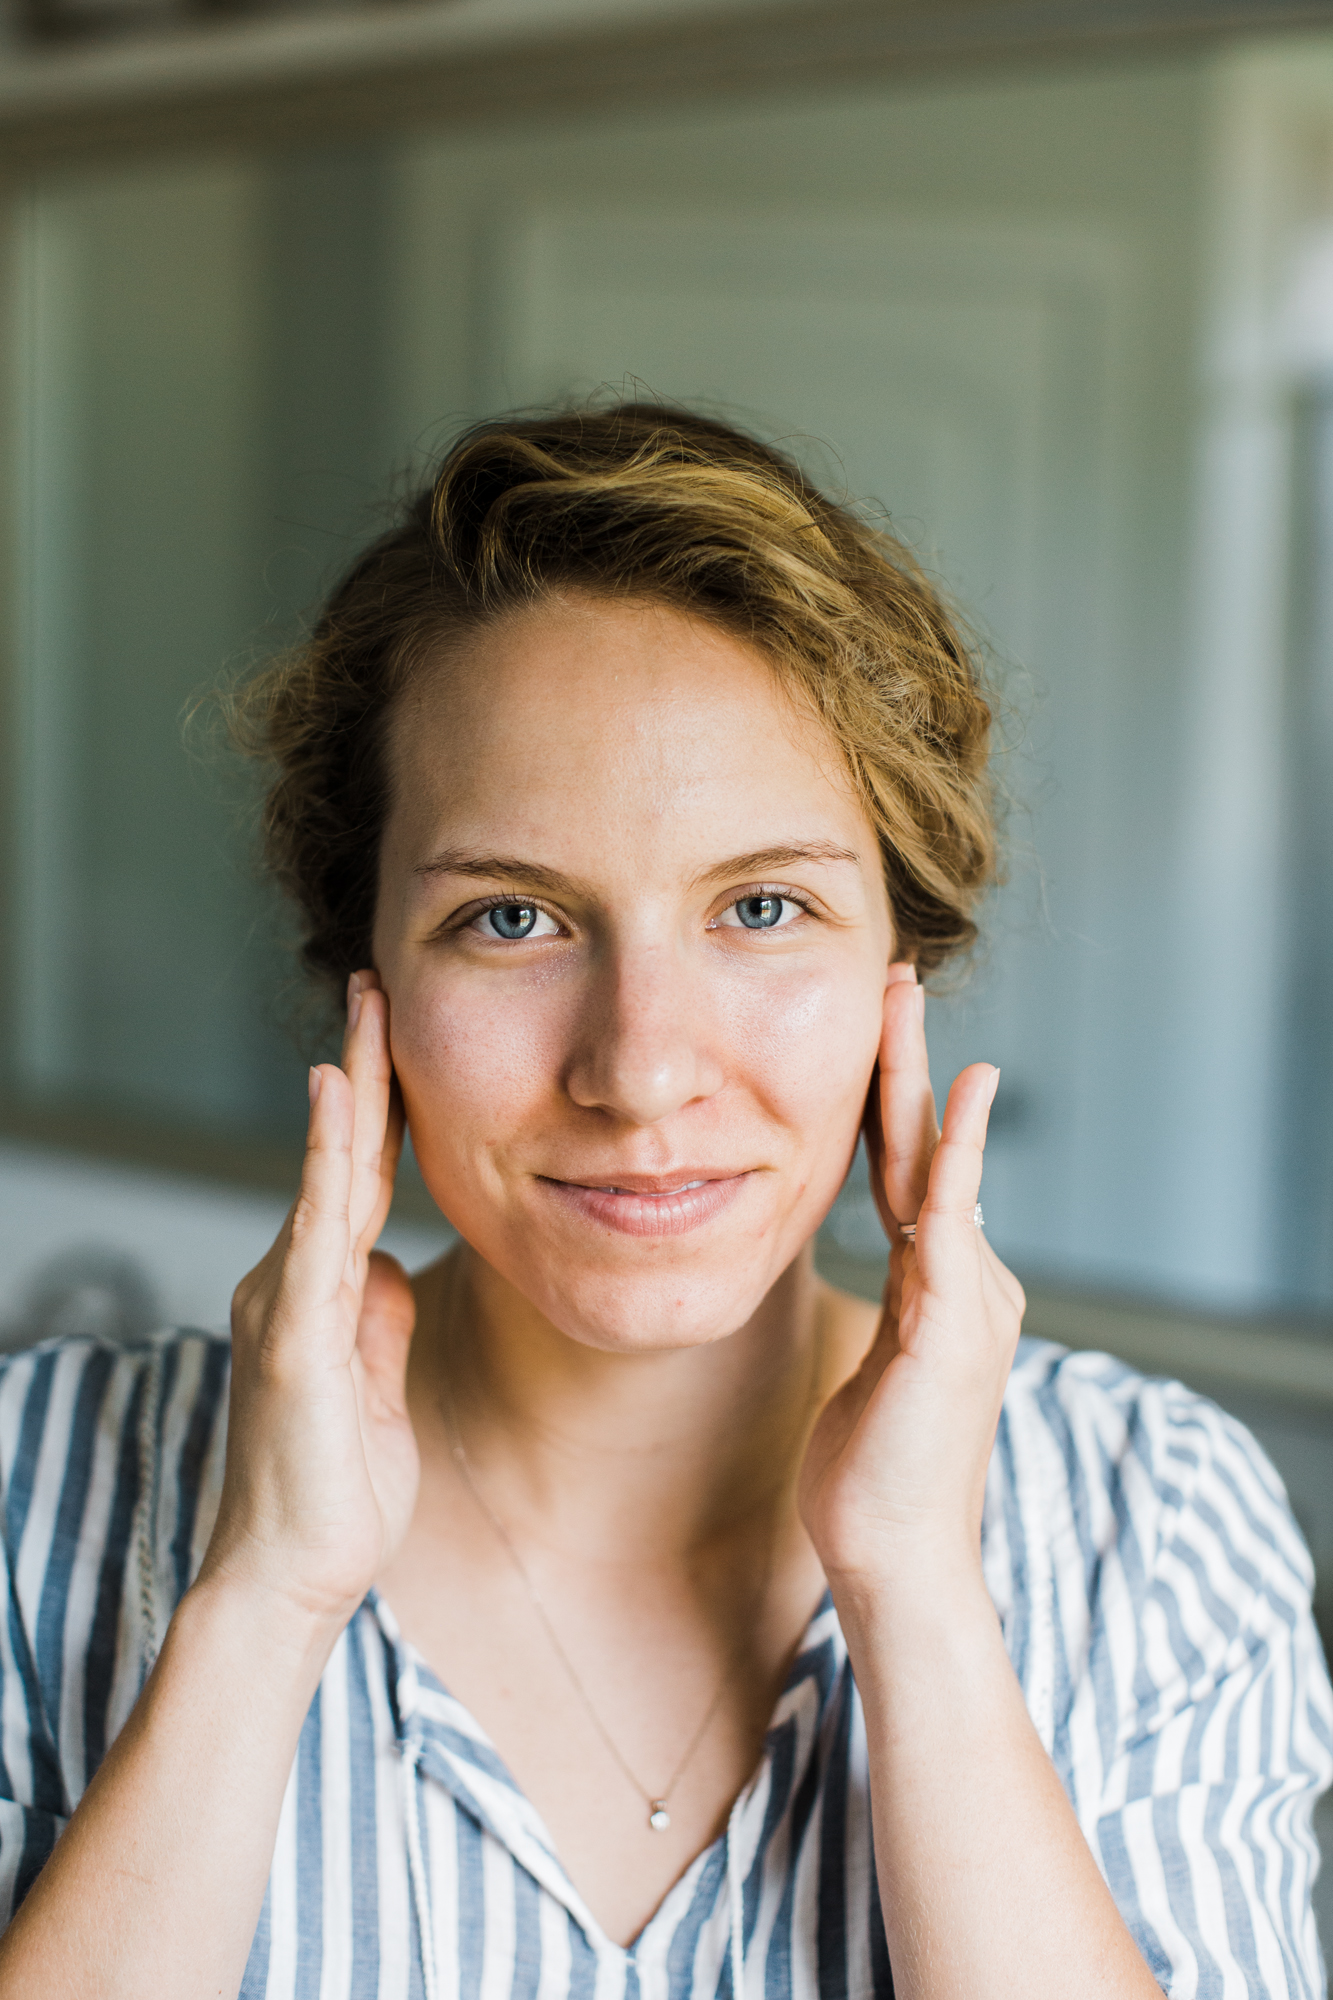
- Cleanse. I start every morning by following my skincare routine.
- Prime. I currently use this to prime my face with before I put any makeup on. I pump a tiny amount on my fingers and rub it all over my clean face.
- I didn’t share that in my products list because as much as I love it, it costs an arm and a leg. Does the stuff make me breakfast in the morning? No. Will I buy it again? No. Do I love it? Sure do.
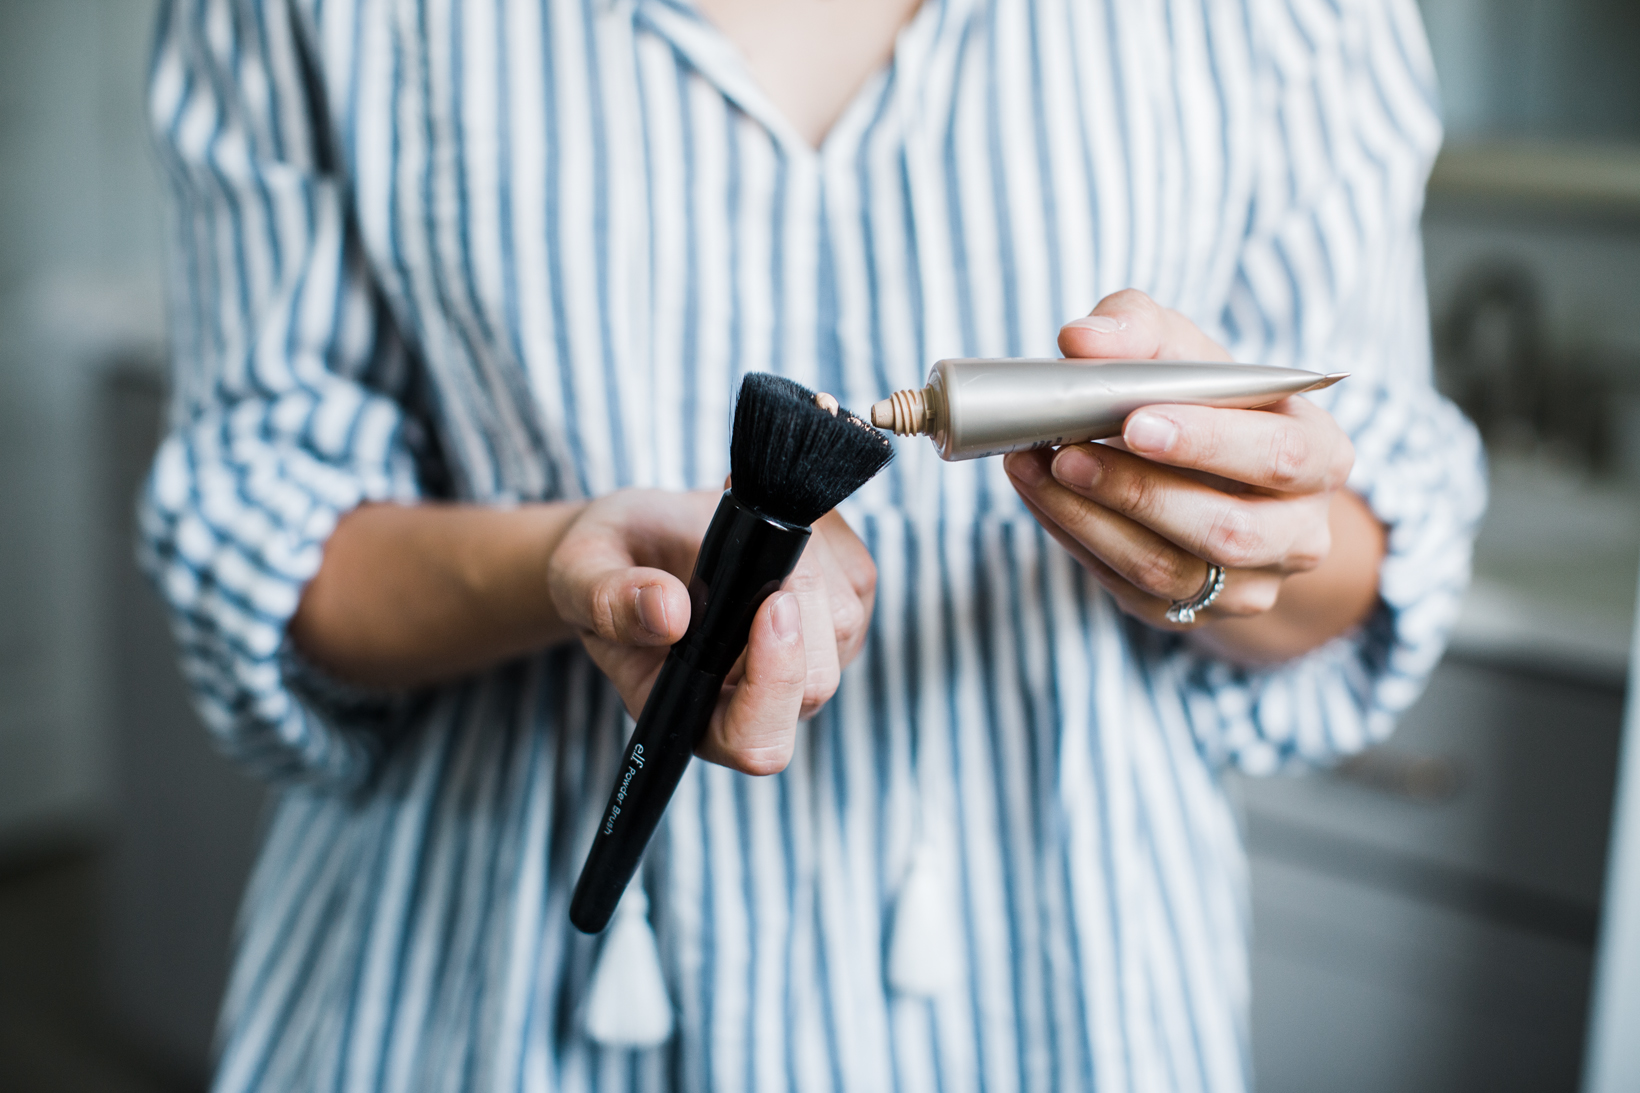
- Foundation. I apply the BM Complexion Rescue by putting a small amount on this brush and then blending it into one side of my face. Then I apply another small amount to the brush and do the other side. If I have some problem spots I want more coverage with, I’ll add more product to the brush and blend that in.
- I LOVE the Bare Minerals Complexion Rescue but I also wanted to find a cheaper alternative. I picked up this Neutrogena product a couple of months ago and after wearing it frequently, I can say I love it. Both of them are not full coverage (again, not my thing) but certainly buildable if needed. If you don’t want to spend the $30 on the BM I would highly suggest trying the Neutrogena option. Did I mention they both have SPF? Perhaps I’ll just do a whole post comparing the two options……
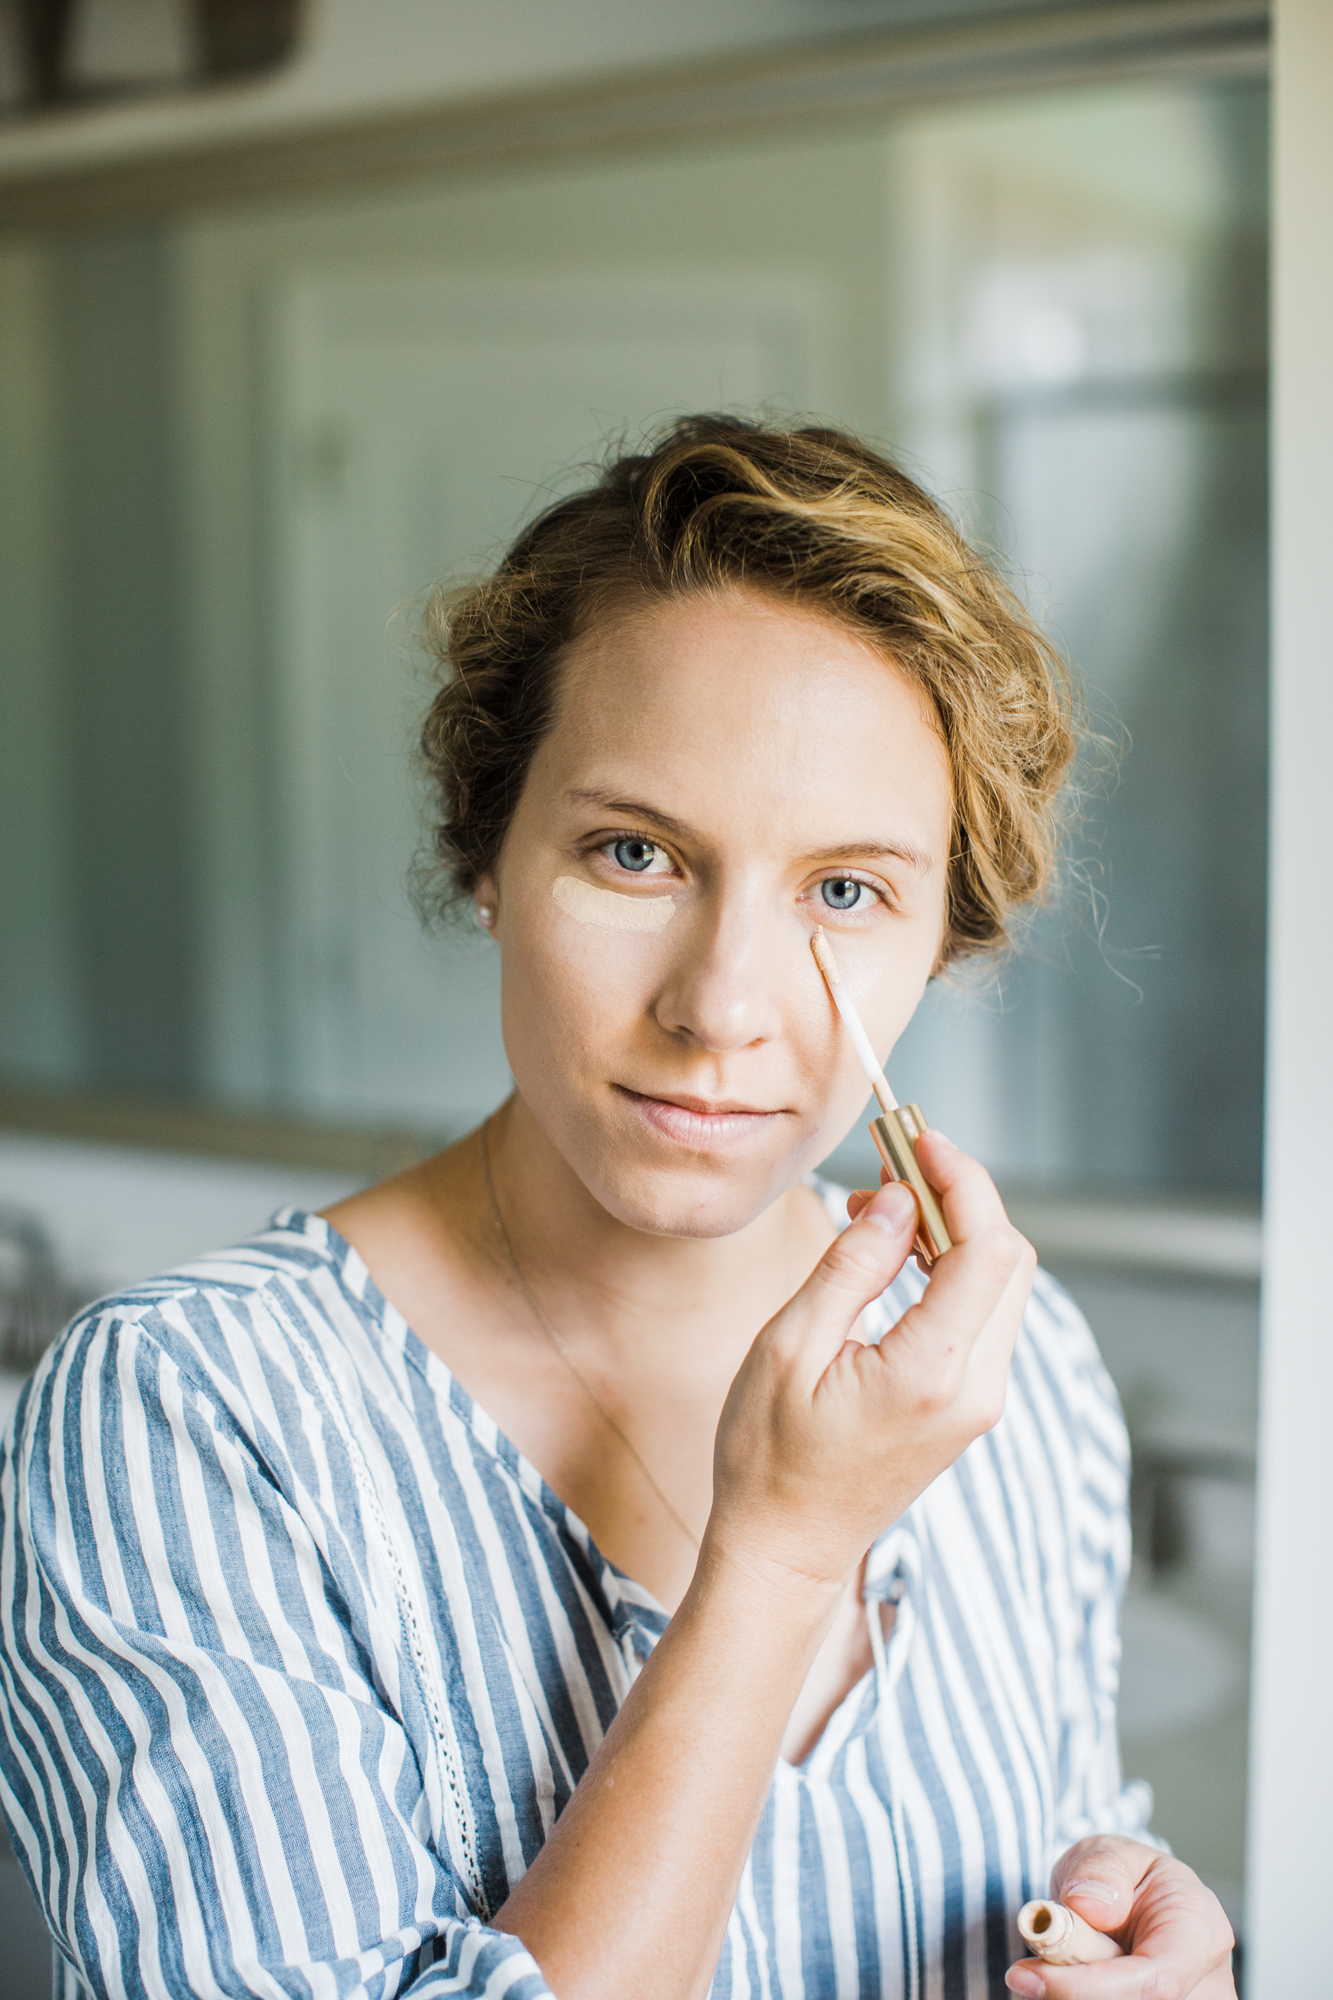
- Conceal. I put a “swipe” each under my eyes and on any “problem spots” such as red spots under my nose or any blemishes that I have at the time. I then blend it in with a beauty blender or one of these brushes.
- If I just have to rush out of the house on the weekend and don’t want to feel like a complete wreck, the two things I’d put on my face are concealer and mascara. Hands down. I use the Estée Lauder concealer mentioned above because I wanted to try it out but I’ve heard amazing things about the IT Cosmetics concealer so I’m going to try that next.
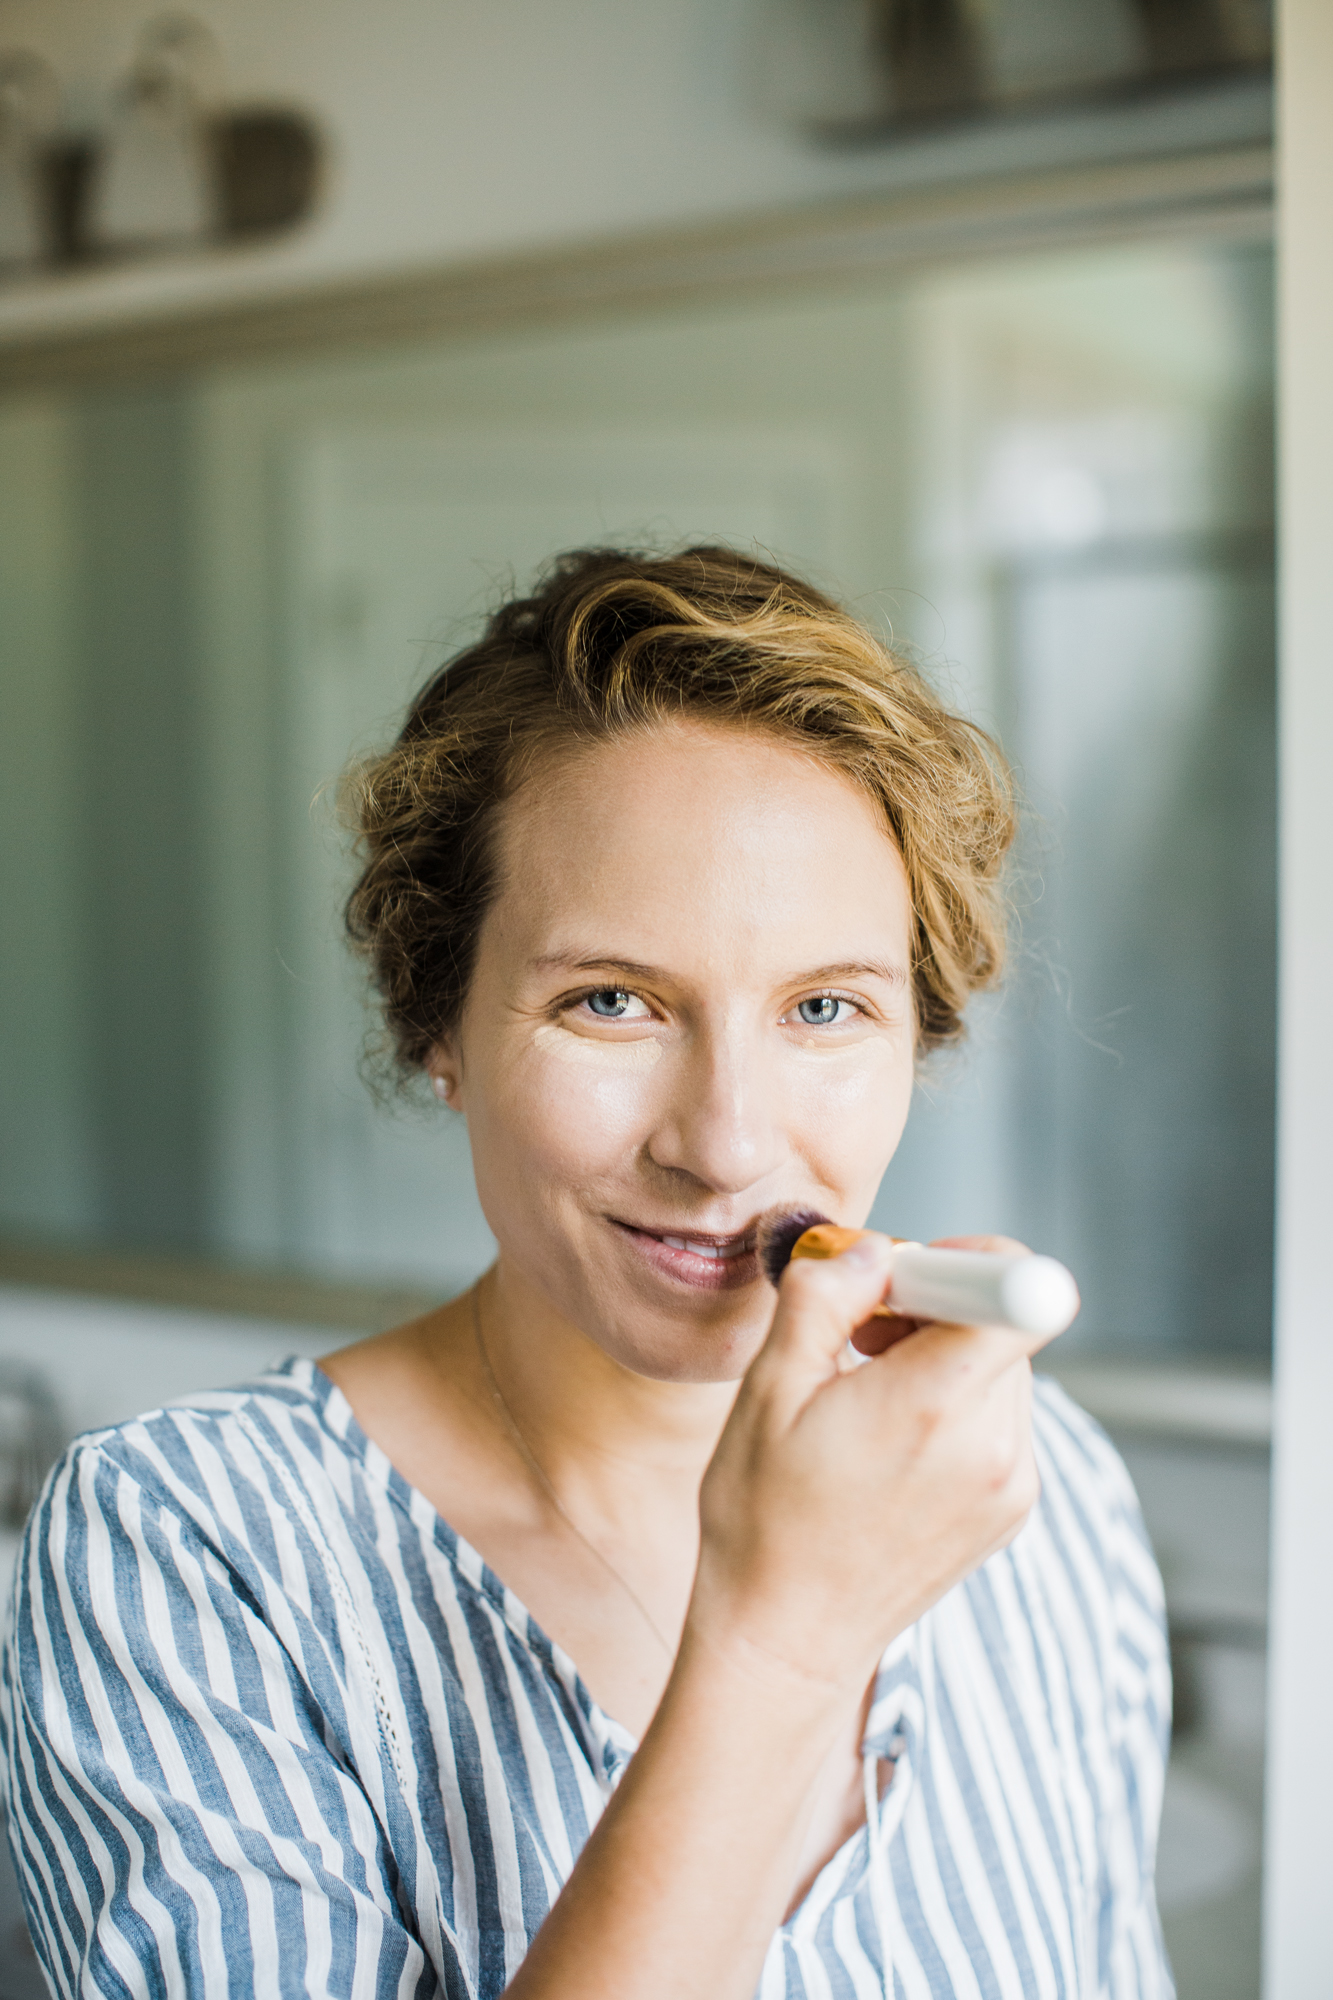
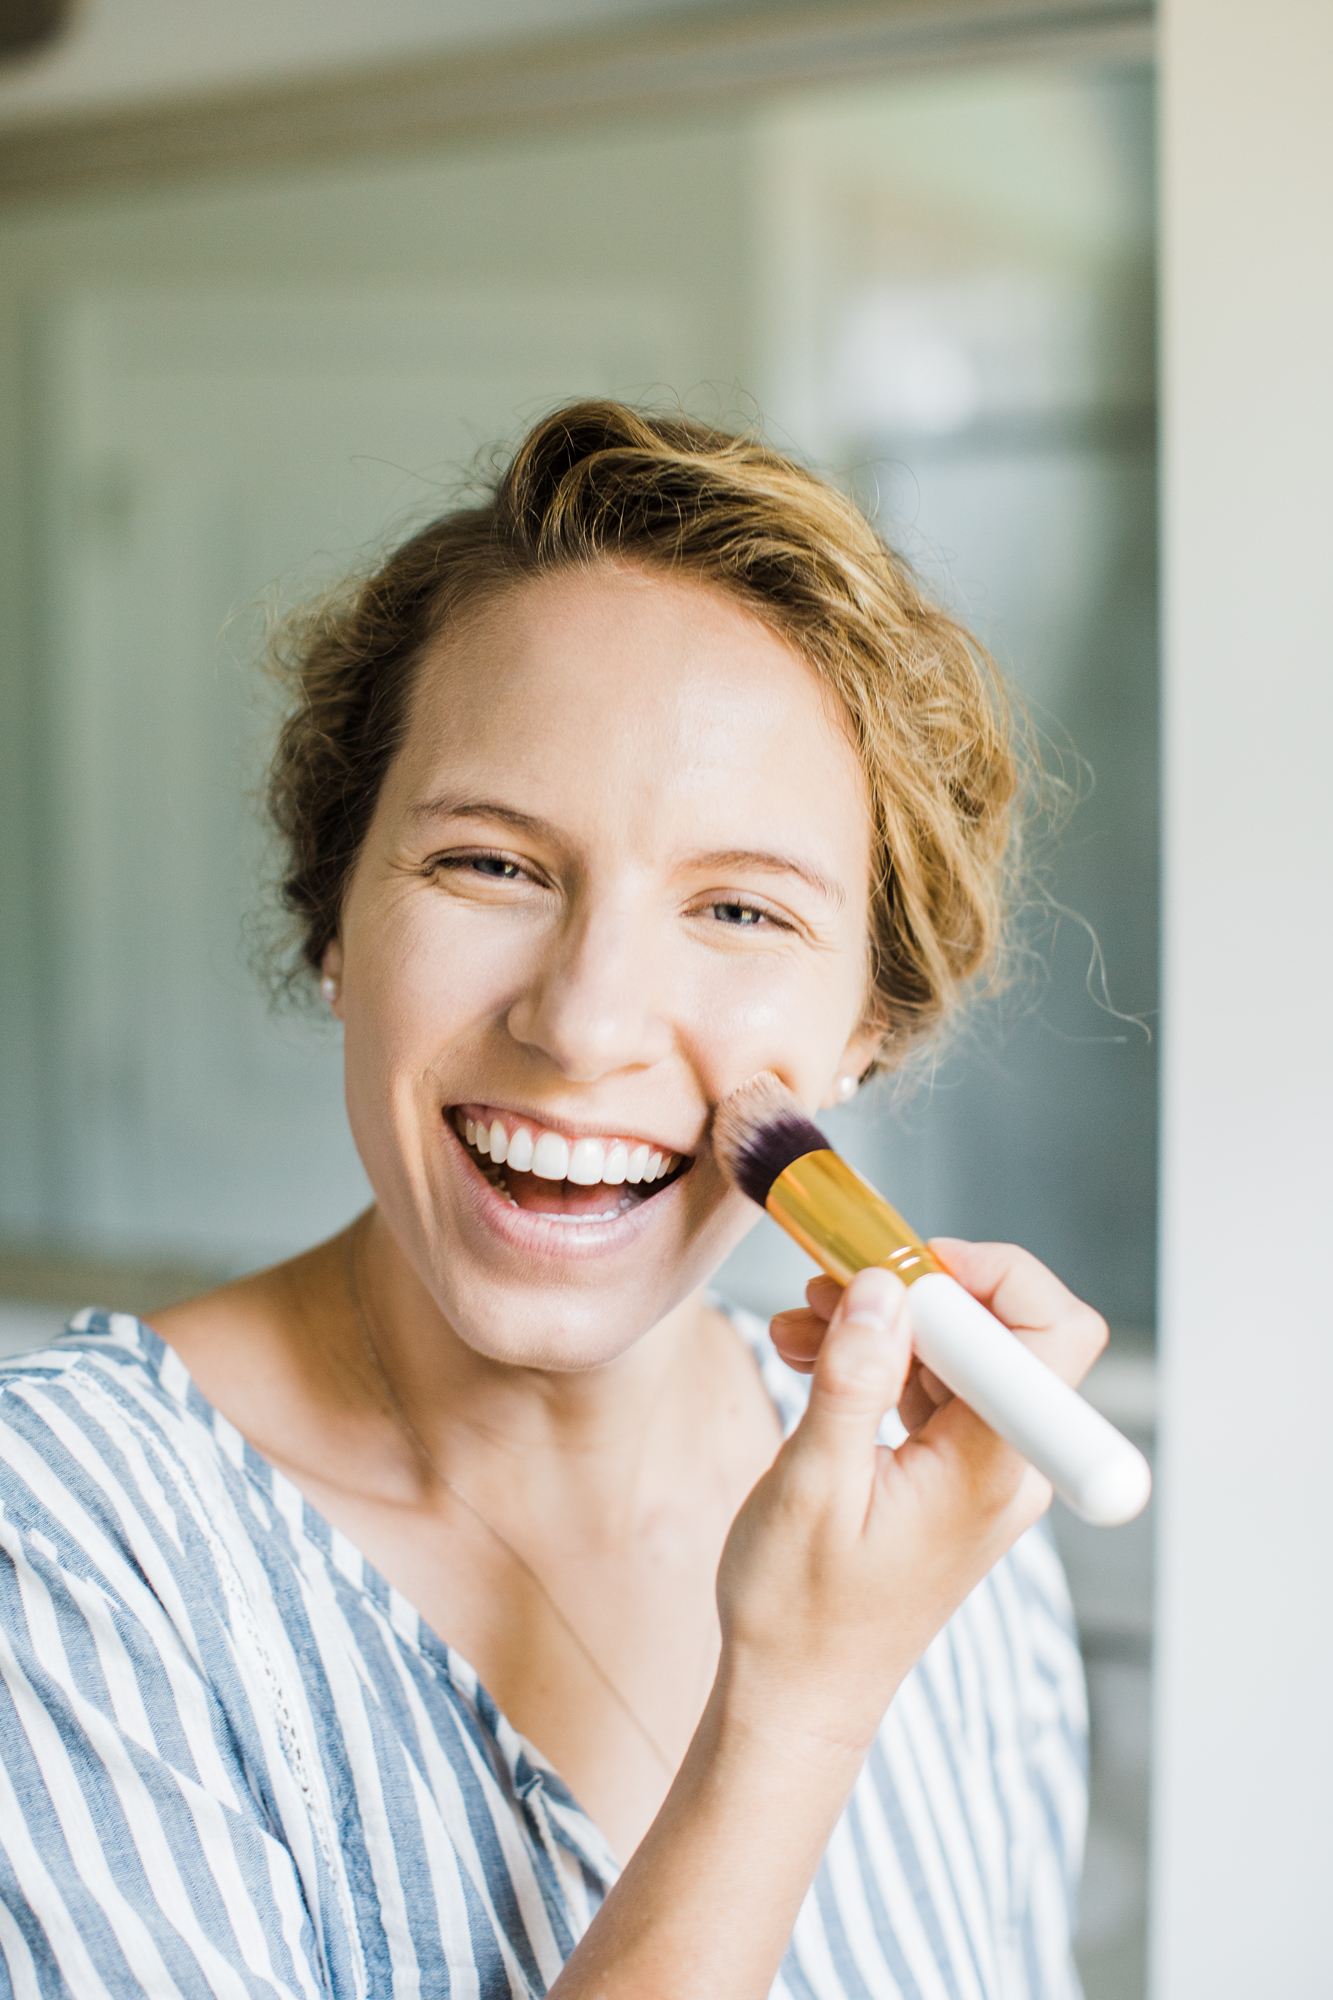
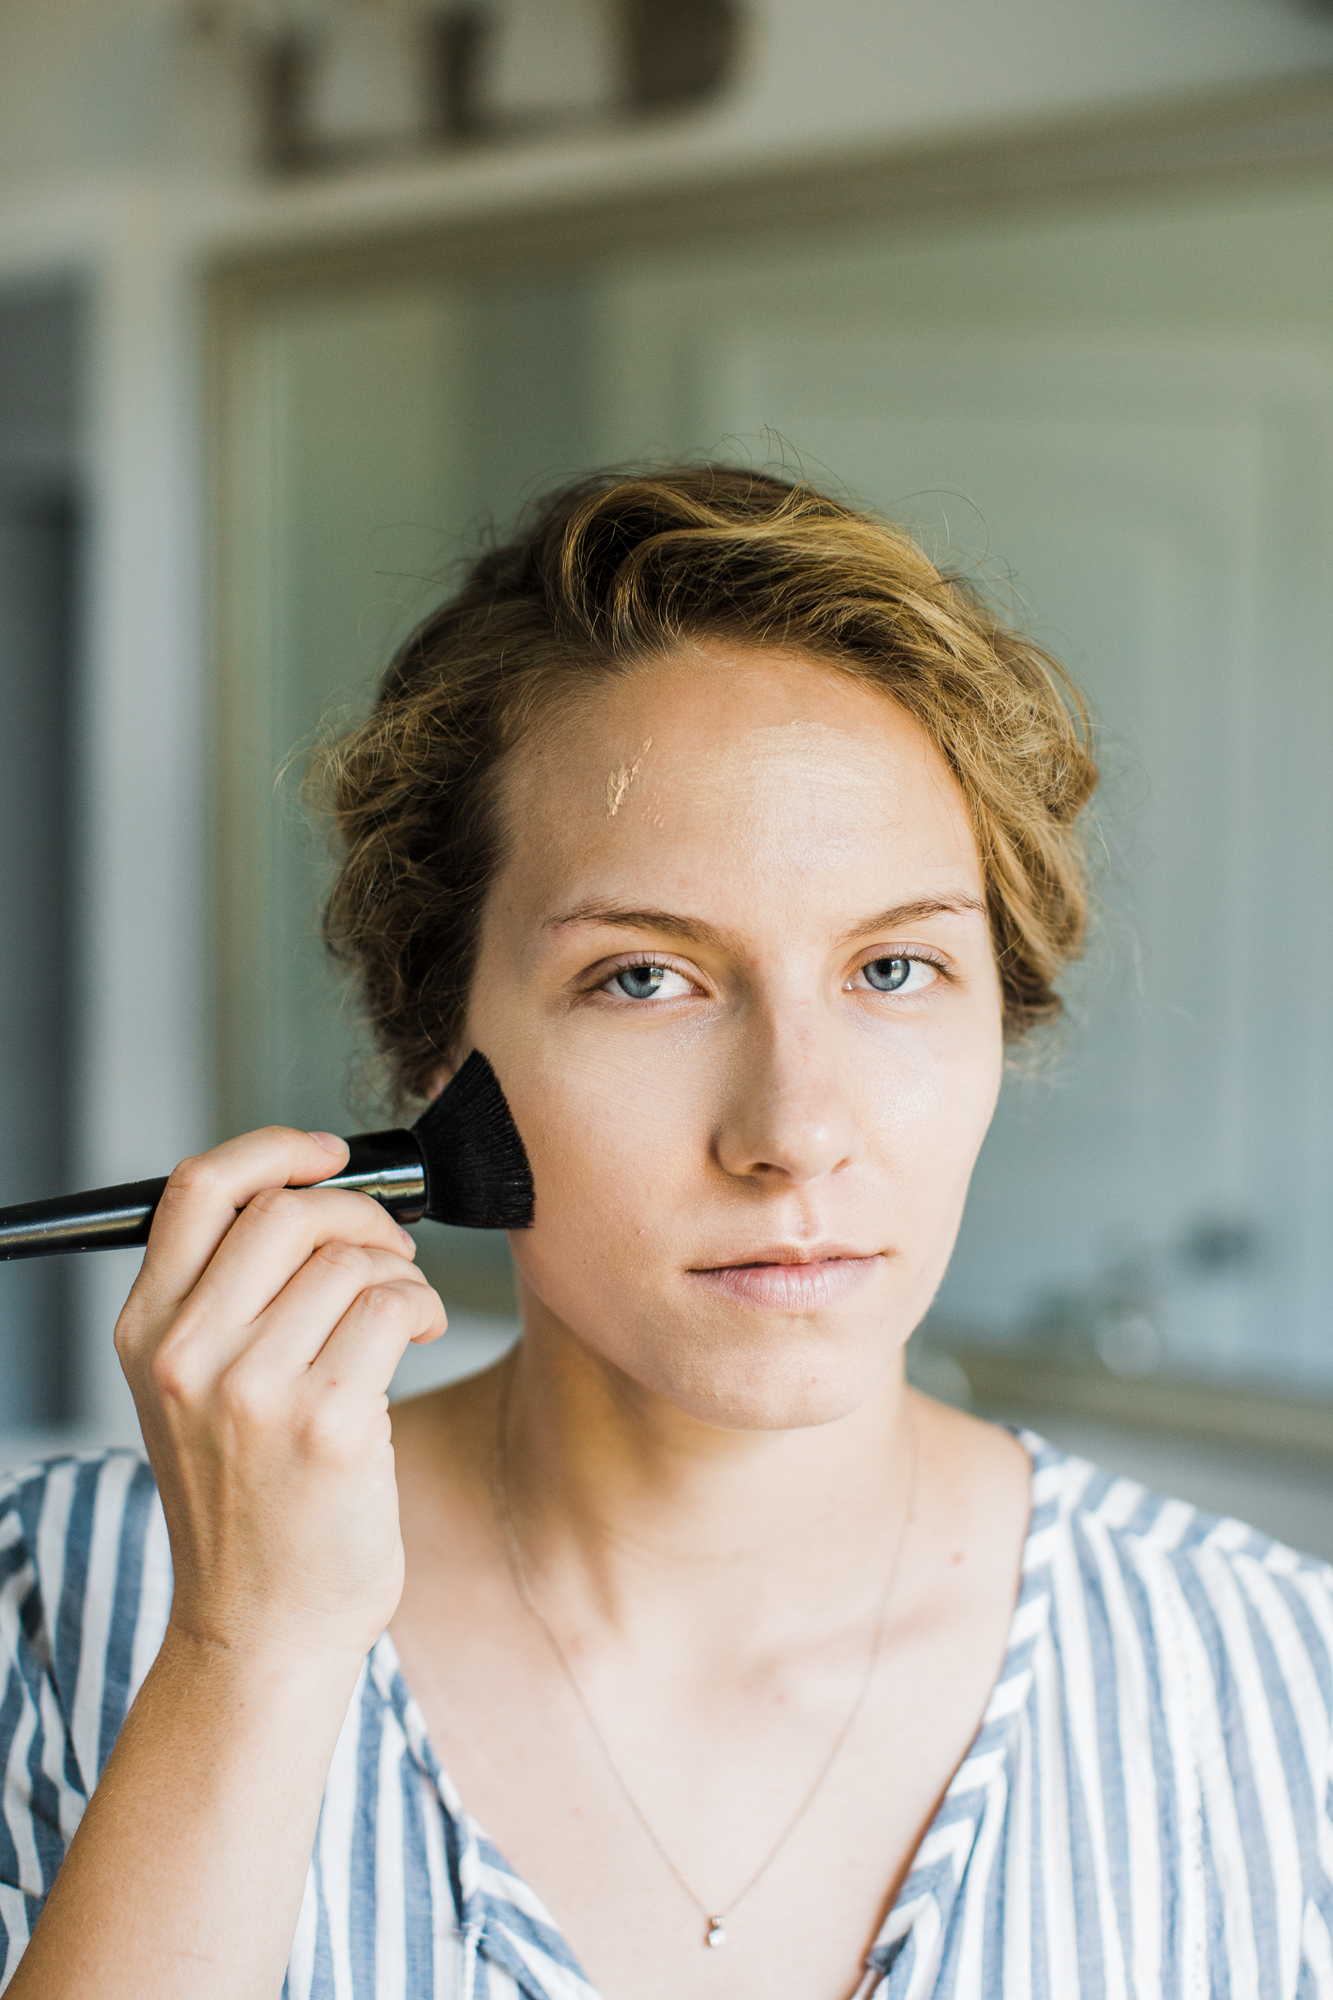
- Powder. This is a MUST for me! If I don’t put powder under my eyes then my mascara will be all over the place within 30 minutes. I cover a flat top brush with powder and then apply it generously under my eyes and on my eyelids. I leave it there while I apply it to the rest of my face and blend it out. Then I go back to my eyes and blend those out (I like it to have a little bit more time on there to make sure my mascara doesn’t “fall”).
- I love the IT Cosmetics powder I mentioned above. It goes on so nicely and makes my skin looks so smooth. However, I picked up this No. 7 powder a couple of months ago from Target after a friend recommended it and considering how flawless it makes the skin look and THE PRICE, it’s the winner for me. I also think it’s going to last much longer than the IT Cosmetics pressed powder did.
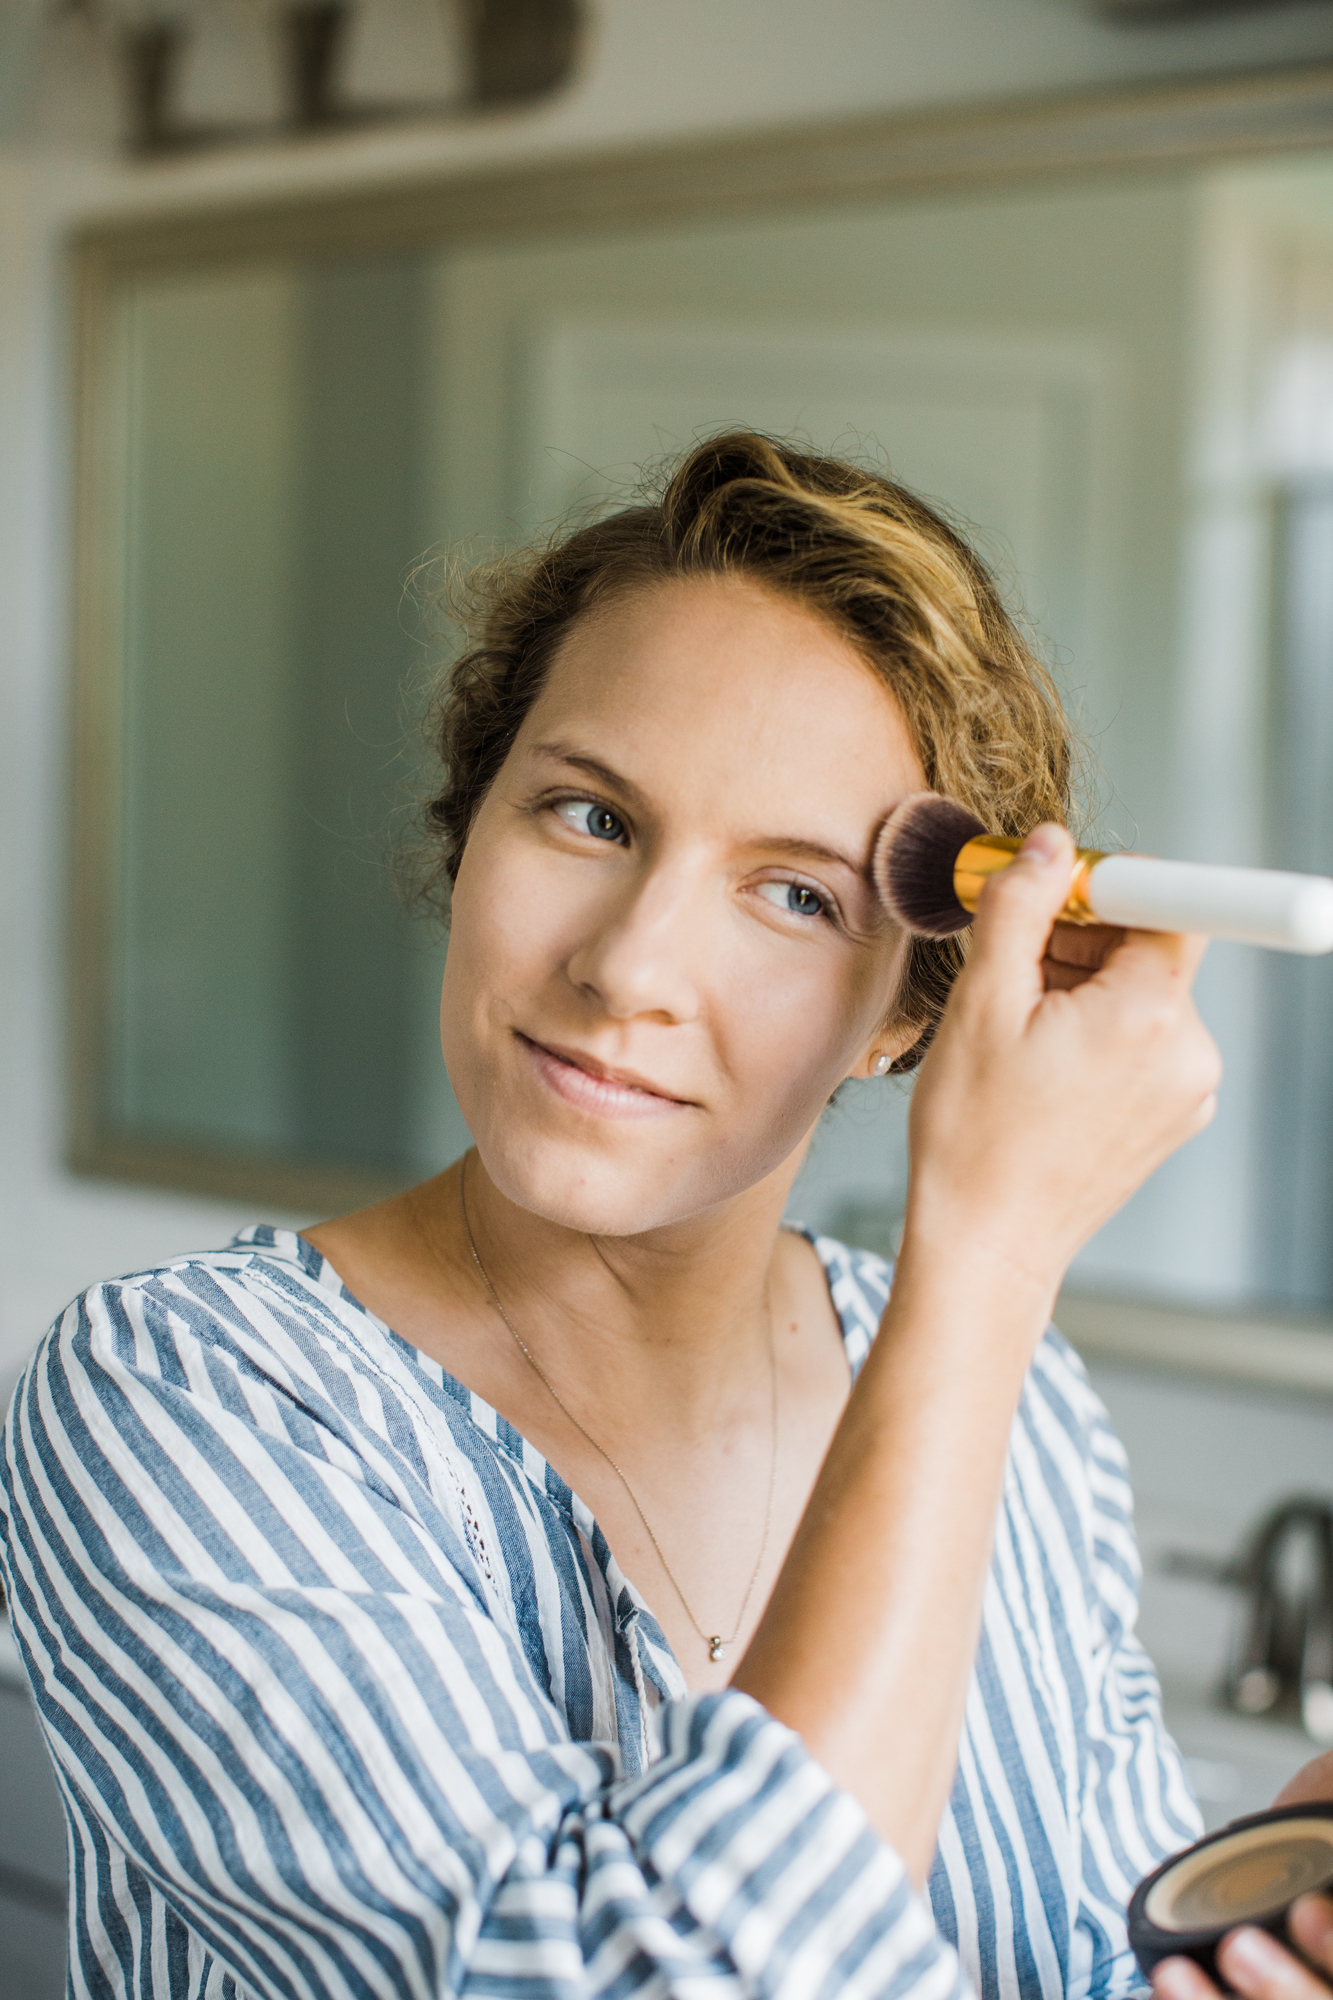
- Bronze. Using a fluffy brush, I apply bronzer in every spot where the sun would naturally hit my face – my hair line, tip of my nose, and some on my cheek bones. I also put some along my jaw line and down the neck. BLEND THAT SUCKER IN! No one wants to see a tan face and pale neck! Okay… I just laughed out loud saying that.
- Do yourself a favor and smell this stuff. Be right back. The ocean is calling me…
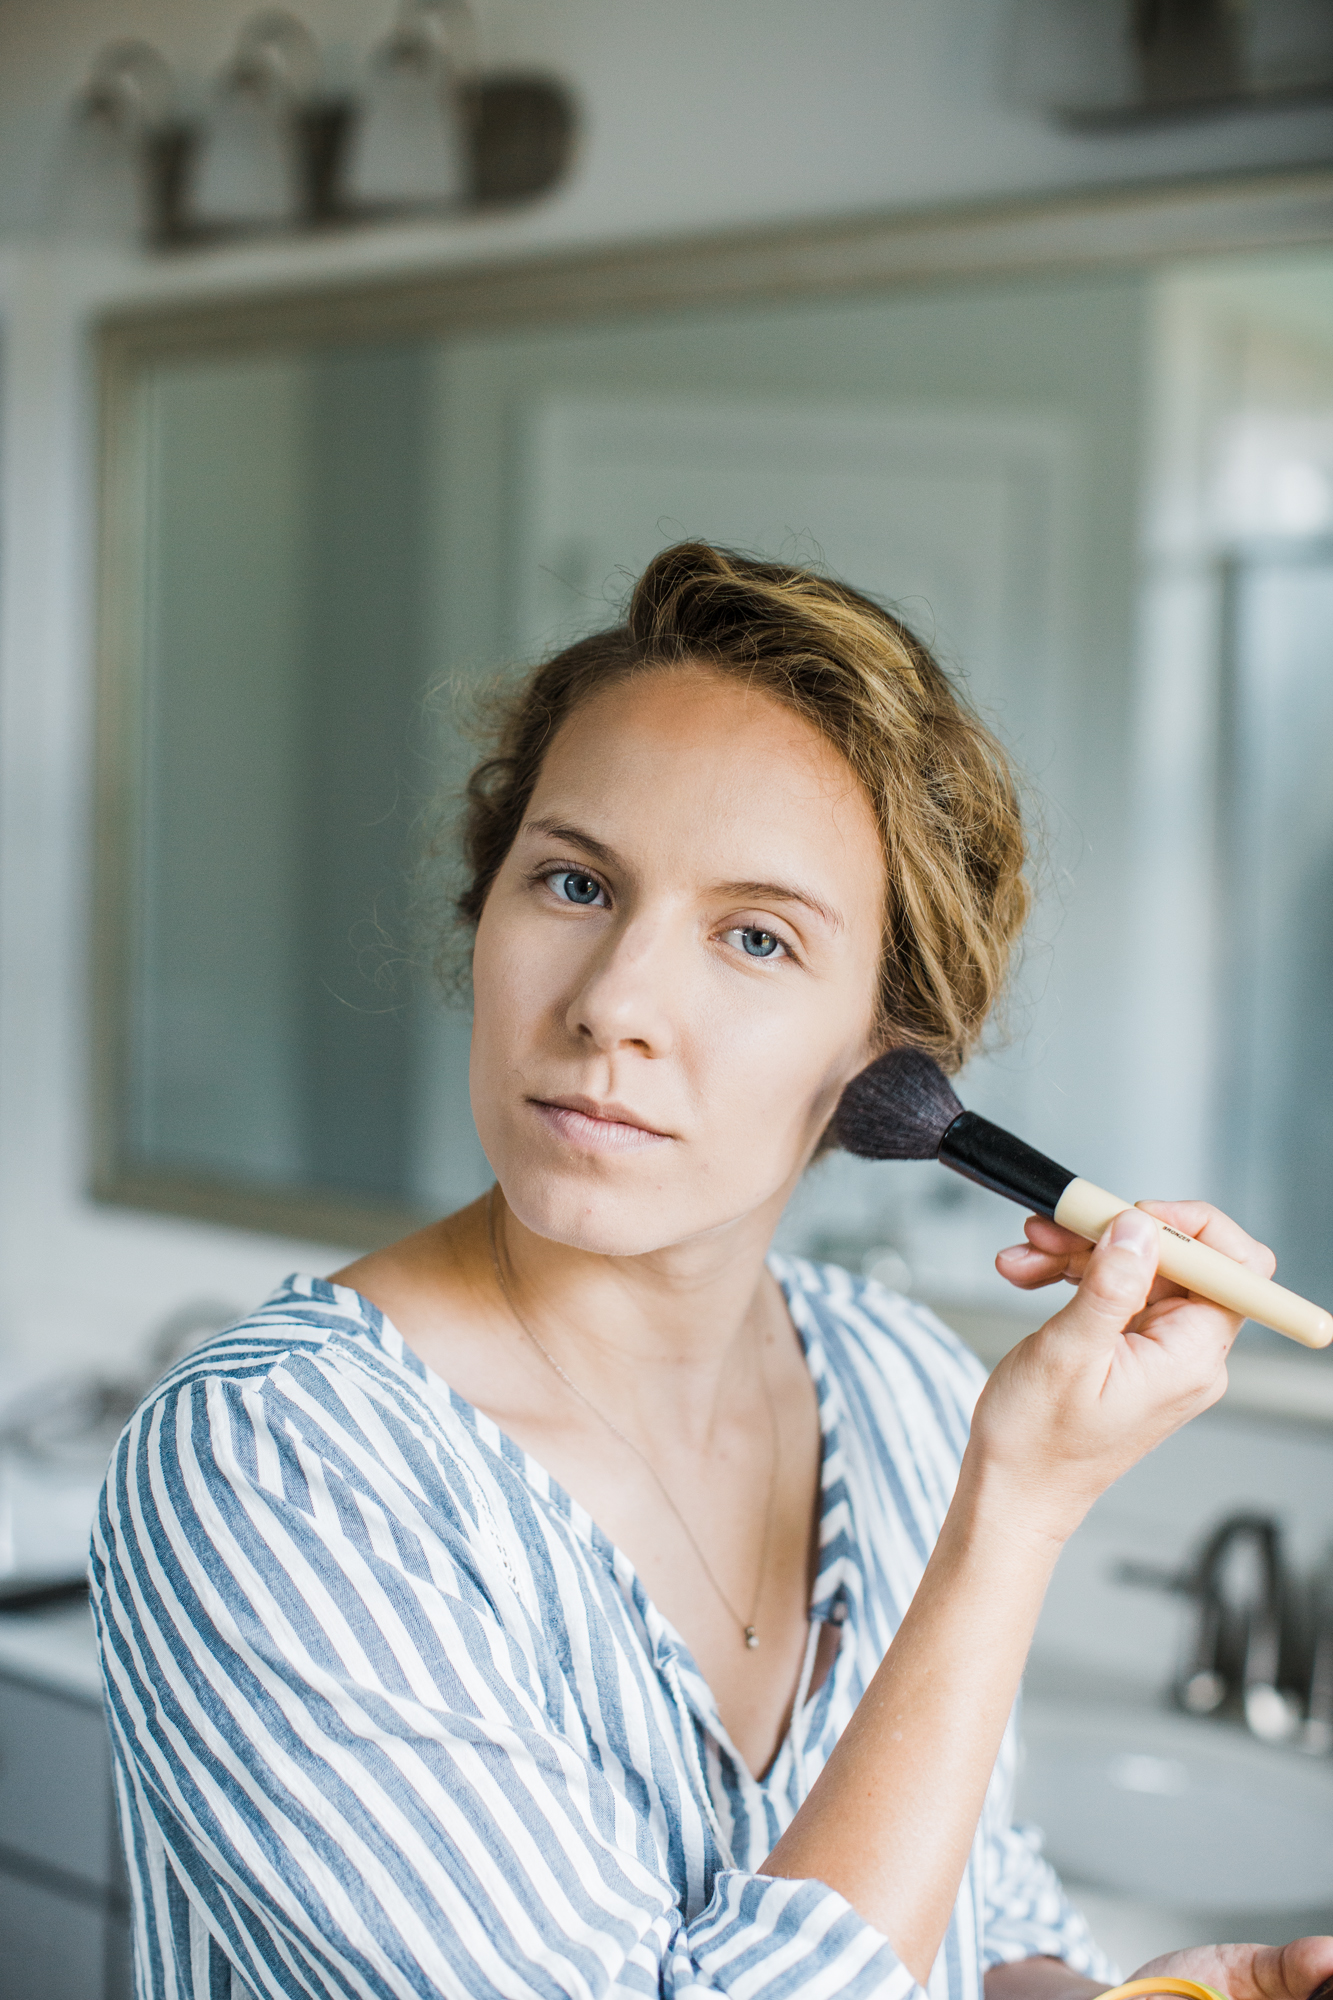
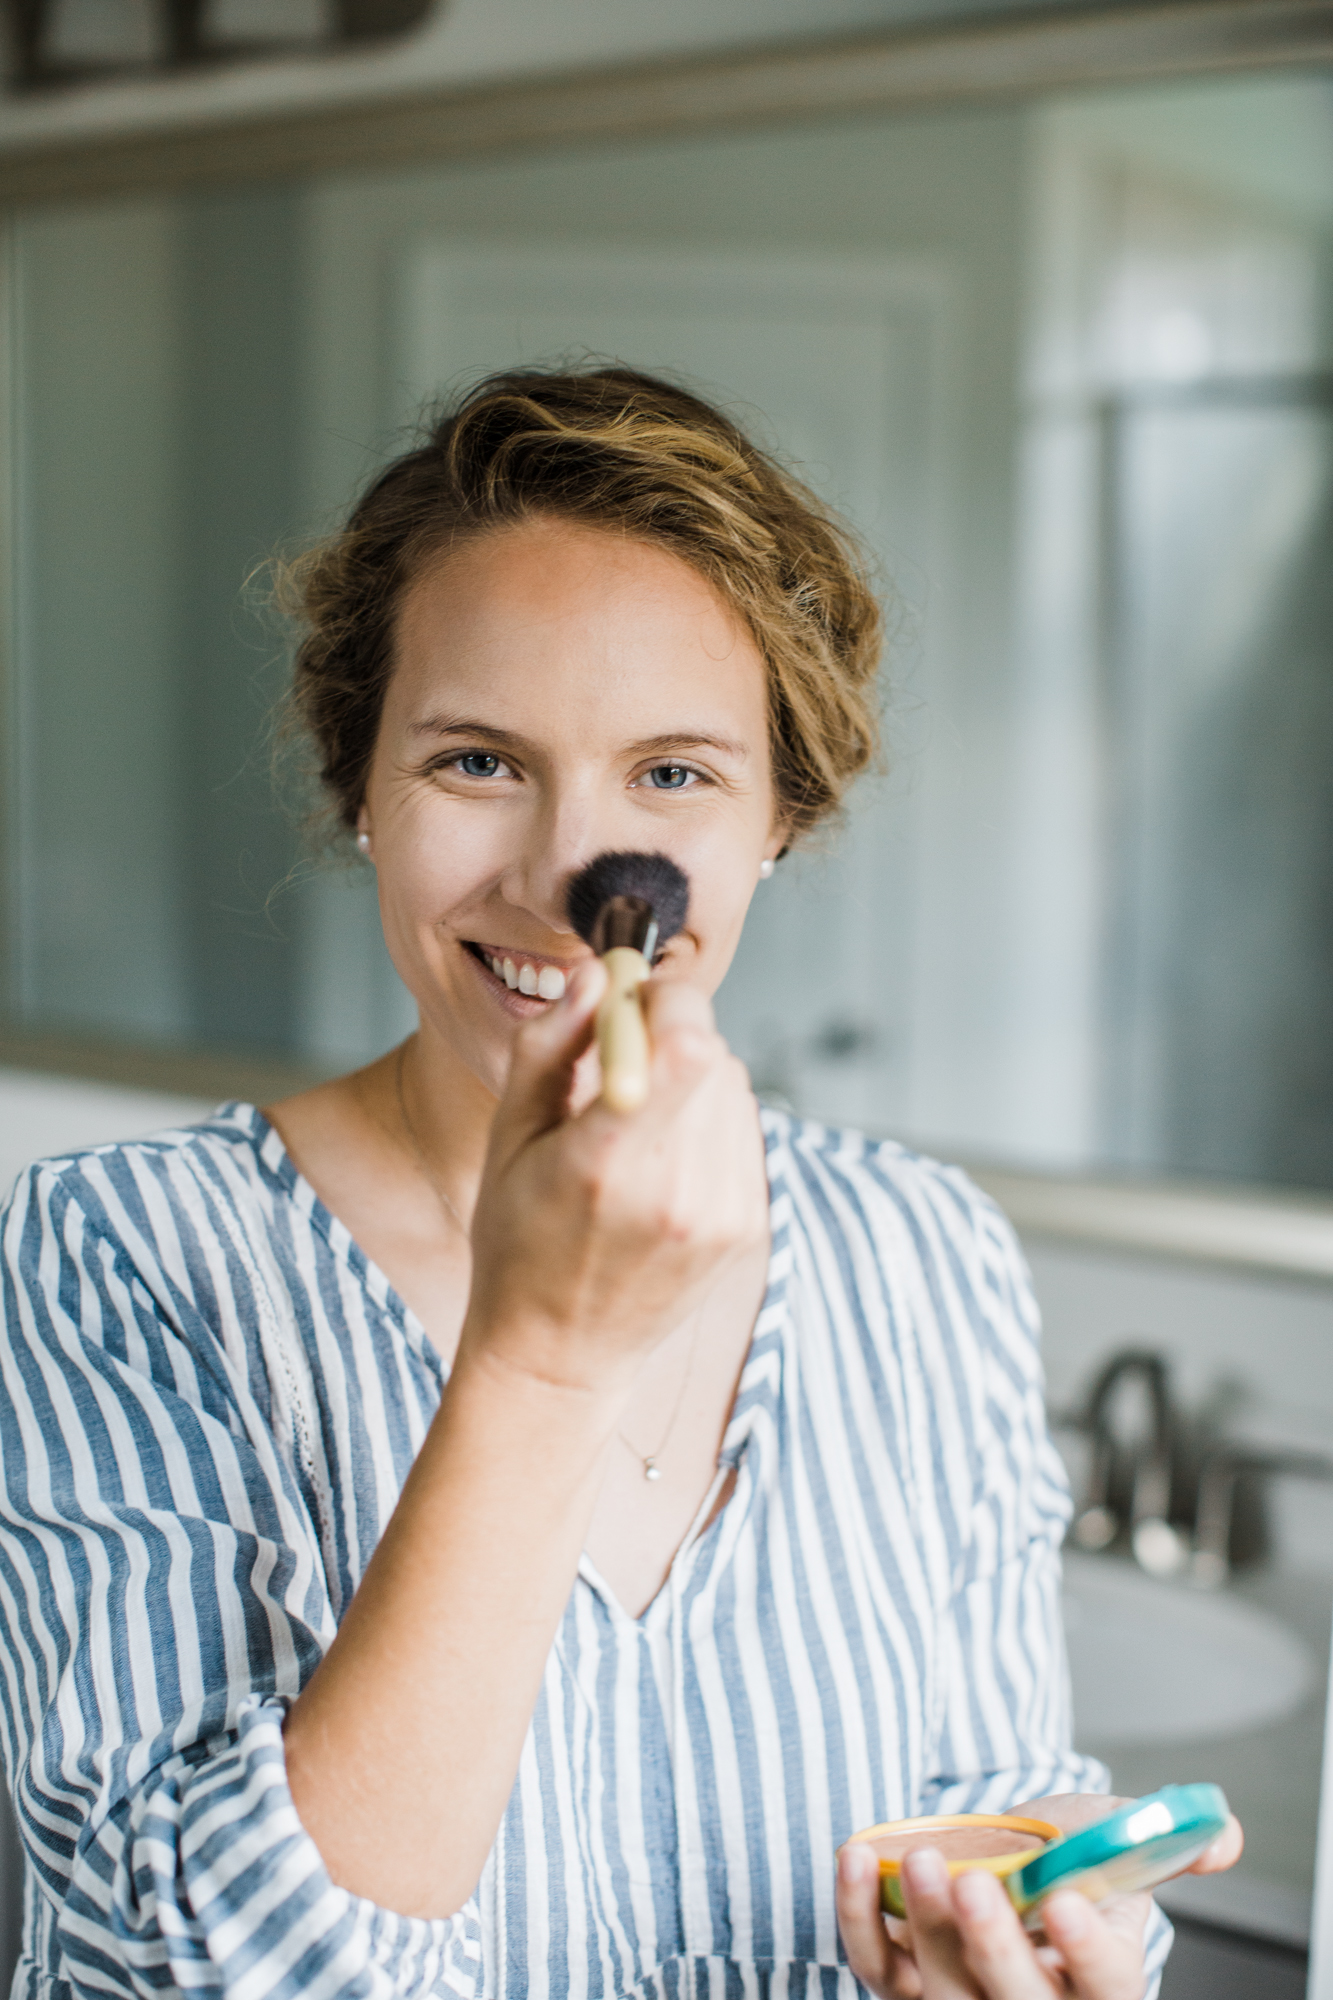
- Blush. I apply a small amount of blush on the apples of my cheeks using a round top brush. I like to do this just to give my face a little color and to make me look more awake.
- Remember how I mentioned that Ulta trip? One of the things I walked out with was this Estée Lauder blush. Don’t get me wrong, the kind lady at Ulta was right, it really looks great on but for that much money?! Needless to say, once I finish this (in like 3 years…), I’ll be using my go-to ELF or Milani blushes which I think do just as well.
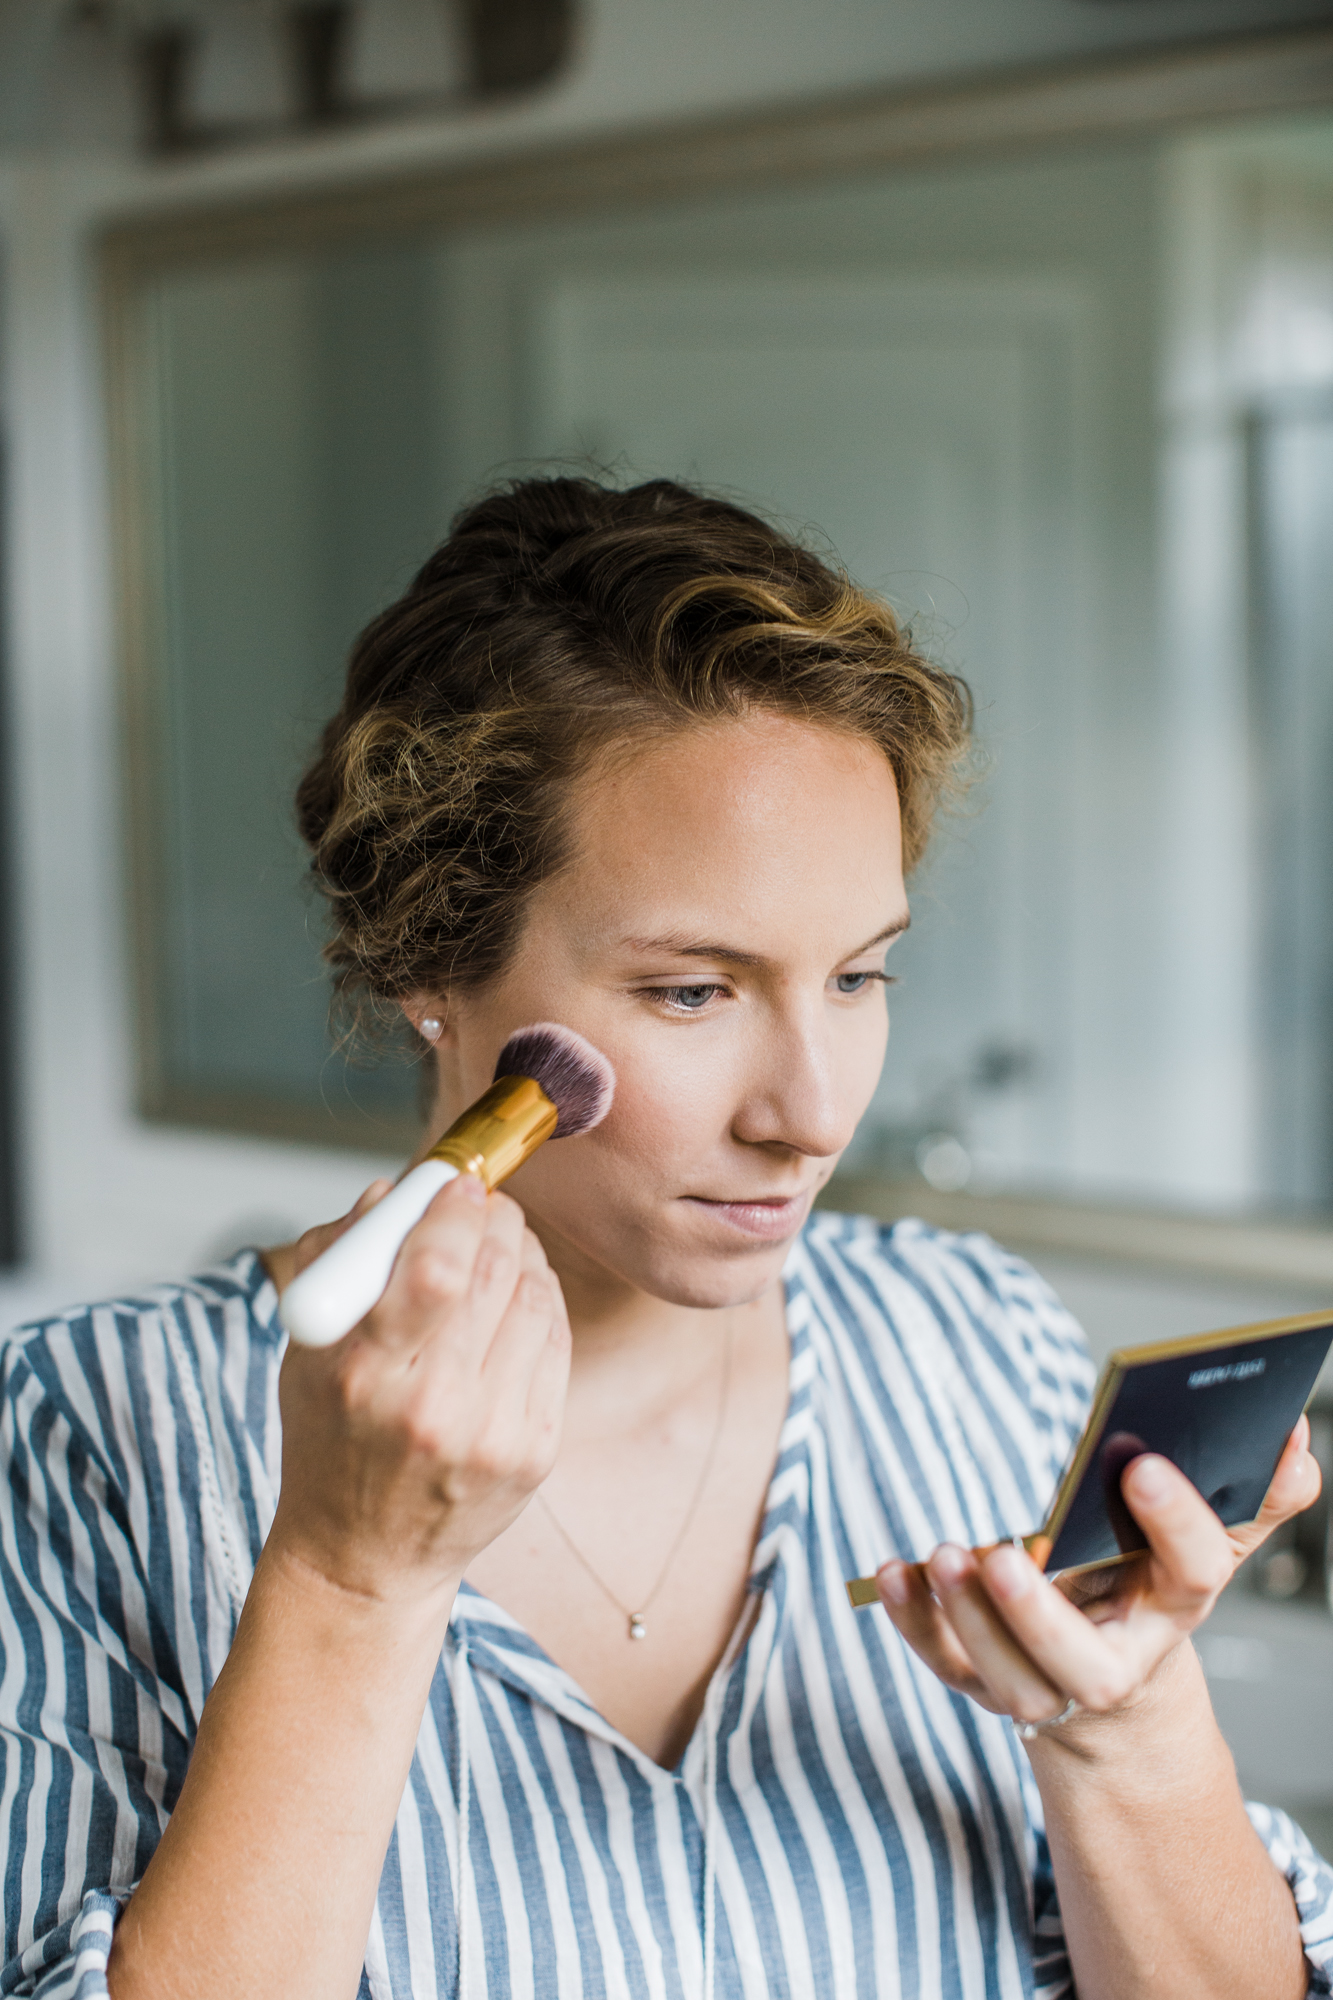
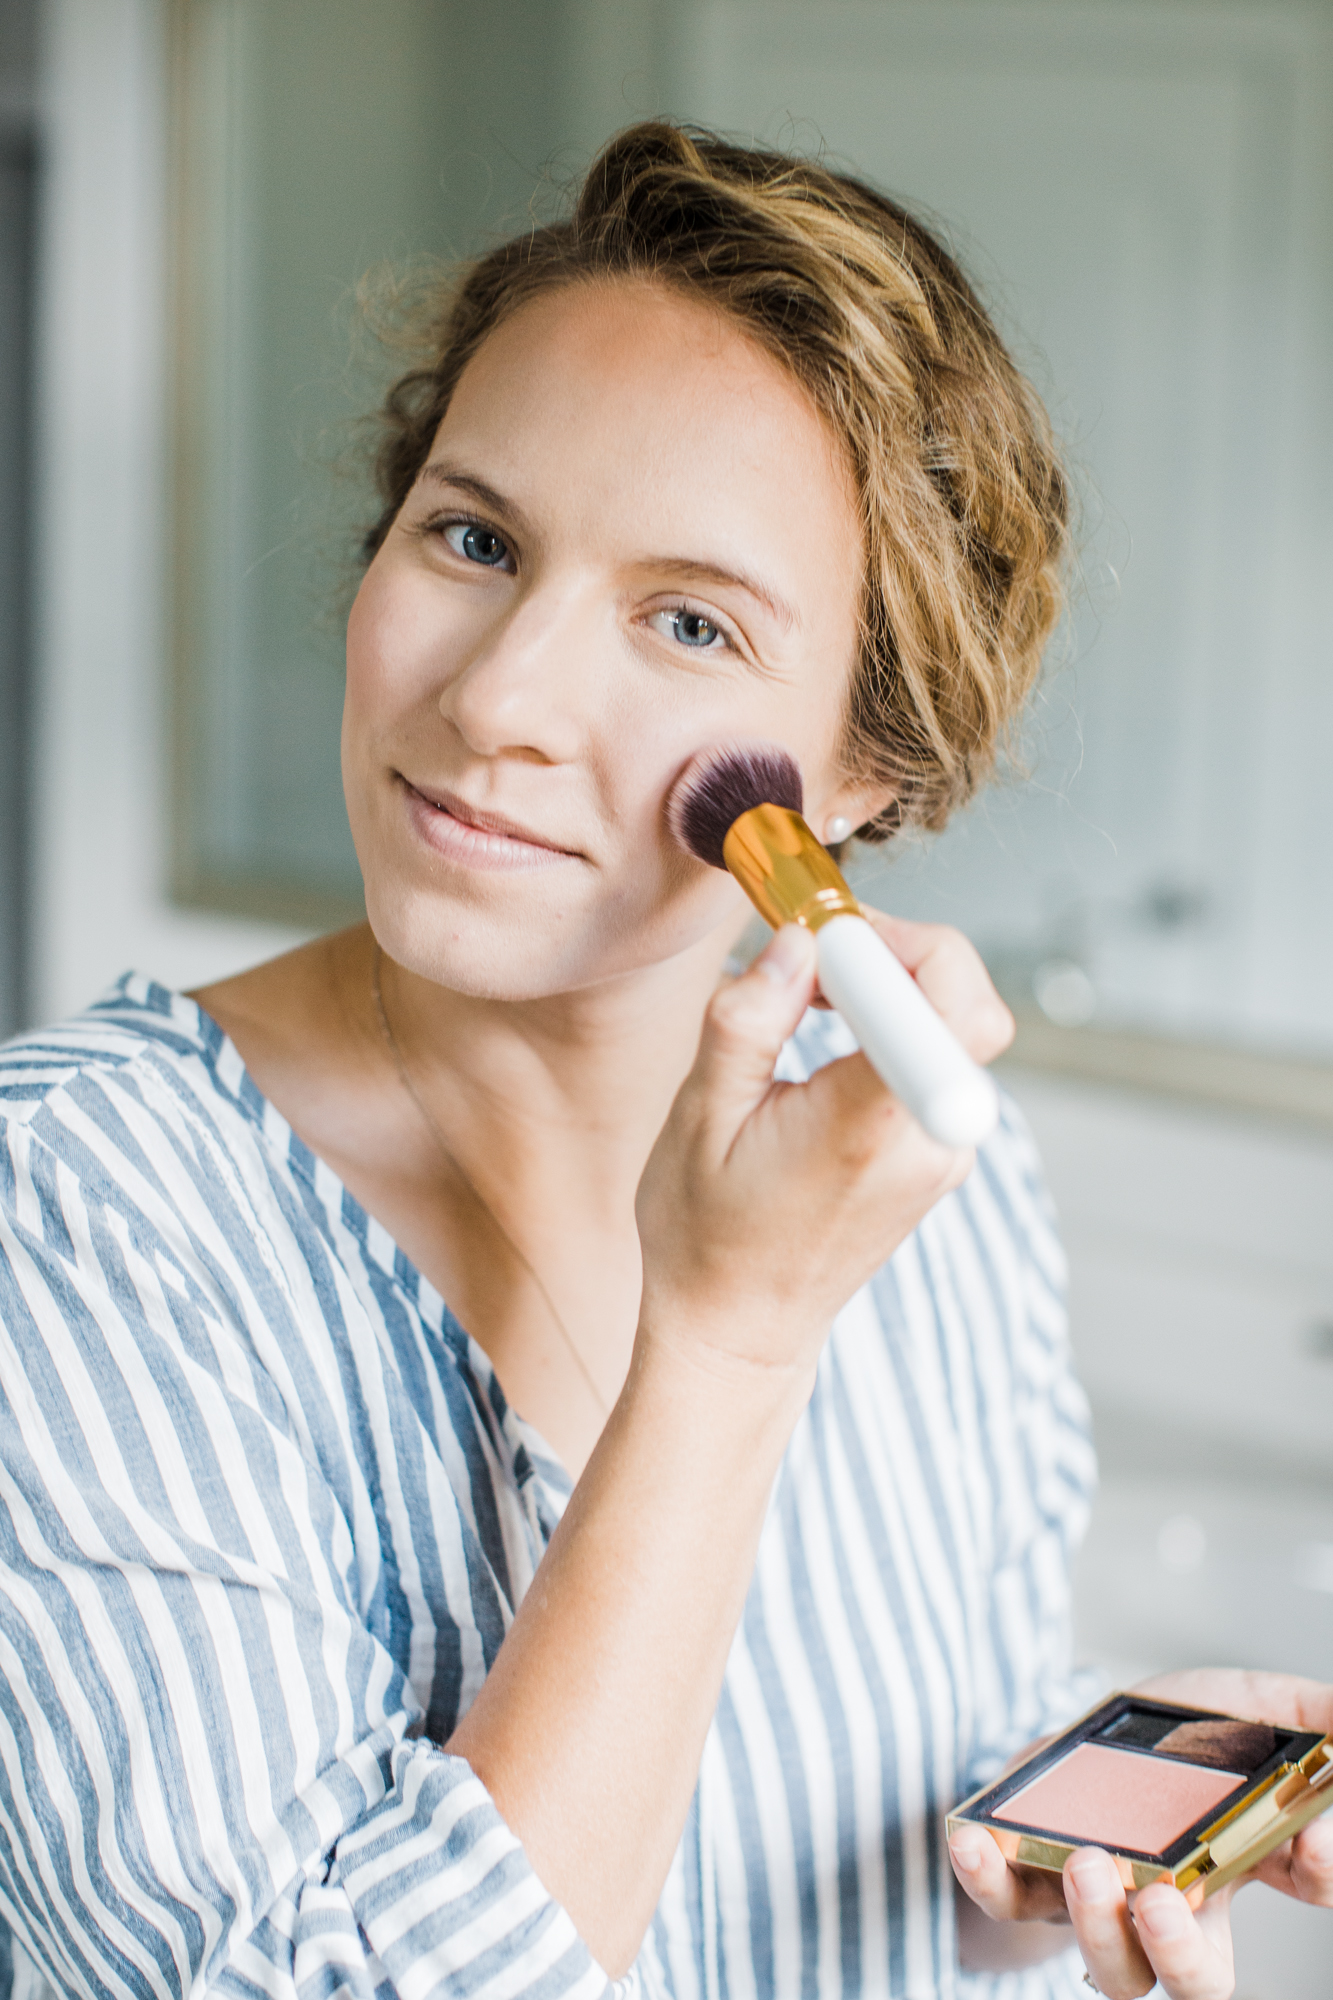
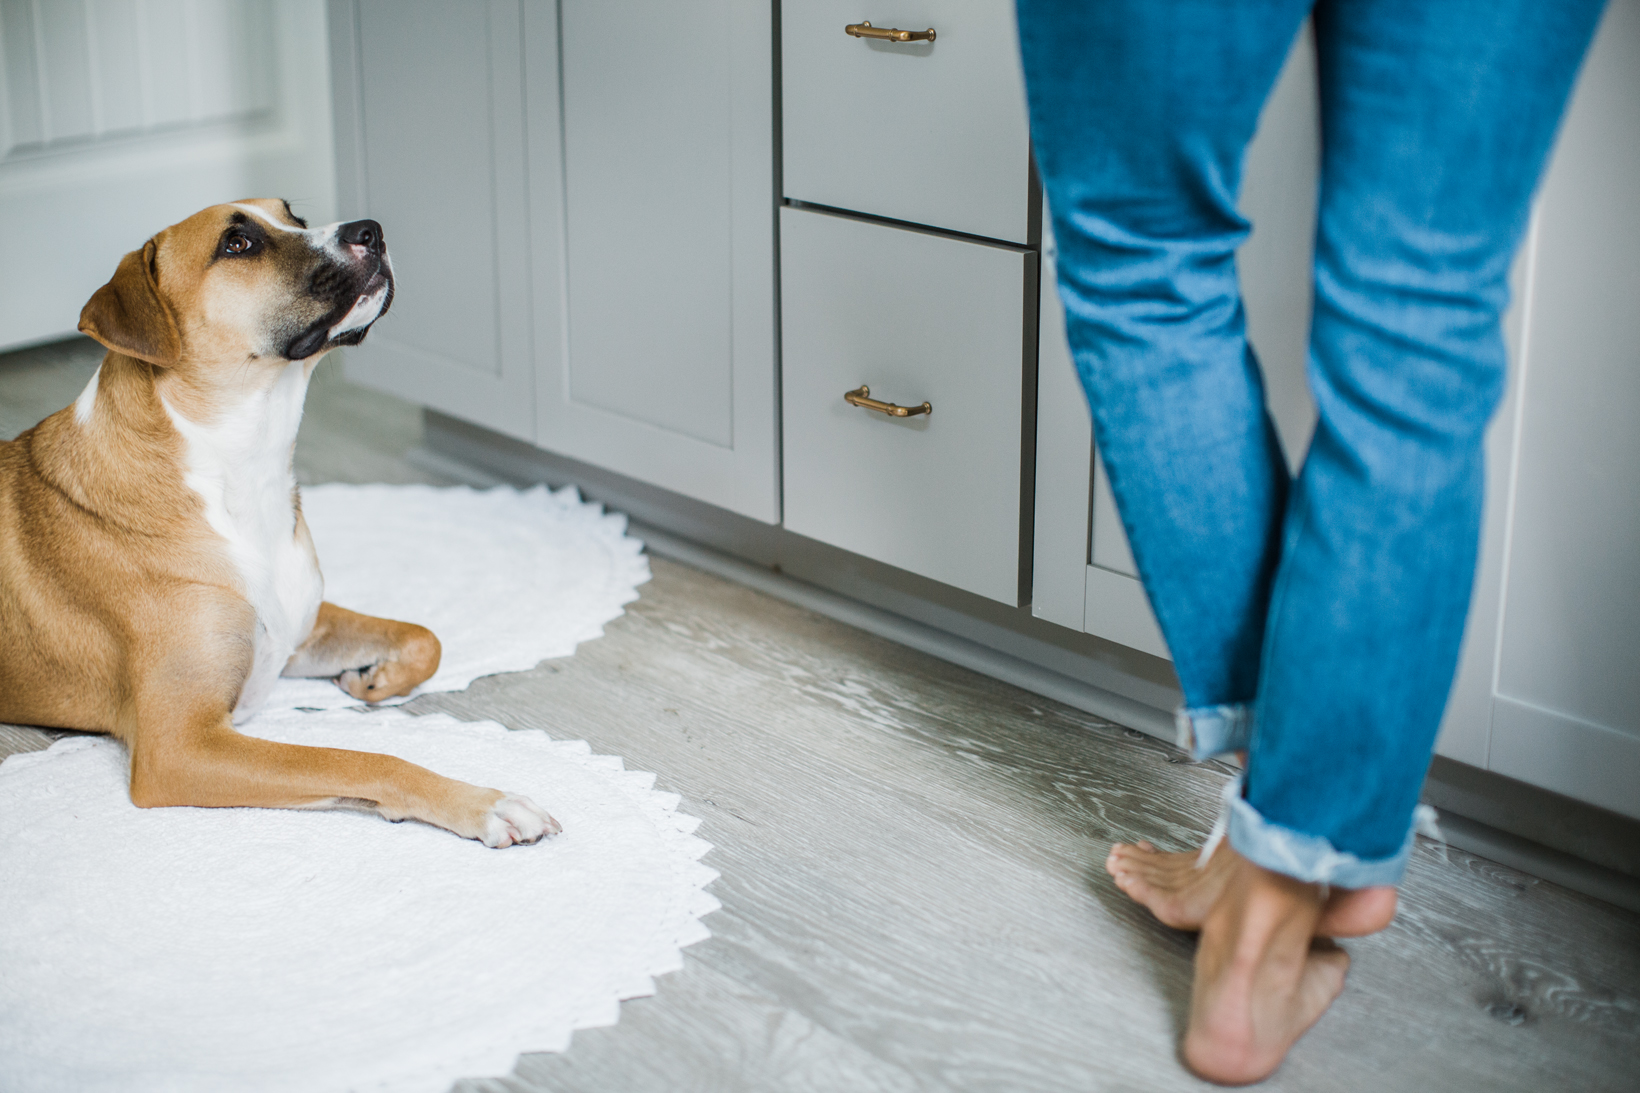
- Pause to have a conversation with your precious pup. 😉
- Fill. My eyebrows have a mind of their own so I usually just fill them in very lightly with the Brow Wiz. That thing is expensive but it’s worth every penny in my opinion and has lasted me almost two years. HA!
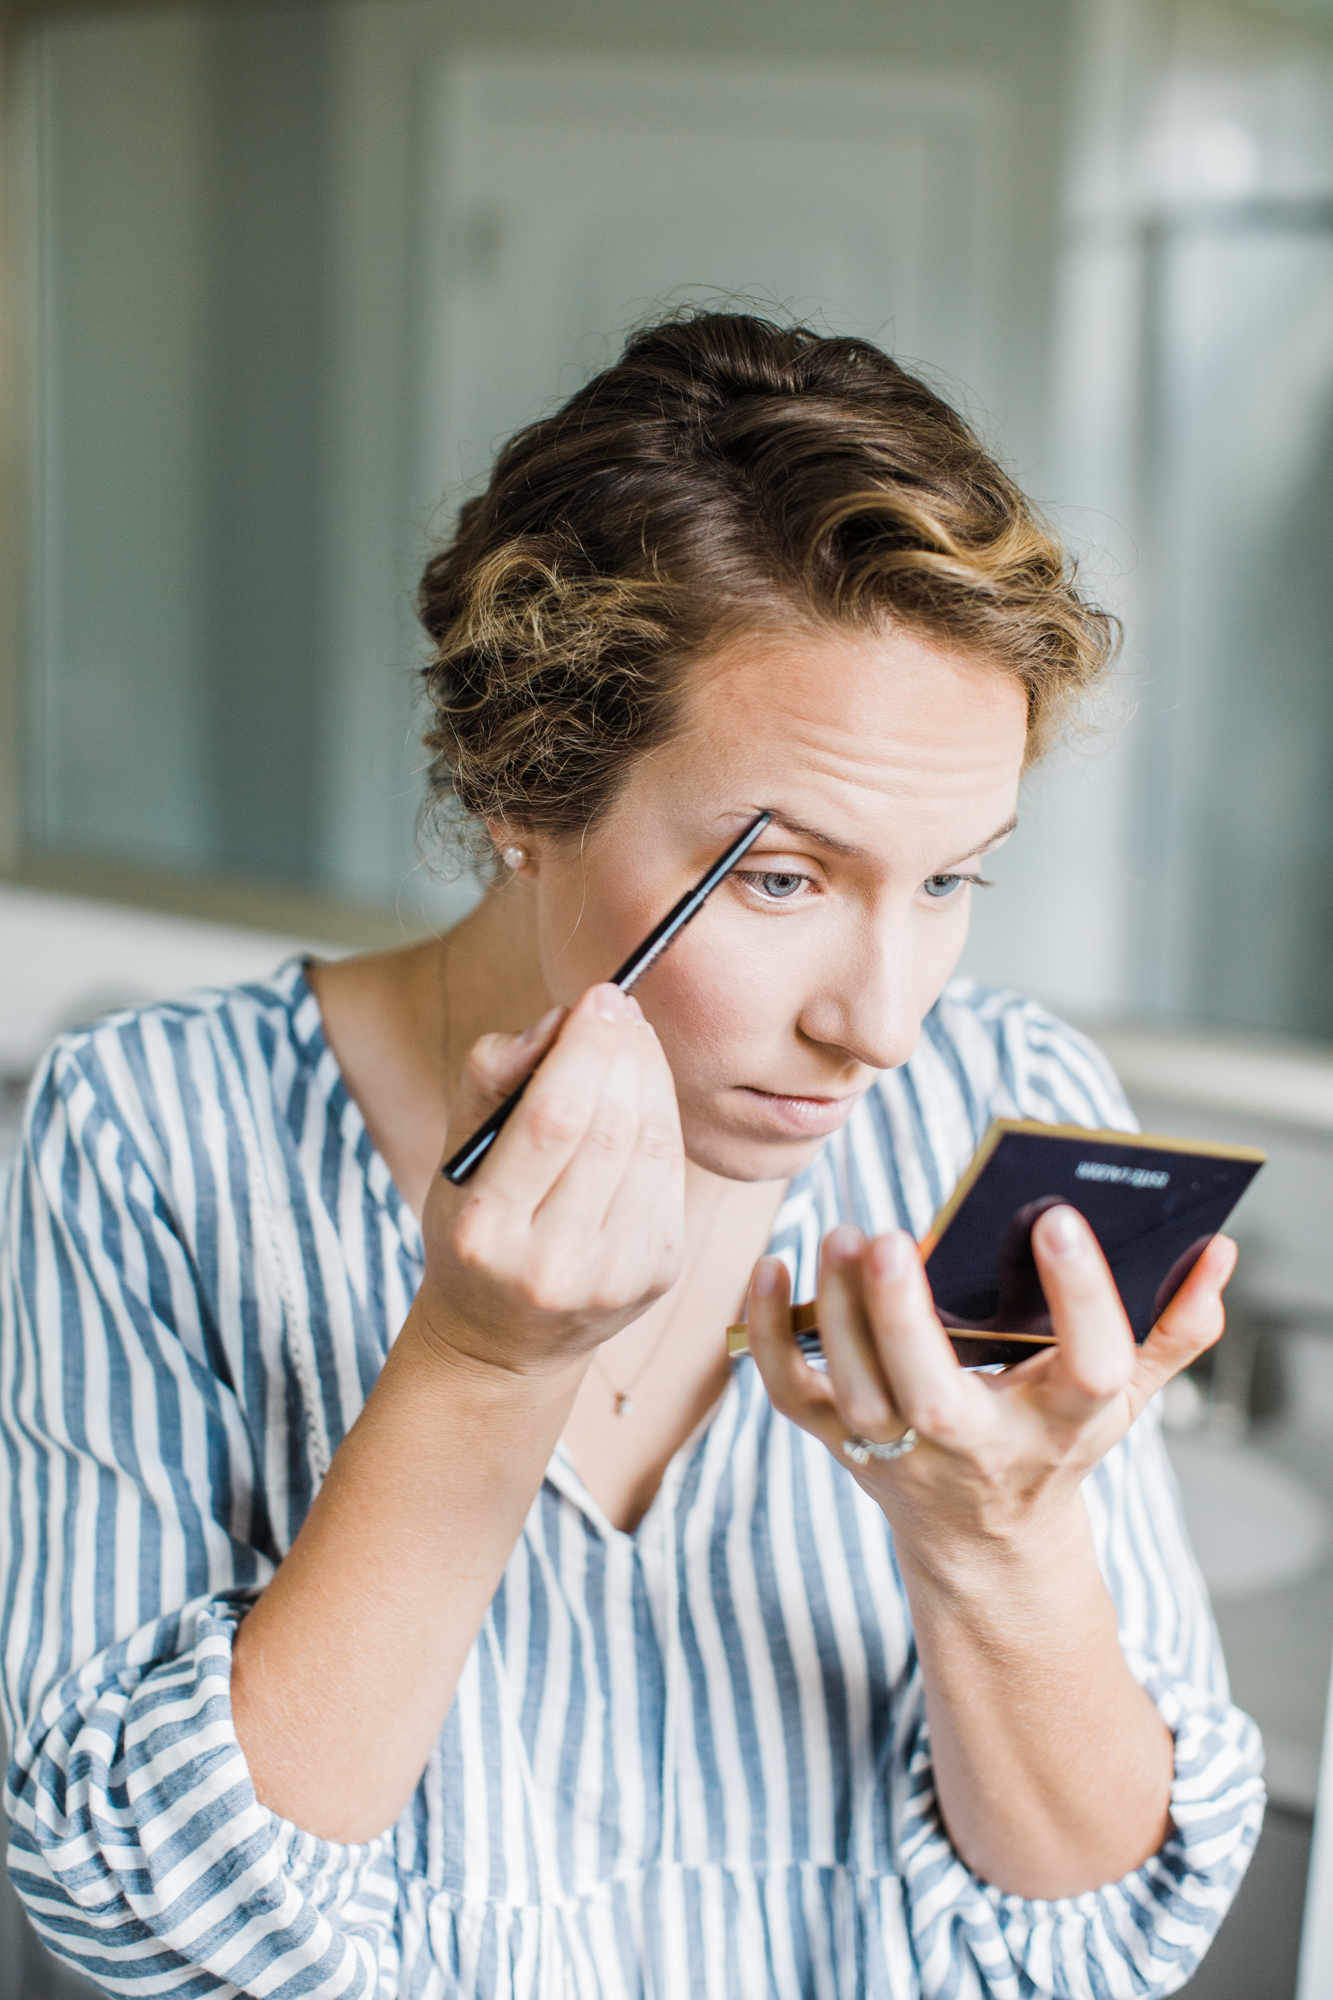
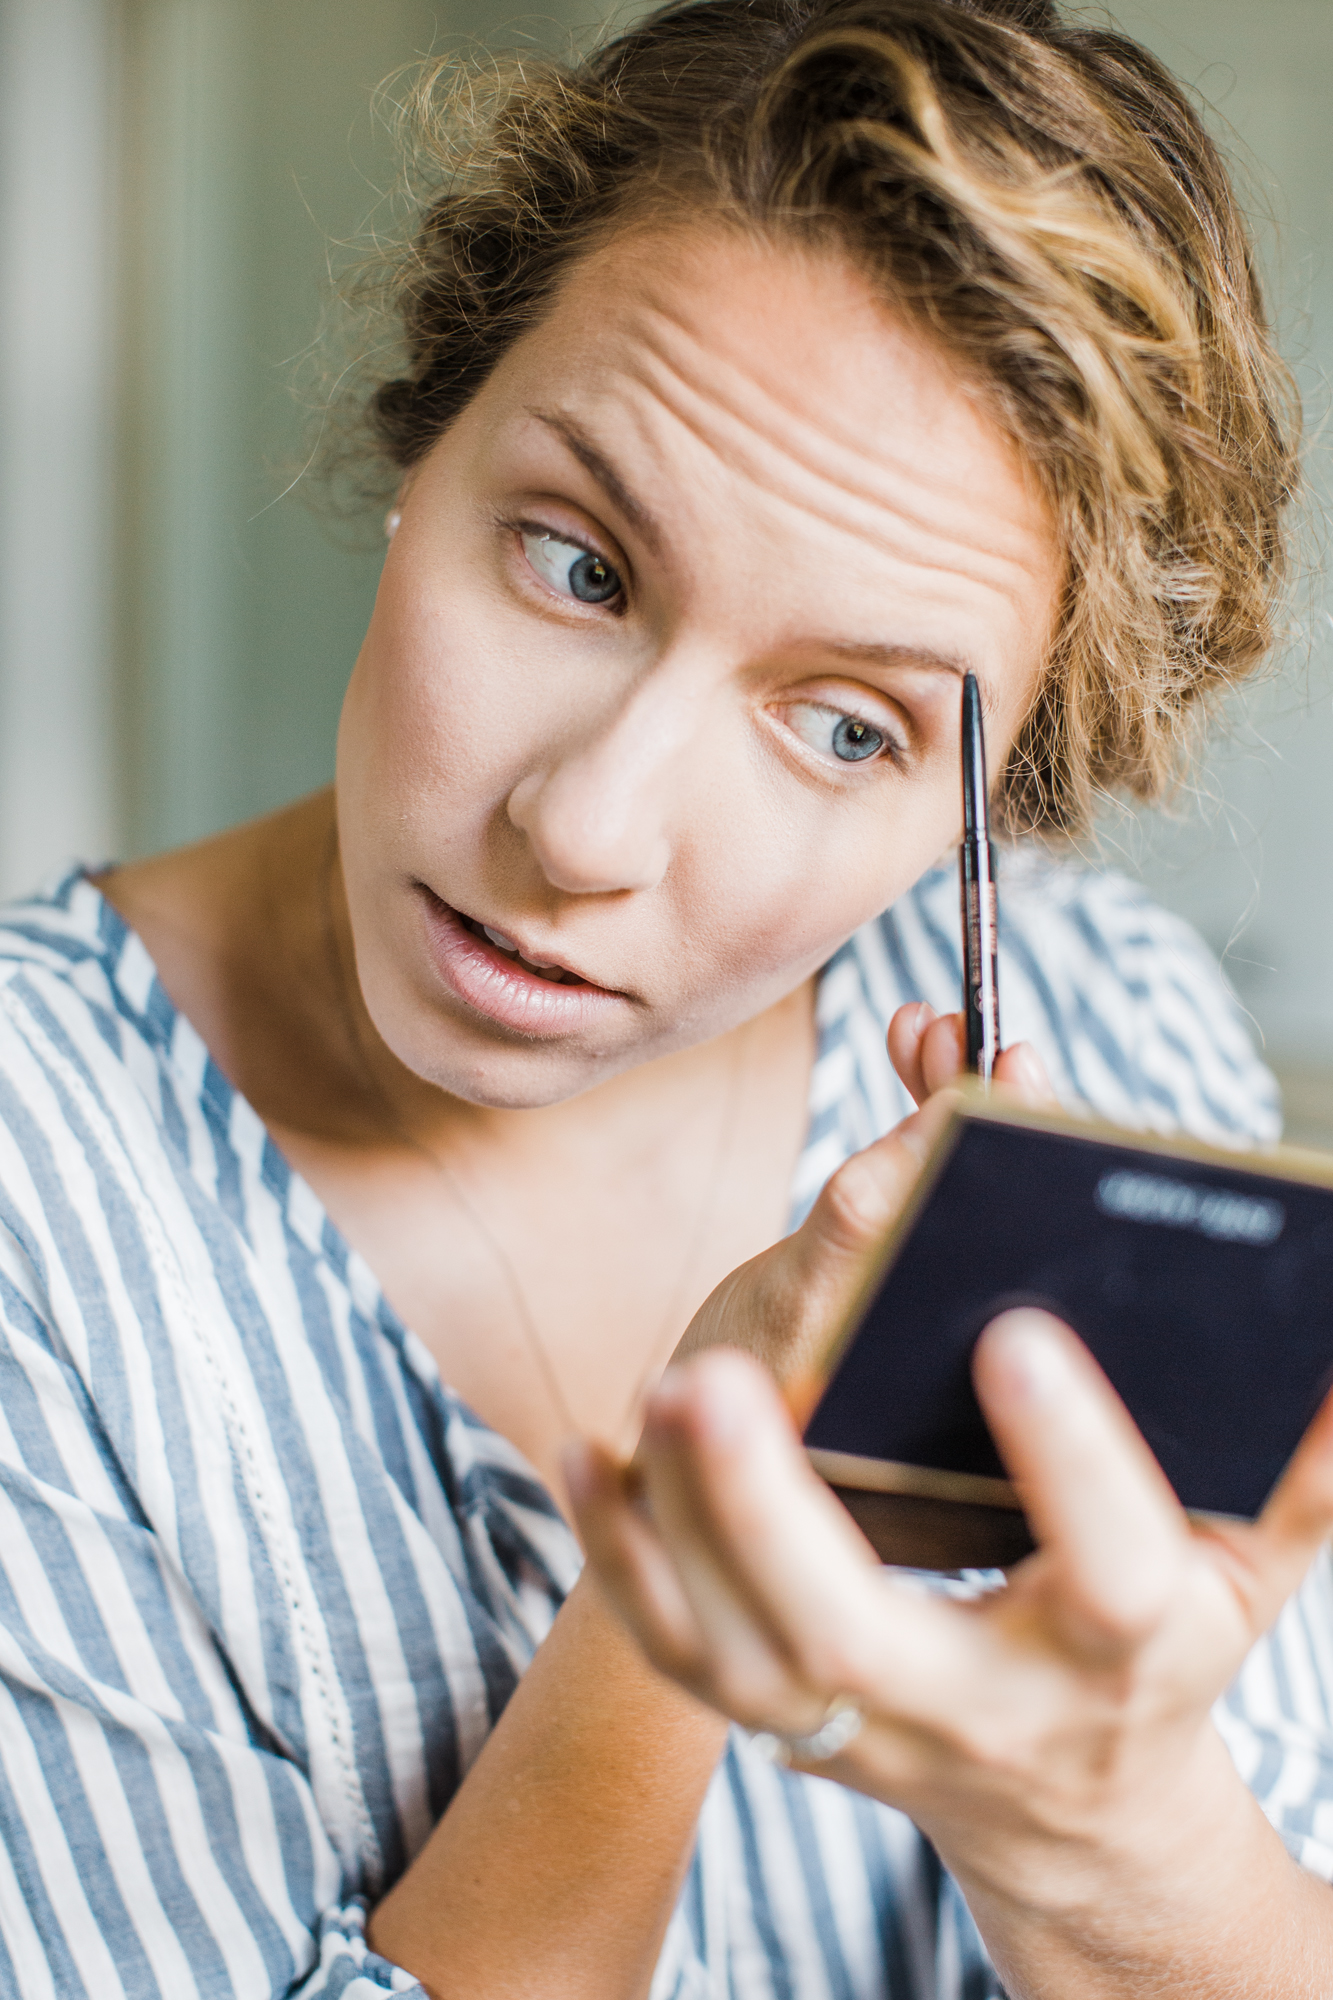
- Curl. Curl those bad boys (eyelashes)! Doing this takes me only a couple of seconds and immediately opens up my eyes which definitely makes me look more awake.
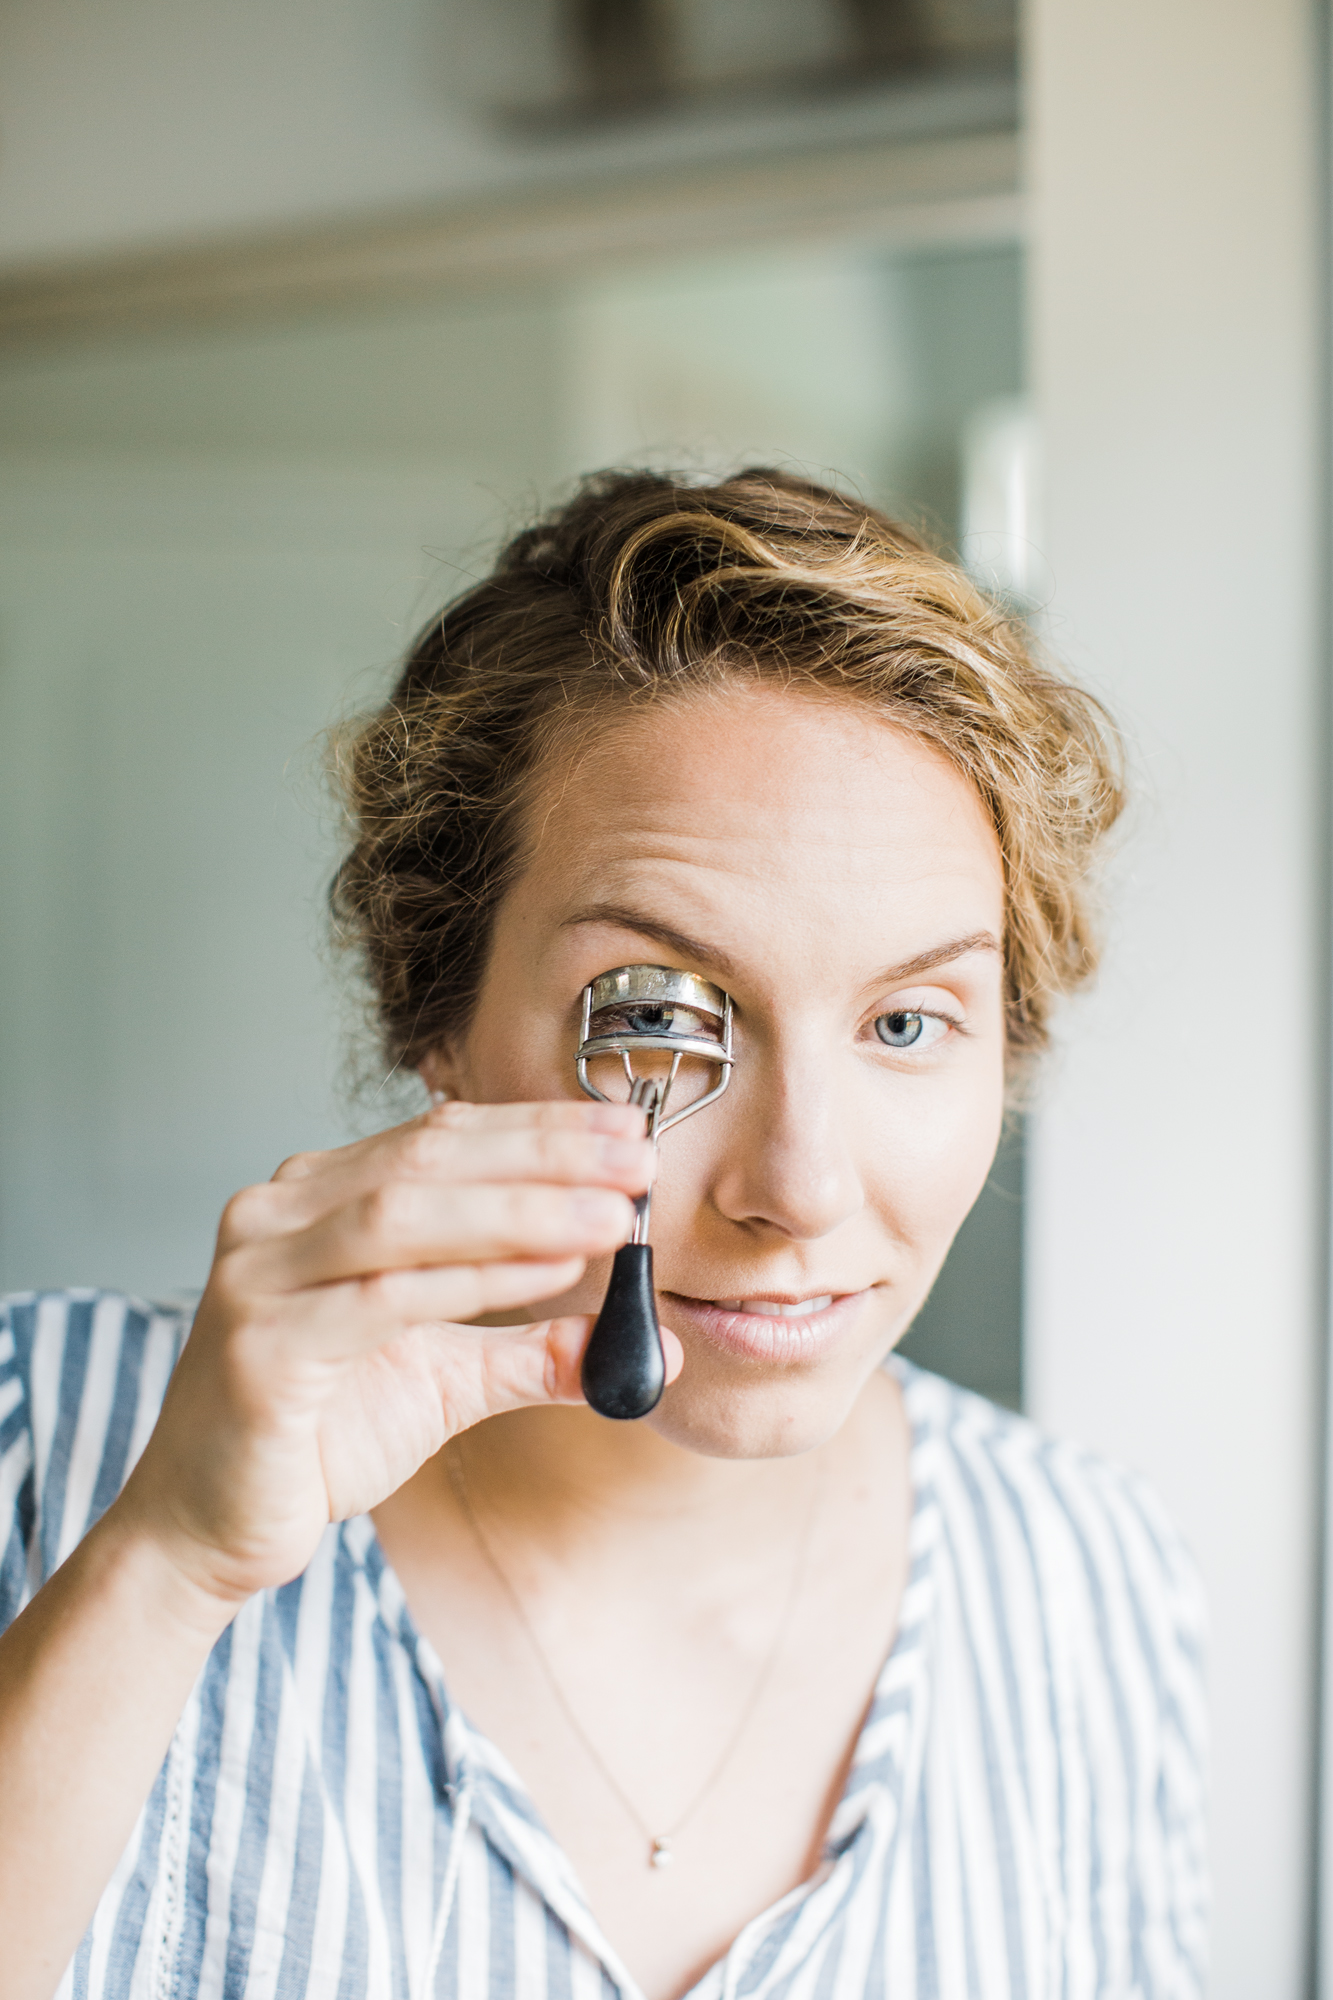
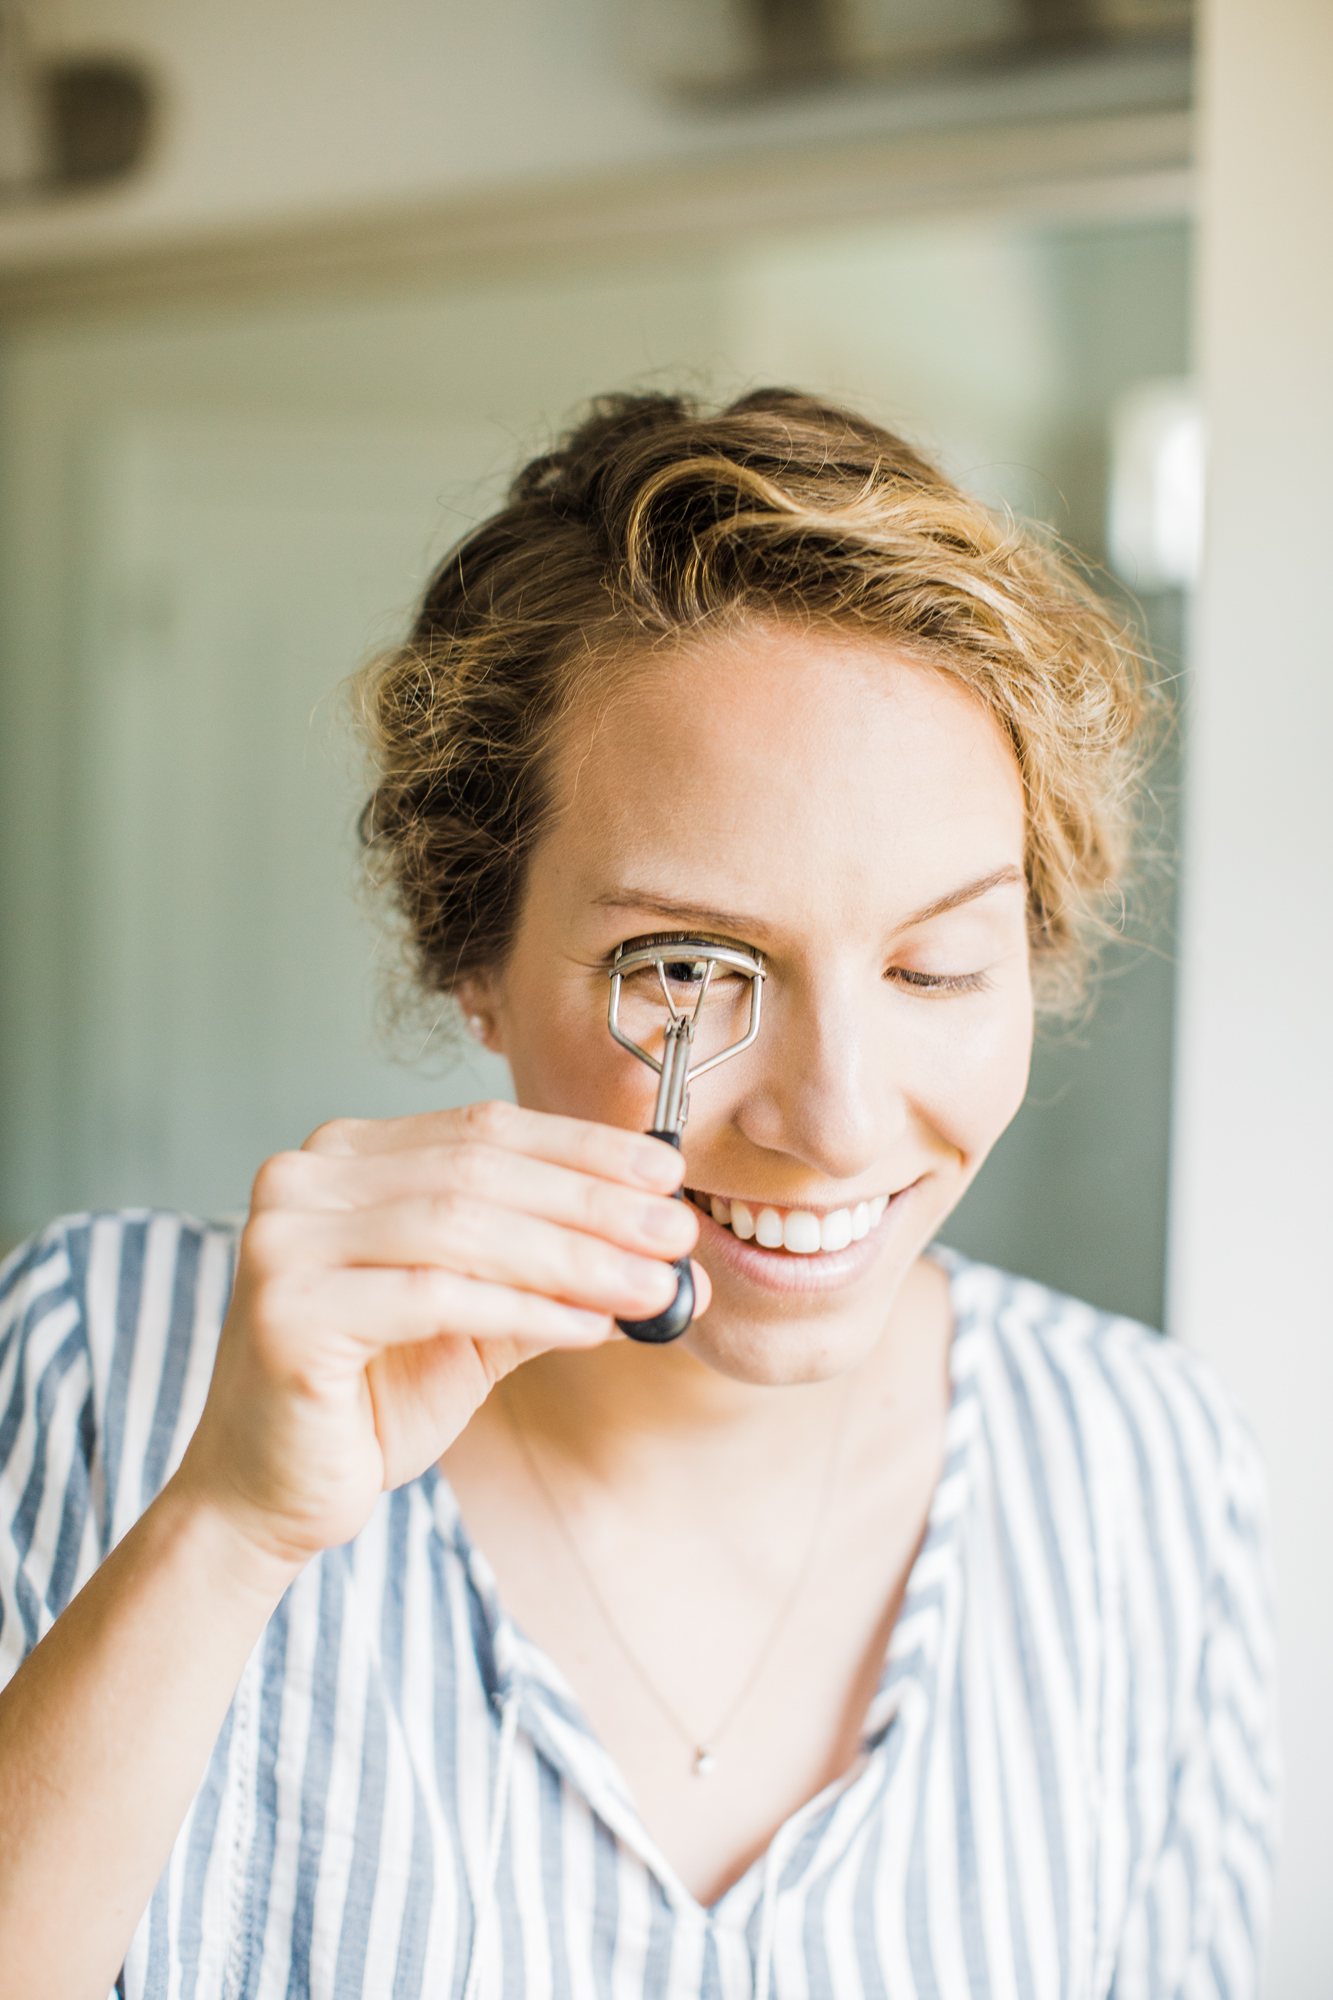
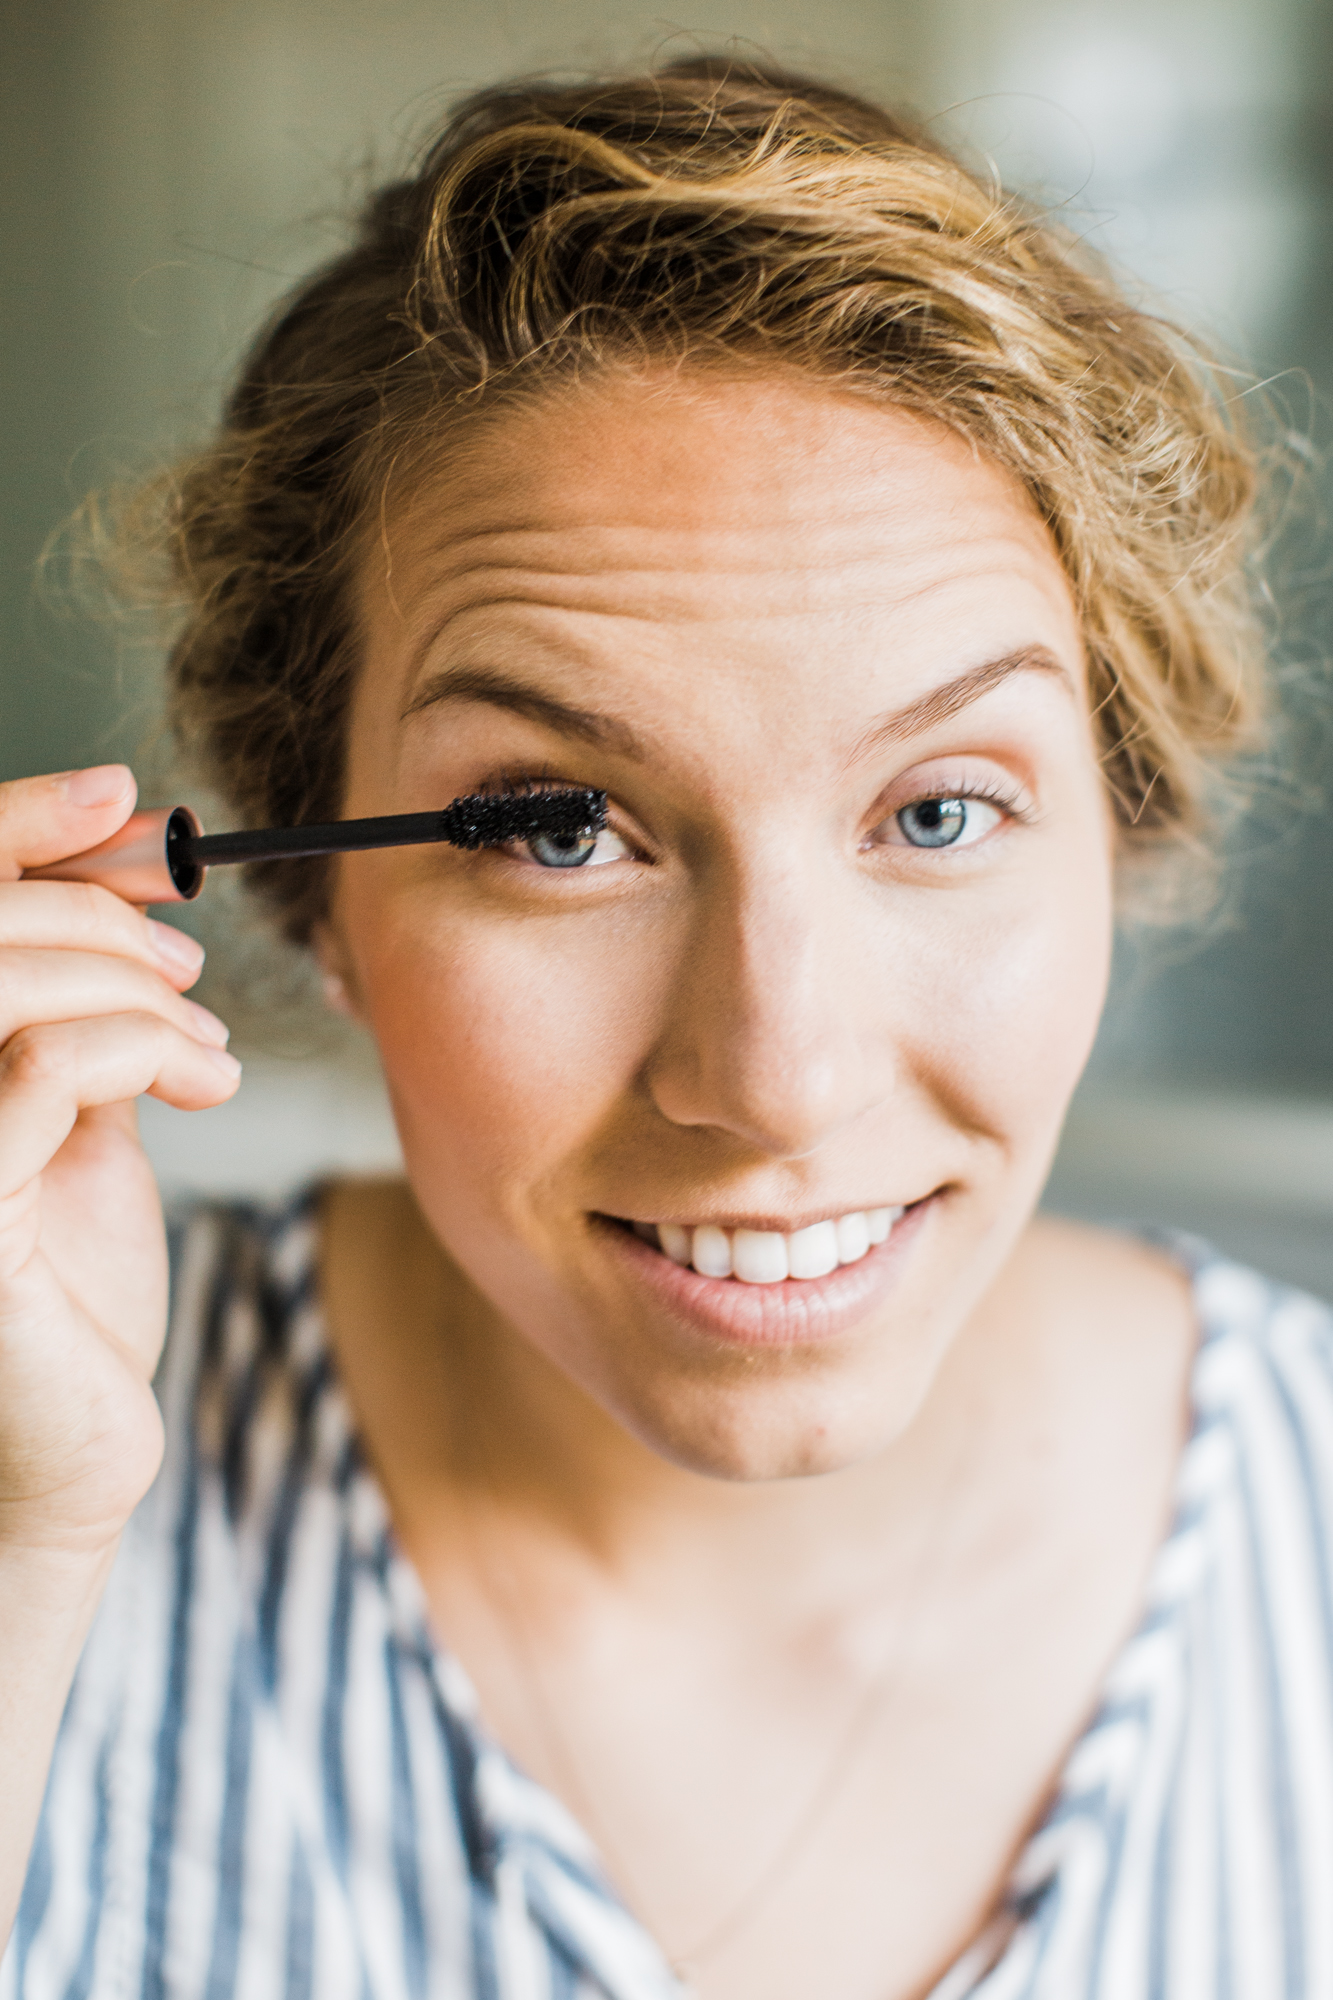
- Mascara. When putting on mascara I try to make sure to get as close to the base of my eyelashes without stabbing myself in the eye especially since I don’t wear eyeliner. I put mascara on both the top and bottom lashes of my eyes.
- I love love love BTS mascara but I heard through some of my favorites that L’oreal Lash Paradise is a close contender. Sure enough it is! I’ve been using both of them until I finish up my BTS tube.
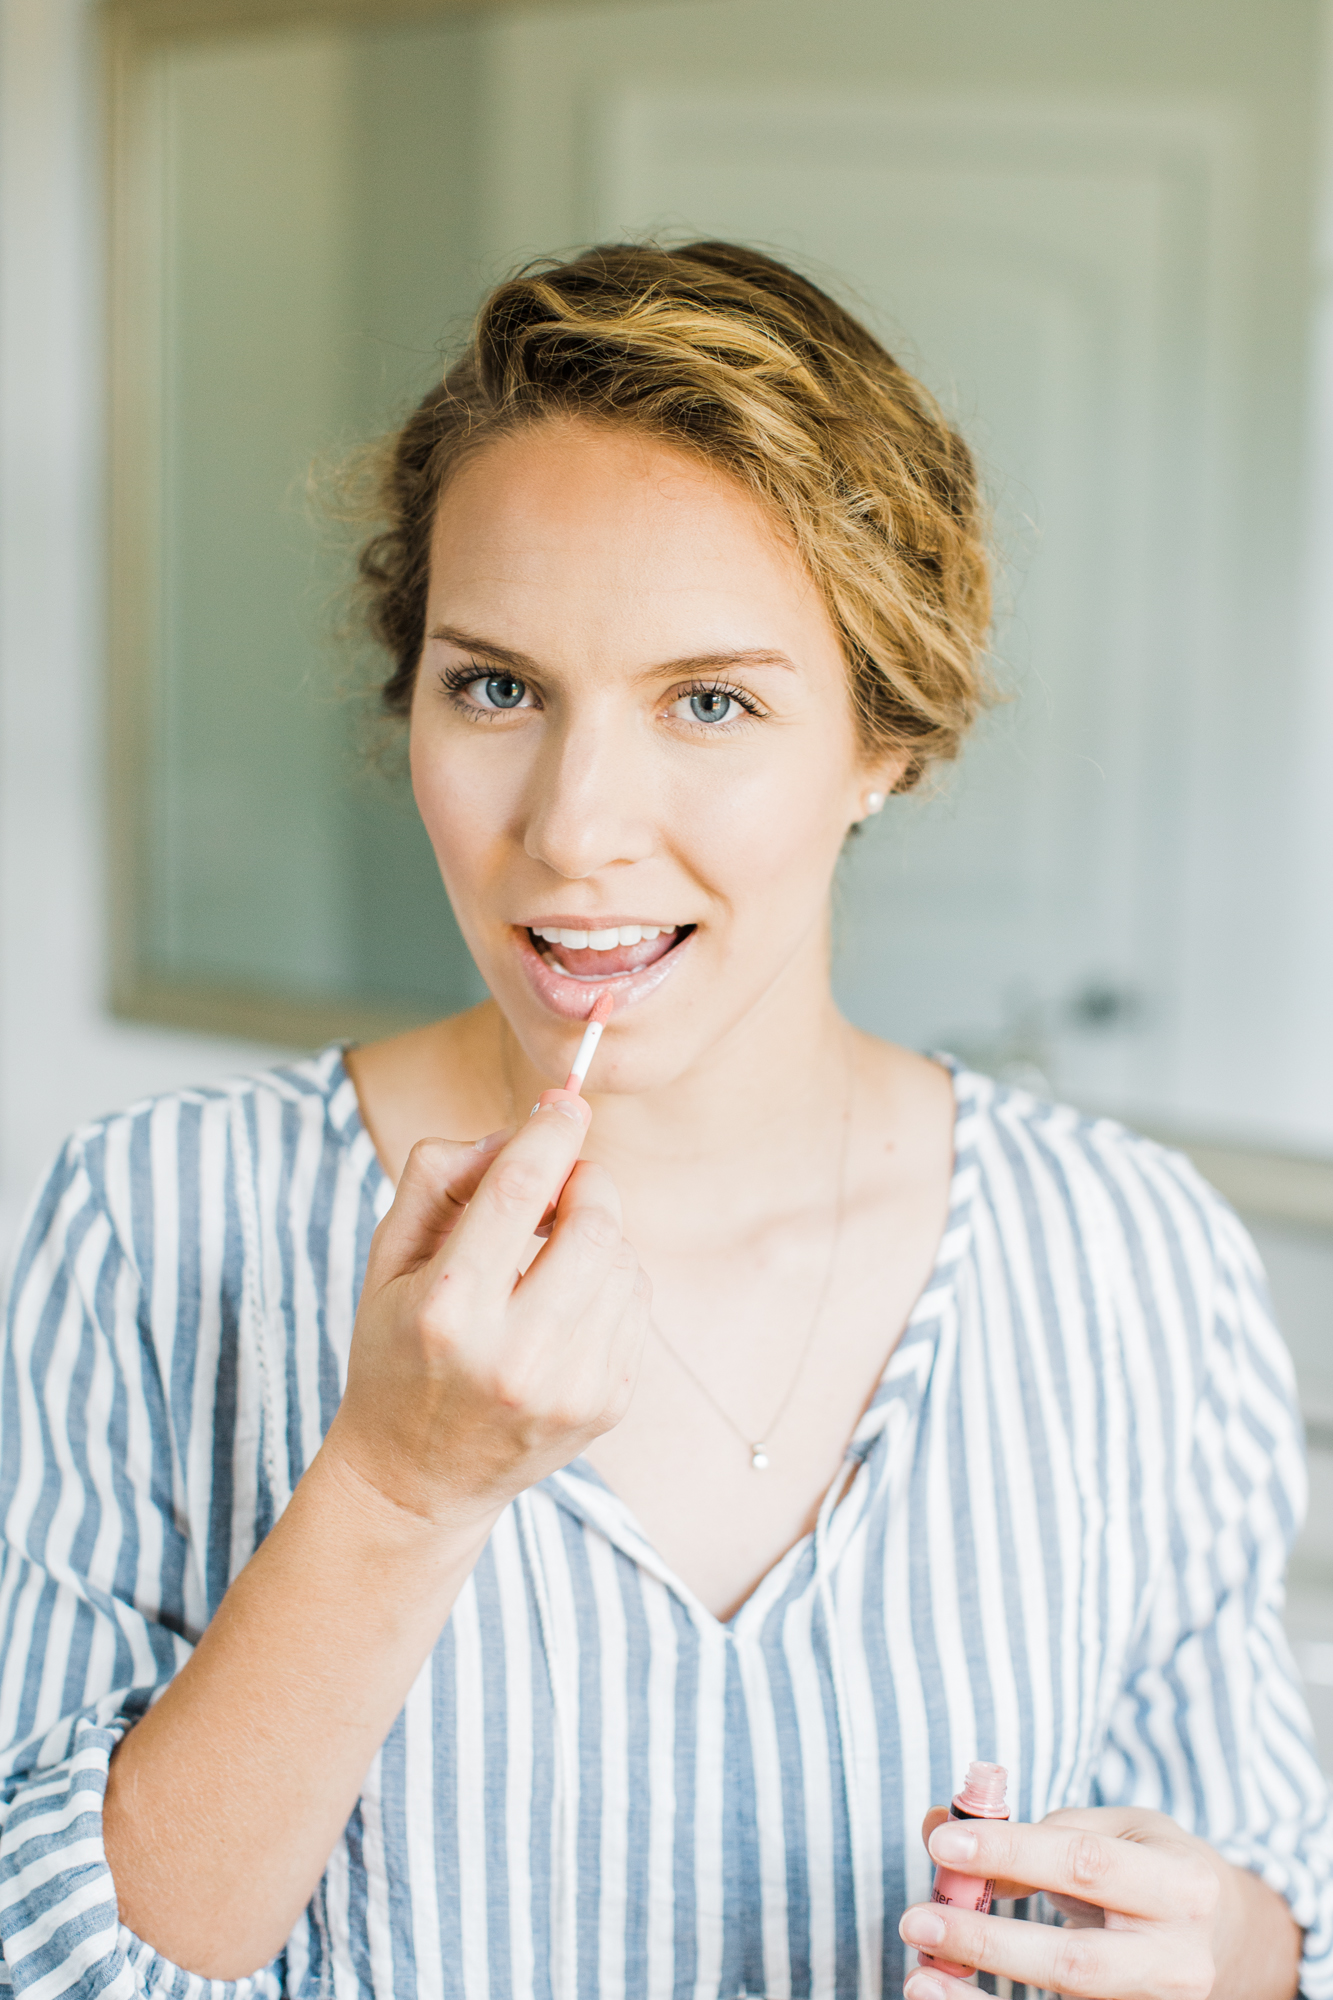
- Lips. Sometimes I’ll just put some good ol’ Chapstick on but most of the time I’ll use a NYX Butter Gloss. My favorite shades are the Fortune Cookie and Crème Brulee.
- All done! Now smile and go tackle the day ahead of you!
I hope this tutorial helps. Let me know if you have any questions. Thank you all so much for your support!
Photography by Laura Schneider Photo
Pin for later:
jordan jean
SHARE