August 11, 2023
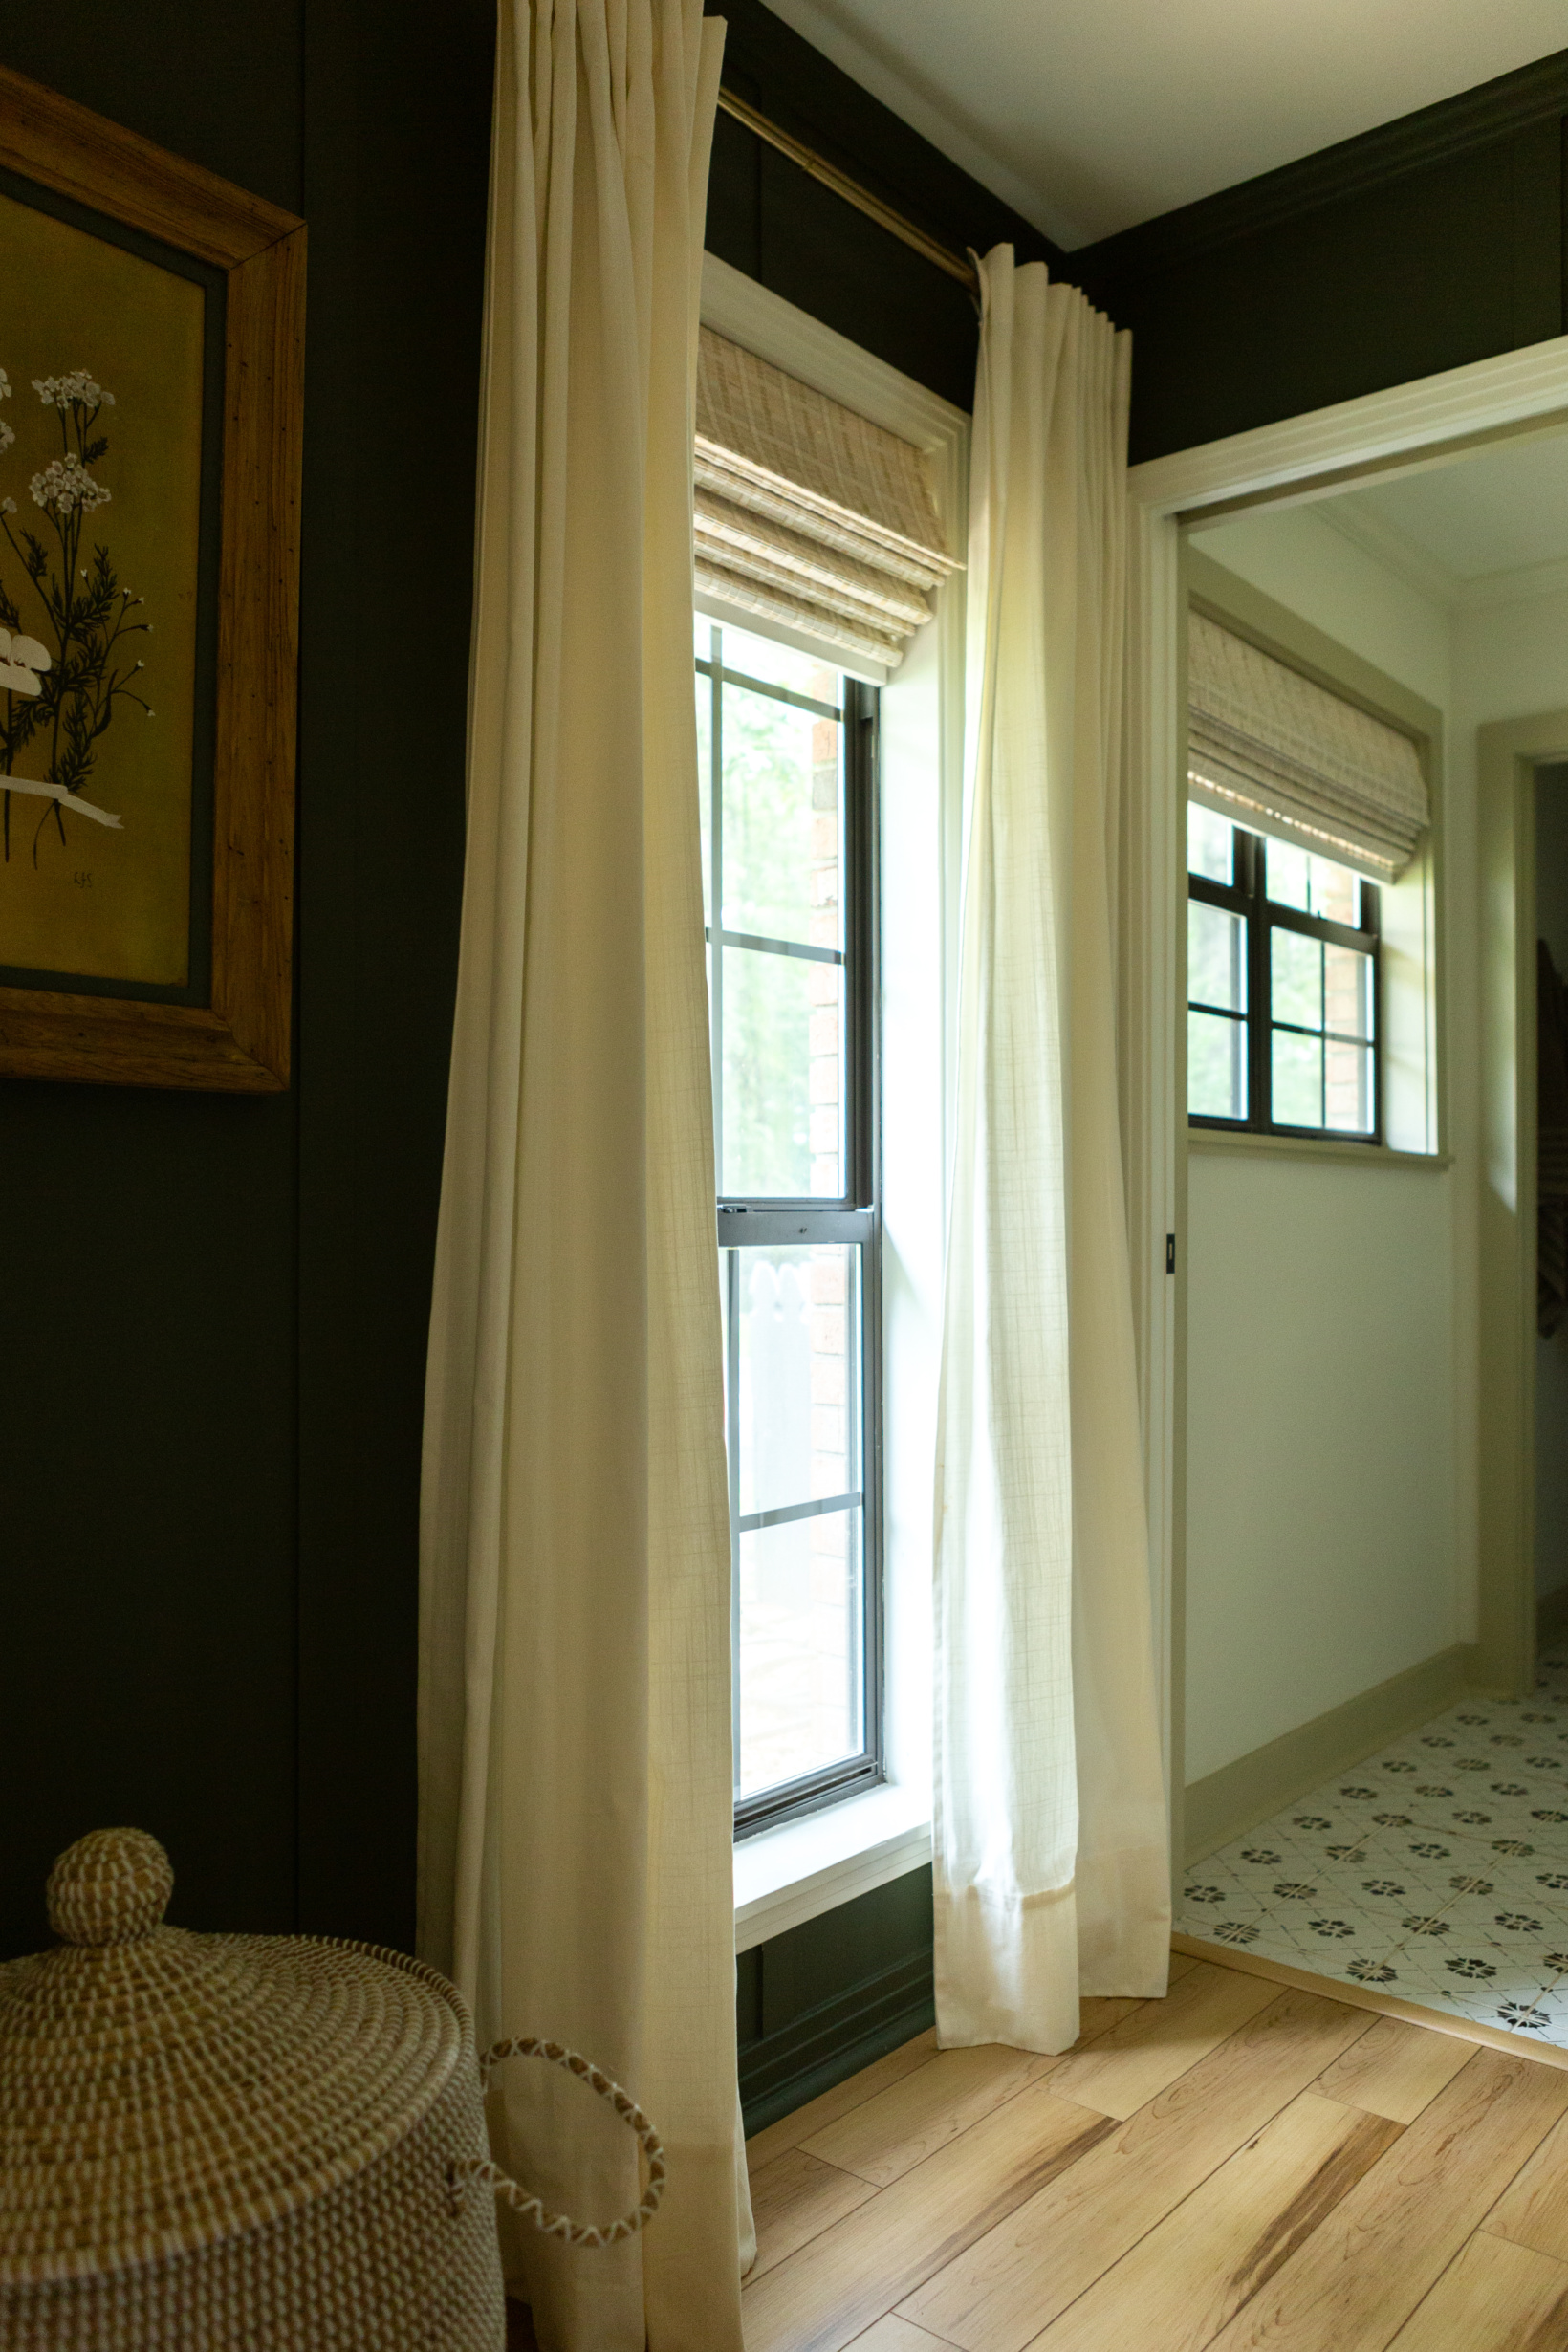
When we moved into the Mississippi house almost three years ago (TIME FLIES!!!), all of the blinds on the front windows of the house were white wooden blinds and on the back of the house they were brown blinds. We decided to keep the ones in the front because they’re decent quality and blinds can be so expensive but we desired something a bit different to replace the dark ones on the back of the house especially since it is so shaded on that side. We decided to replace all of them with our favorite cordless bamboo shades.
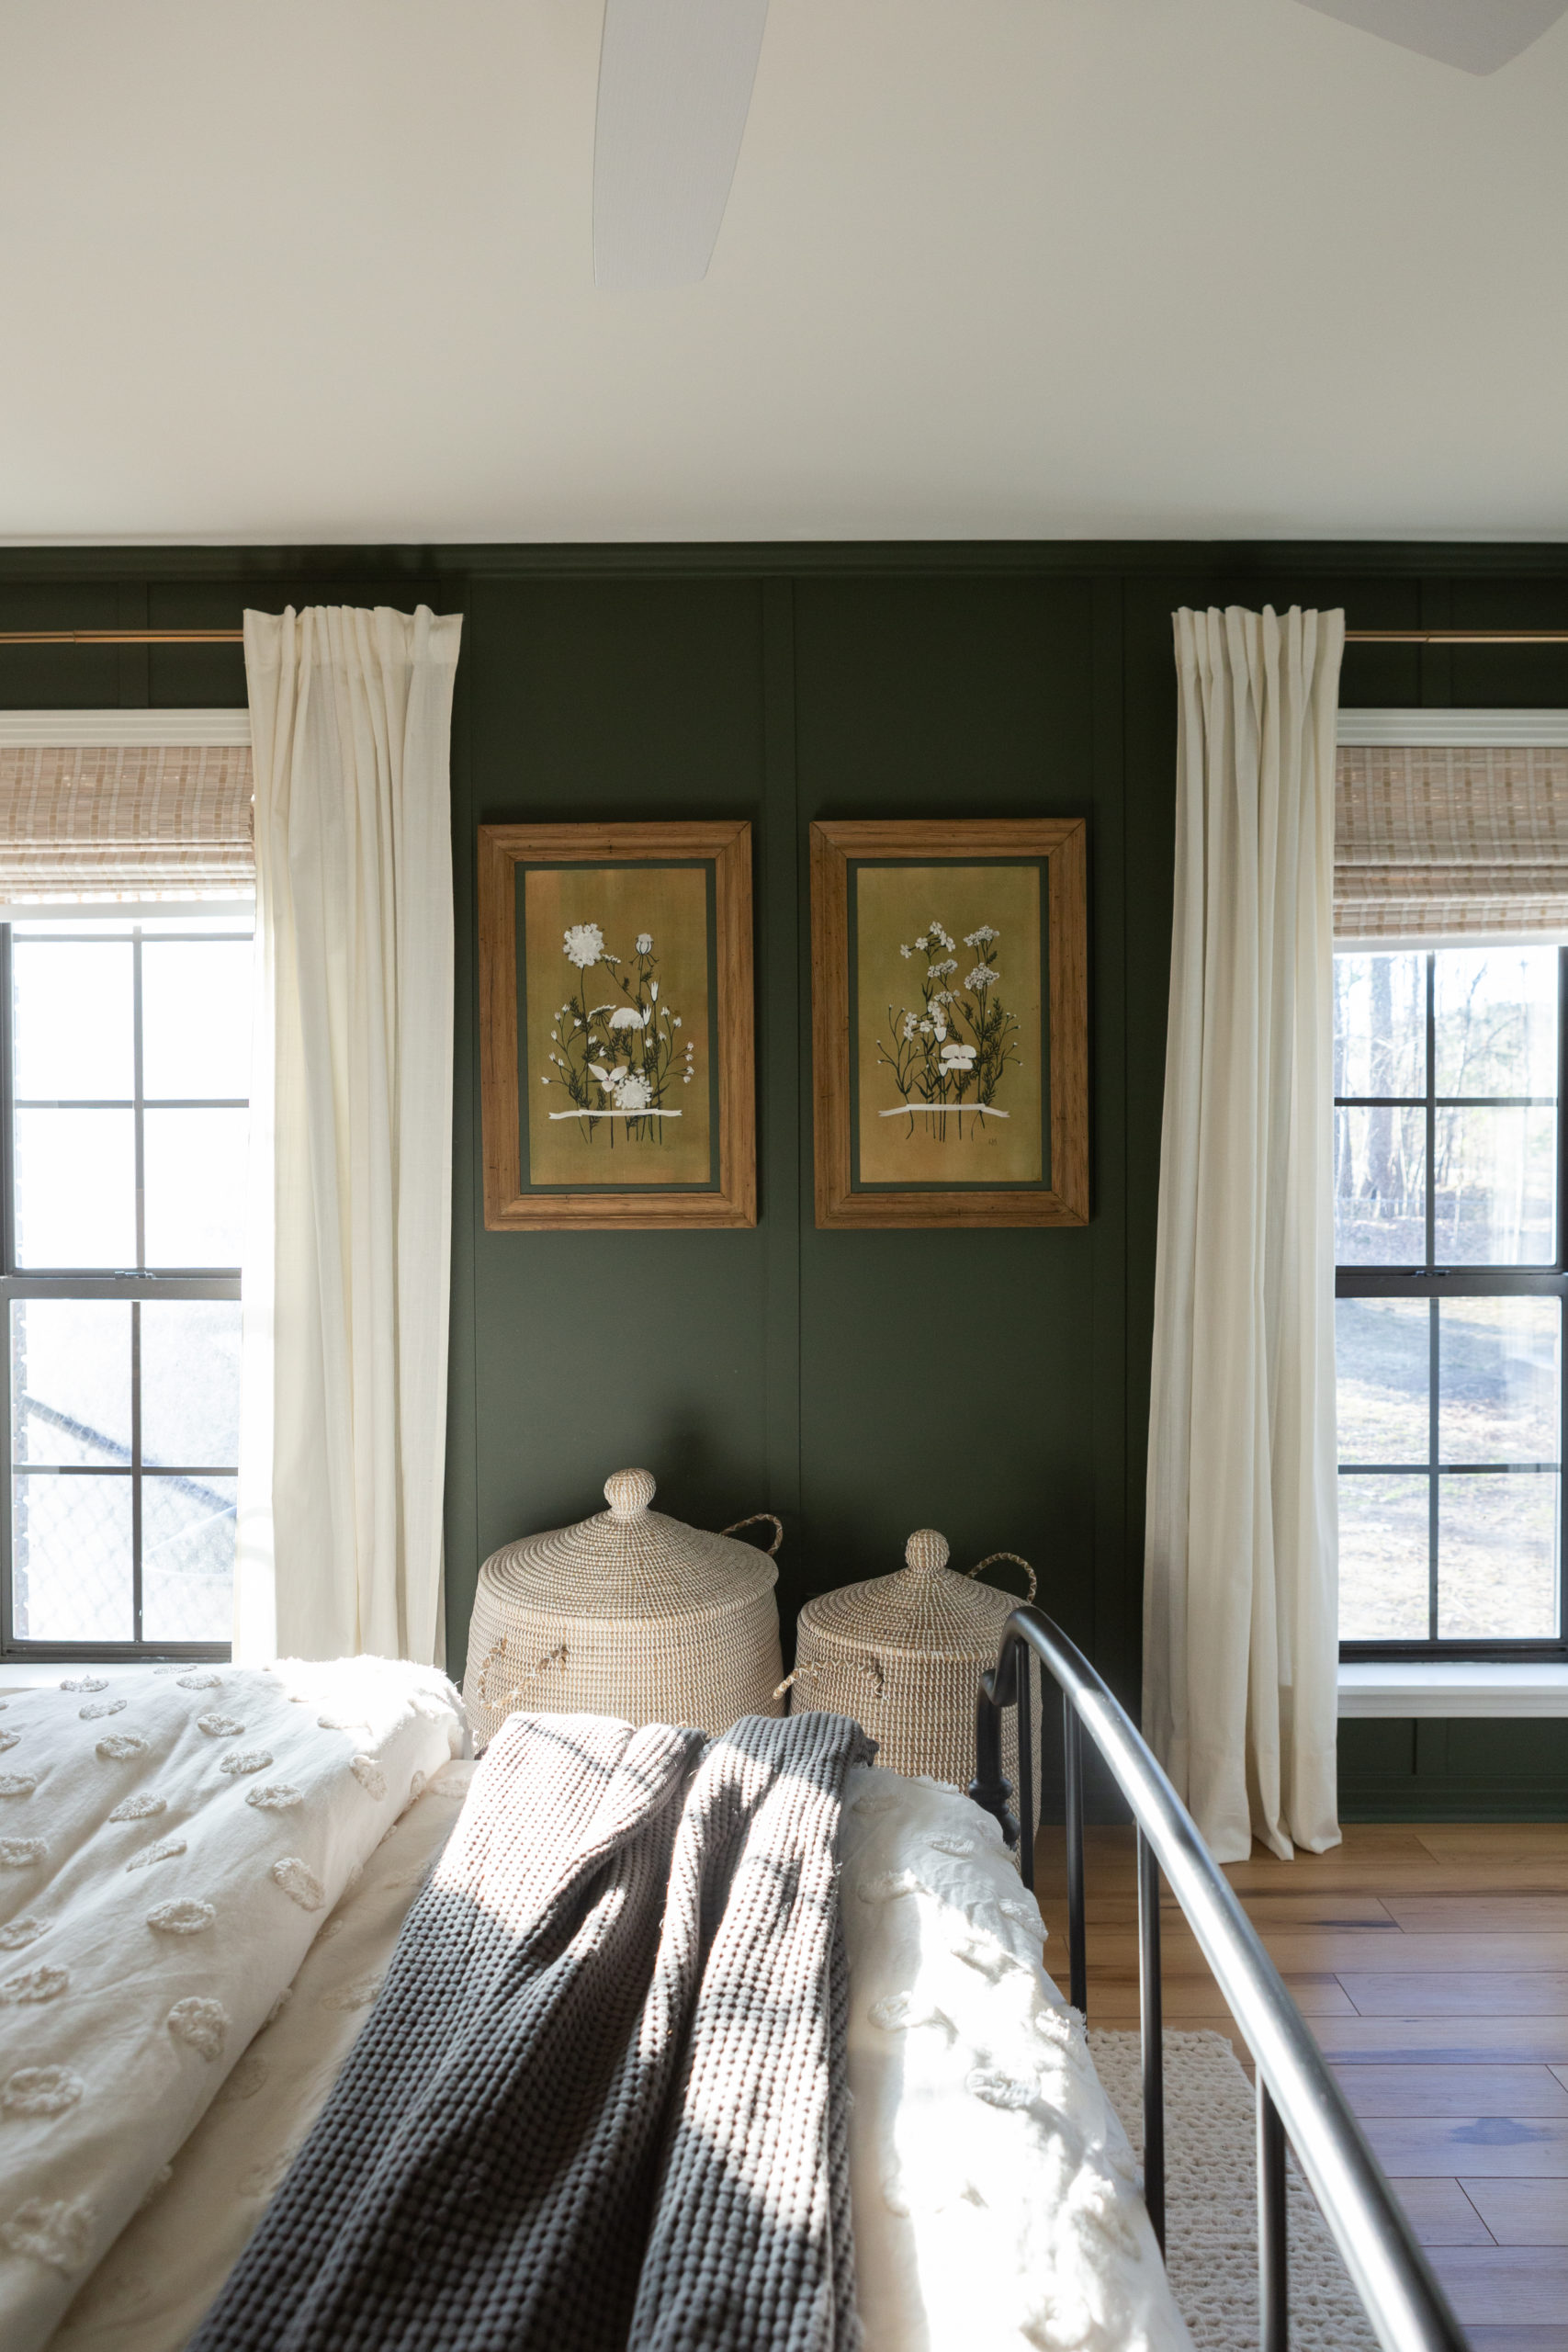
There’s no rule that you *have* to make all of the blinds in the house the same type/color by any means! I’d typically take it room by room. However, we love these bamboo shades because they add a really beautiful texture to a room, they’re cordless which is a much safer option with kids, and they’re super easy to install. Over time as we’ve refreshed each room in this house, we’ve replaced all of the dark blinds with the bamboo shades. We needed to come up with a solution for them in our bedroom/bathroom though since they aren’t complete privacy blinds, you can see through them especially at night and they let in quite a bit of light (which I love in the other rooms!). The way we completed this DIY was pretty simple but I accidentally learned almost a year later while working on my friends Air B&B that there’s an even simpler way to do it. I’ll share both of the options with you below.
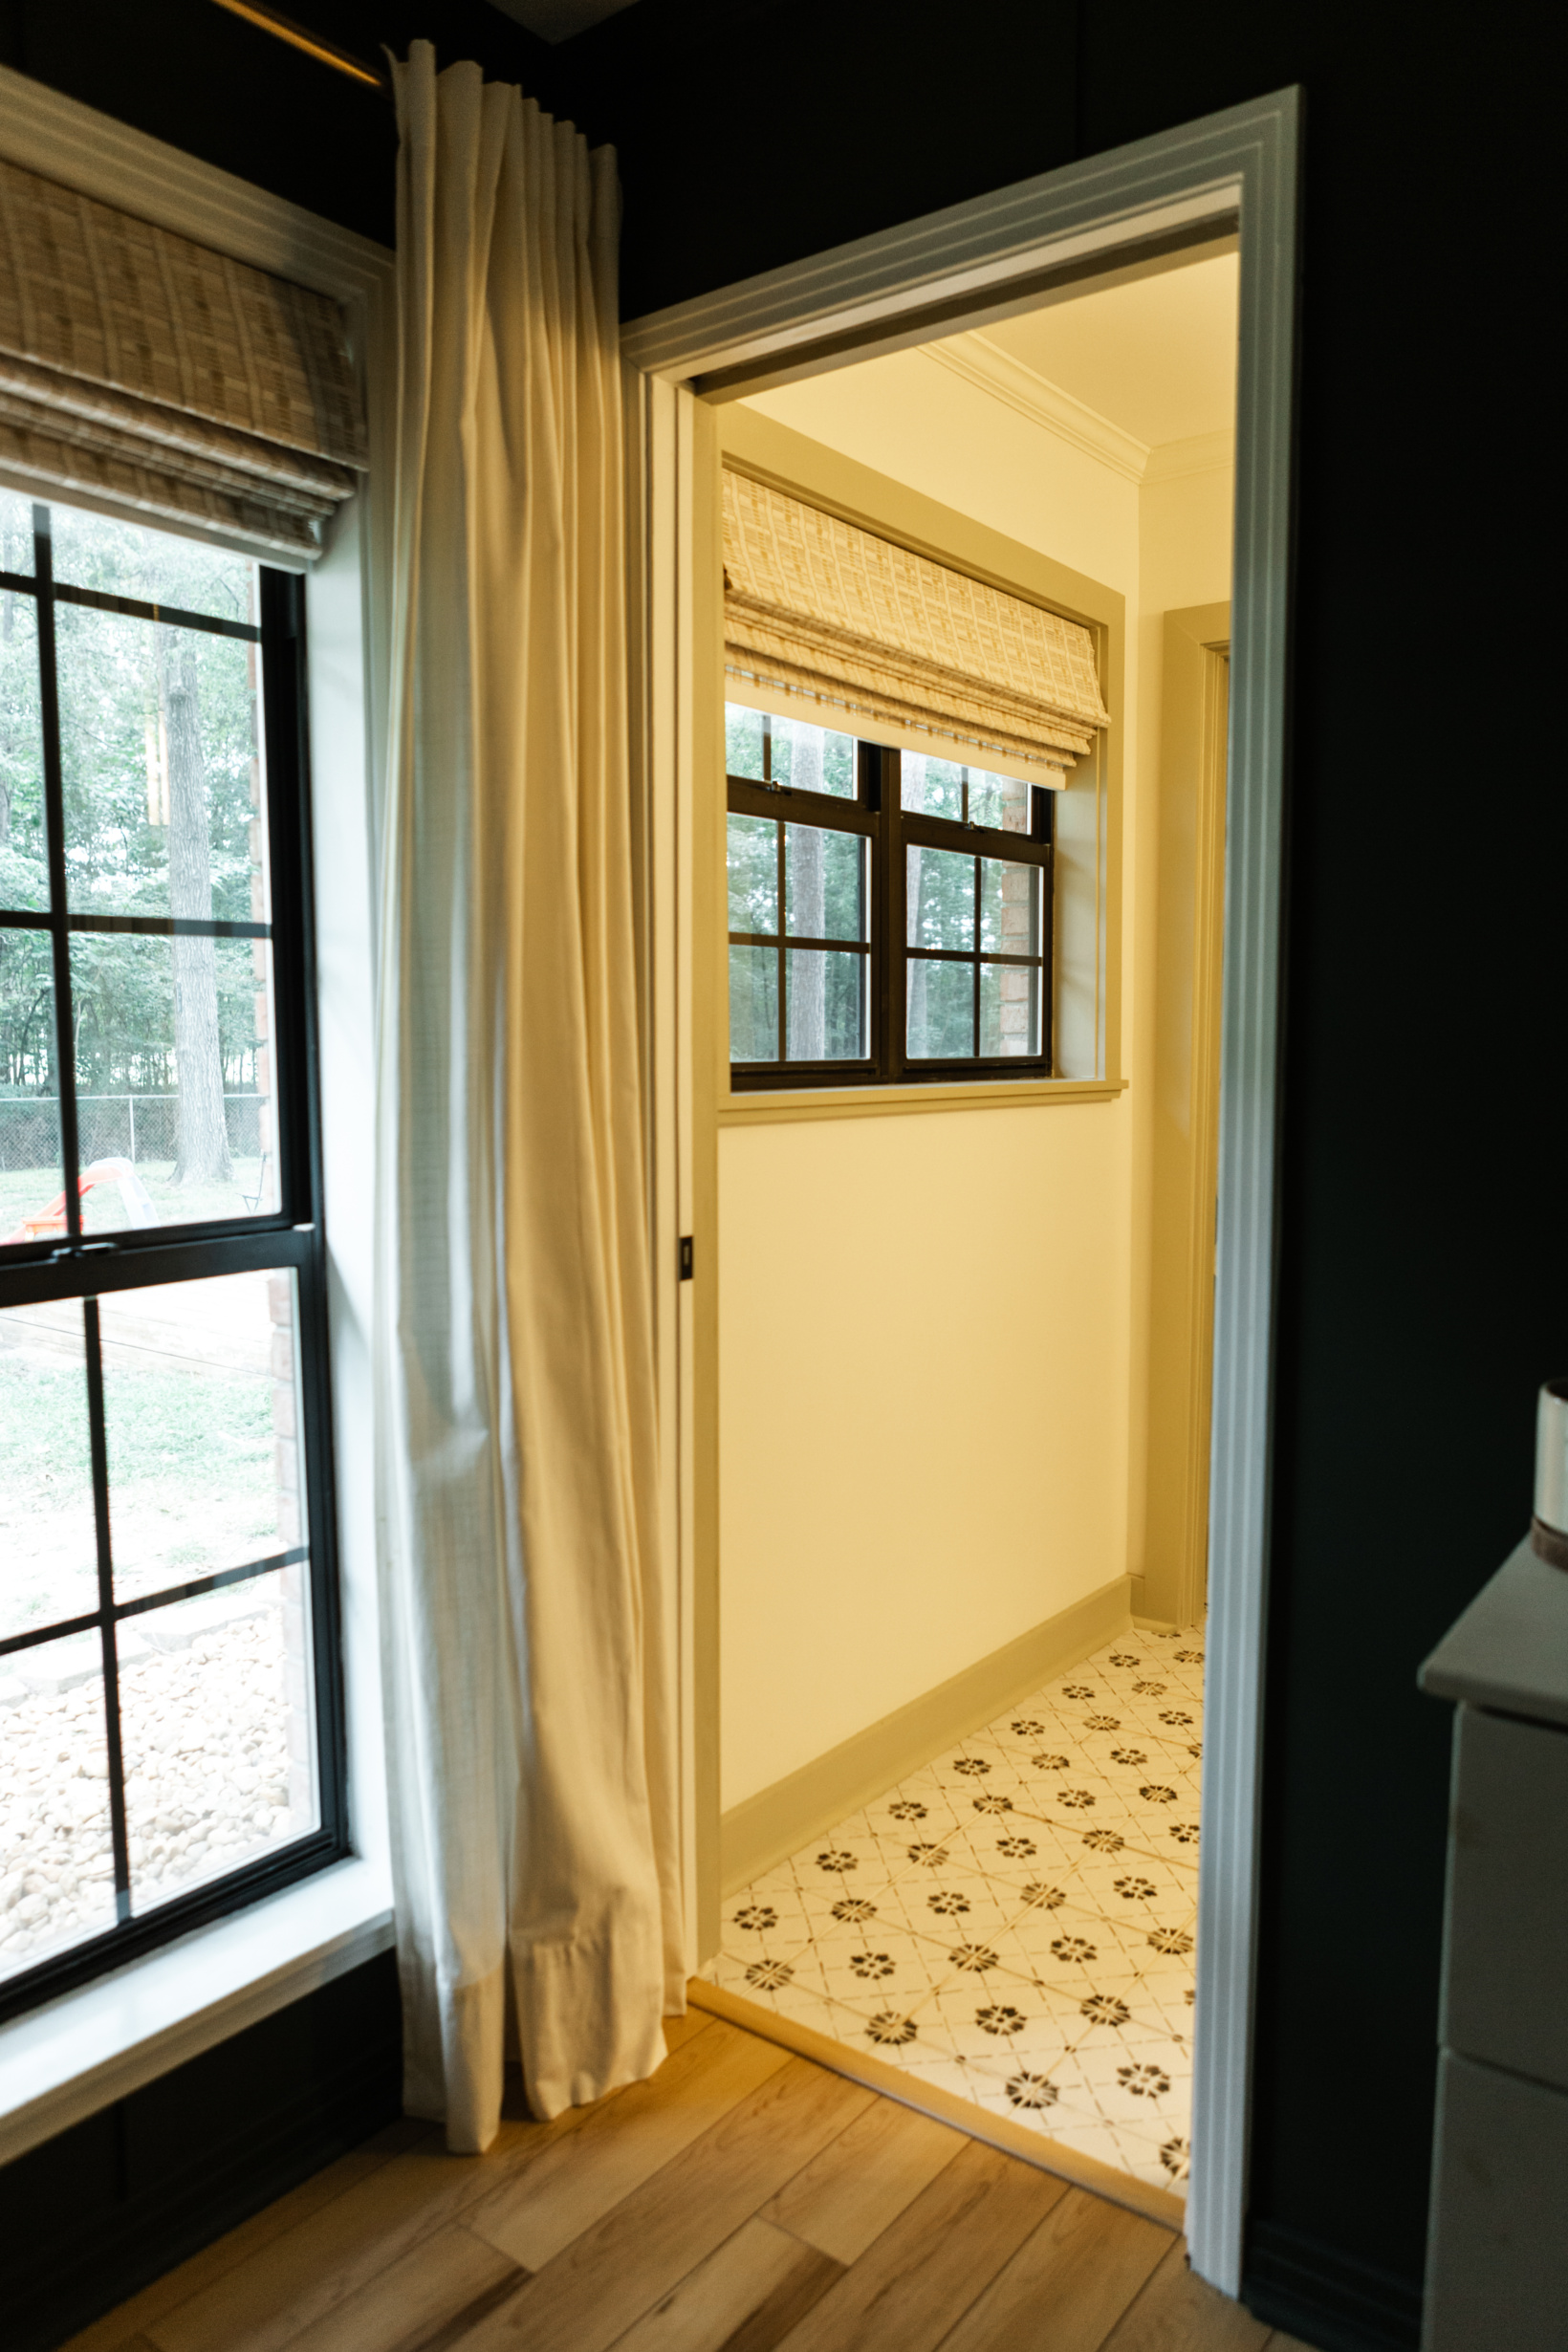
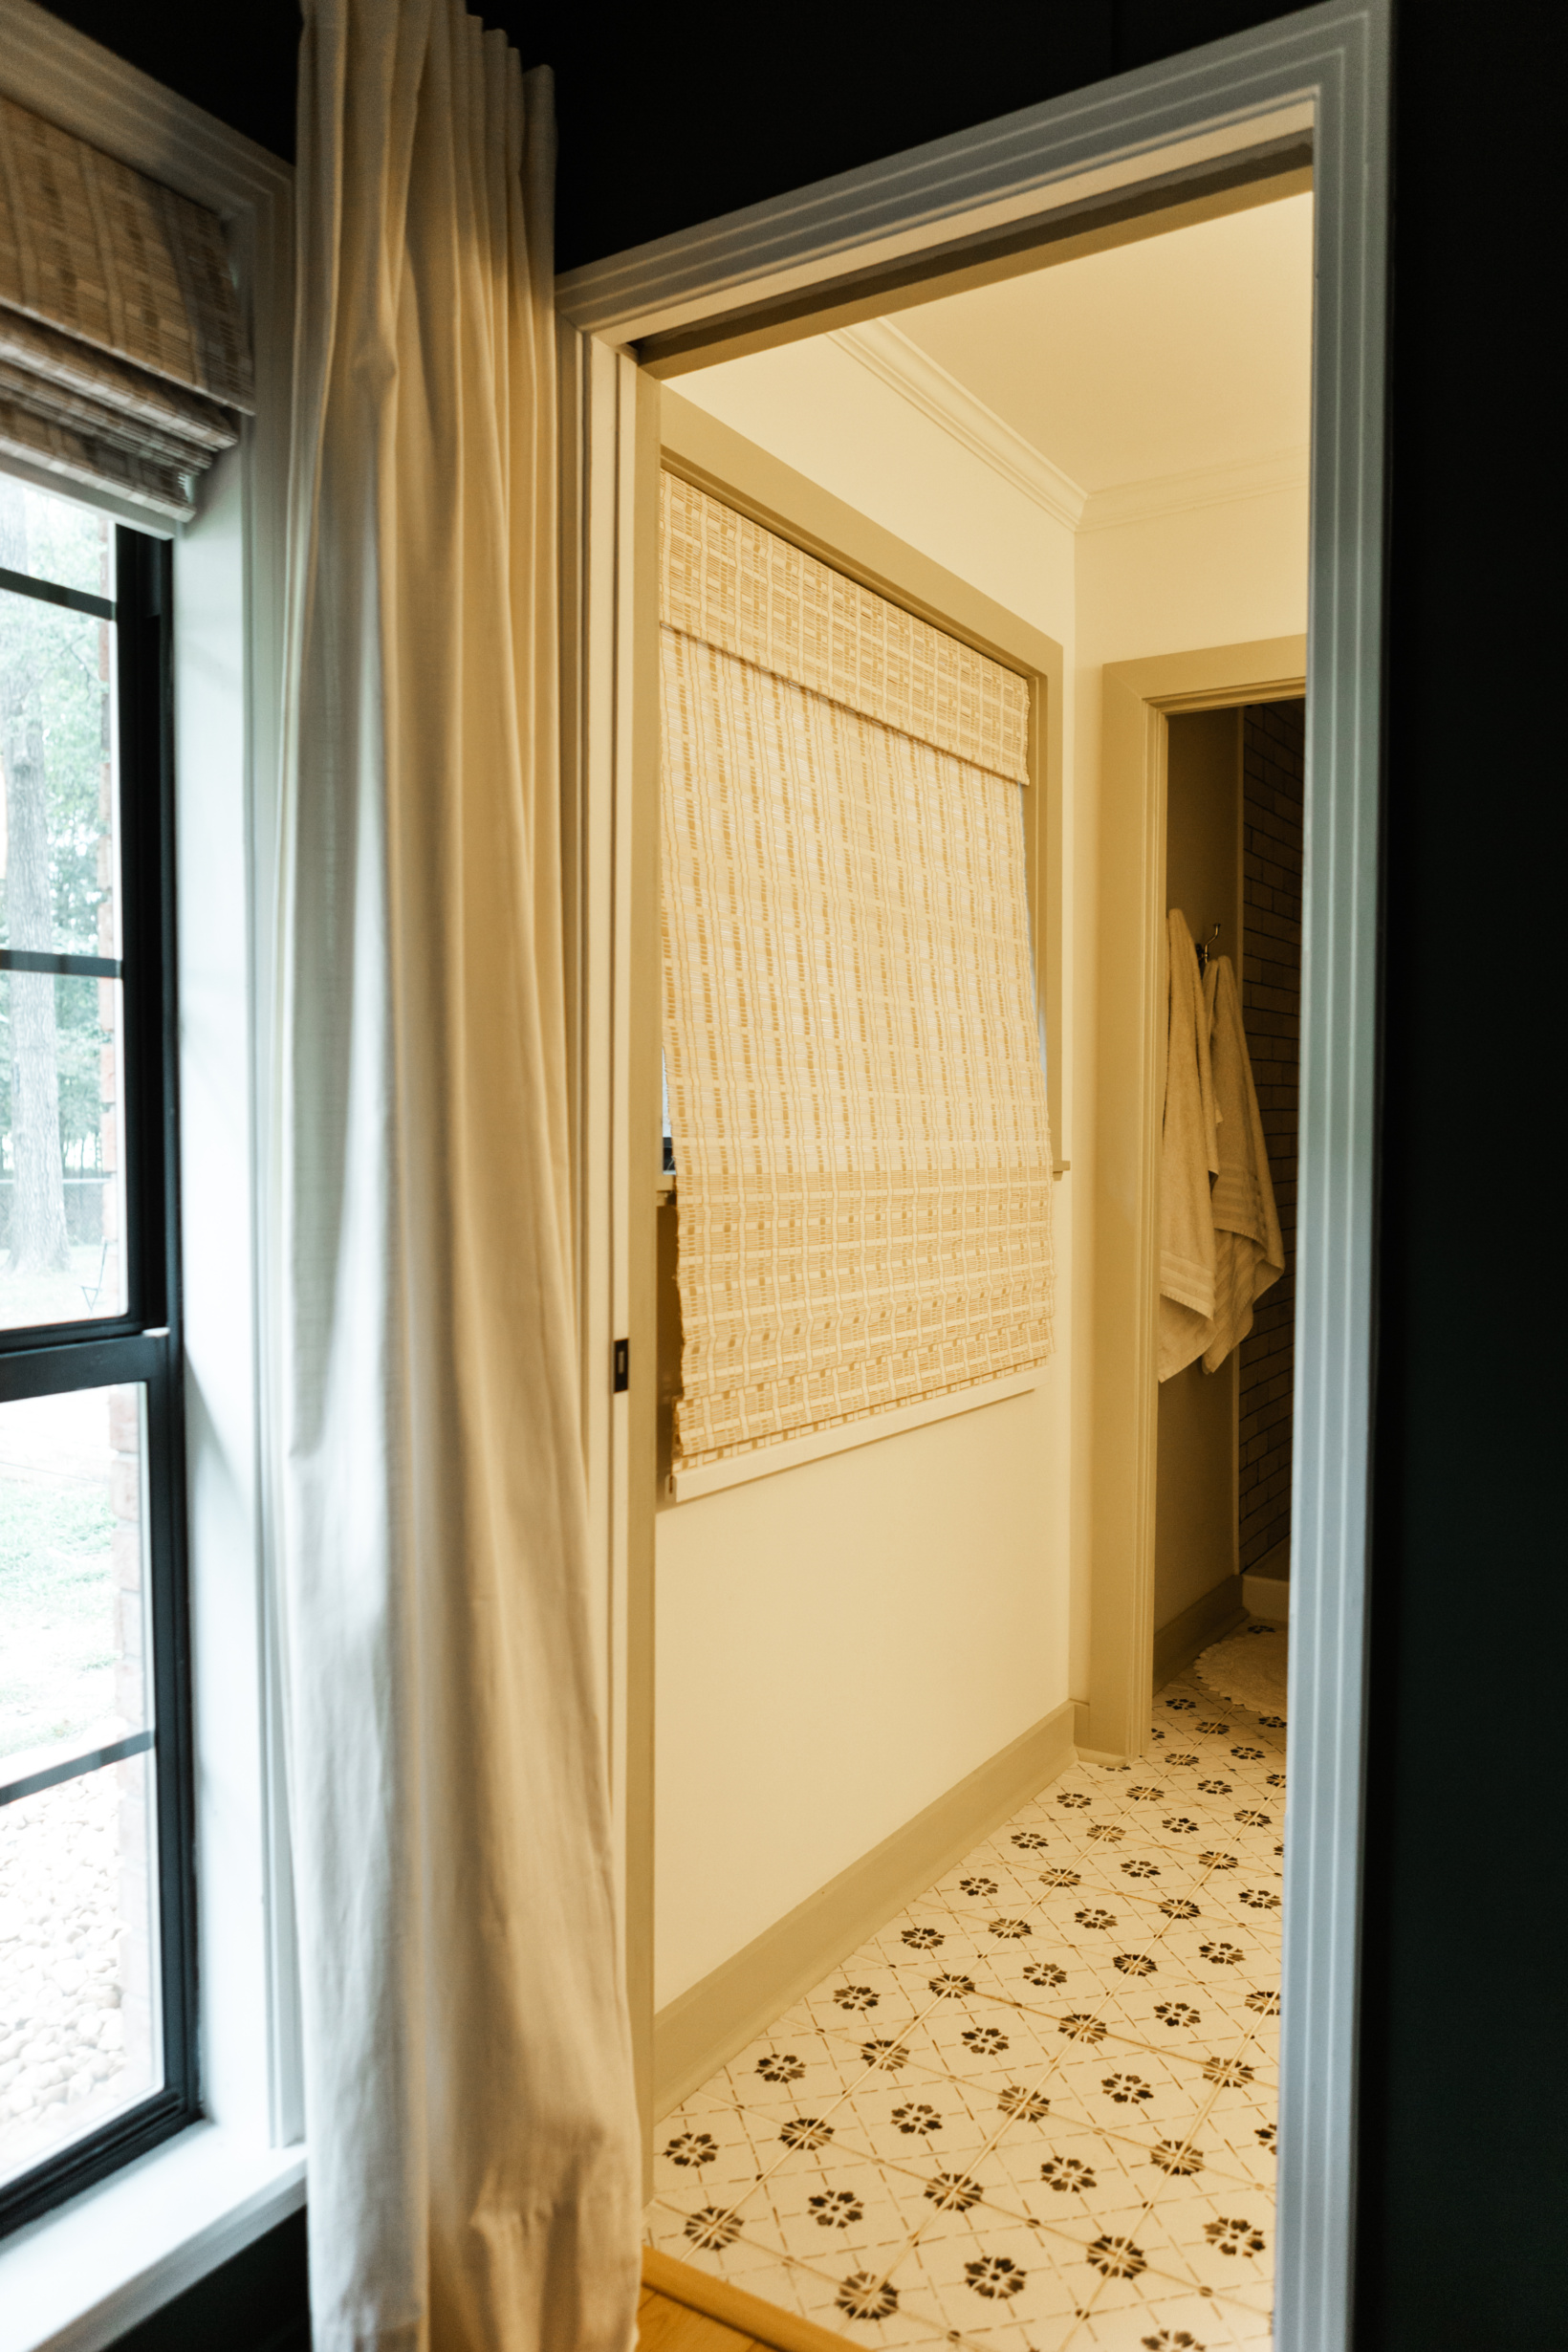
PRIMARY BEDROOM REVEAL | PRIMARY BATHROOM REVEAL
METHOD 1 (WHAT WE DID):
What you need:
- Bamboo shades
- Privacy/blackout fabric
- Fabric glue (we used what we had on hand but I probably would’ve ordered what I linked if I didn’t have any)
- Scissors
- Optional: Flat head screw driver
- Optional: Razor blade
What to do:
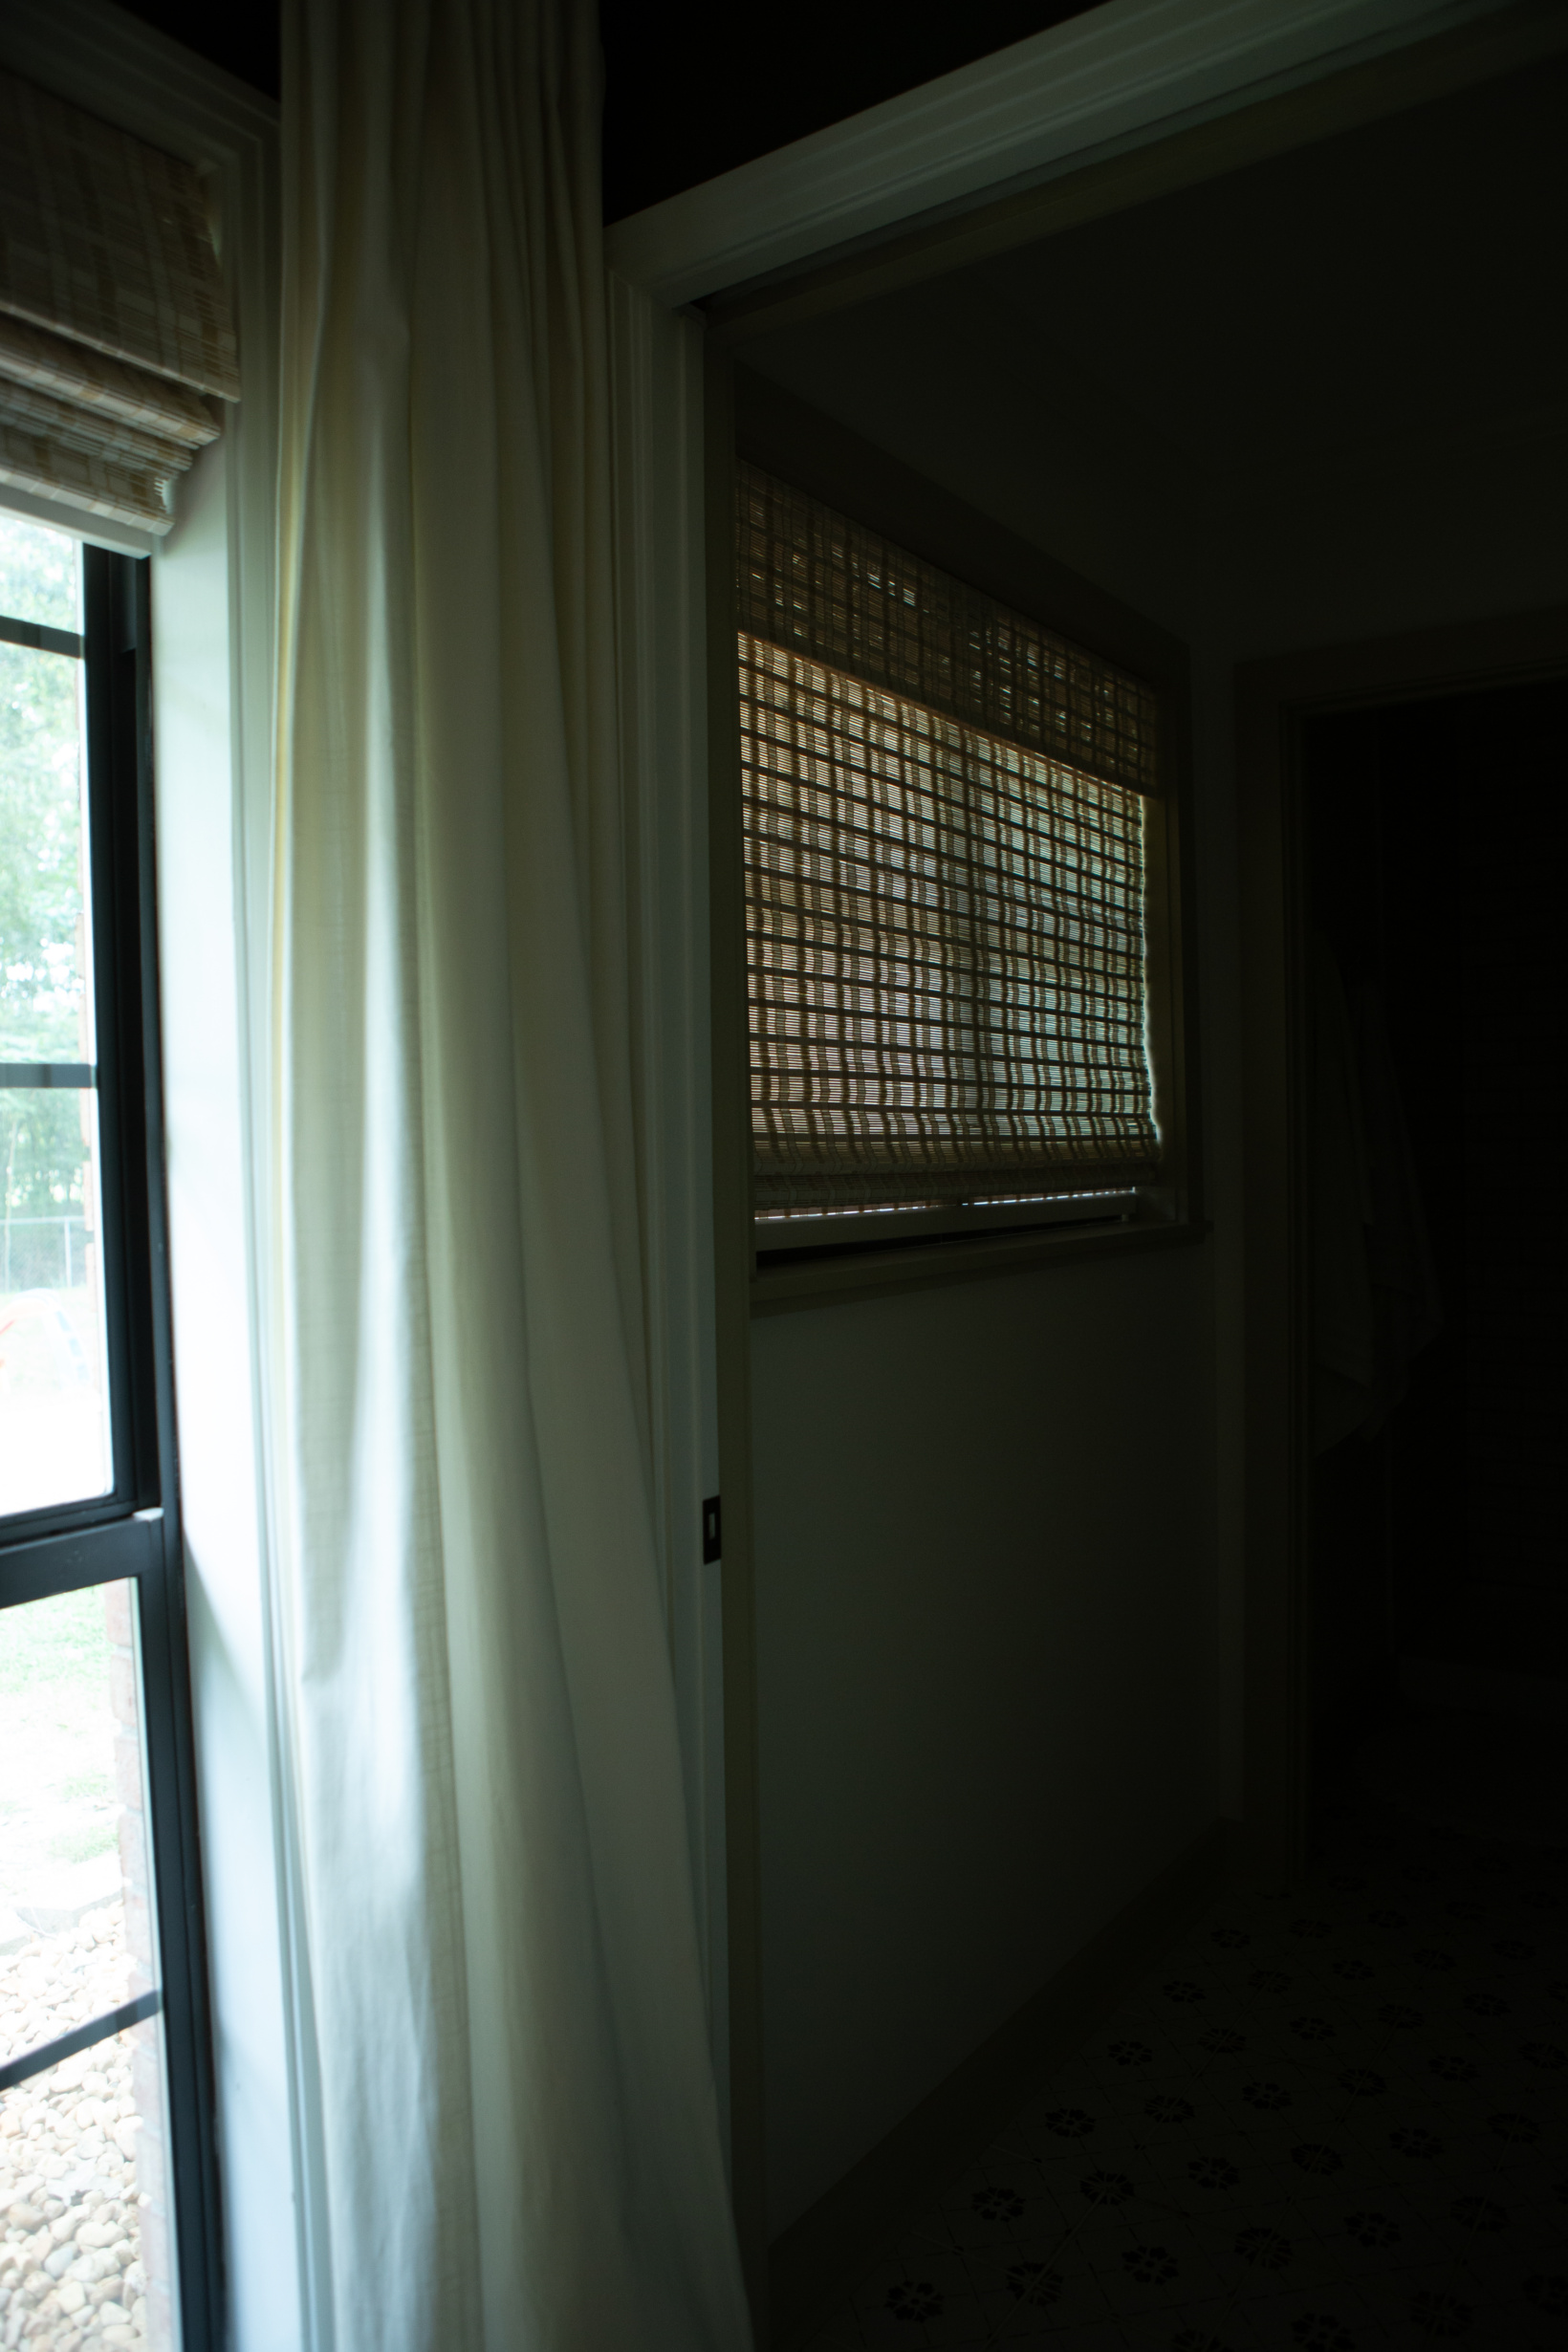
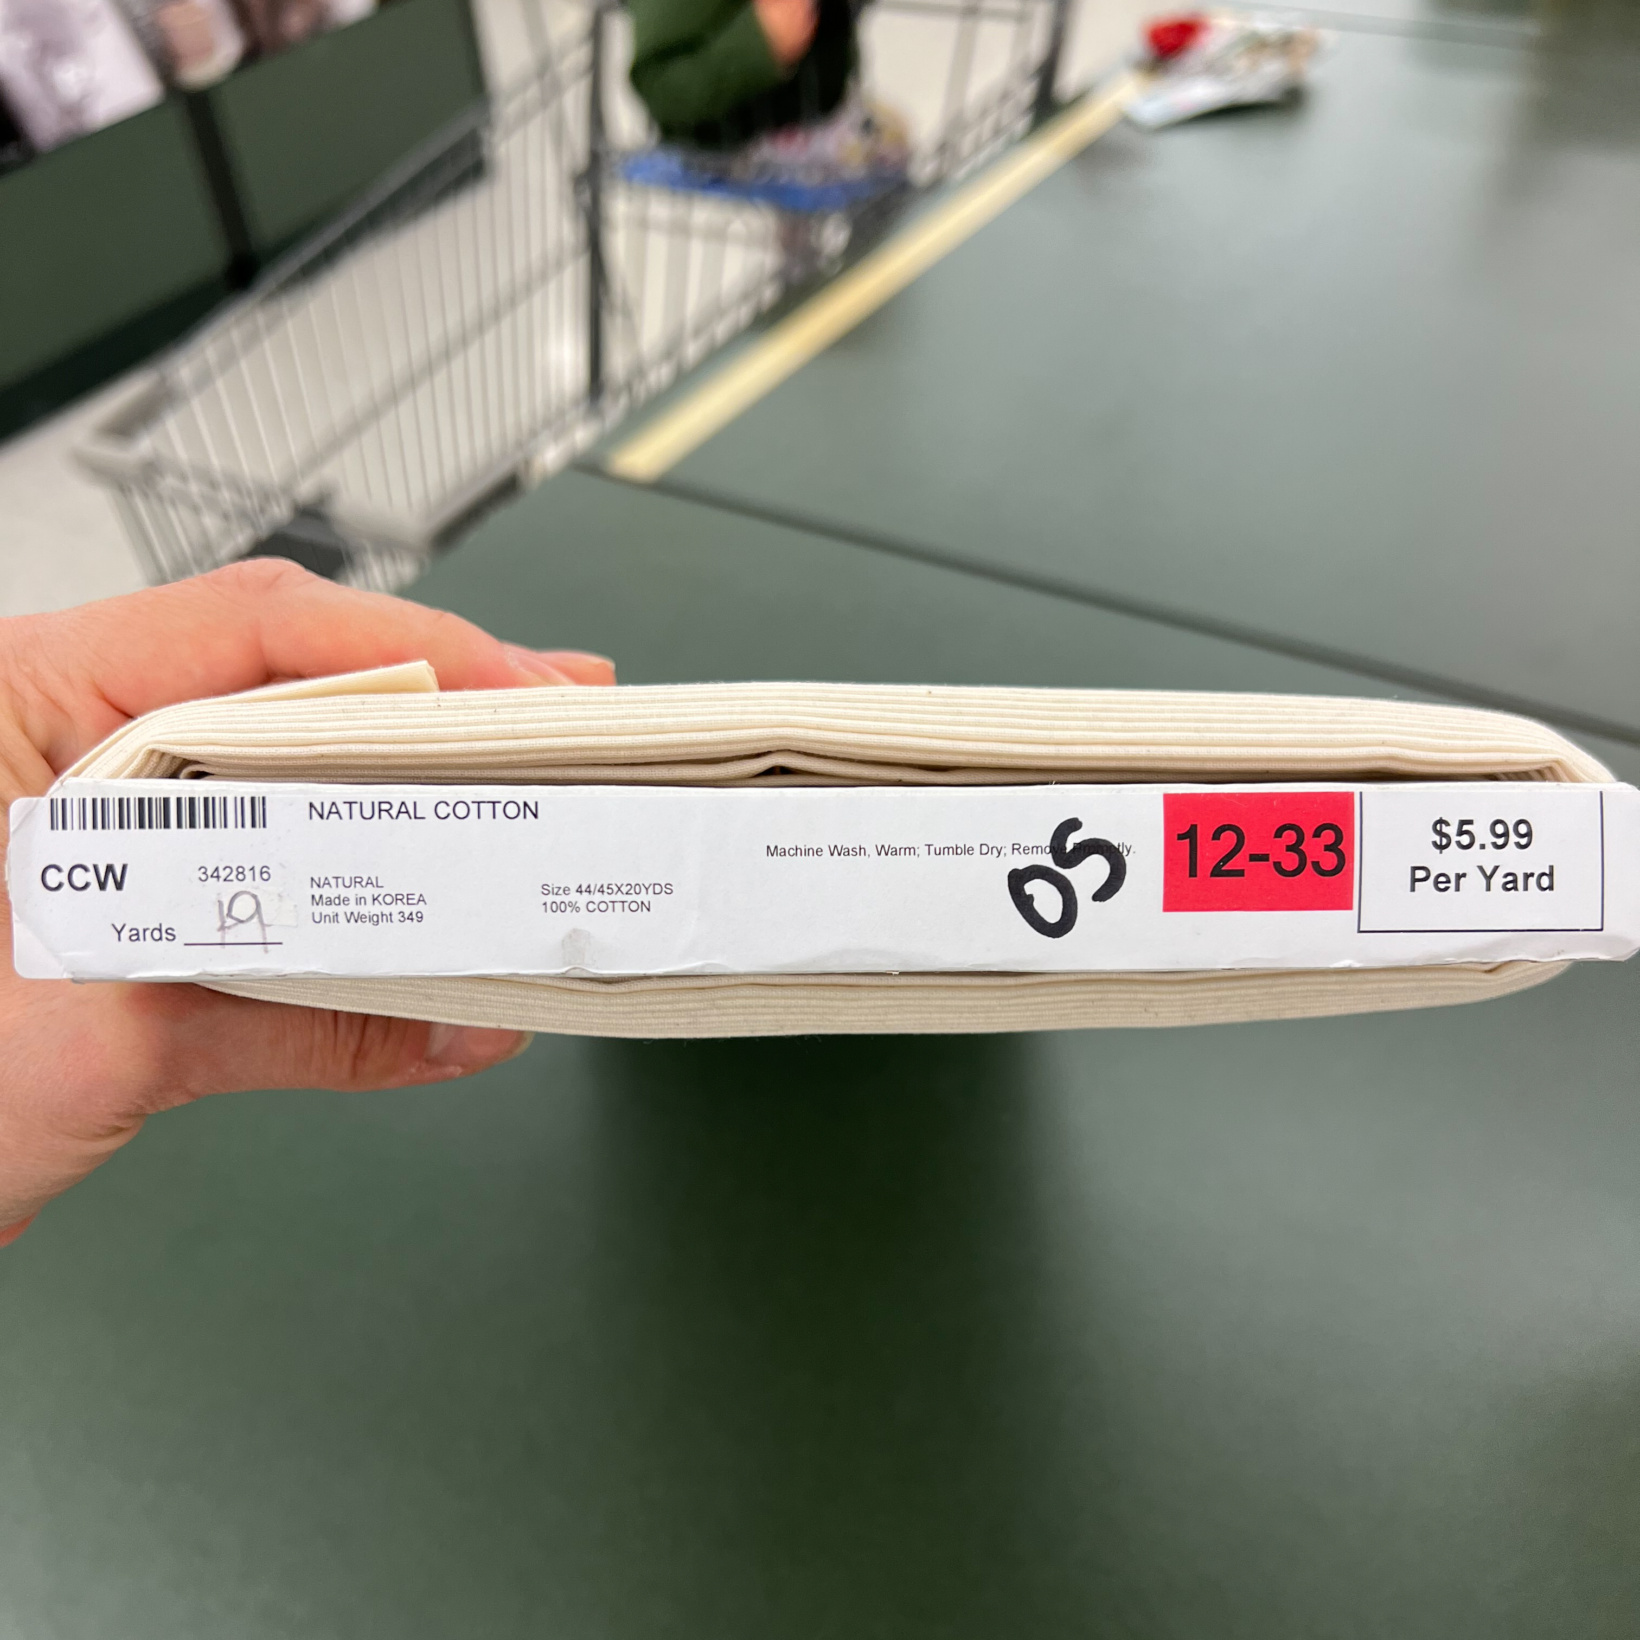
You’re going to start by ordering the bamboo shades. I’ve either bought them from Walmart or from this site. Walmart has always been cheaper but a few times they didn’t have the size I needed in stock. Payless decor lets you customize the width which is nice. I always subtract 1/2″ from the width of the window (measured from one side of the inside trim to the other side) and then either order the length of the window or longer (there’s typically only two options for this). It is okay if there is extra at the bottom! That has been the case on all of our windows. For example in our bathroom, the window is 47″ wide and 35.5″ long so I ordered the blinds that are 46.5″ wide x 60″ long. Here’s what they look like open, stretched all the way out, and how dark it gets (photo was taken during the day with zero editing!). Our windows face west.
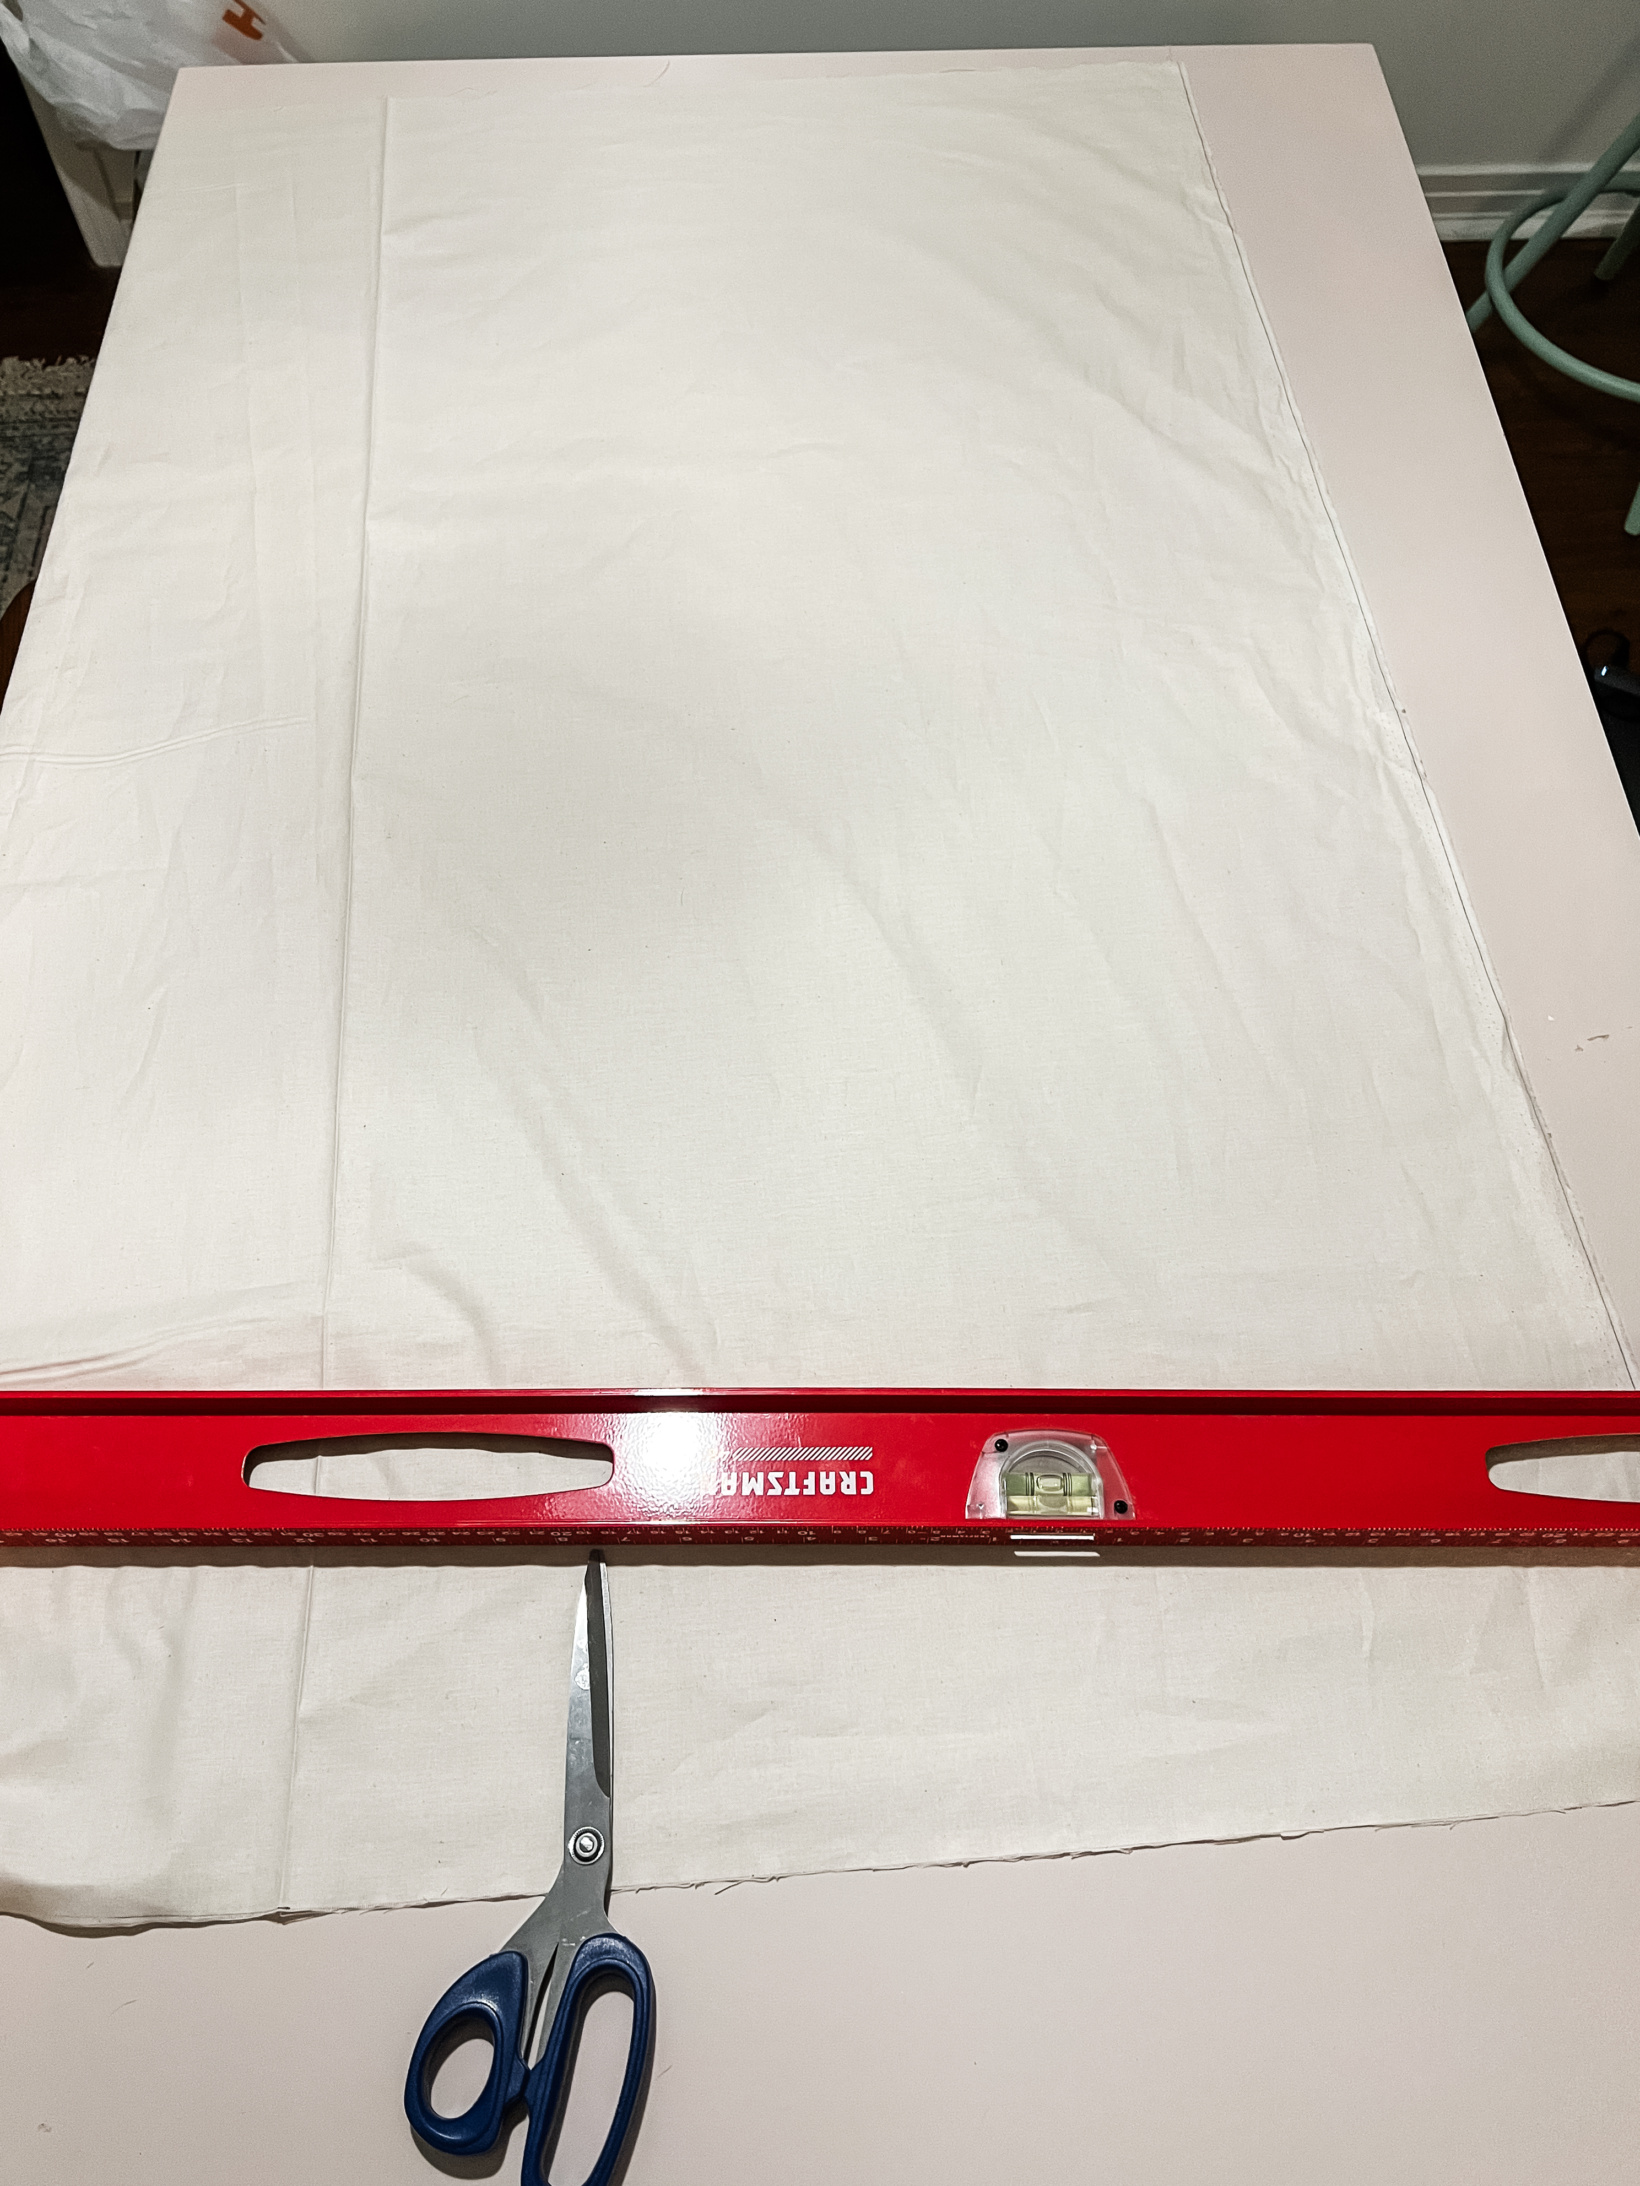
Next you’re going to visit your local craft store and purchase fabric. I went to Hobby Lobby and bought this fabric. It isn’t classified as blackout but they do sell blackout fabric, just as one of the employees to help you find it. The blackout feature wasn’t as much of a concern for me as the privacy aspect was so I saved a bit of money by getting this fabric instead. The amount you need will depend on how many shades you’re doing this to. I went off the measurement of the window (so the part of the shade that actually needs privacy/blackout added. Unless your entire shade covers the entire window exactly you will not need to add fabric to the entire shade!) and then added an extra about 10-12″ at the bottom for wiggle room. I then multiplied that by the number of blinds we were working on. While you’re there make sure you get fabric glue if you don’t have it and scissors.
Back at home, write down the measurements of each window and then lay your fabric out and cut each piece to that size.
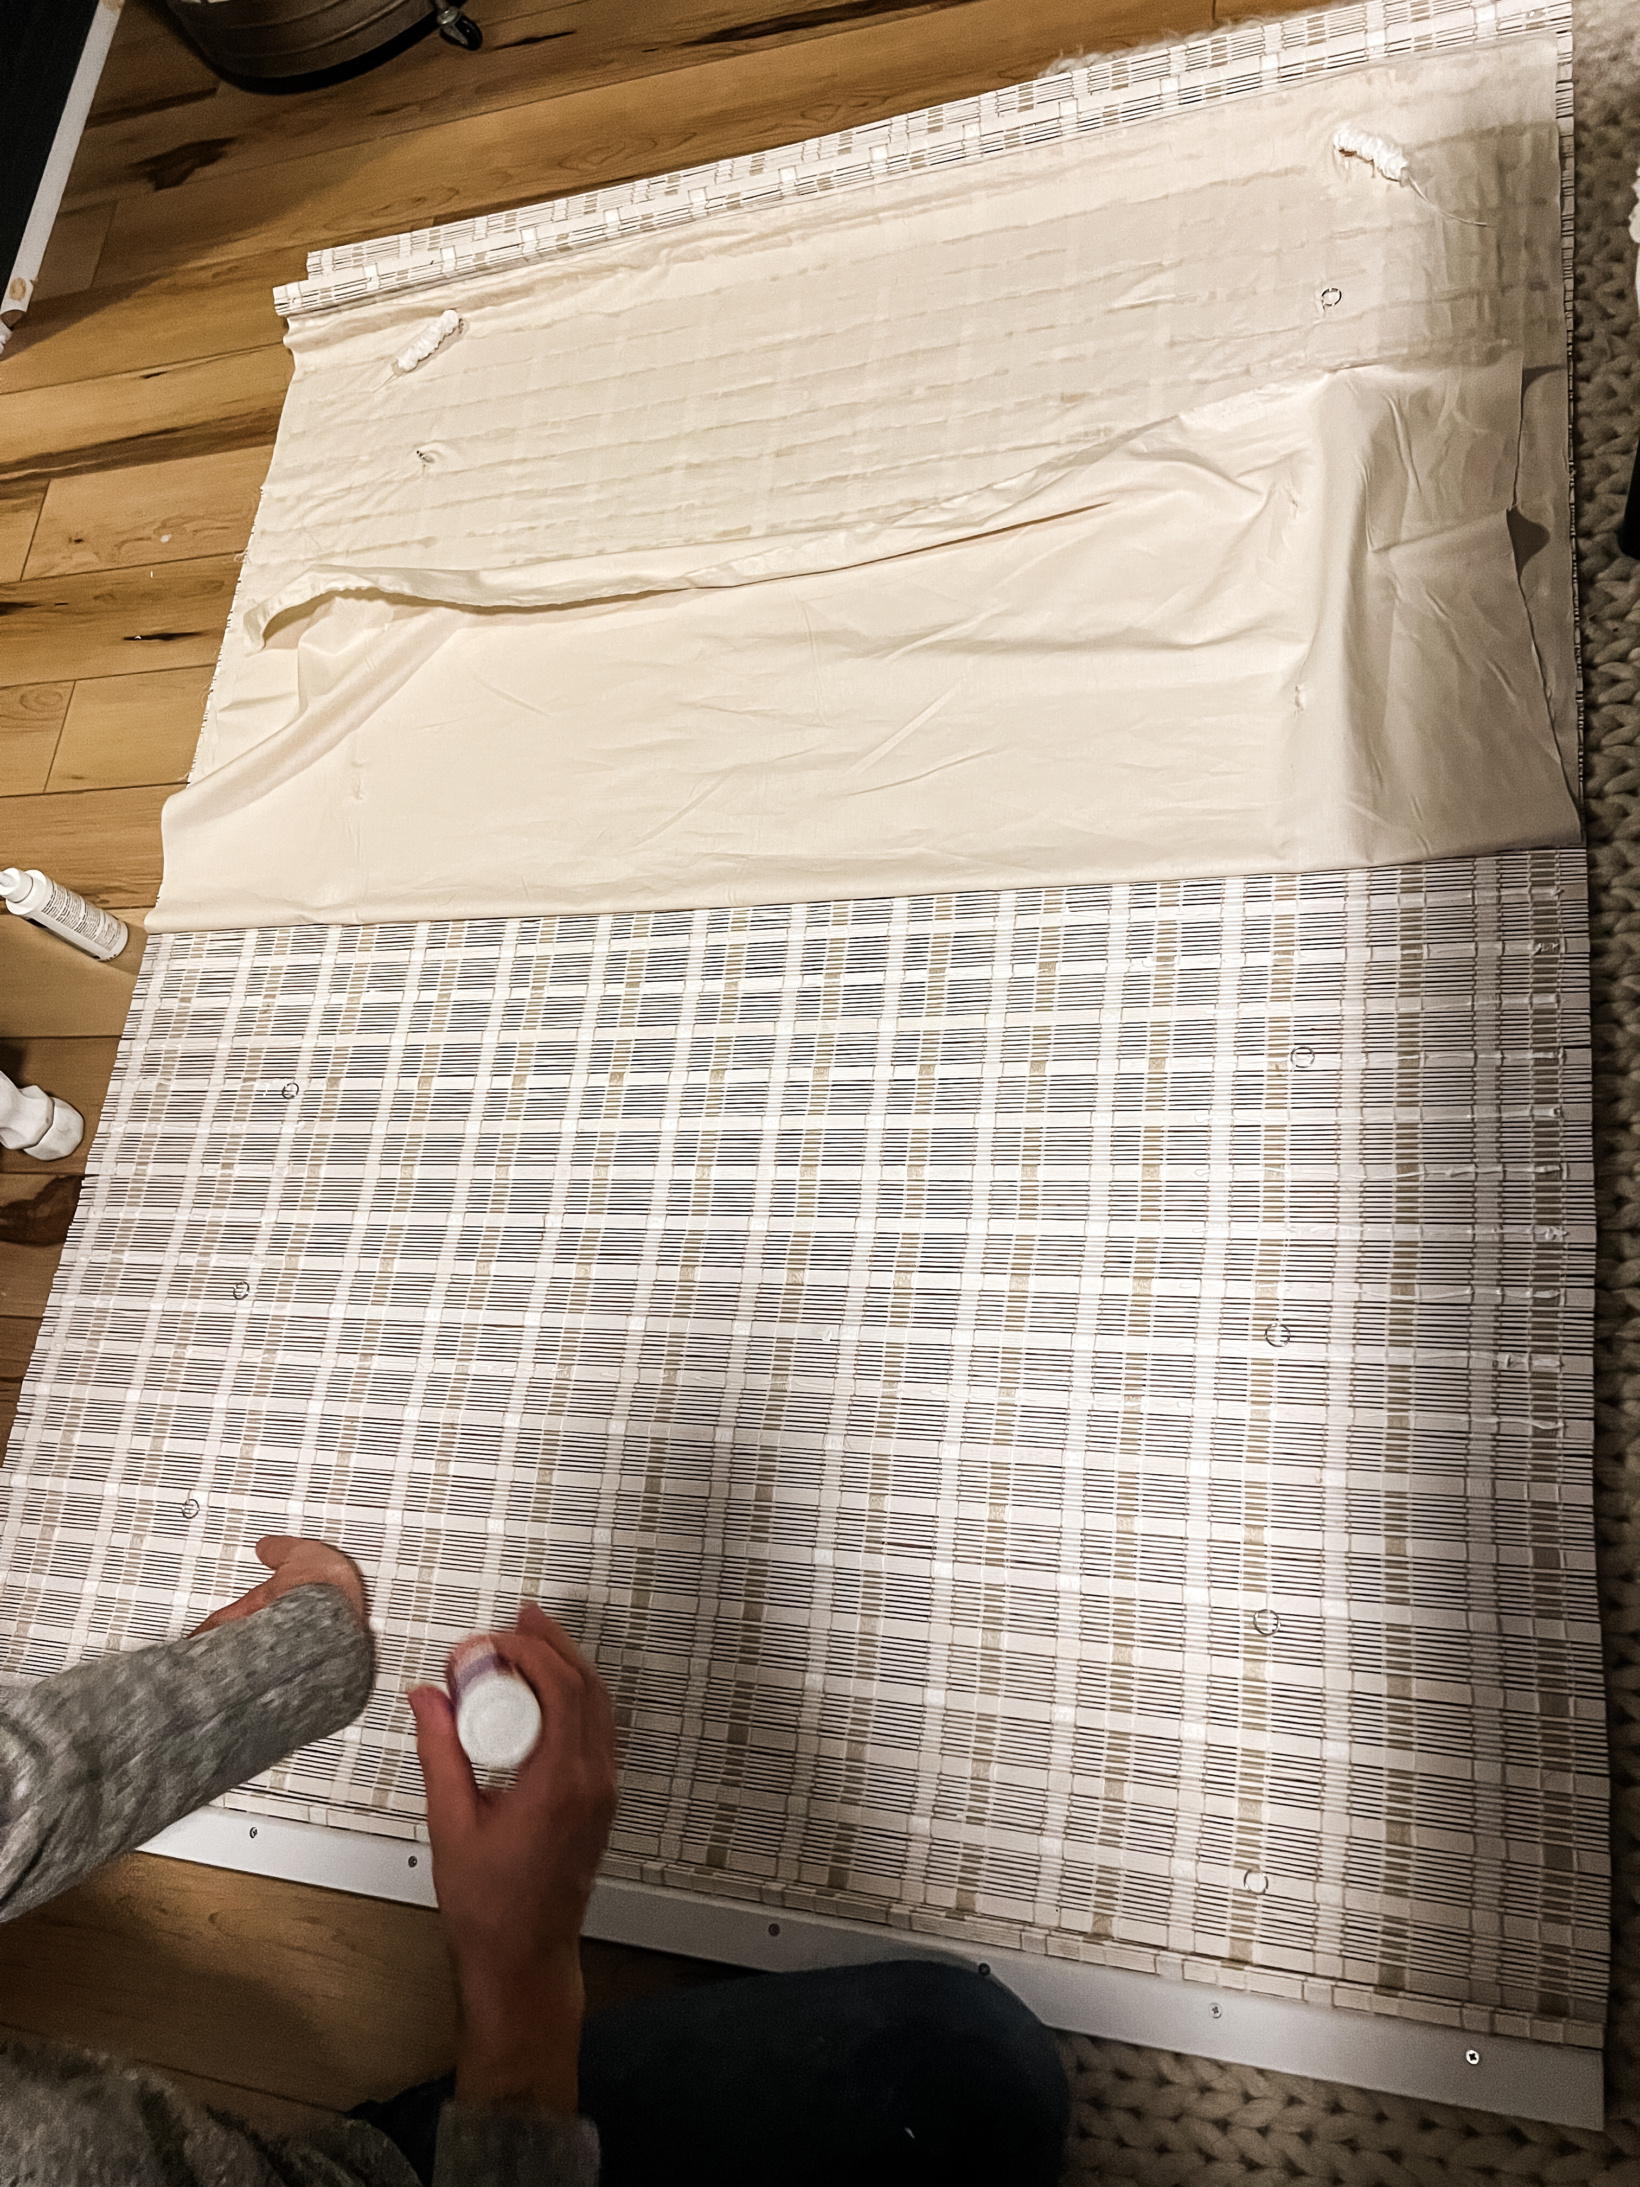
Now it’s time to tinker with the shades a bit. Before doing anything I’d double check you have the right size for your window! We found this next part easiest when we laid the shades down on a table or clean floor. On the back of each shade, you’re going to unwind the rings from the white strings. Stephen found it easiest to use a flat head screw driver to get under the ring versus his own nail.
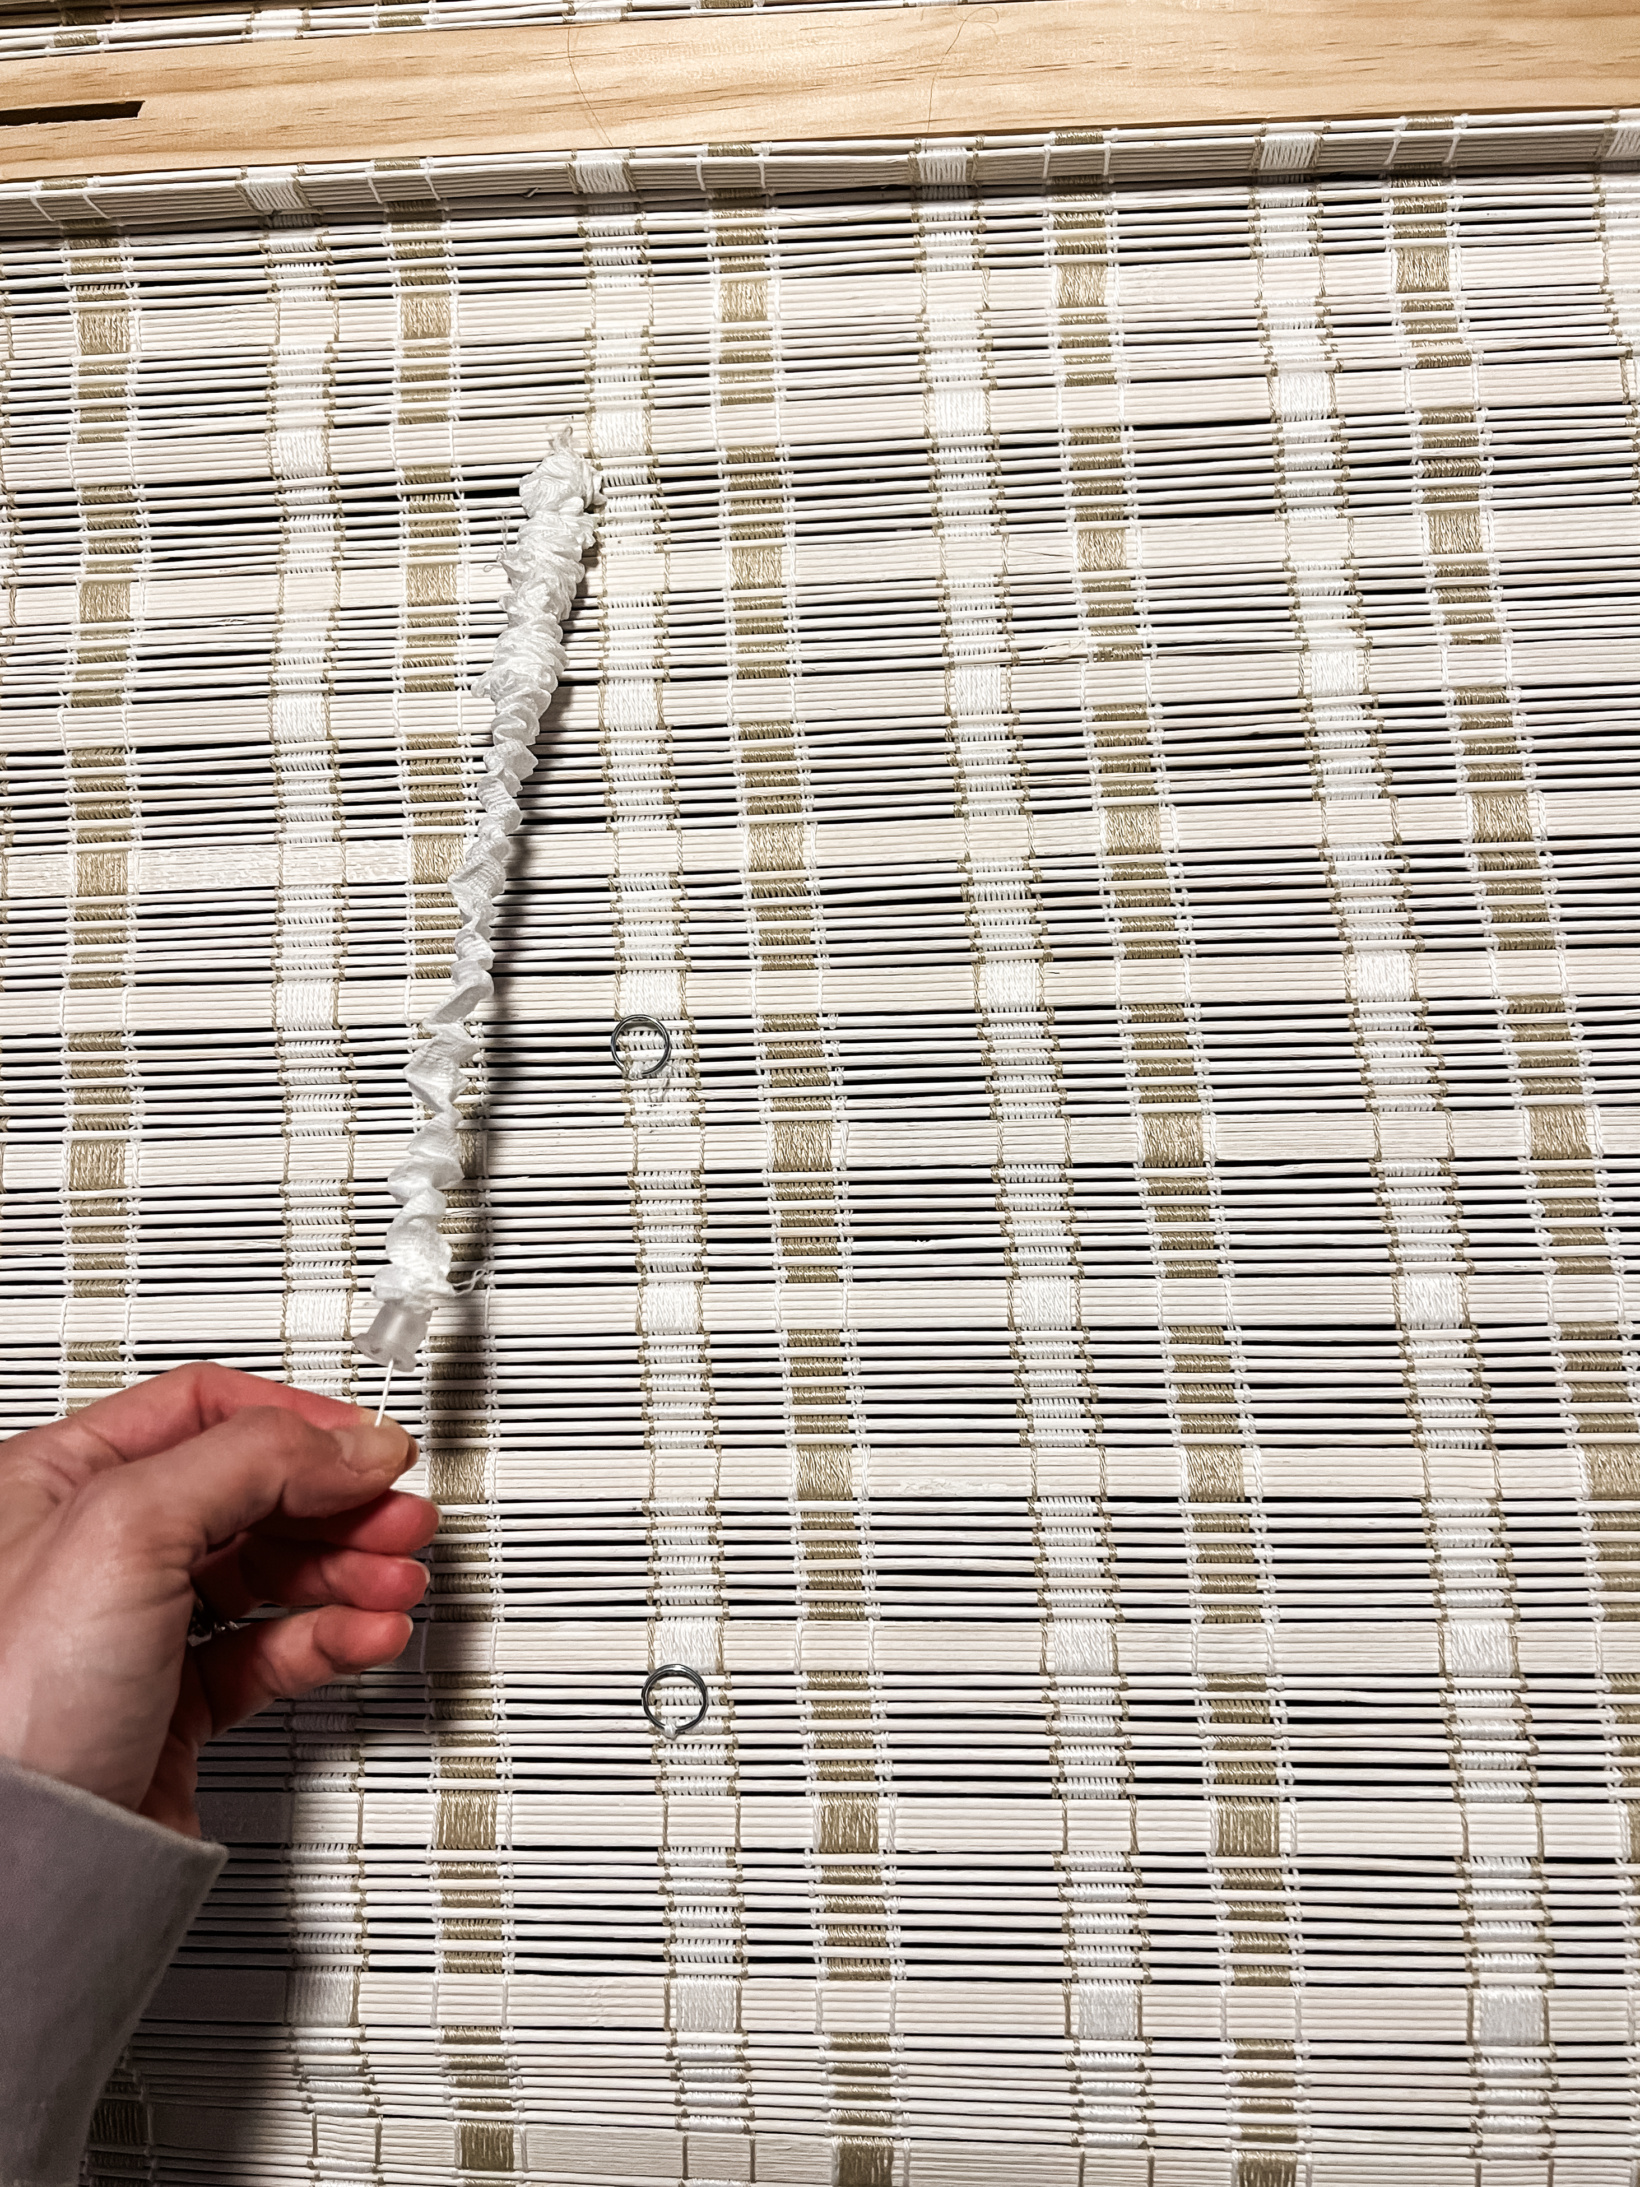
Then place your cut fabric down on the shade, making sure it’s all straight, and you’re going to cut a hole at the start of each string to run it through the fabric. Now you’re going to take the fabric glue, put it on the back of the fabric and smooth that top section down to keep the fabric in place. Then you’re going to move down and find where the fabric lines up with the next metal ring and cut a hole then the next metal ring, cut a hole… Continue all the way down.
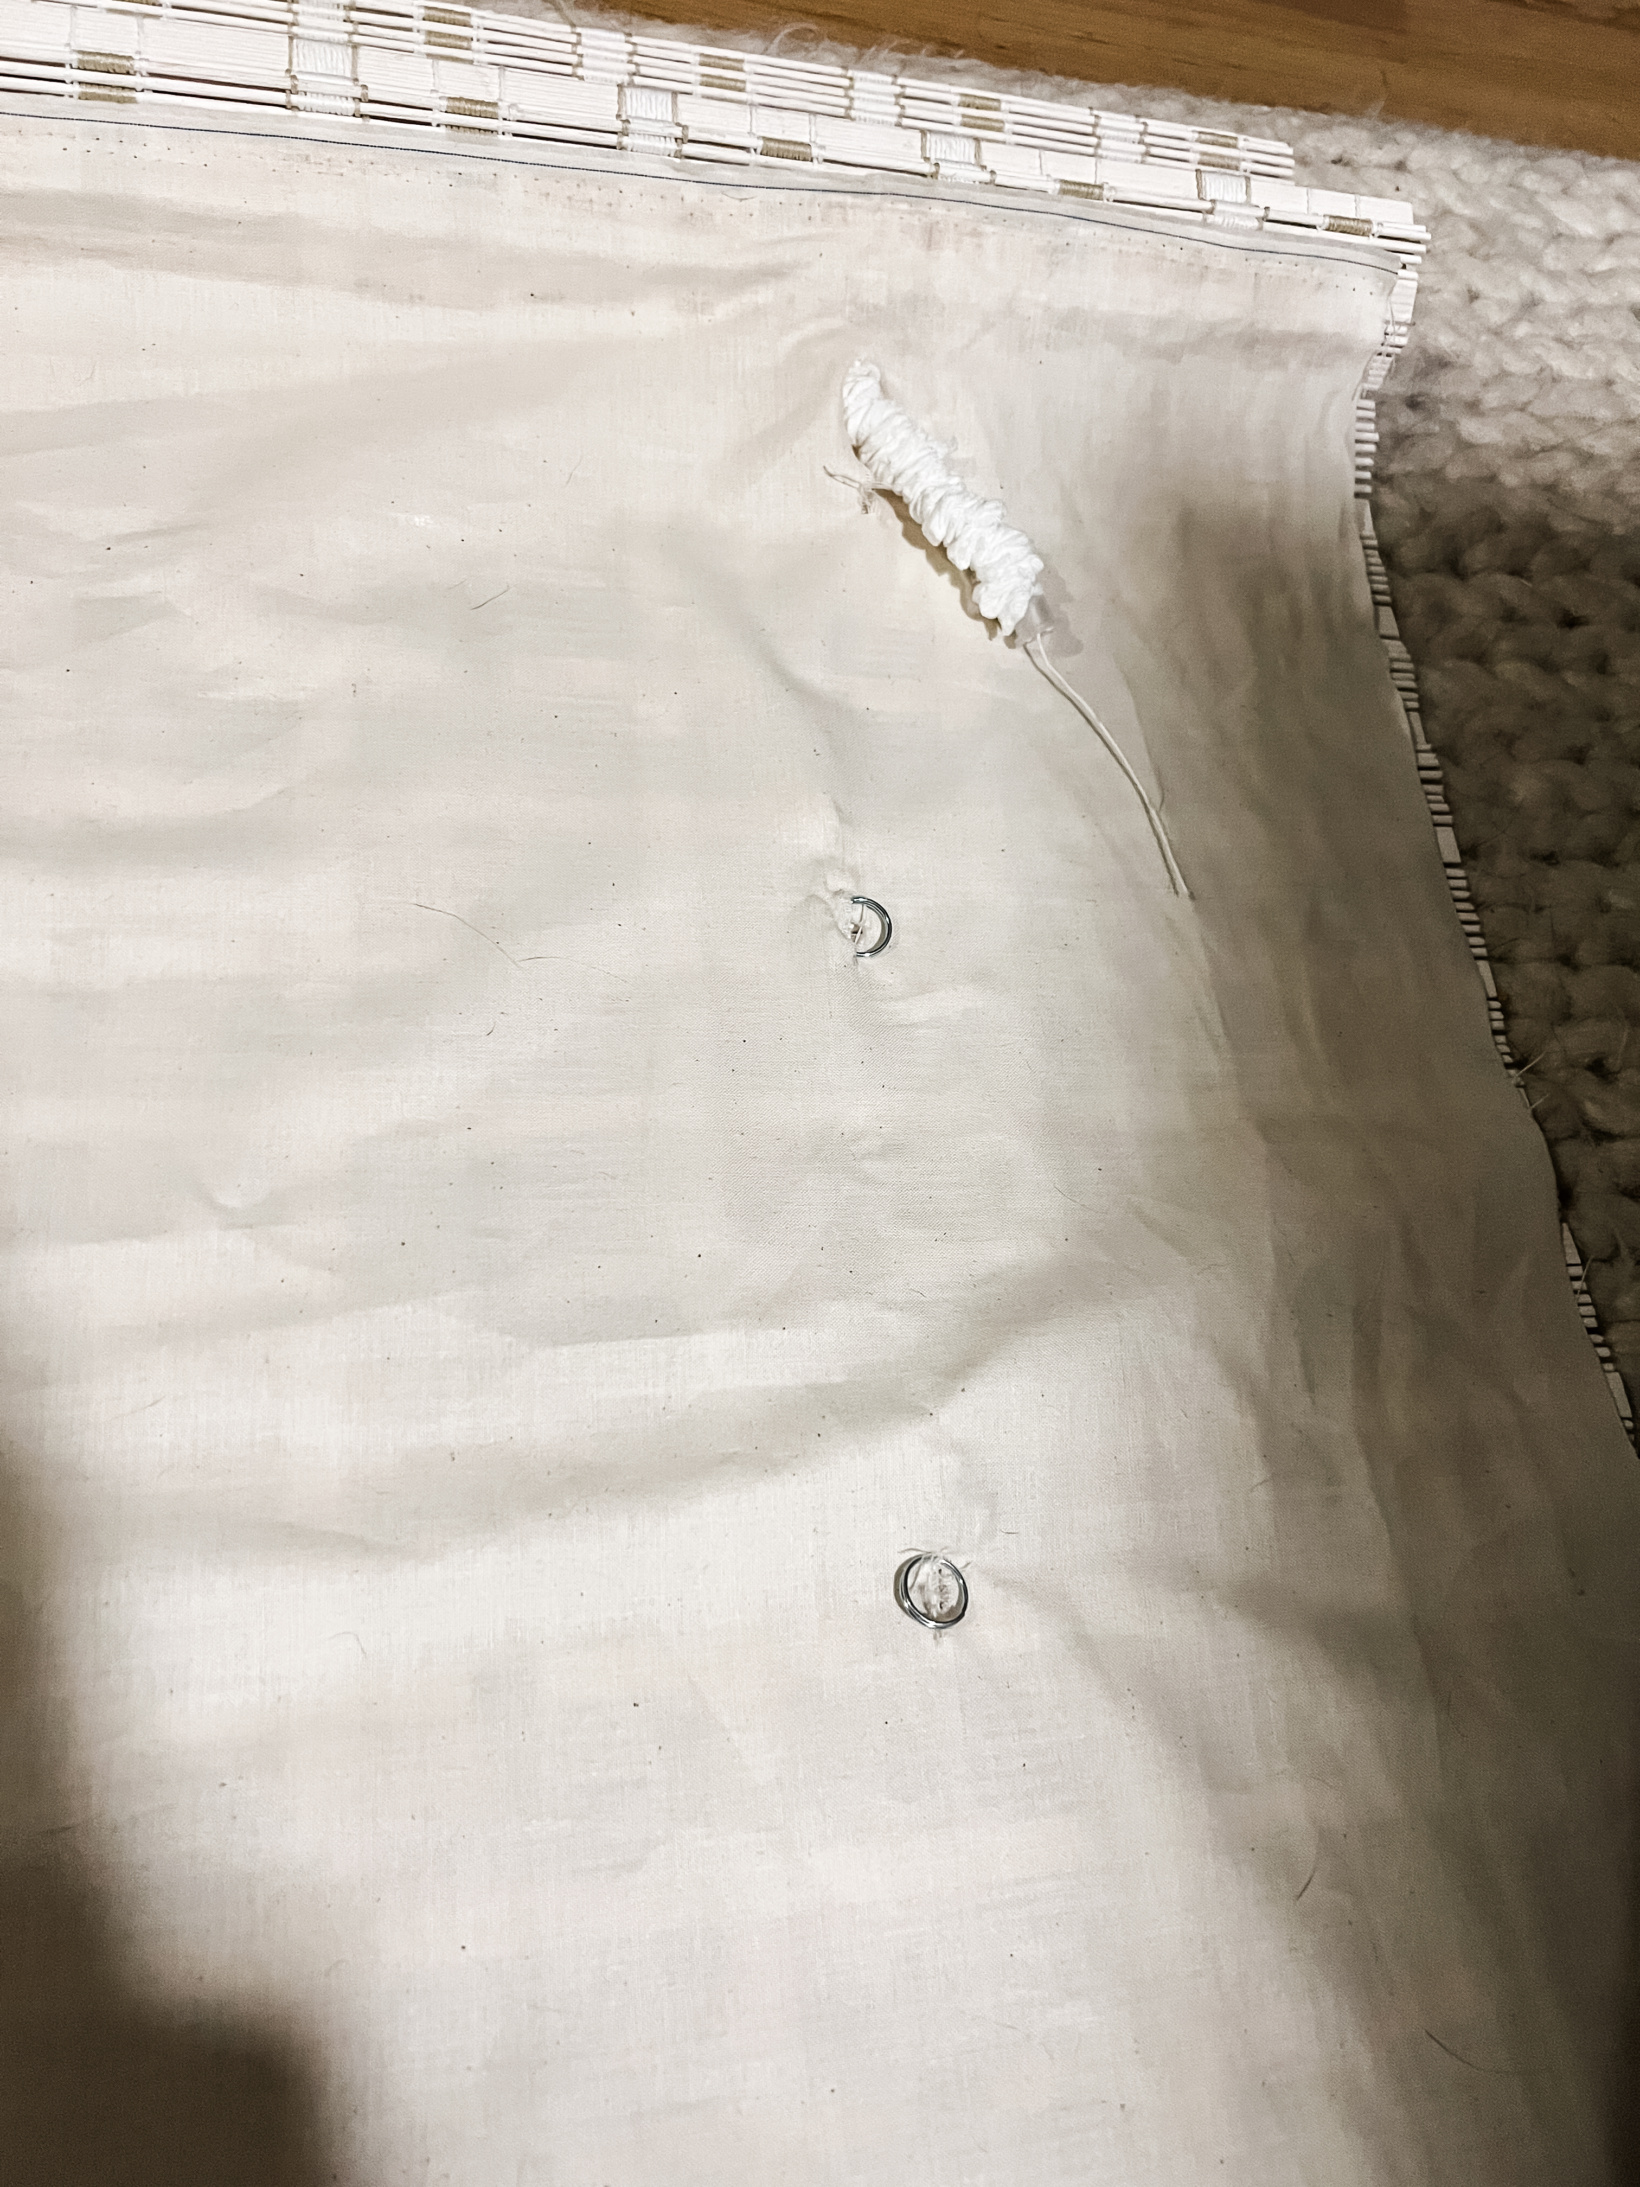
Then you’re going to take your fabric glue, and working your way down the shade, add it to the shade, and smooth out the fabric onto the shade.
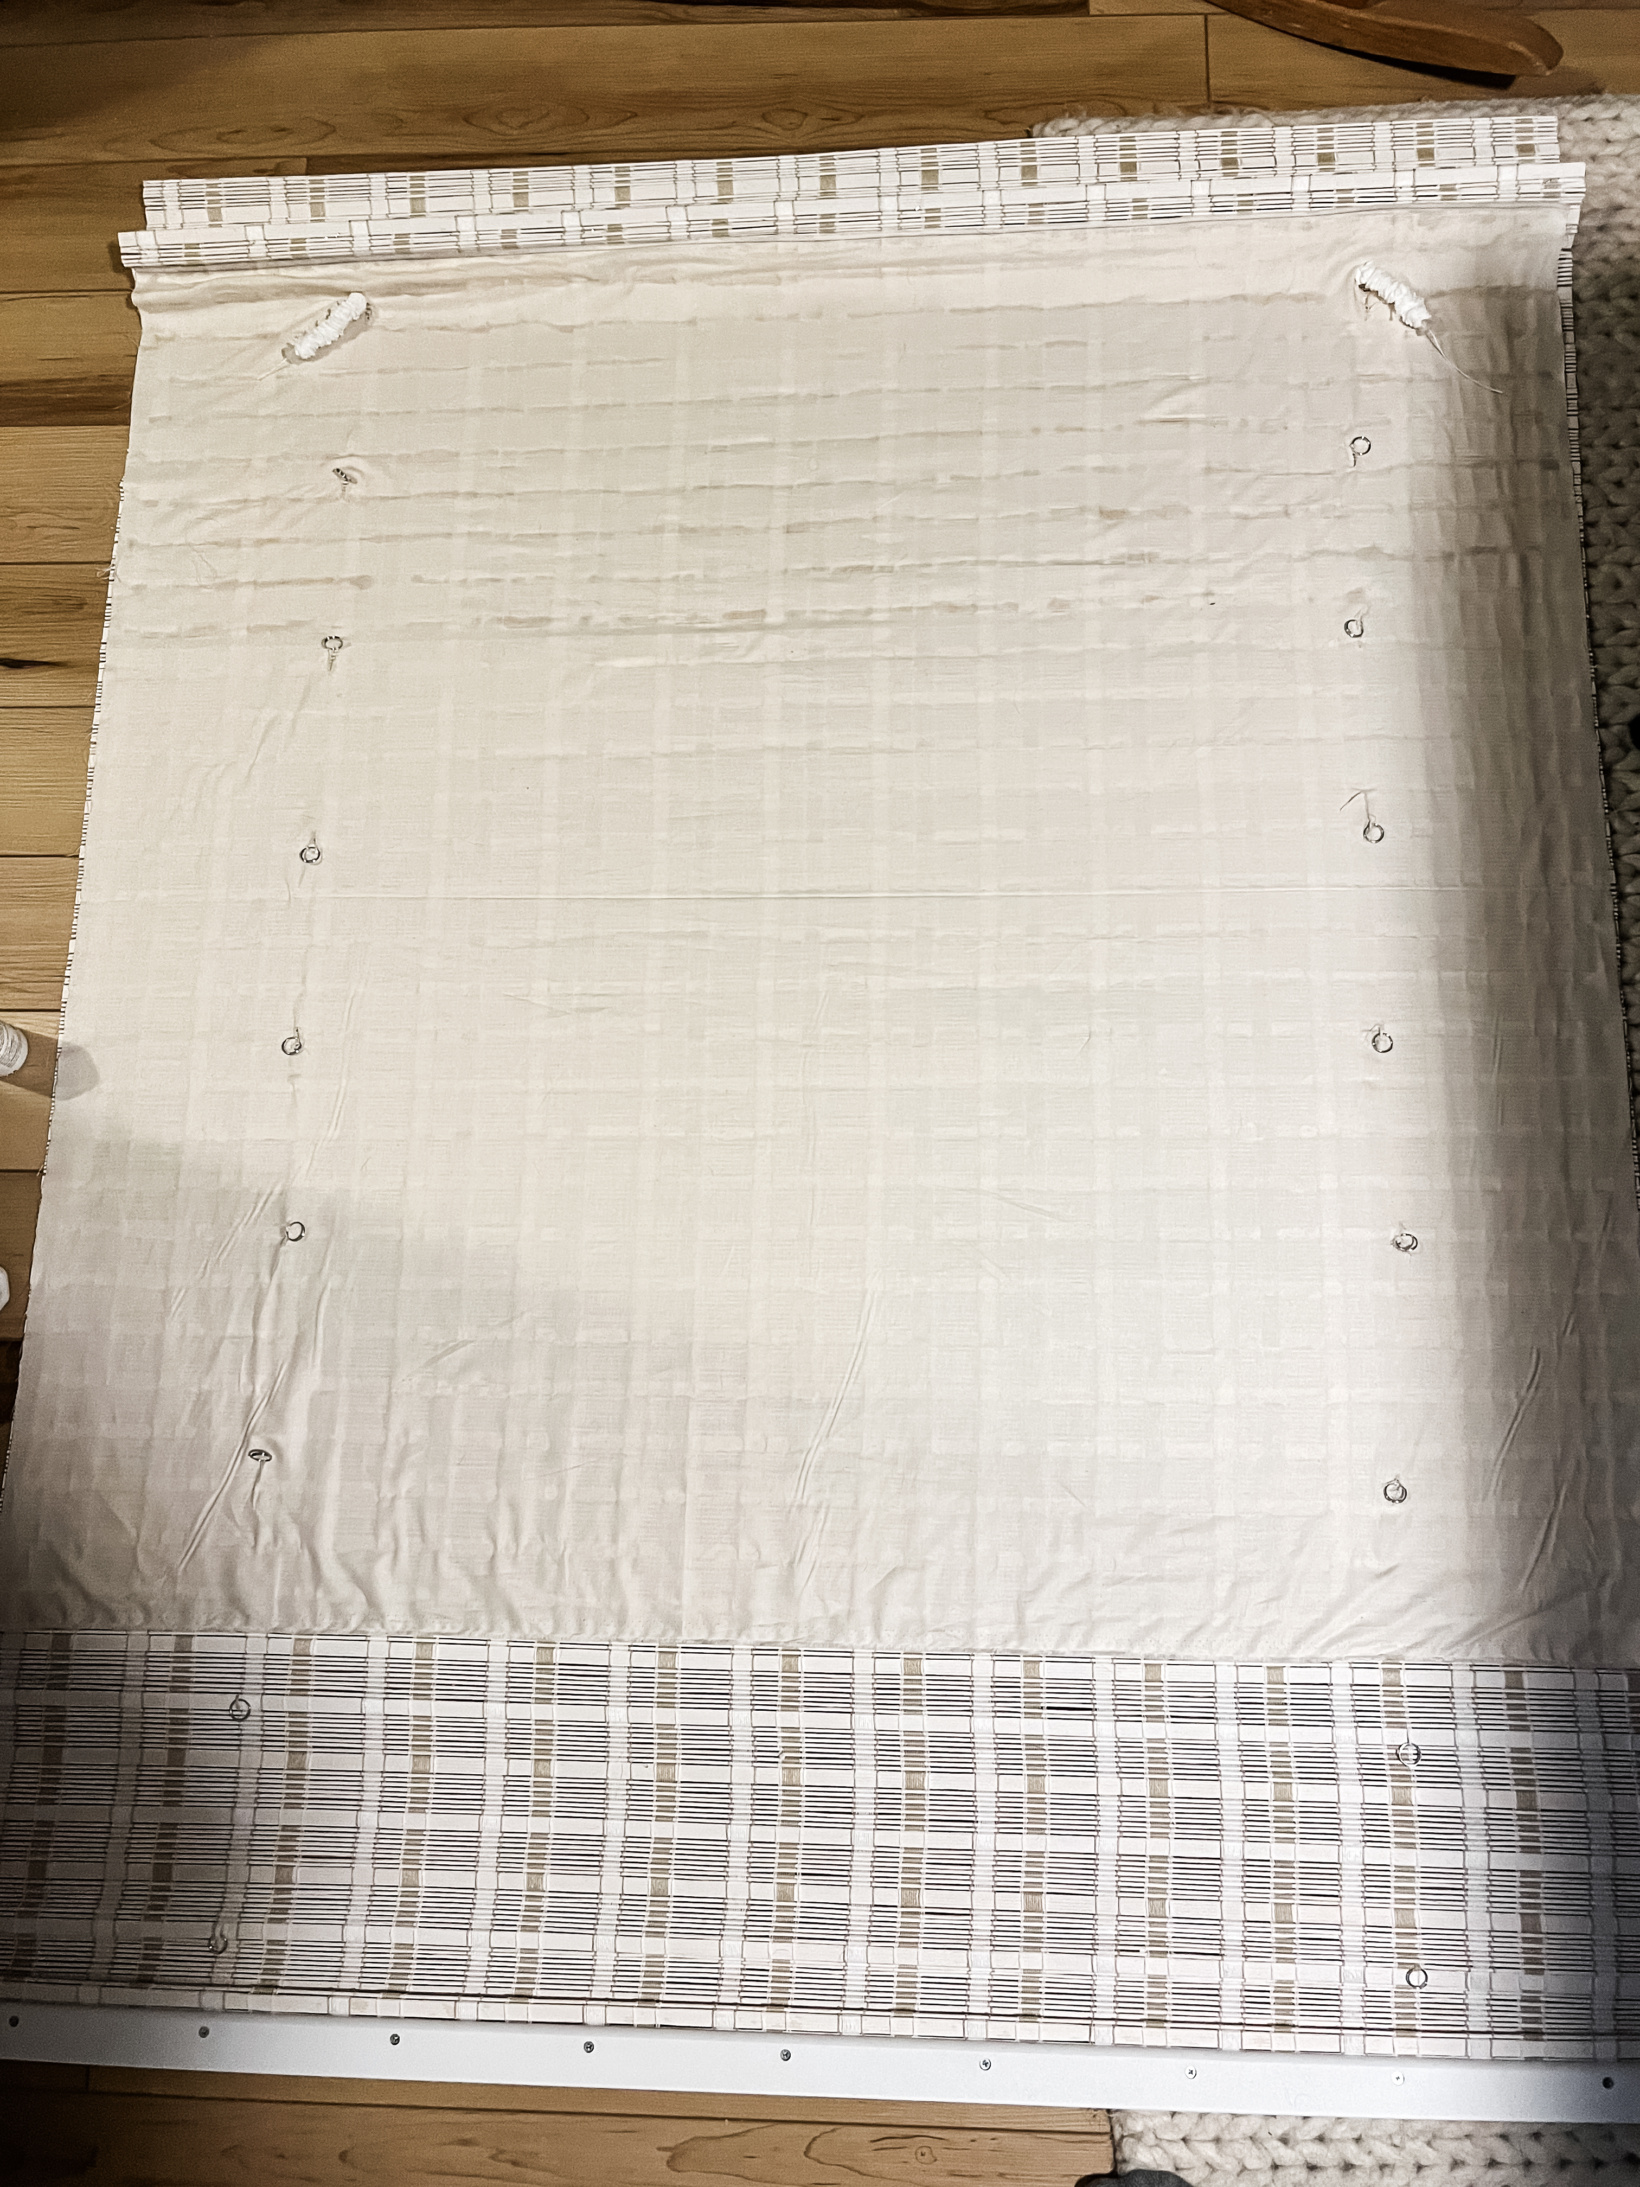
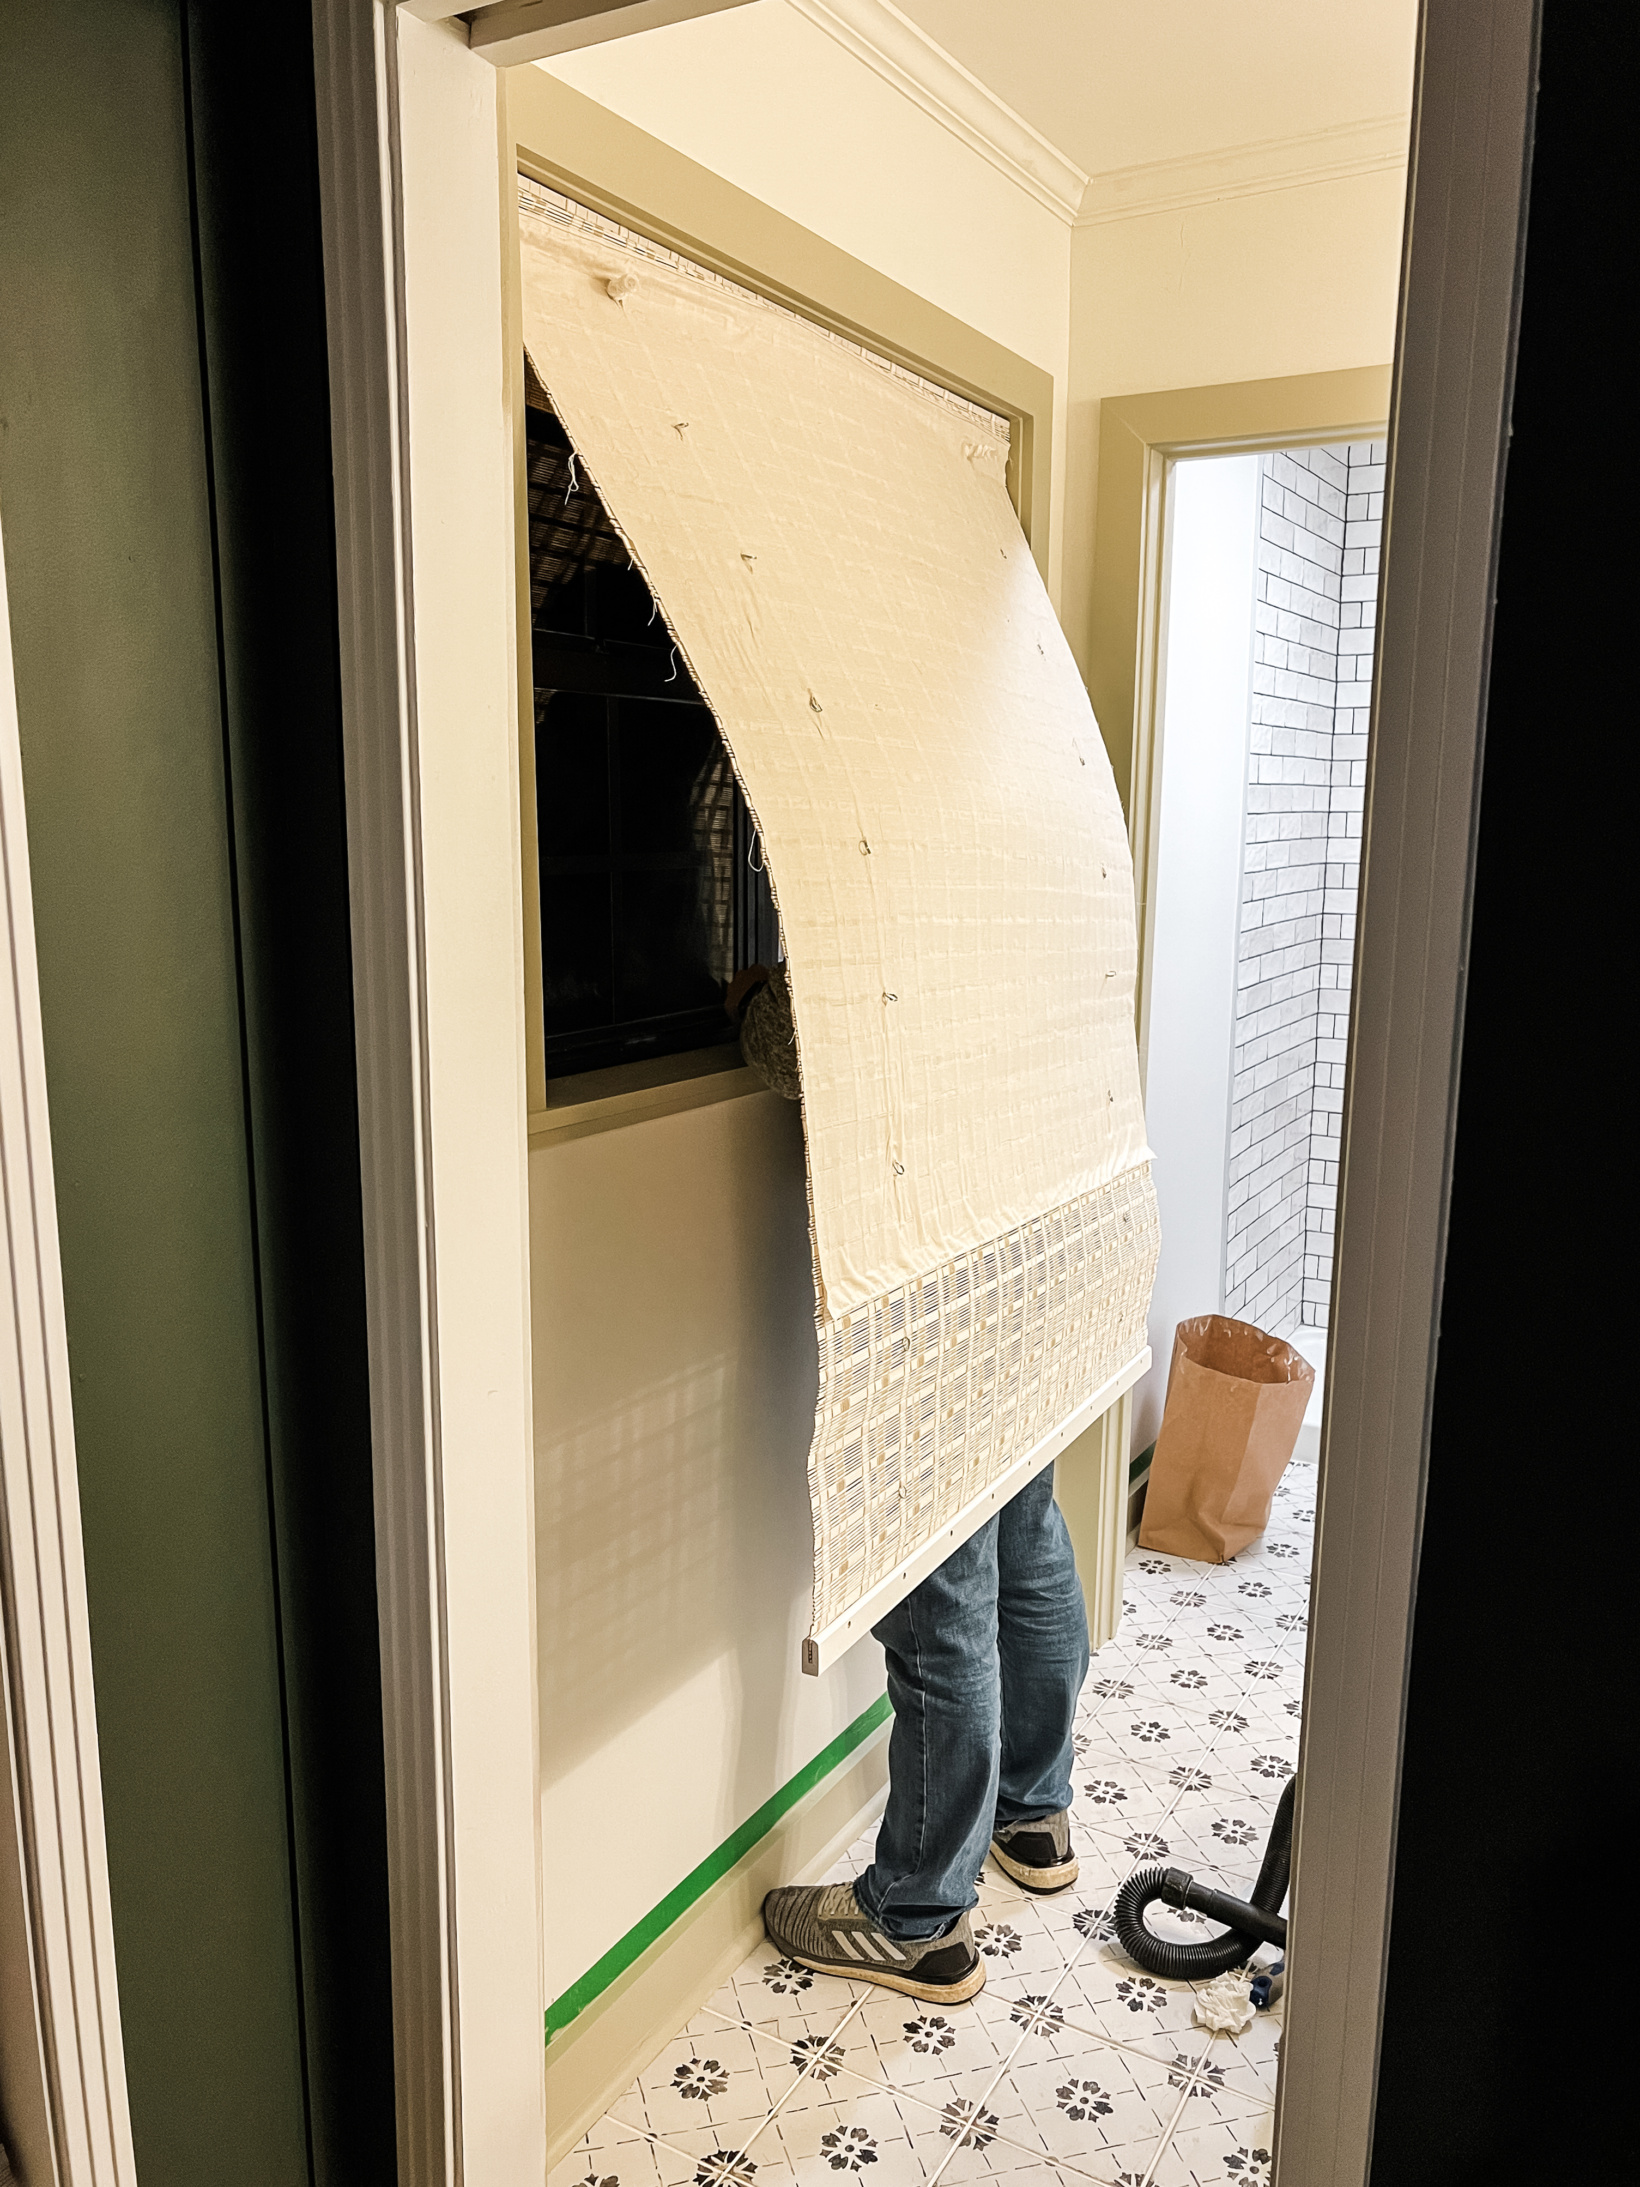
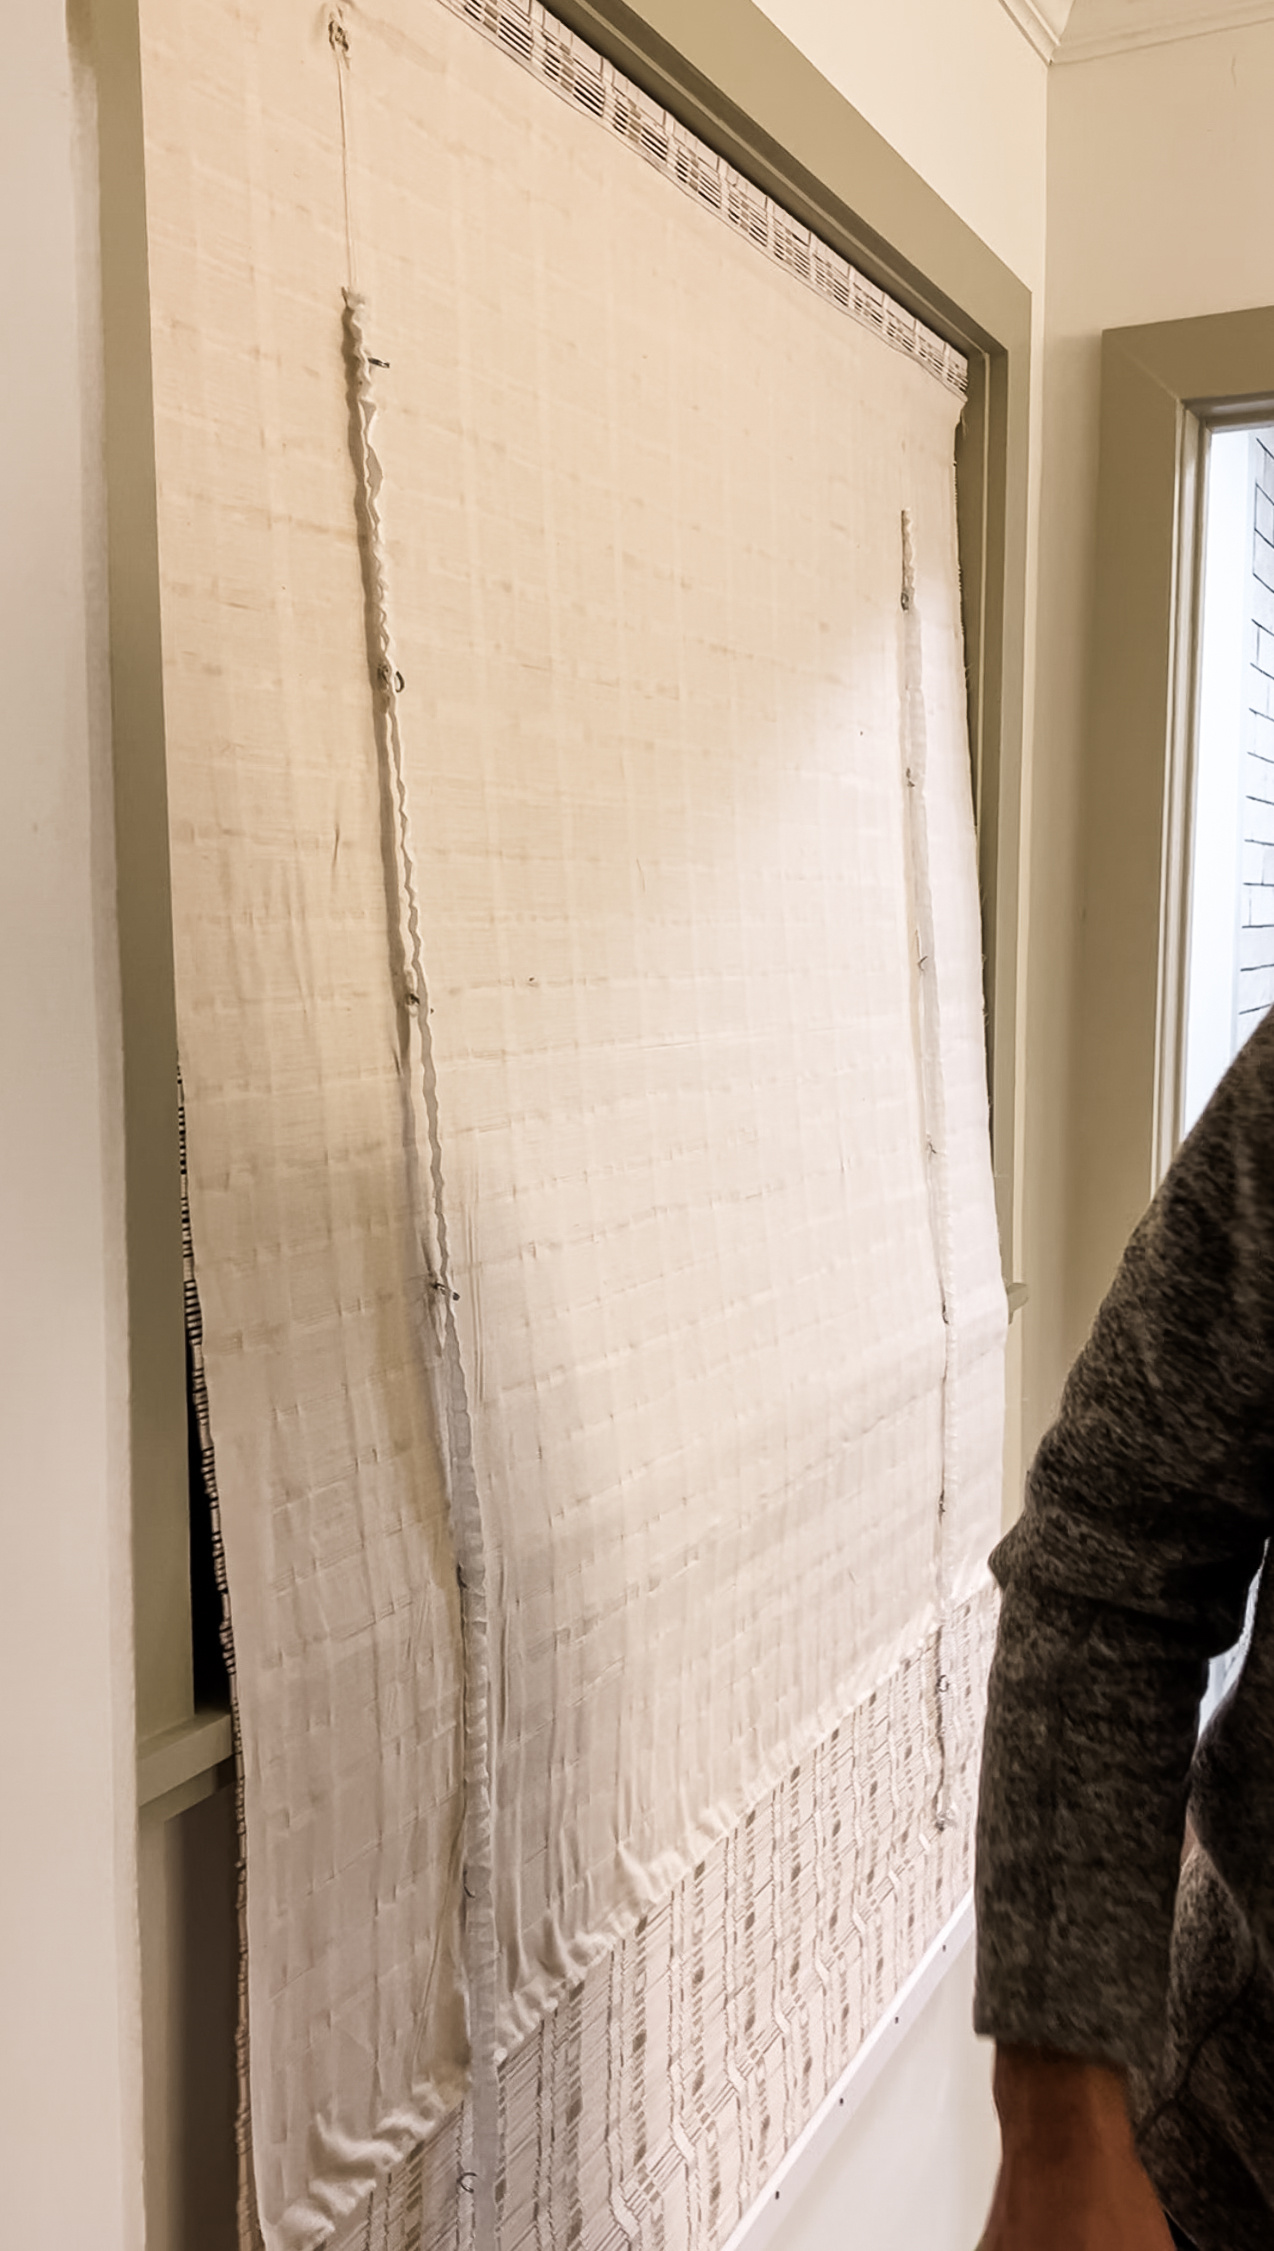
To finish it up, you’re going to pull the string and attach the lowest ring first. Then reattach the remaining rings to the string. Stephen found it easiest to hang the shade back up backwards in the window and pull it straight to do this then flip it back (did I mention they’re super easy to install?!). And you’re done! Privacy bamboo shades.
METHOD 2:
I came across this while working on my friends Air B&B about a year after we completed ours. The bathroom had the same cordless bamboo shades and I went to close them and noticed there was fabric on the back and wow the way they attached them was much simpler.
What you’ll need:
- Same items as above minus the optional ones
What to do:
Ready for this? All they did was simply glue the fabric to the back of the shade. They didn’t remove the rings or the strings or anything. Just went ahead and glued it. The only downside is that it doesn’t look as “clean” on the backside from the outside and I don’t know if it’s as durable as the method we used but it might be!
I hope you find this helpful! If you have questions, post them in the comments below and I’ll get them answered as quickly as possible. If you haven’t already, don’t forget to sign up for the weekly “everything I would’ve posted on Insta stories this week” letter HERE.
I know you know you are so loved! Until next time…
I sincerely appreciate you all shopping through my affiliate links like the ones included in this post. I make a small commission when you purchase through these links at no extra cost to you. These funds help support my family and allow for us to produce better content for you all. I can’t thank you enough for supporting all that we do!
jordan jean
Leave a Reply


Yesssssss!!! This is the blog post I’ve been waiting on! Thank you so much!!! I need to do a few of my shades. Praying for your family and your brother. Please let me know if I can do anything else.