March 17, 2023
I have a funny story to share (I’m going to paraphrase so it doesn’t take me forever). Since the fall of 2022 I’ve been attending a course on the Catholic church (yes, RCIA, for those of you that know what I’m talking about!). I wanted to learn from the Catholic Church what the Church actually believes and teaches. (A lot) more on that another day… Anyway, at the course the first day I met a pilot from base. A couple of days later, Stephen and said pilot met and talked at work. Fast forward some months and we received mail in our mailbox with the pilot’s name on it. Stephen brought it inside one day and said, “Is this so and so’s mail?!” The next day I brought it to RCIA and I said, “So and so, I don’t mean to be weird but did you once live at “enter our current address here”?” He replied, “YES!!! We lived there from 2013-2017!” We laughed and talked about it and he shared that they brought their first daughter home to that house (would you believe her name is Eleanor? … It makes me smile and a little teary eyed). Then he proceeded to ask, “Are those mirrors over the fireplace still there?” I laughed and said, “Ohhhh no. Those got ripped down while Stephen was at work one day.”
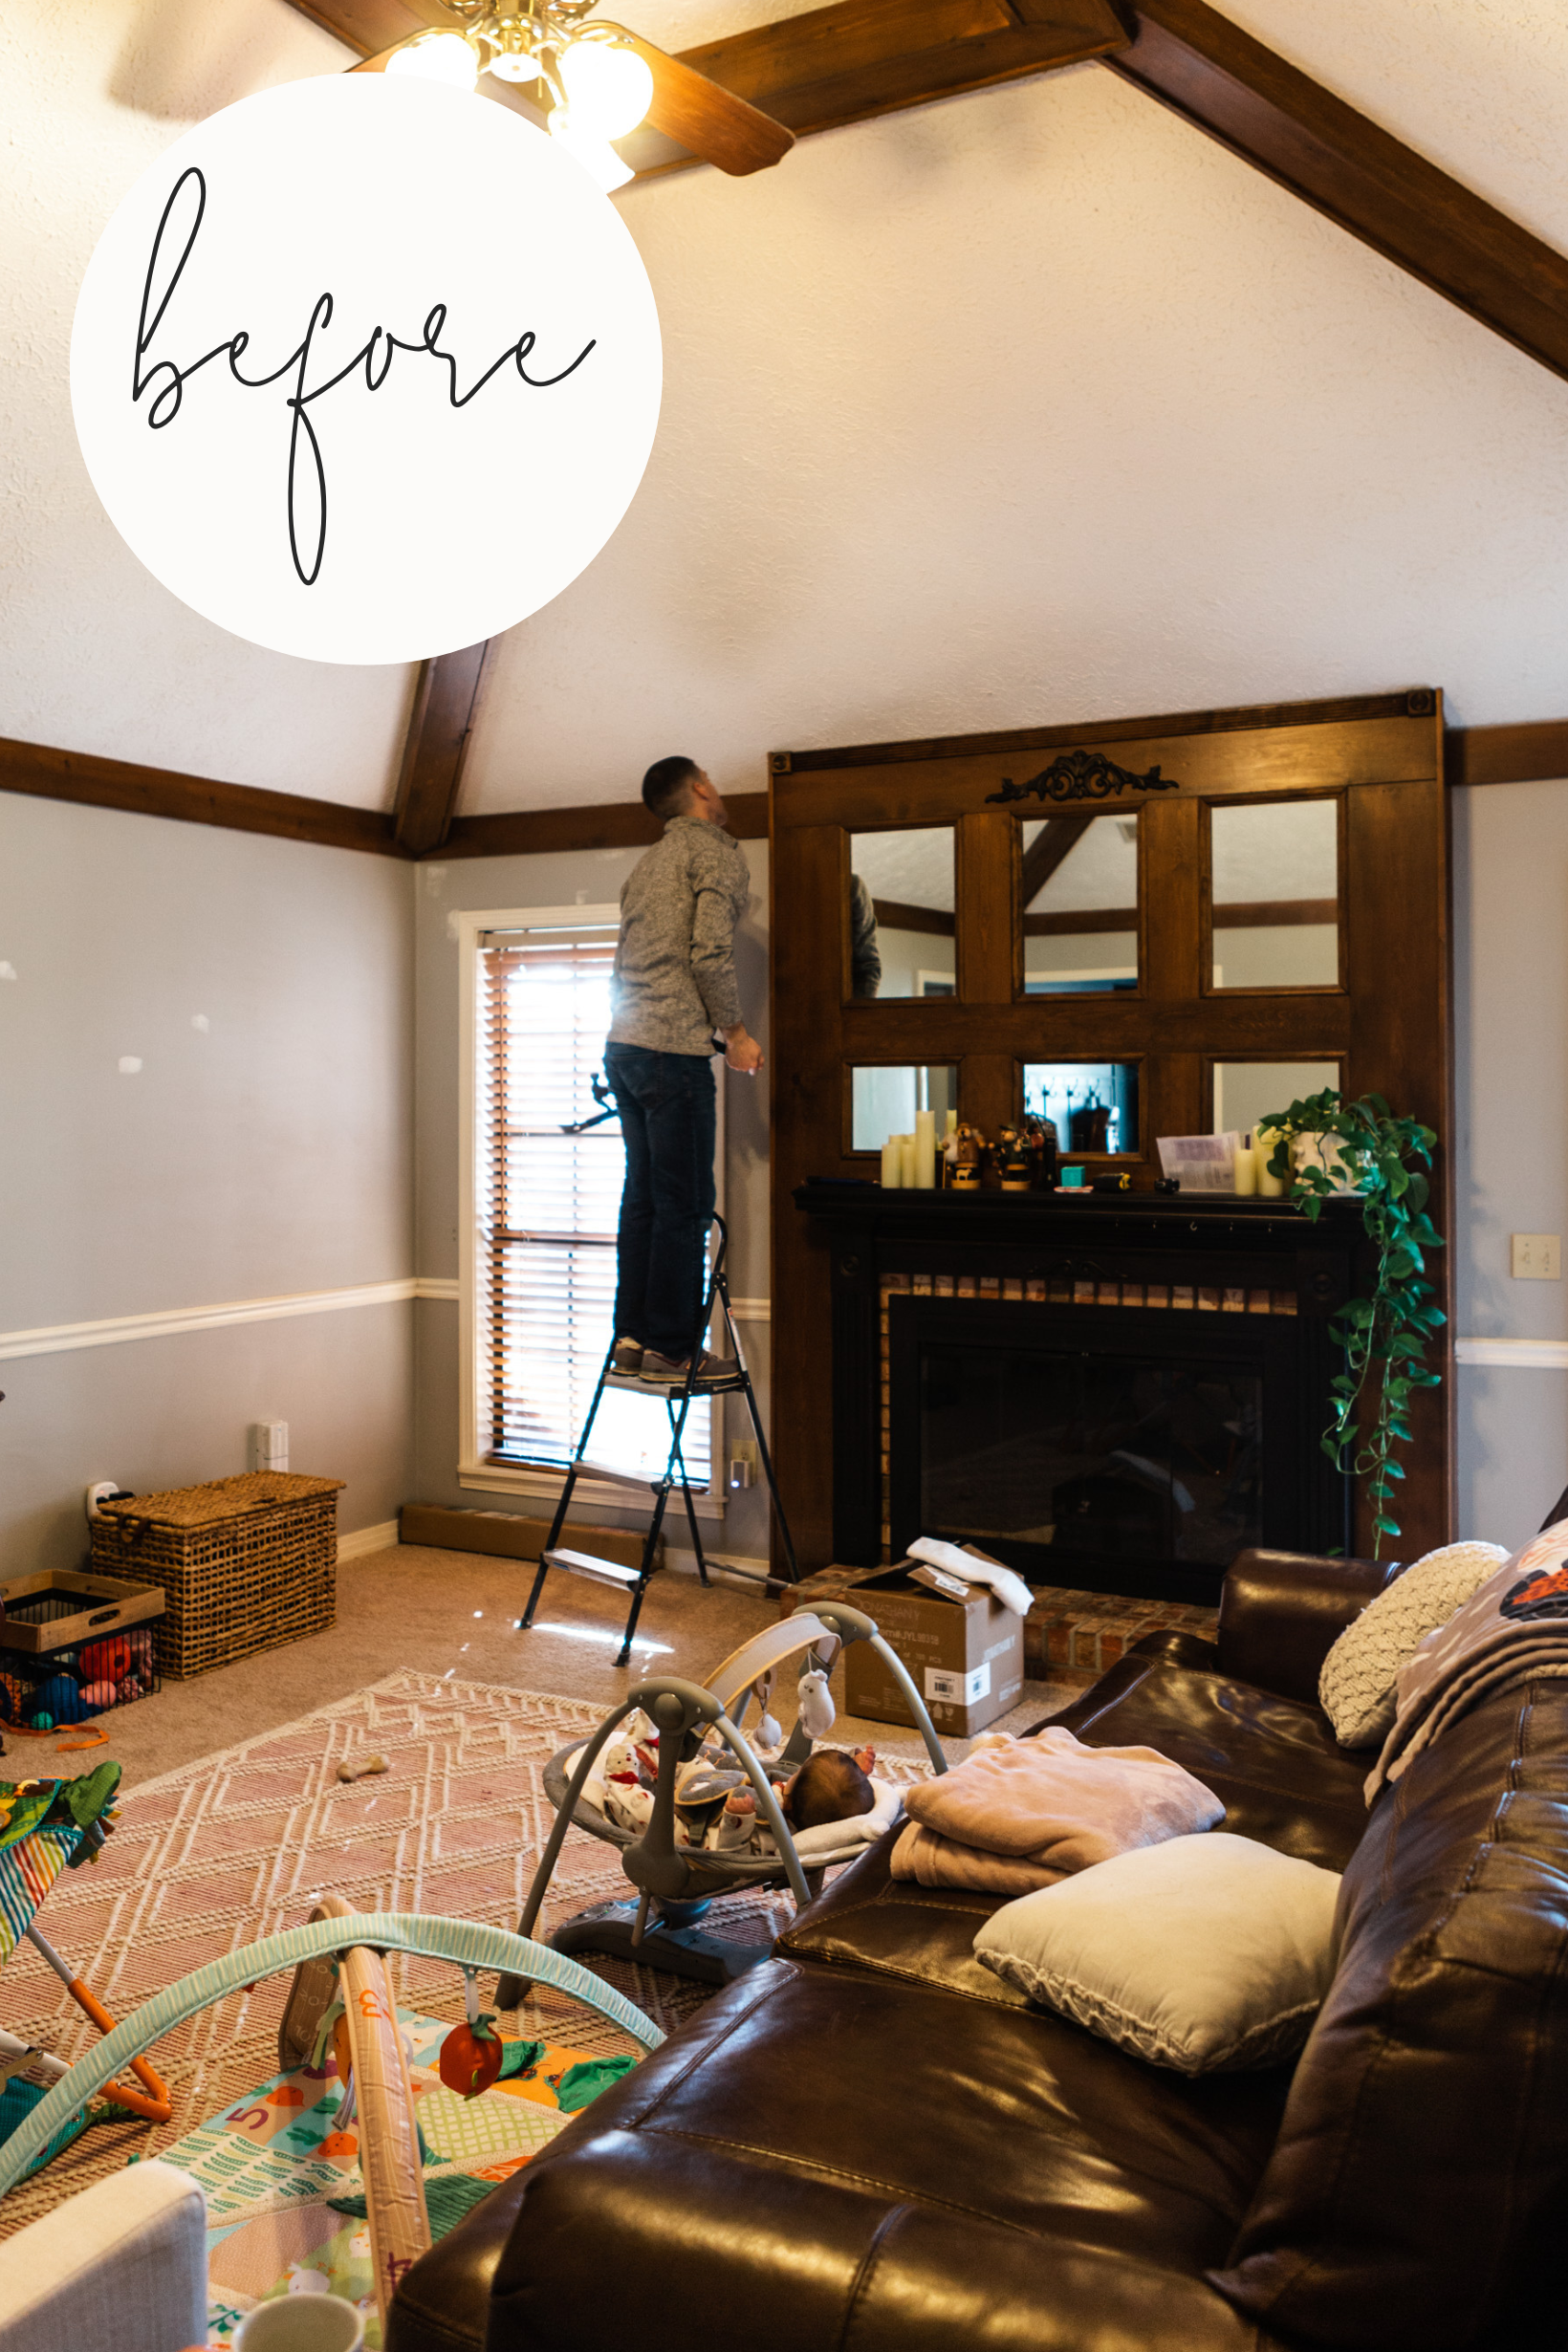
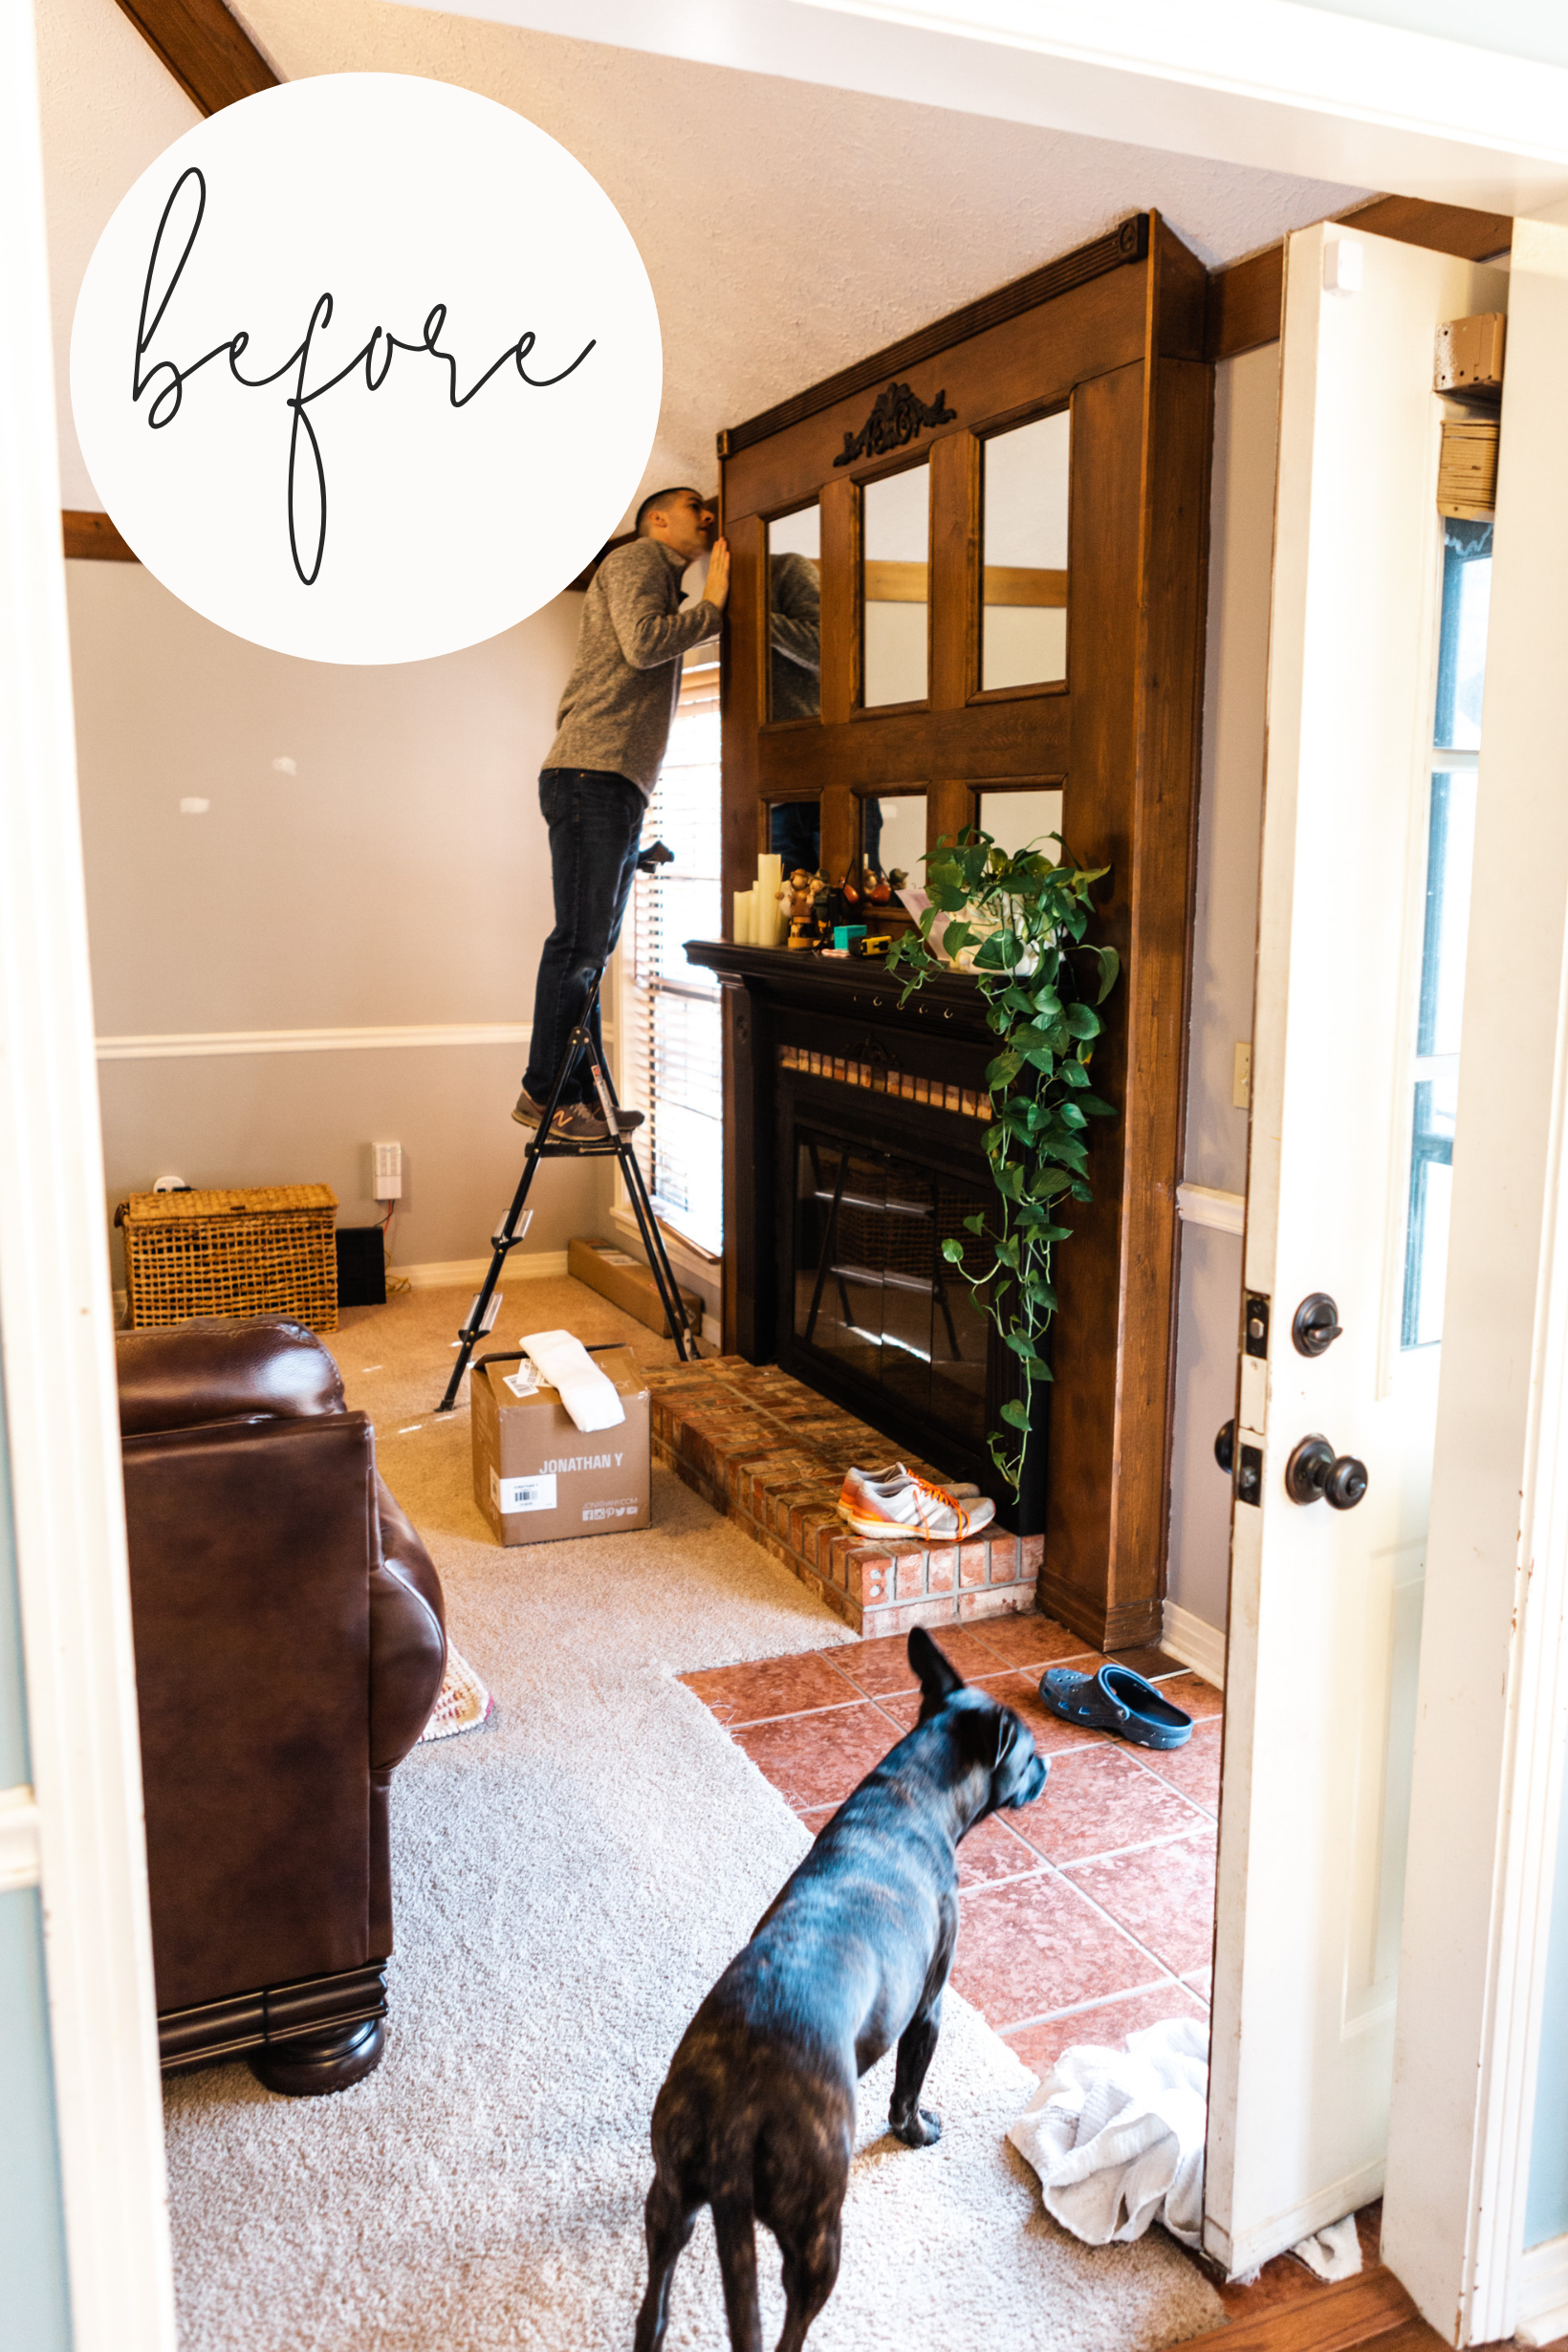
That’s exactly what happened. Stephen was at work, Ellie was taking a nap, and I decided I was going to grab a hammer and a pry bar and get to demoing. The goal was to have it all done before he got home for a lovely surprise but it didn’t work out that way. Needless to say he was indeed surprised! I ended up working late into the night while they slept to get it all removed and cleaned up. We didn’t really know what we’d find behind there but my gracious it was absolutely disgusting.
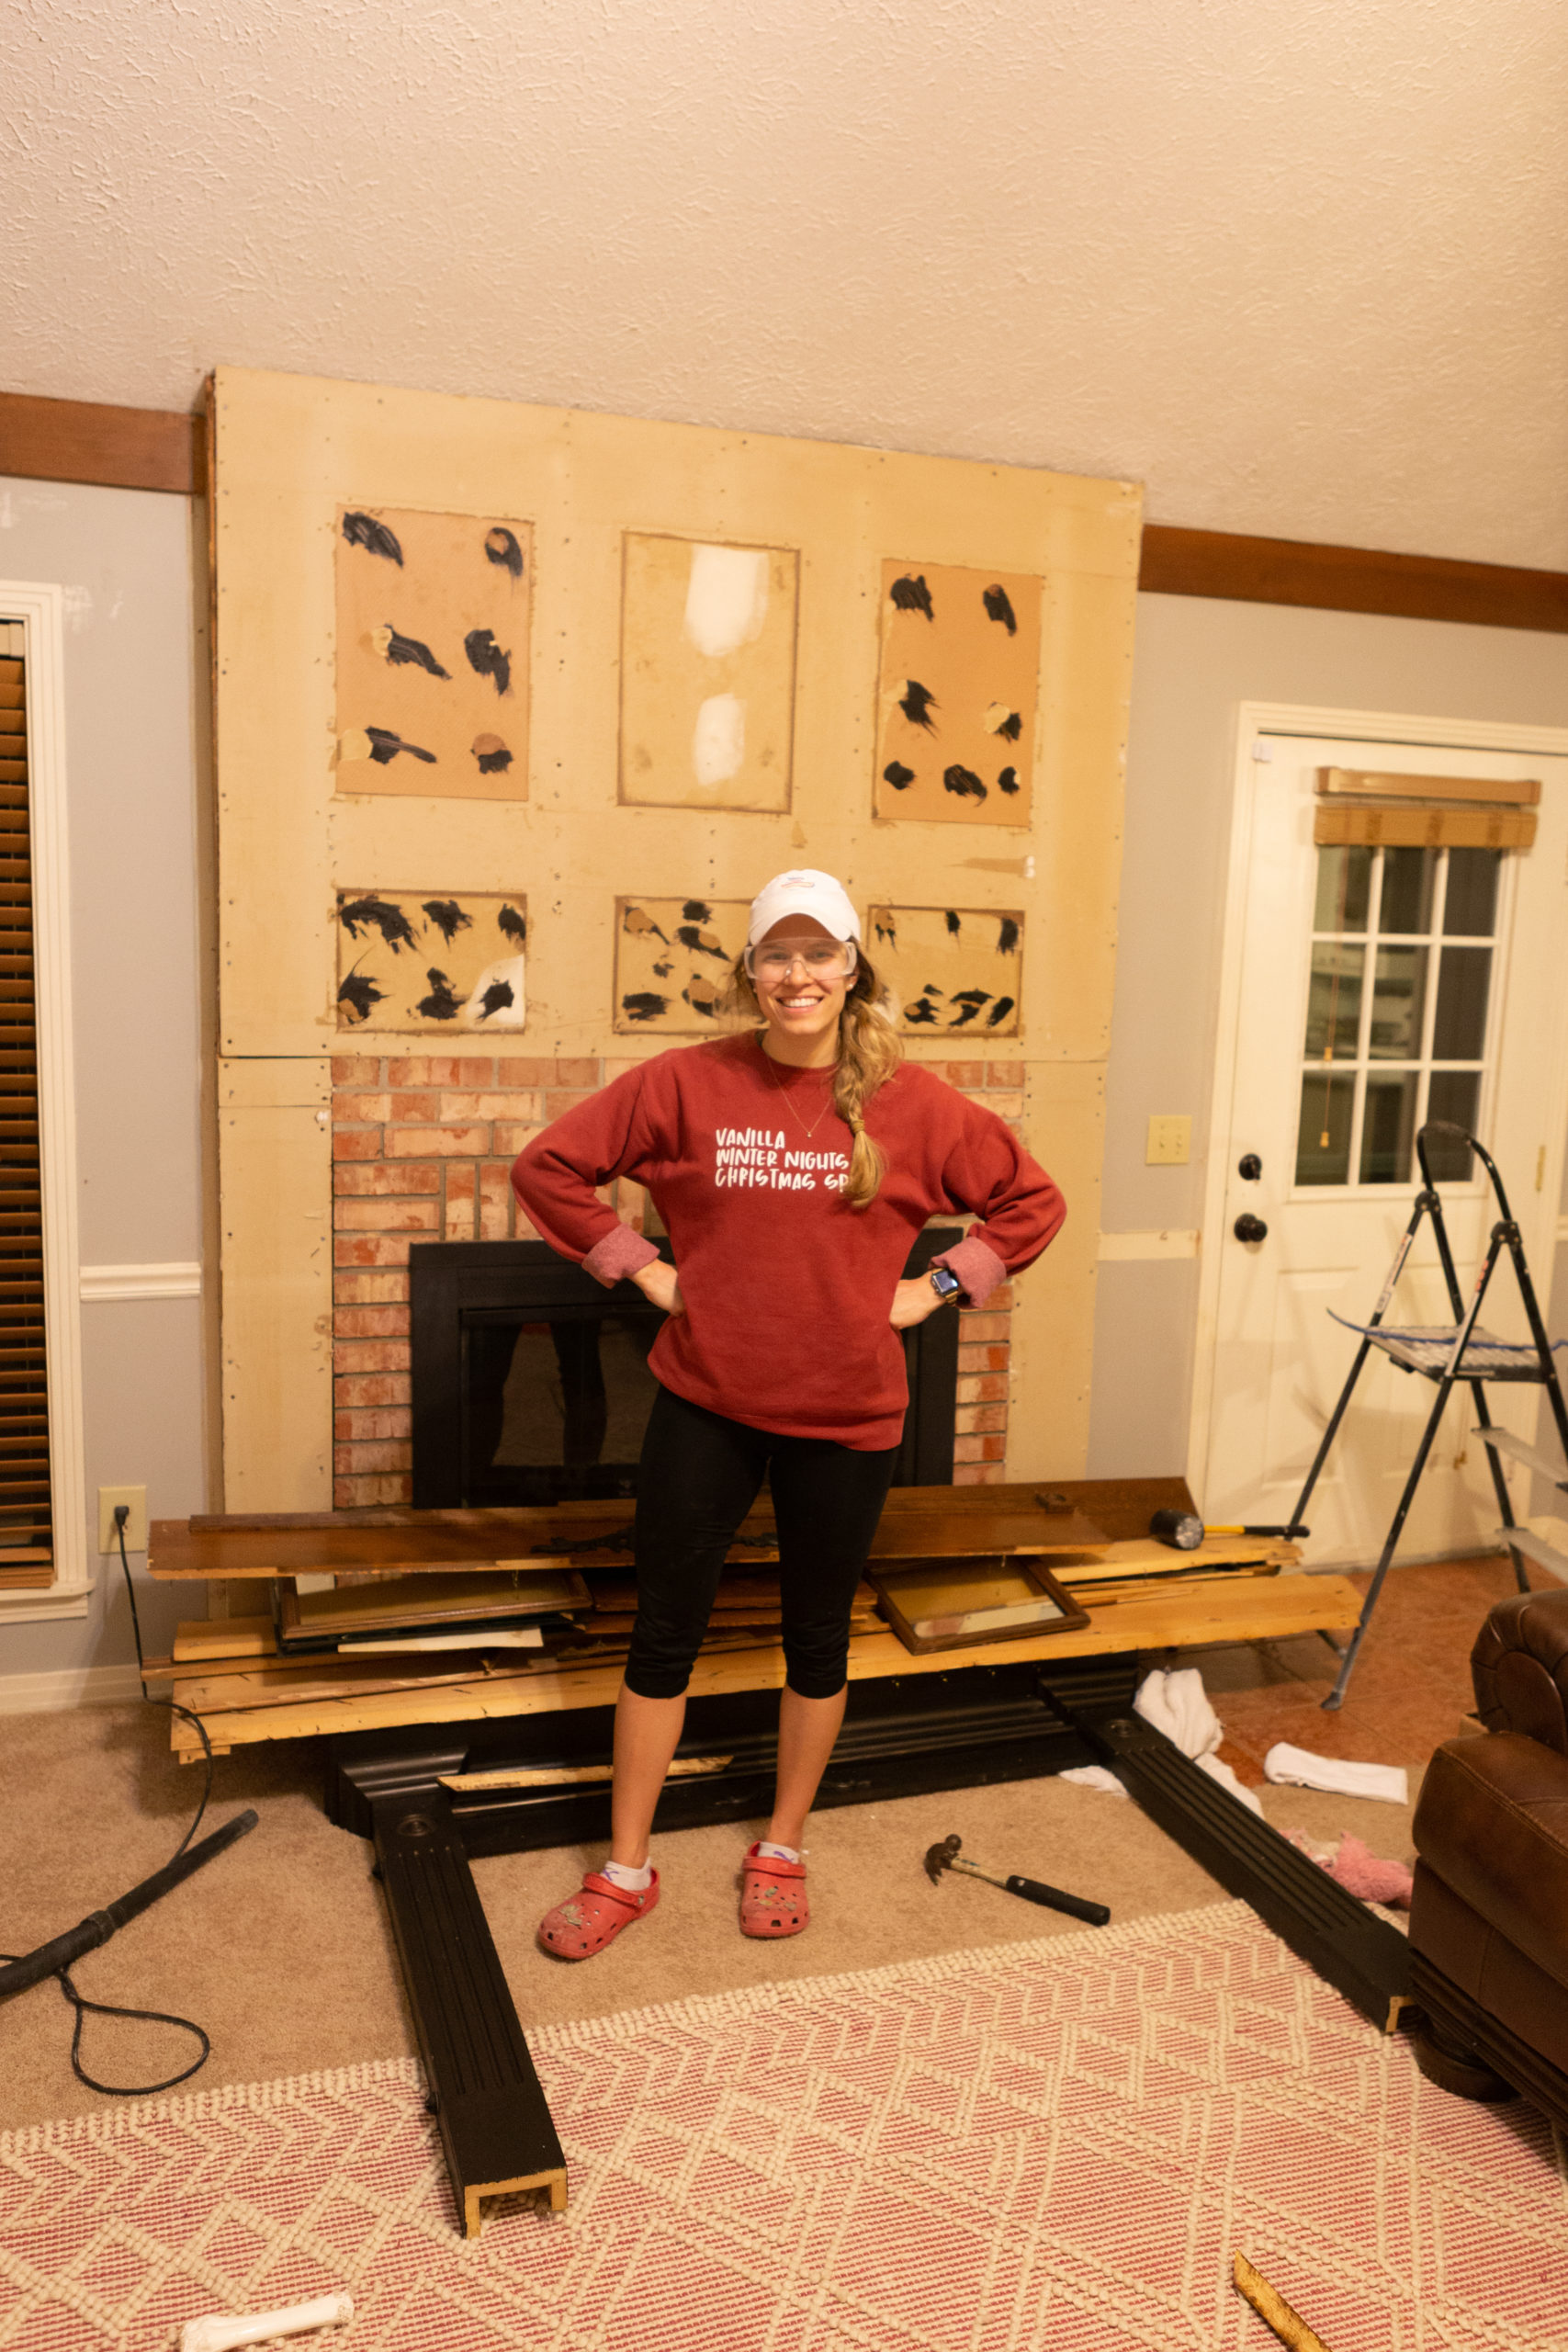
We were really hoping that we’d uncover brick all the way up to the ceiling. We figured there would be a ton of poop, dead bugs, etc. and we were right about that (ohhhh it was so so gross) but what we didn’t expect was for there to be HALF brick. HALF BRICK?! The design doesn’t make any sense. If the brick had gone all the way up to the ceiling, we would’ve most likely painted it and been done. However, since it went only half way up, we debated a few different ideas on what we could do. Ultimately we decided to keep the existing frame, shiplap over it, Stephen would build a mantle, and paint everything, including the brick around the fireplace the same color as the walls.
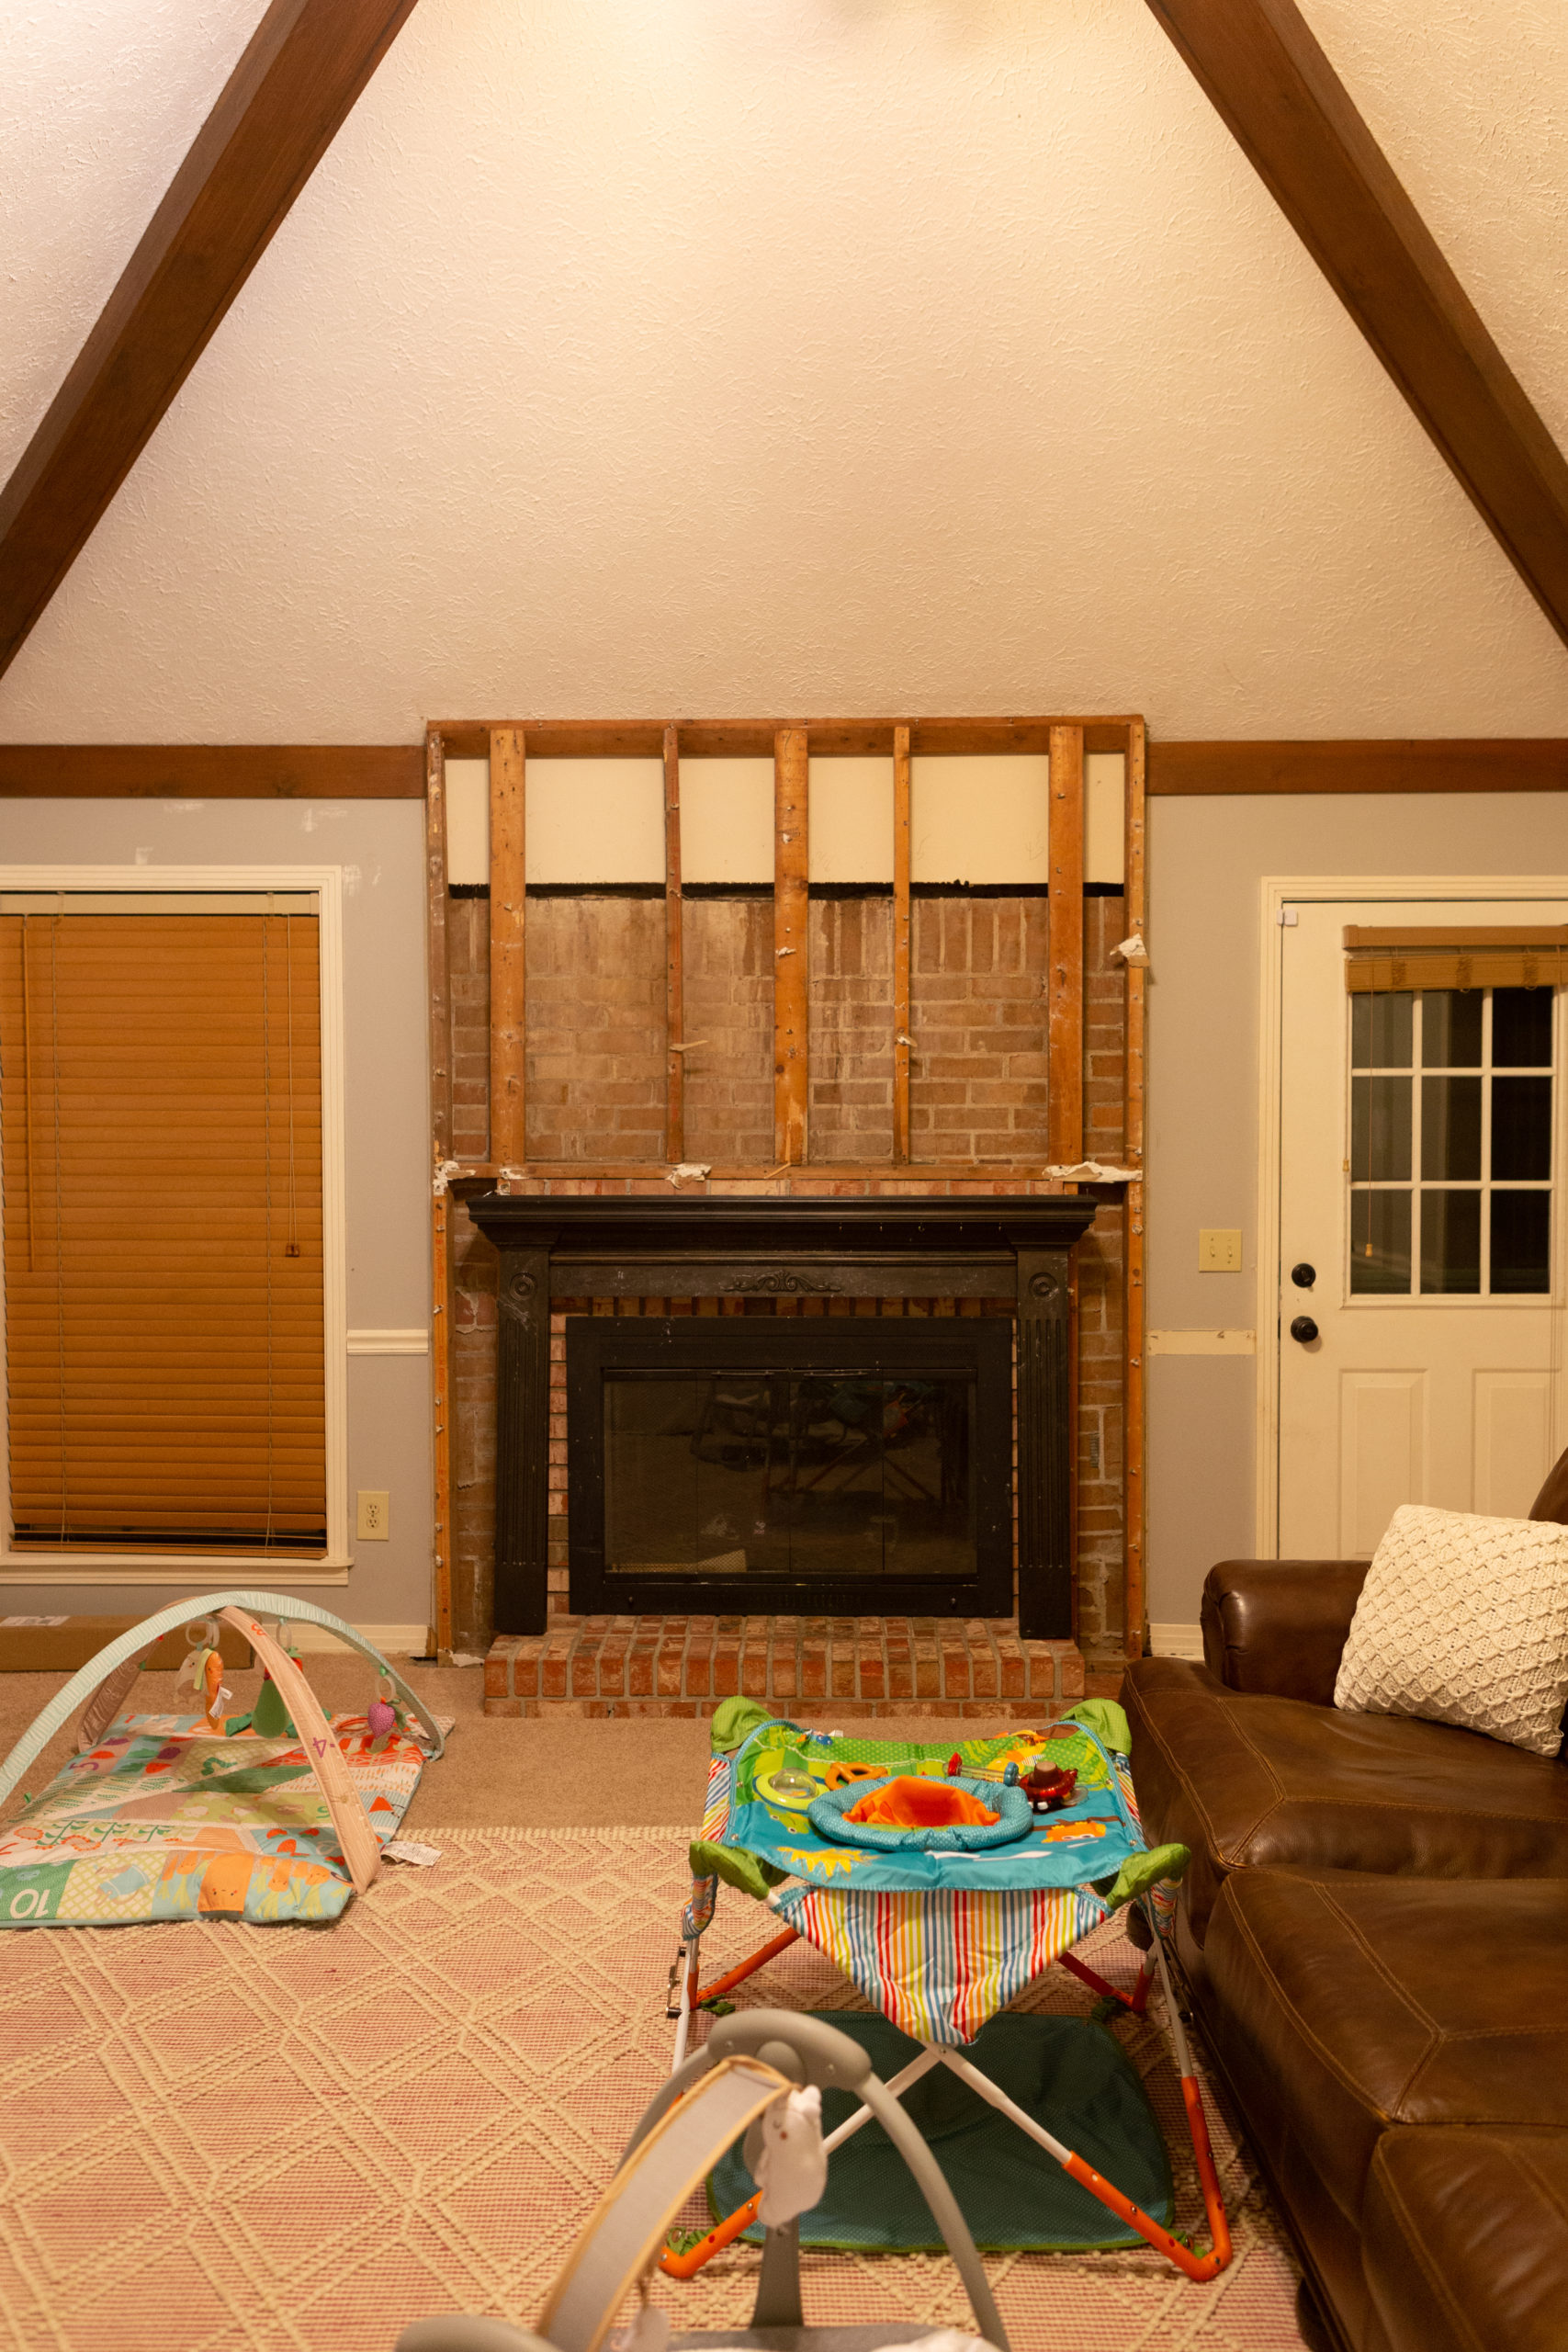
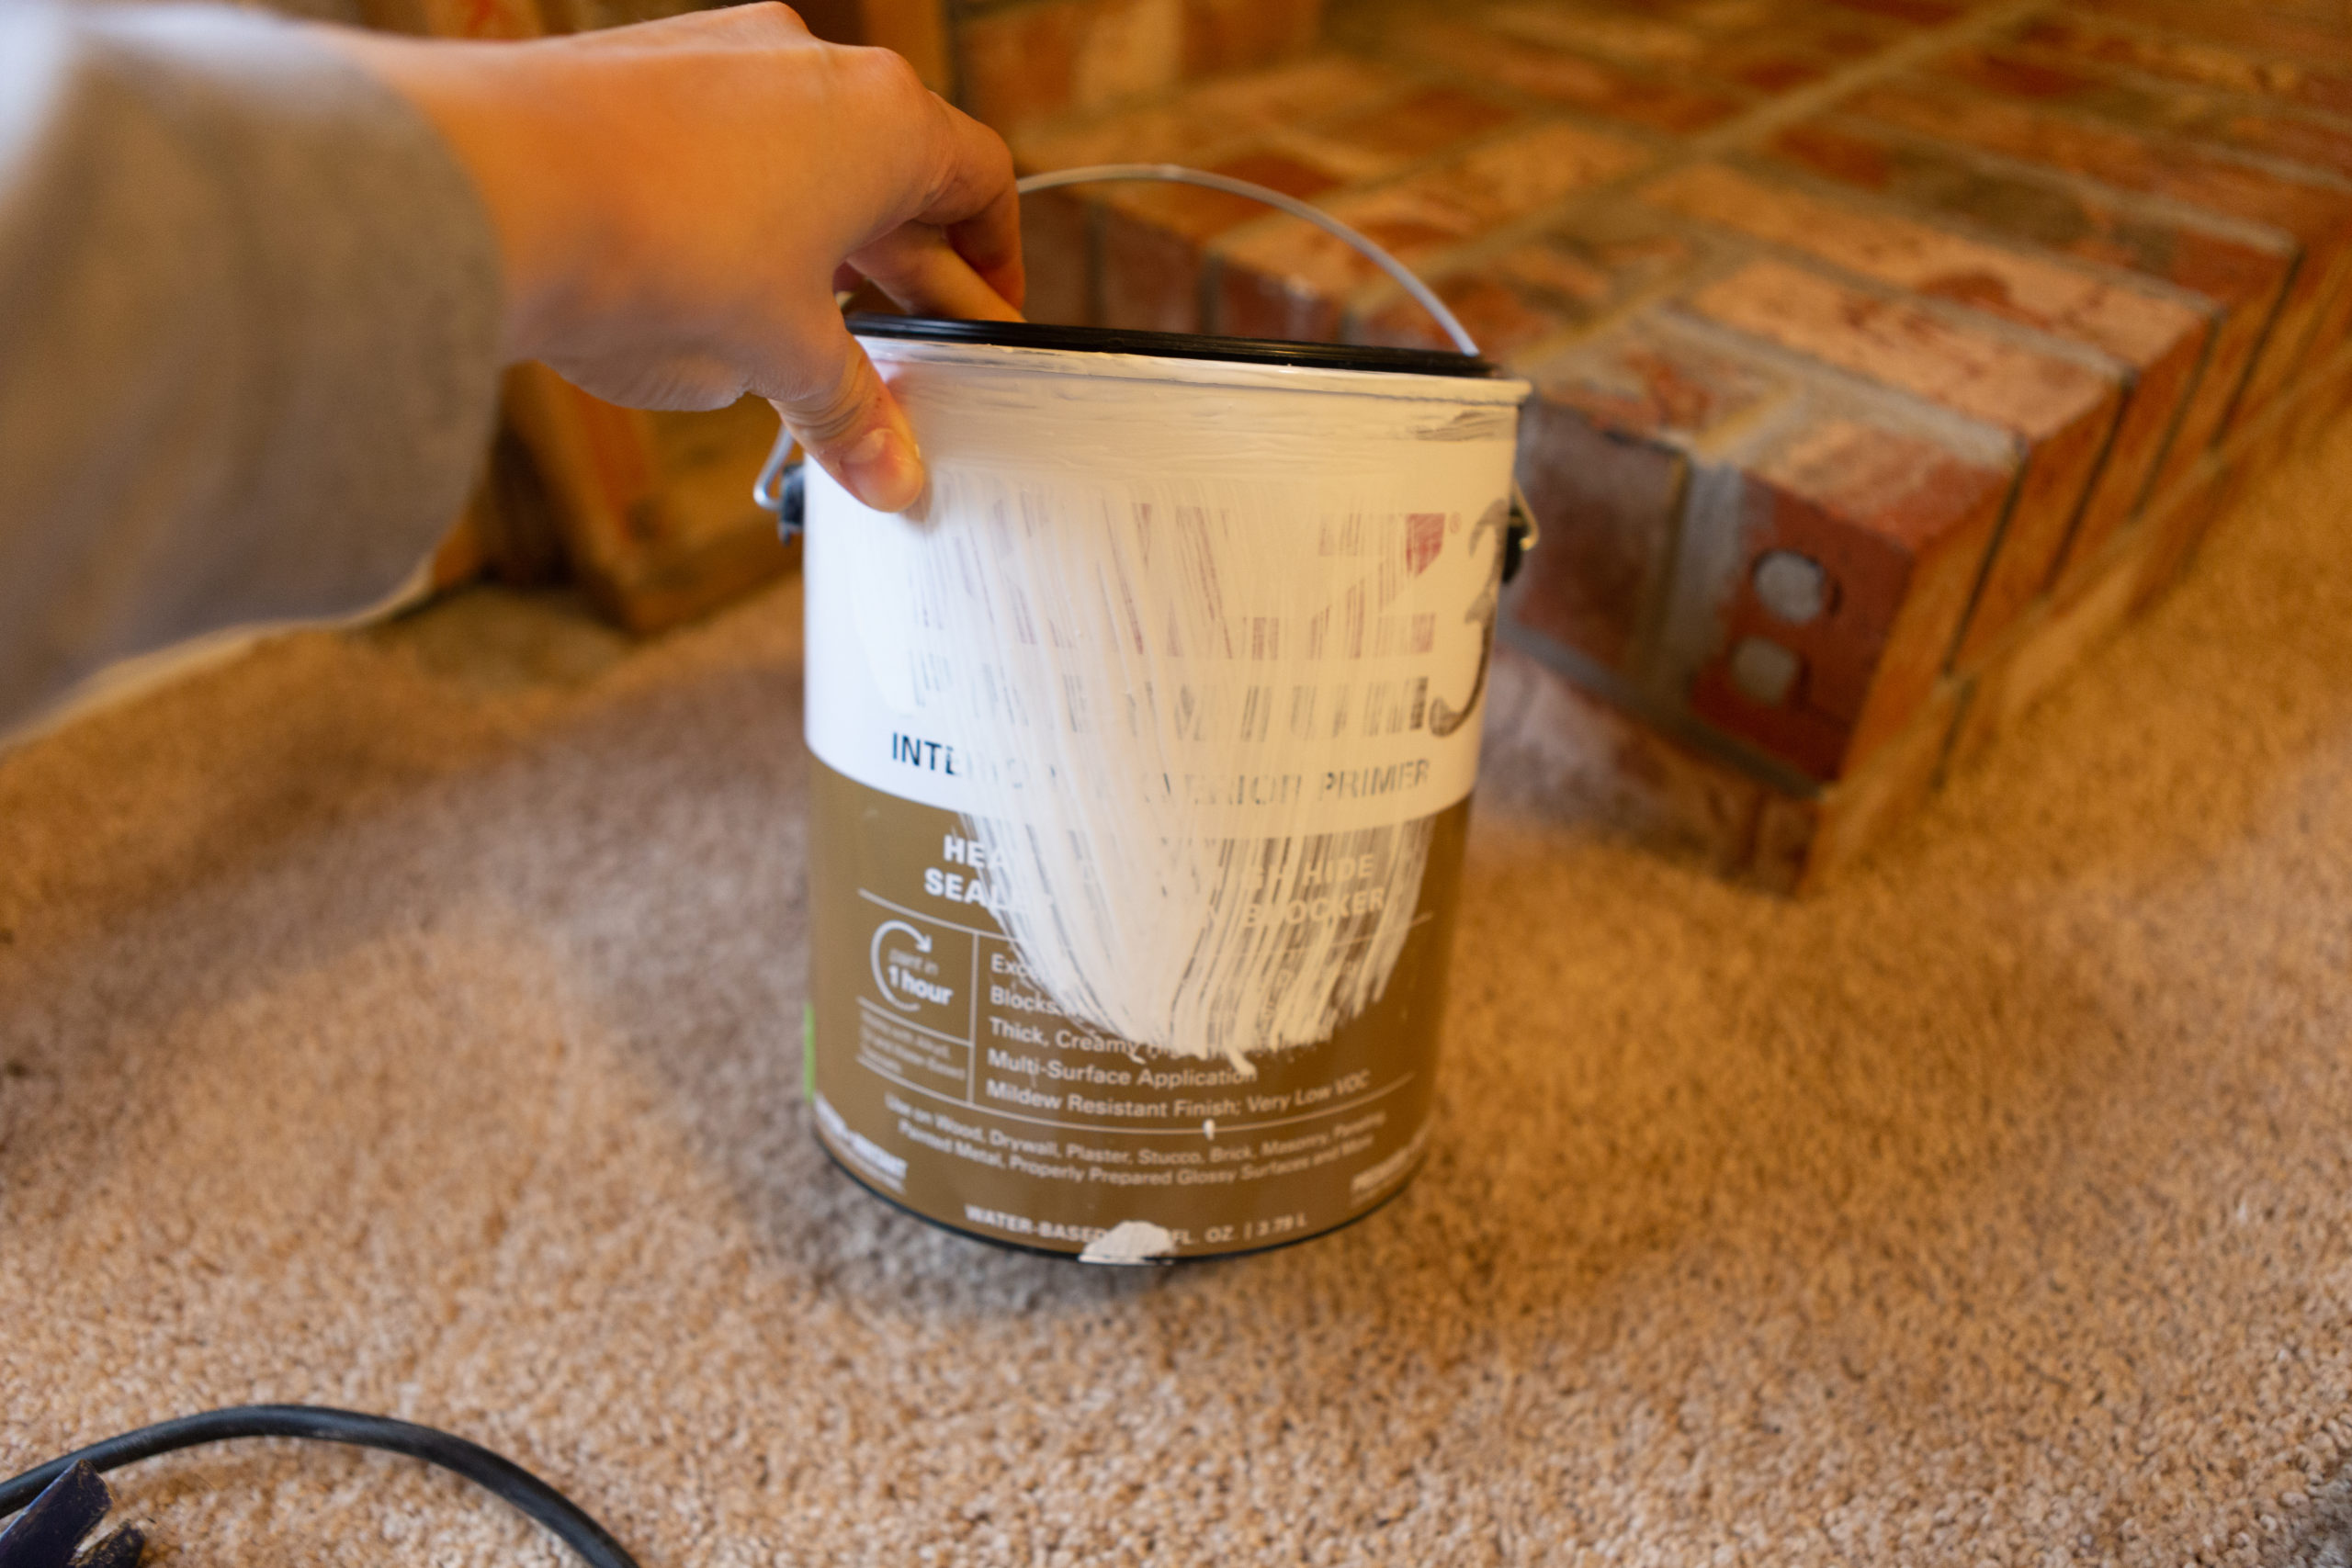
Once everything was removed, we got to work putting a fresh new spin on it that was more our style. To paint the brick, we first primed with this primer before installing the shiplap. Use a hearty brush and make sure to work it into all of the crevices.
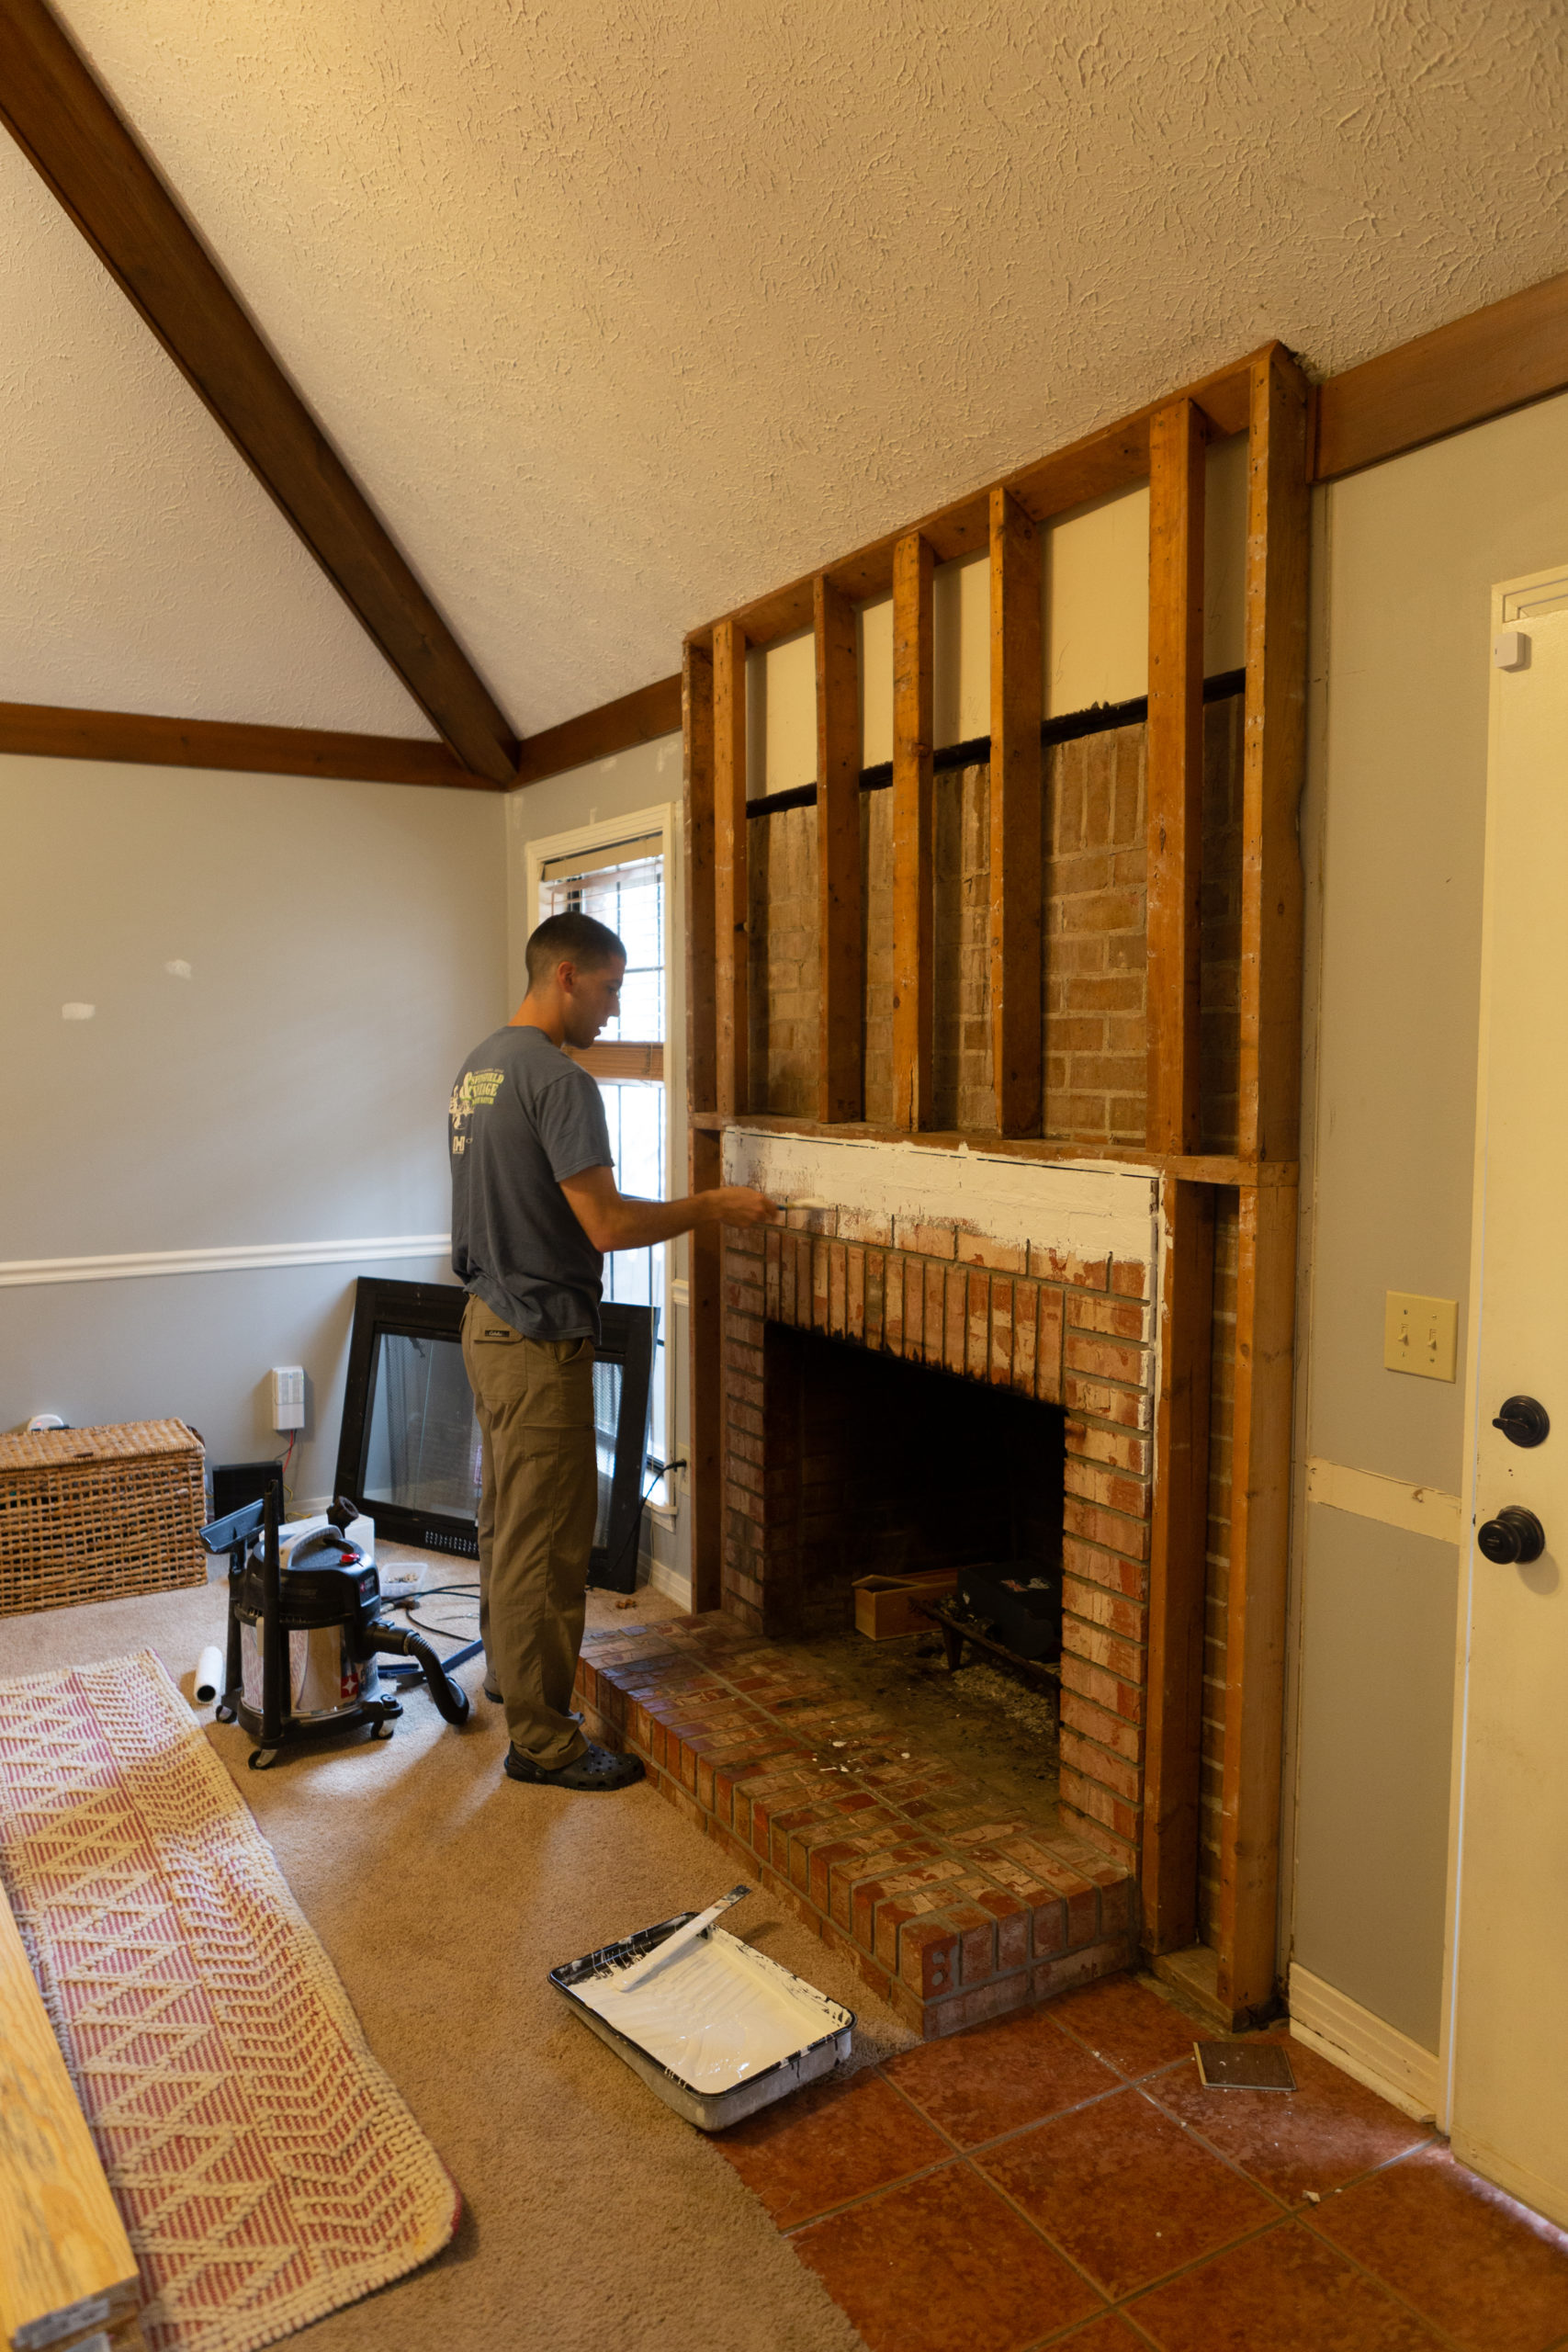
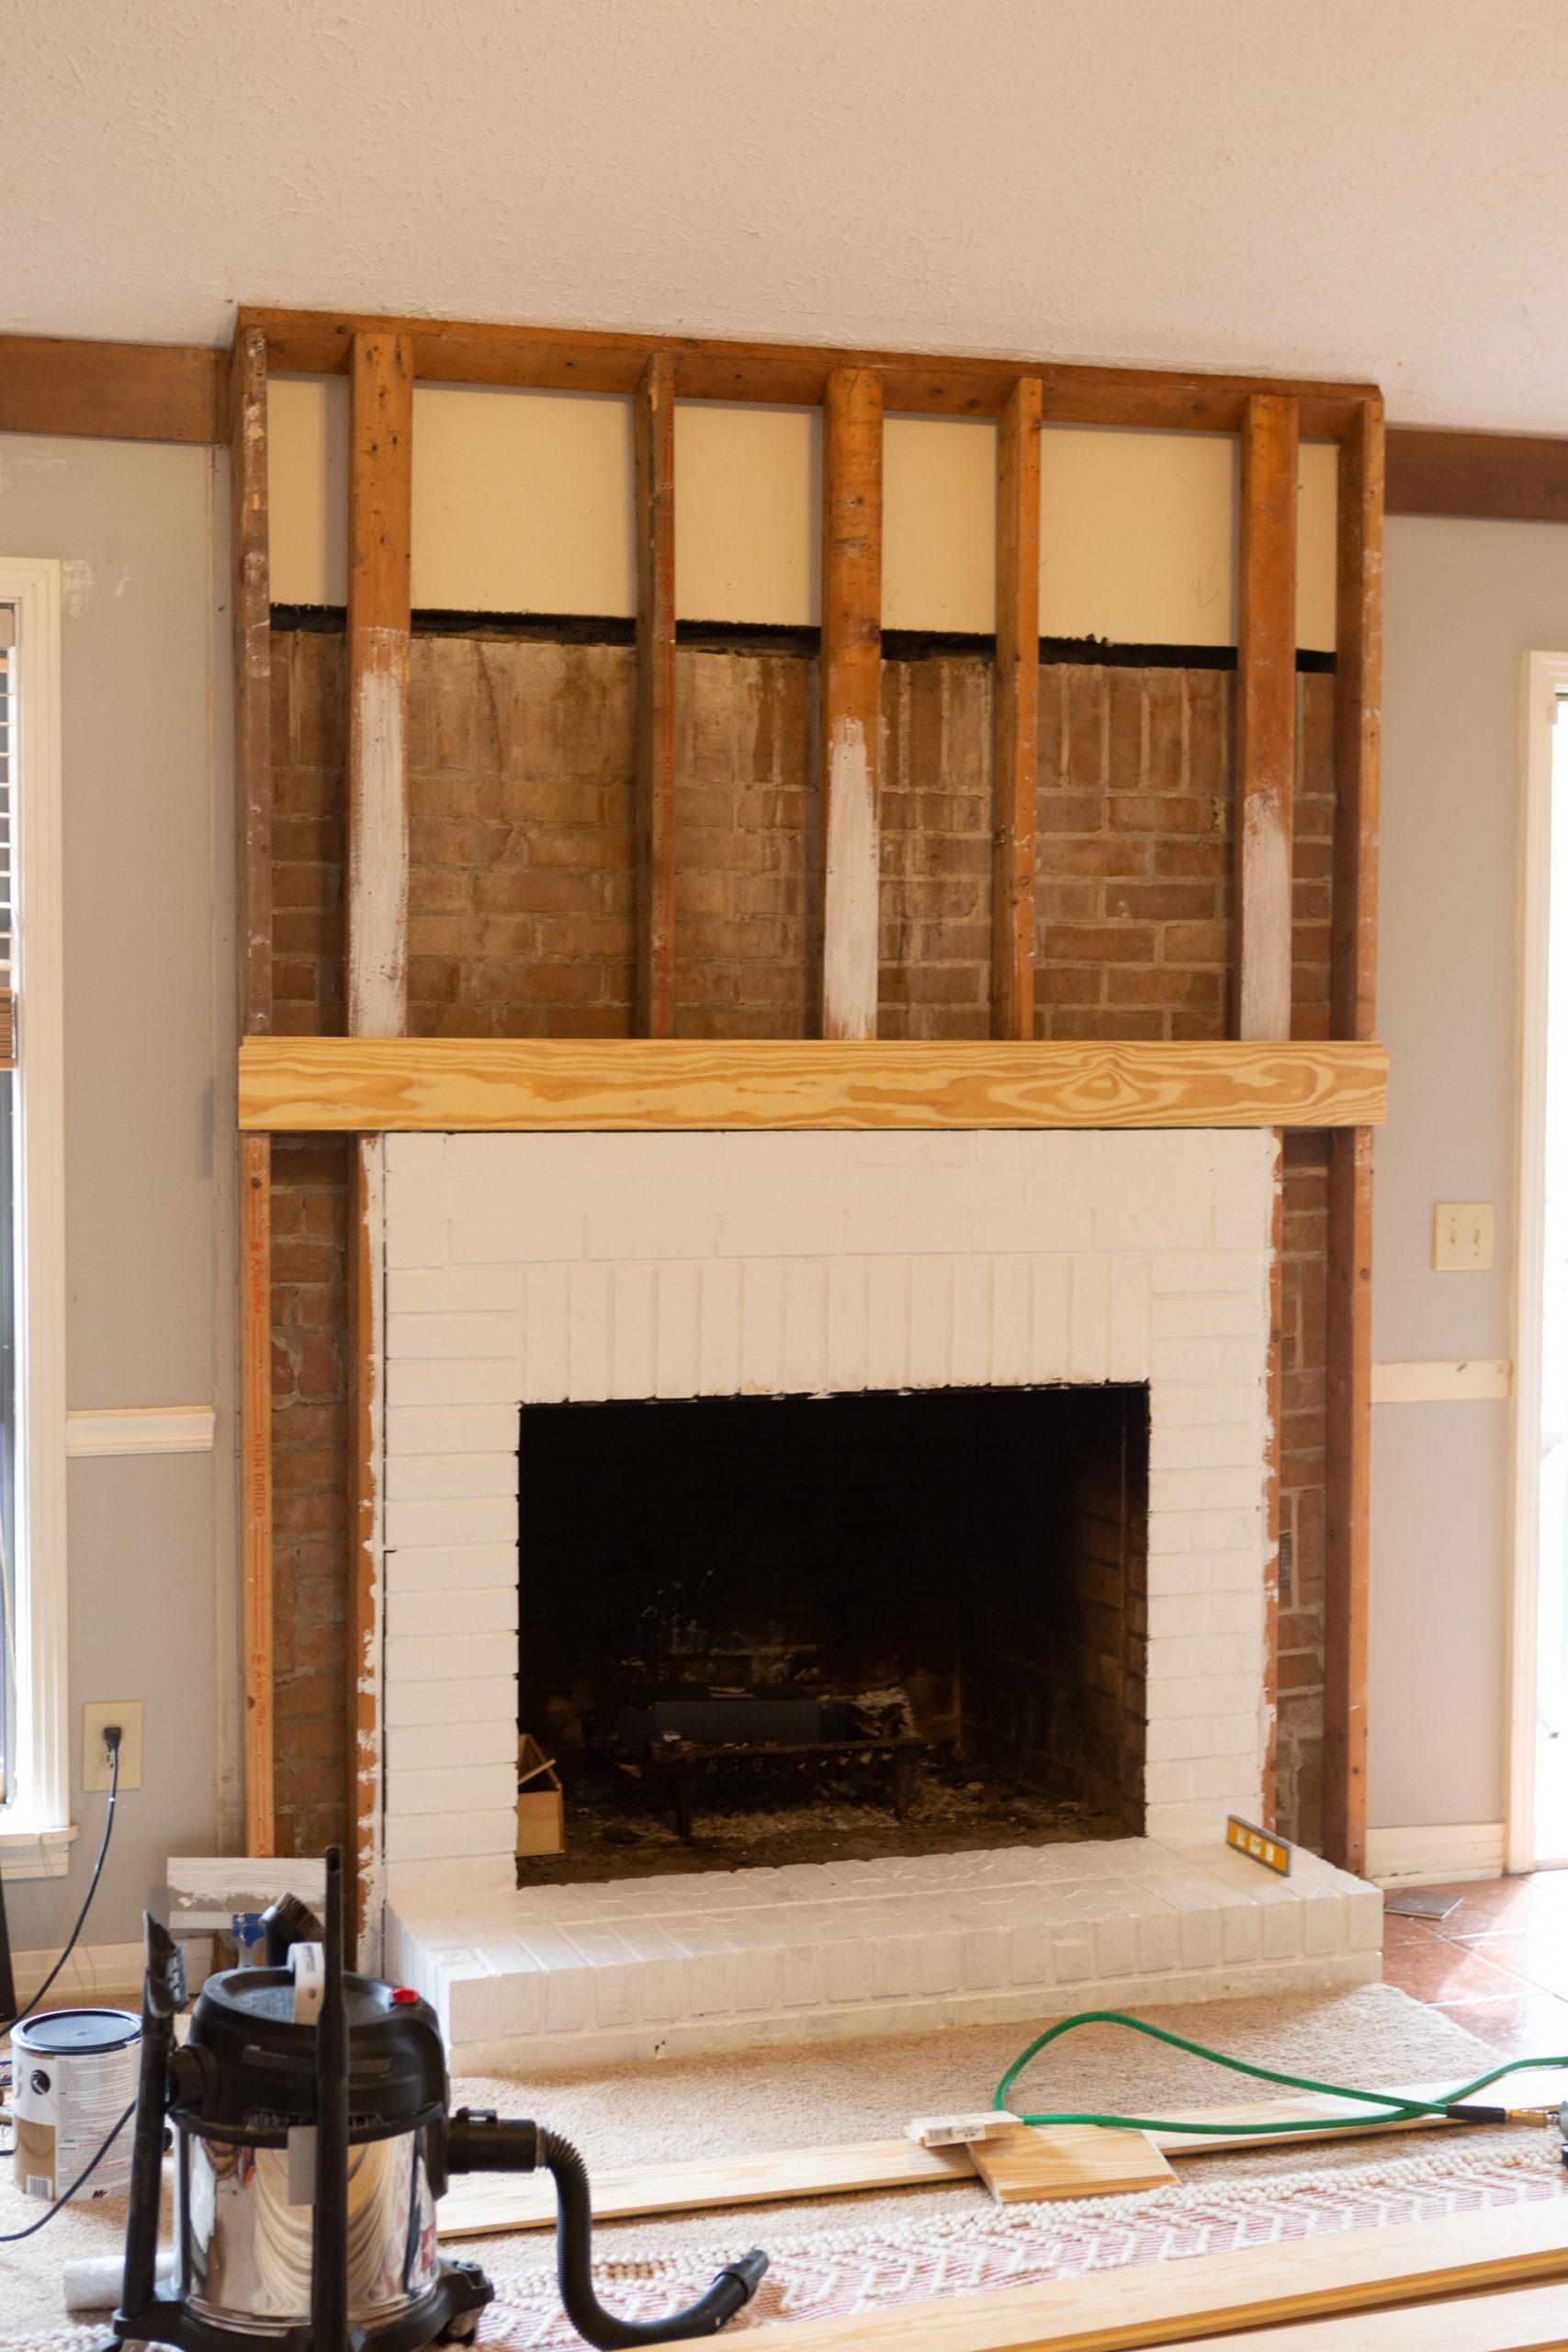
Once the brick was primed, Stephen started installing the shiplap using THESE primed boards. They are not the same as the ones we used and wish we had in hindsight. Using his nail gun, he nailed the board directly into the existing frame on the notch so that the nails would be hidden when he installed the next board over it. Yay for minimal nail holes to fill! If you need to create a frame, my friend Brooke has a post on how they did that HERE. He cut smaller boards for the sides and worked his way all the way up. For the last piece at the top, he ripped it down using a table saw so that it would fit perfectly. We used L trim on the corners to cover the seam and give it all a finished look.
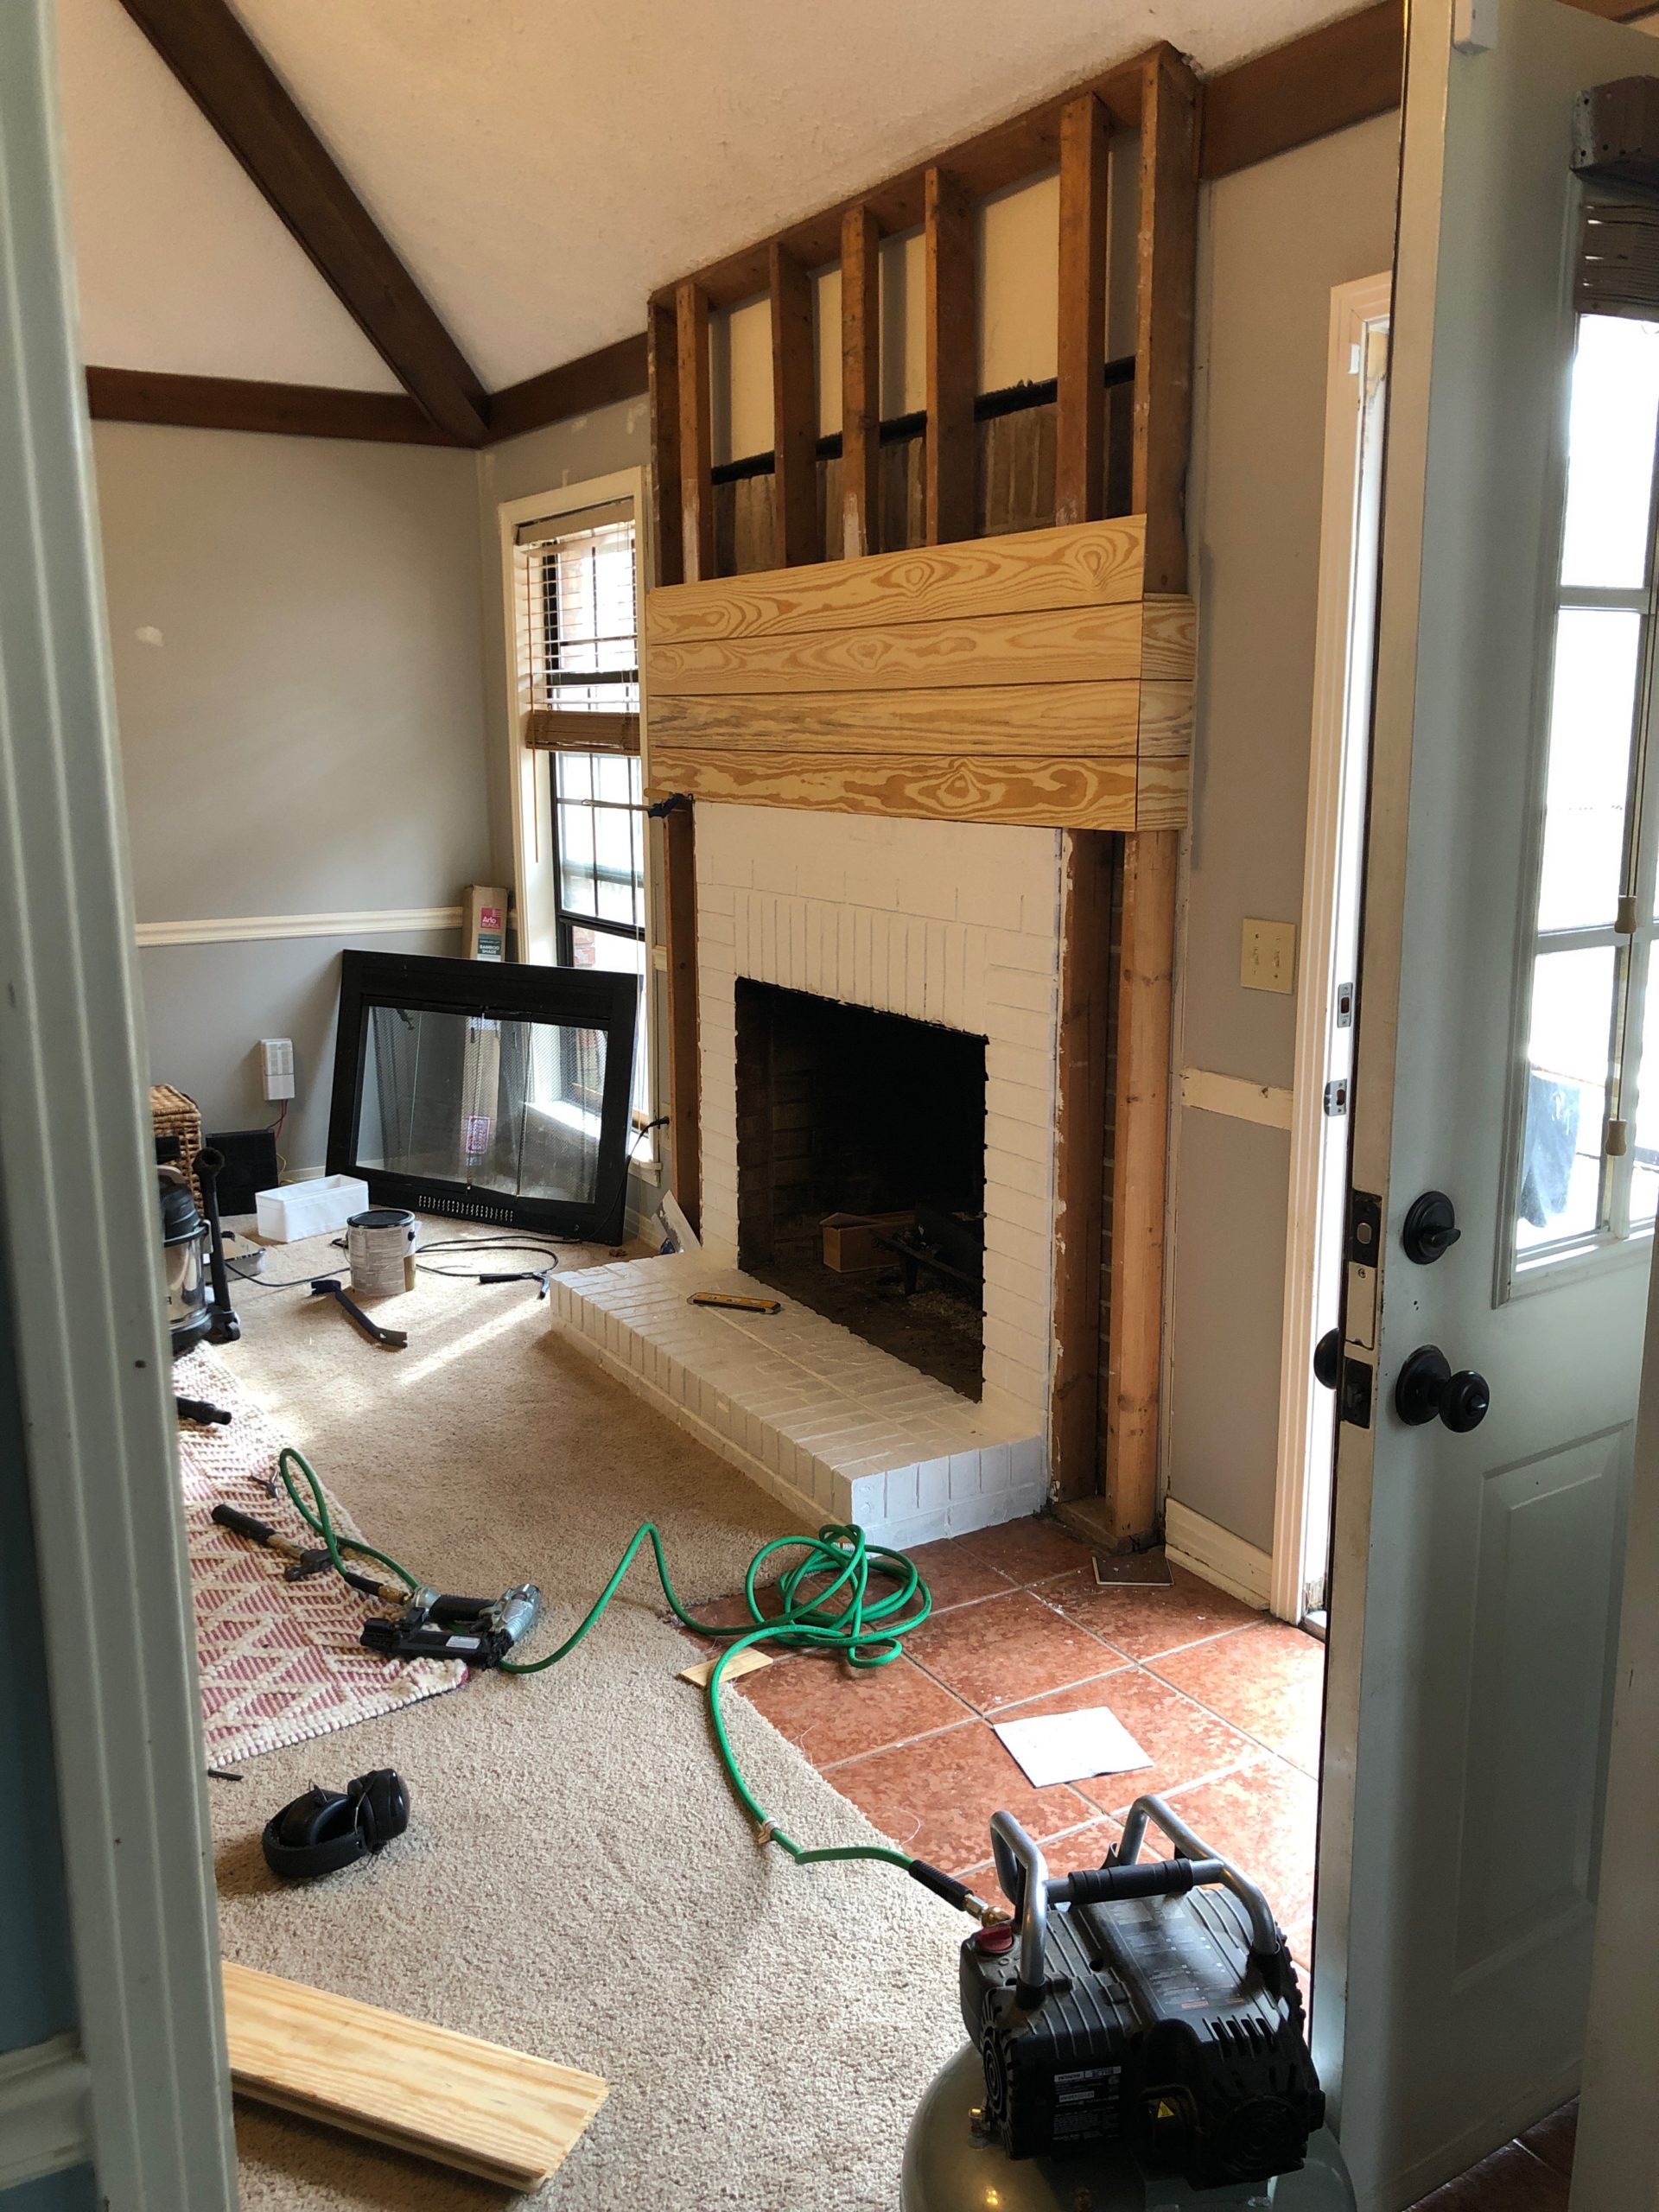
Look at baby Ellie! She was around 6 months at this time. She saw this photo while I was working on this post and said, “Dada and Soapy (Sophie)!” “No, that’s Dada and you, Ellie!” (She starts to get flustered…) “NO! Dada and Soapy!!!!” I can’t believe you’ve grown so much since then either, my little buddy. 🥲


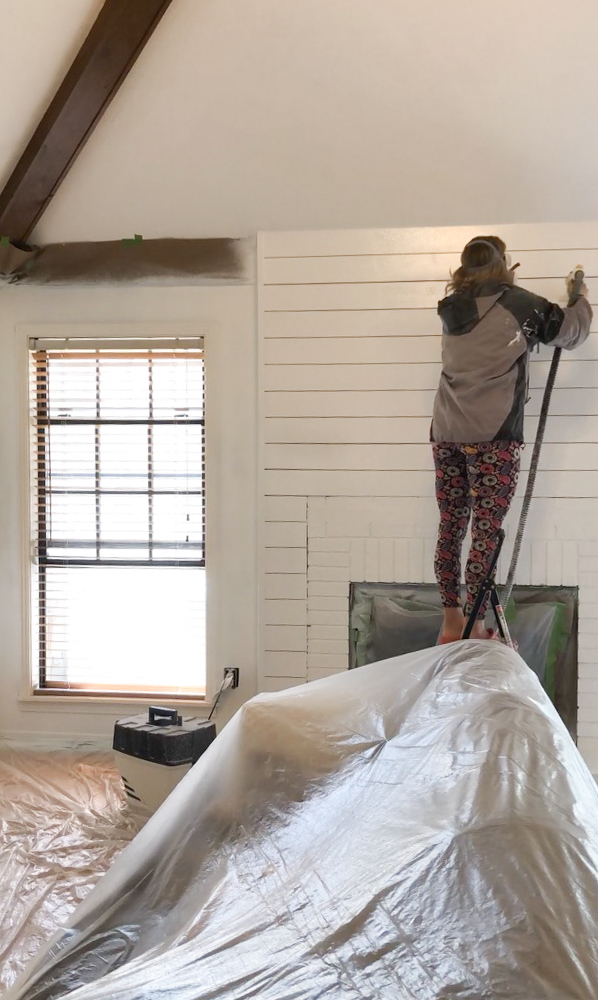
Once everything was installed, it was my turn to take over. Before painting, I caulked all of the seams around the trim on the fireplace. Caulk makes everything look SO MUCH BETTER! I have a bunch of caulking tips over on my Instagram. Then we taped off the room and I painted the entire thing in SW Chantilly Lace using our go-to painting method. I used the same paint on the fireplace (shiplap and brick) that I used on the walls! The expert at the paint store recommended this. It took two coats for everything to be completely coated.
For the mantle, Stephen made a rectangular box using wood scraps from the previous fireplace surround. He created a base by screwing a couple pieces of wood into the frame (which he also nailed the shiplap to) and then screwed the box he made onto that wood. And because I am not afraid to share our mess ups, this is one project Stephen hopes to go back and redo now that he’s built a lot since then! We both want it to be deeper so that it can hold a wider variety of things.
Ironically this DIY was one of our quicker ones but it made such a big impact in the living room. Which, by the way, I’m not done decorating yet to officially share on here. These things take time (and money!) 😉 In the meantime, it is fun to see how the mantle has changed over the years while decked out for Christmas!


I hope this inspires you in your own home or encourages you to take on a fireplace DIY! Until next time!
I sincerely appreciate you all shopping through my affiliate links like the ones included in this post. I make a small commission when you purchase through these links at no extra cost to you. These funds help support my family and allow for us to produce better content for you all. I can’t thank you enough for supporting all that we do!
jordan jean
That’s crazy! We had a similar story. My teenage daughter invited all her friends over for a birthday party. One of the kids says, “I think I used to live here but it looks so different, I can’t tell if this is our old house.” After all the work we’ve put in to remodeling this house ourselves, I’ll that as a compliment…lol. P.S. yes, it was his old house.