July 24, 2024
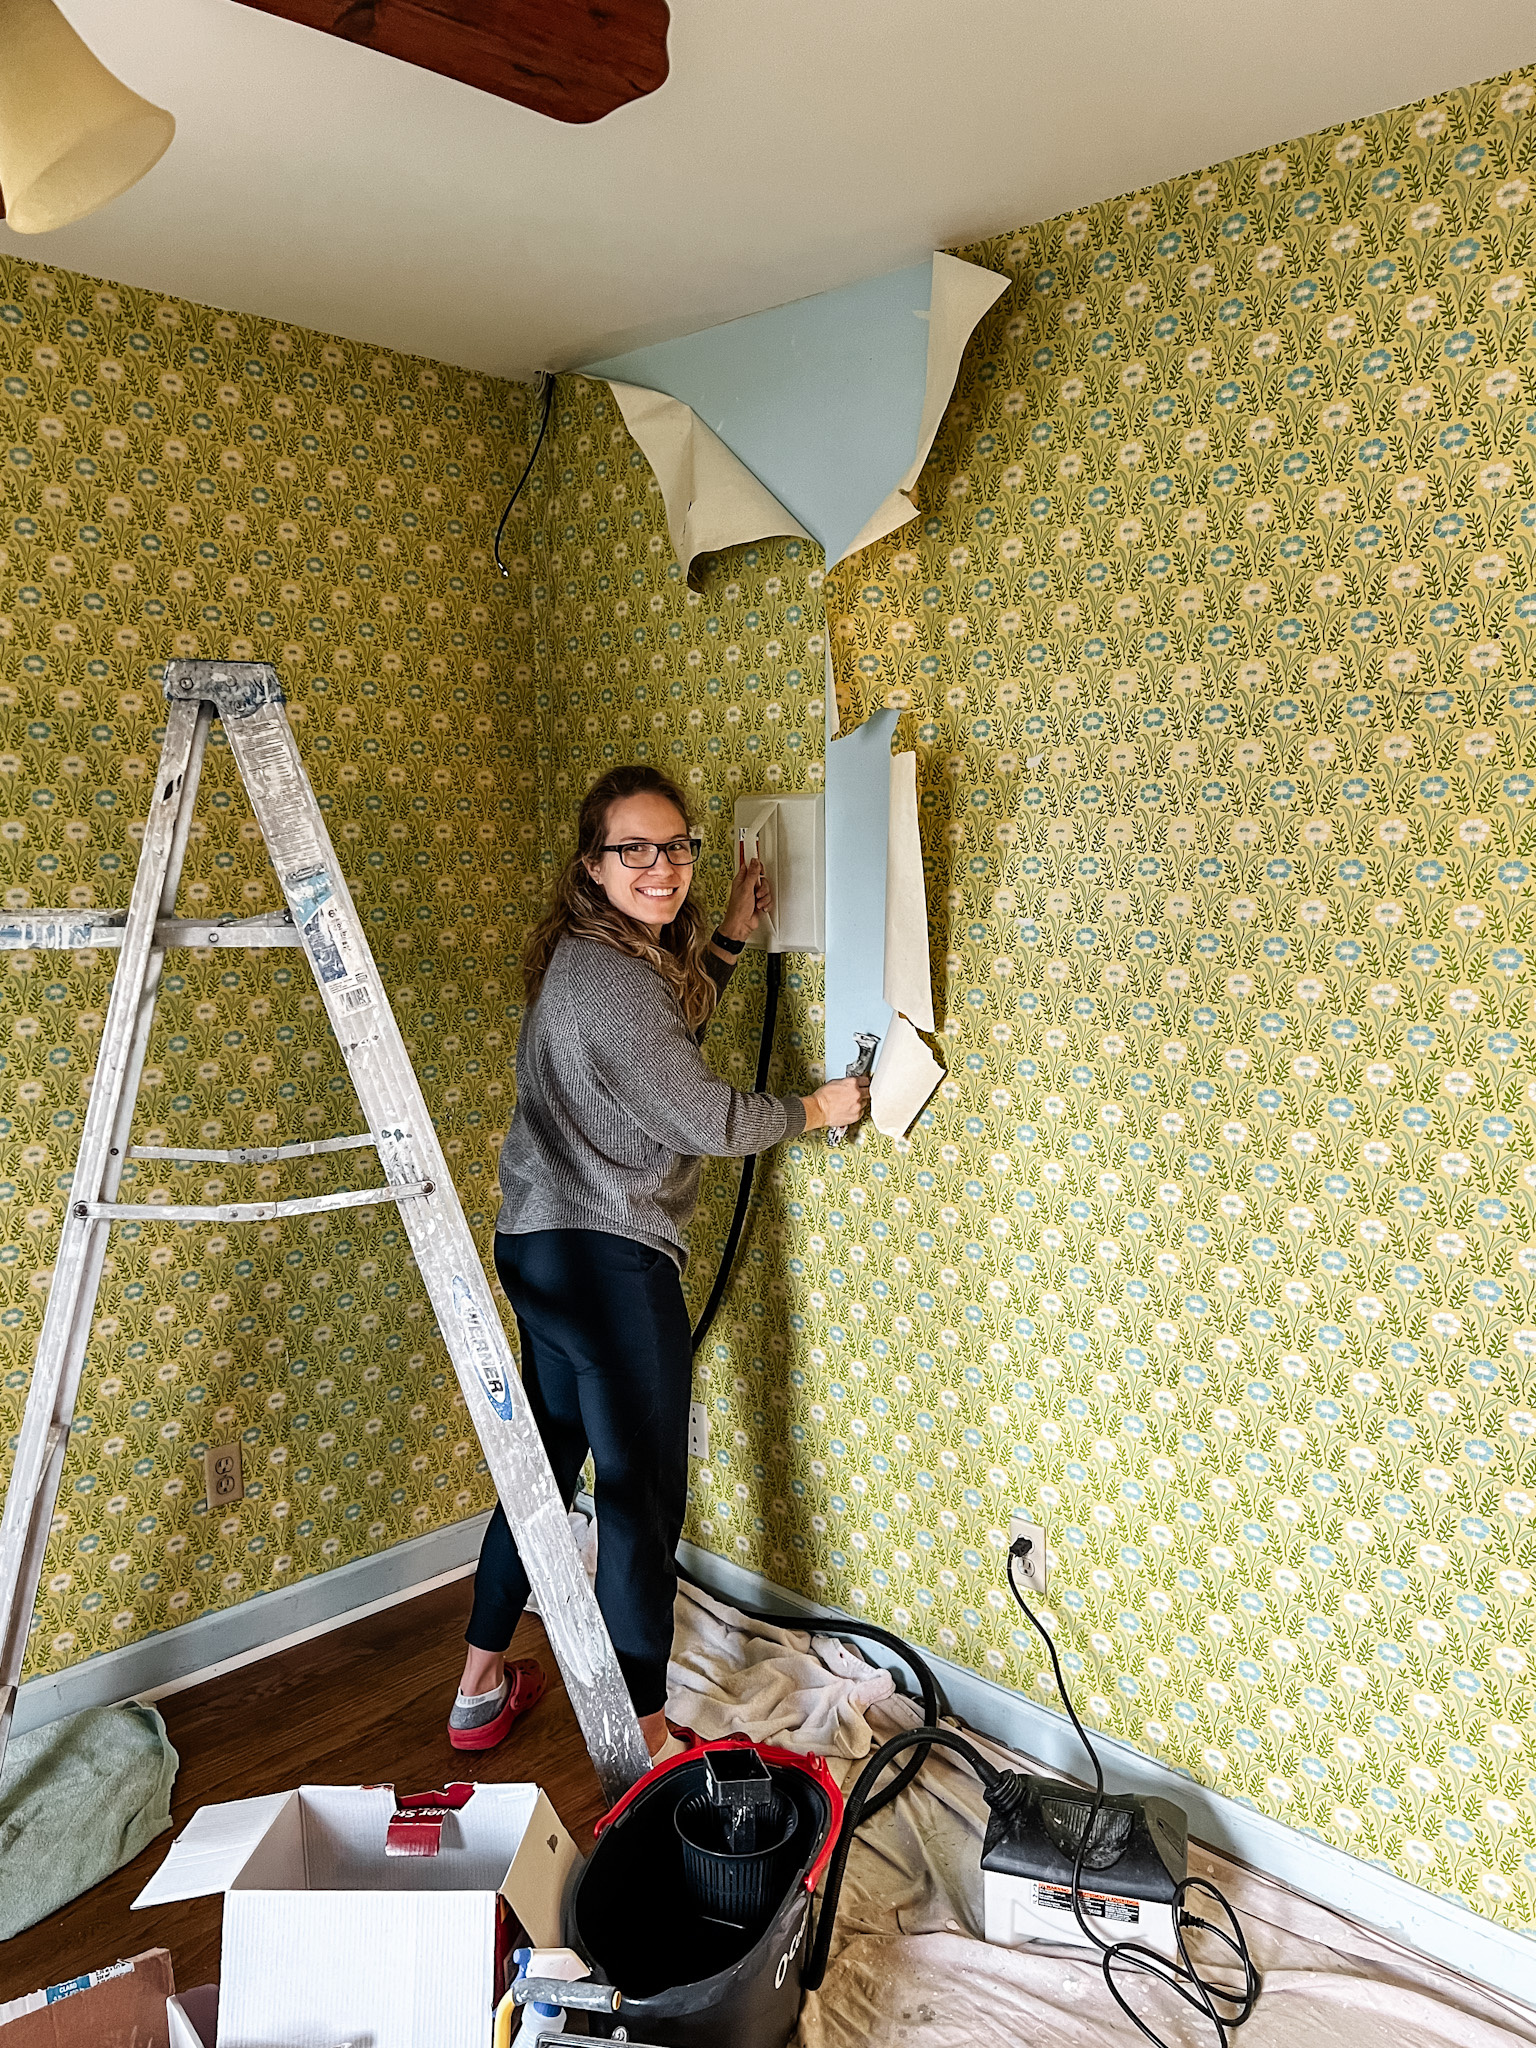
Our new house is FULL of wallpaper (you can see all of the before photos here)! While there’s a good bit of it that we like and we’re going to keep for now, some of it was either not our style and/or was in bad condition and needed to be removed. That was the case for the wallpaper in the room that we’re making into the guest bedroom.
Surprisingly, Stephen and I haven’t had to remove any wallpaper in our previous homes. In the rooms that did have wallpaper, we ended up completely removing the walls. For example in our primary bathroom and guest bathroom in the Mississippi house. I suppose that’s another way to get rid of it… Ha!
I had done a bunch of research on methods to remove wallpaper and had tried out one of the most popular methods I came across which was to score the wallpaper using a tool like this, saturate it with fabric softener, and then peel and scrape off the paper. I saw that method recommended over and over again. However, while it did work for us to remove the wallpaper in the playroom (you can read bits about that here!), there was quite a bit of “cleaning up” with sanding and spackling we had to do to make the wall perfectly smooth again. The scoring tool left behind a bunch of indents in the wall that would’ve shown through the paint had we not fixed them first. Part of that was user error and pressing the tool too hard into the wall. However, I think there’s a fine line for how to use it correctly to prevent those indents while also breaking through the wallpaper enough for the softener to penetrate.
My Aunt Monica who is a professional painter lived with us the first couple of months after we moved in to help us get some painting completed. We’re so grateful for her! She brought everything she could’ve thought of in terms of tools and materials, one of those items being her wallpaper steamer. Especially considering she was the one that ended up patching and sanding the playroom walls, she recommended that I try to use the steamer on the guest bedroom wallpaper. I started out by using the softener method just to see how it performed but then switched over to the steamer method and my gracious, it was so much faster. Not only that but it was important that we didn’t put a ton of indents in the walls because we knew we weren’t going to cover them up again with new wallpaper but instead we were going to paint.
To put it simply, the softener method doesn’t require the purchase of a wallpaper steamer. You just need a scoring tool, fabric softener, and a spray bottle. It’s a much more budget-friendly approach. However, if you know you’re going to be removing a ton of wallpaper like we are, the investment of the steamer could be well worth the hassle and your time. My aunt said that when she’s hired to complete big wallpaper removal projects, she’ll have two of them, one for her and a helper and each one with something like a 5-in-1 tool, steaming with one hand and then scraping behind in the other. They finish the projects most efficiently that way. Here’s how she taught me to do it:
- Follow the directions on your steamer to get it going. This was what took the longest for us actually. It took about 30 minutes to heat up enough to produce steam. I recommend grabbing a big bucket to keep the steamer head in when you need to put it down while working.
- Hold the steamer against the wallpaper for 5-10 seconds. I learned after using this in 3 rooms with very different wallpaper types (and I think glue types or maybe just a difference in how long they had been on the walls… That part is still up for debate but it varied quite a bit for me!) that the time needed can vary quite a bit. You’ll see the paper start to come off the wall a bit if it’s saturated enough. Then move to the right or left depending on which hand you’re using and repeat.
- While you have one hand holding the steamer on the wall, use the other hand to start scraping the saturated section off.
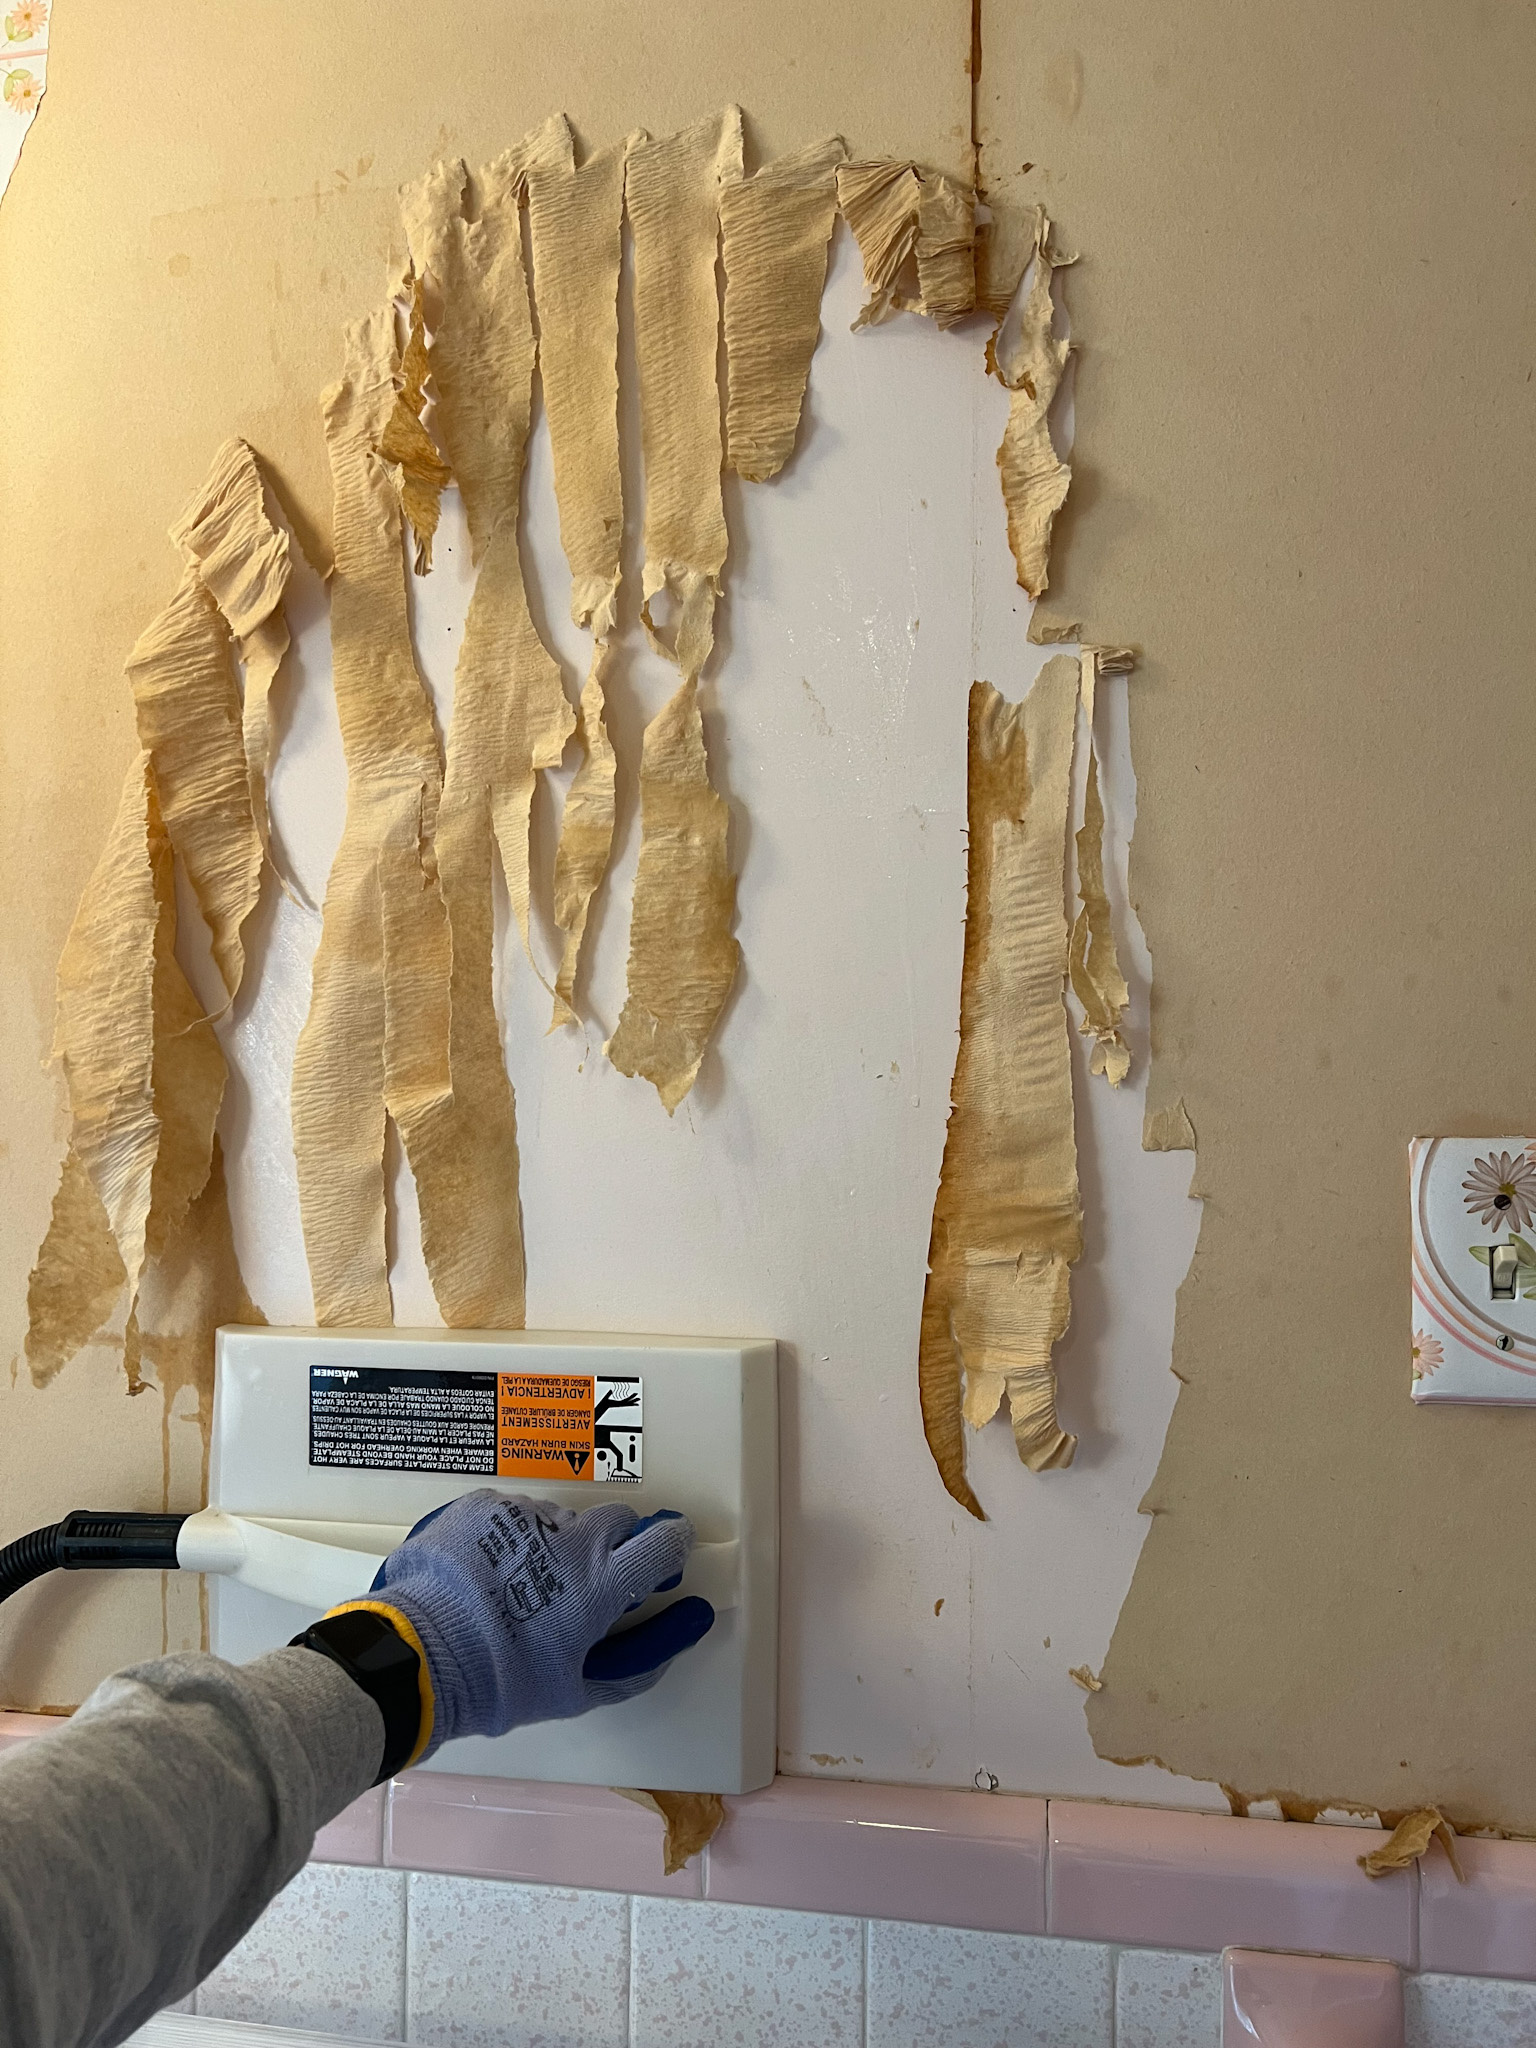
- Continue working across and down until you’ve removed all the wallpaper from the walls. The higher quality papers came off really beautifully for me. Some sheets were completely intact and didn’t rip at all! It was quite satisfying. One of the rooms I worked on had paper that peeled a lot and left a lot behind. It was such a pain. In these cases I found that lightly scoring the paper and then using the steamer on it was most helpful to get it all removed.
Here’s an example of how paper can vary. The paper above came off nearly in full sheets. The next photo in another room shows the bottom layer of the paper remaining on the wall that I had to steam and scrape off.
The amount of glue leftover on the walls has varied but really no matter how much was left over we gave them a good clean. Here’s how we found it was best for us to do it:
- Dip a flat mop into a bucket with hot water and some sort of cleaner like Tide powder and wipe down the walls.
- Then dip a scrub pad like this into a bucket of hot water and cleaner or hot water and fabric softener and scrub the wall in sections to remove any excess glue.
- Go behind your scrubbed area with a wet rag or sponge and wipe off any remaining moisture and remnants.
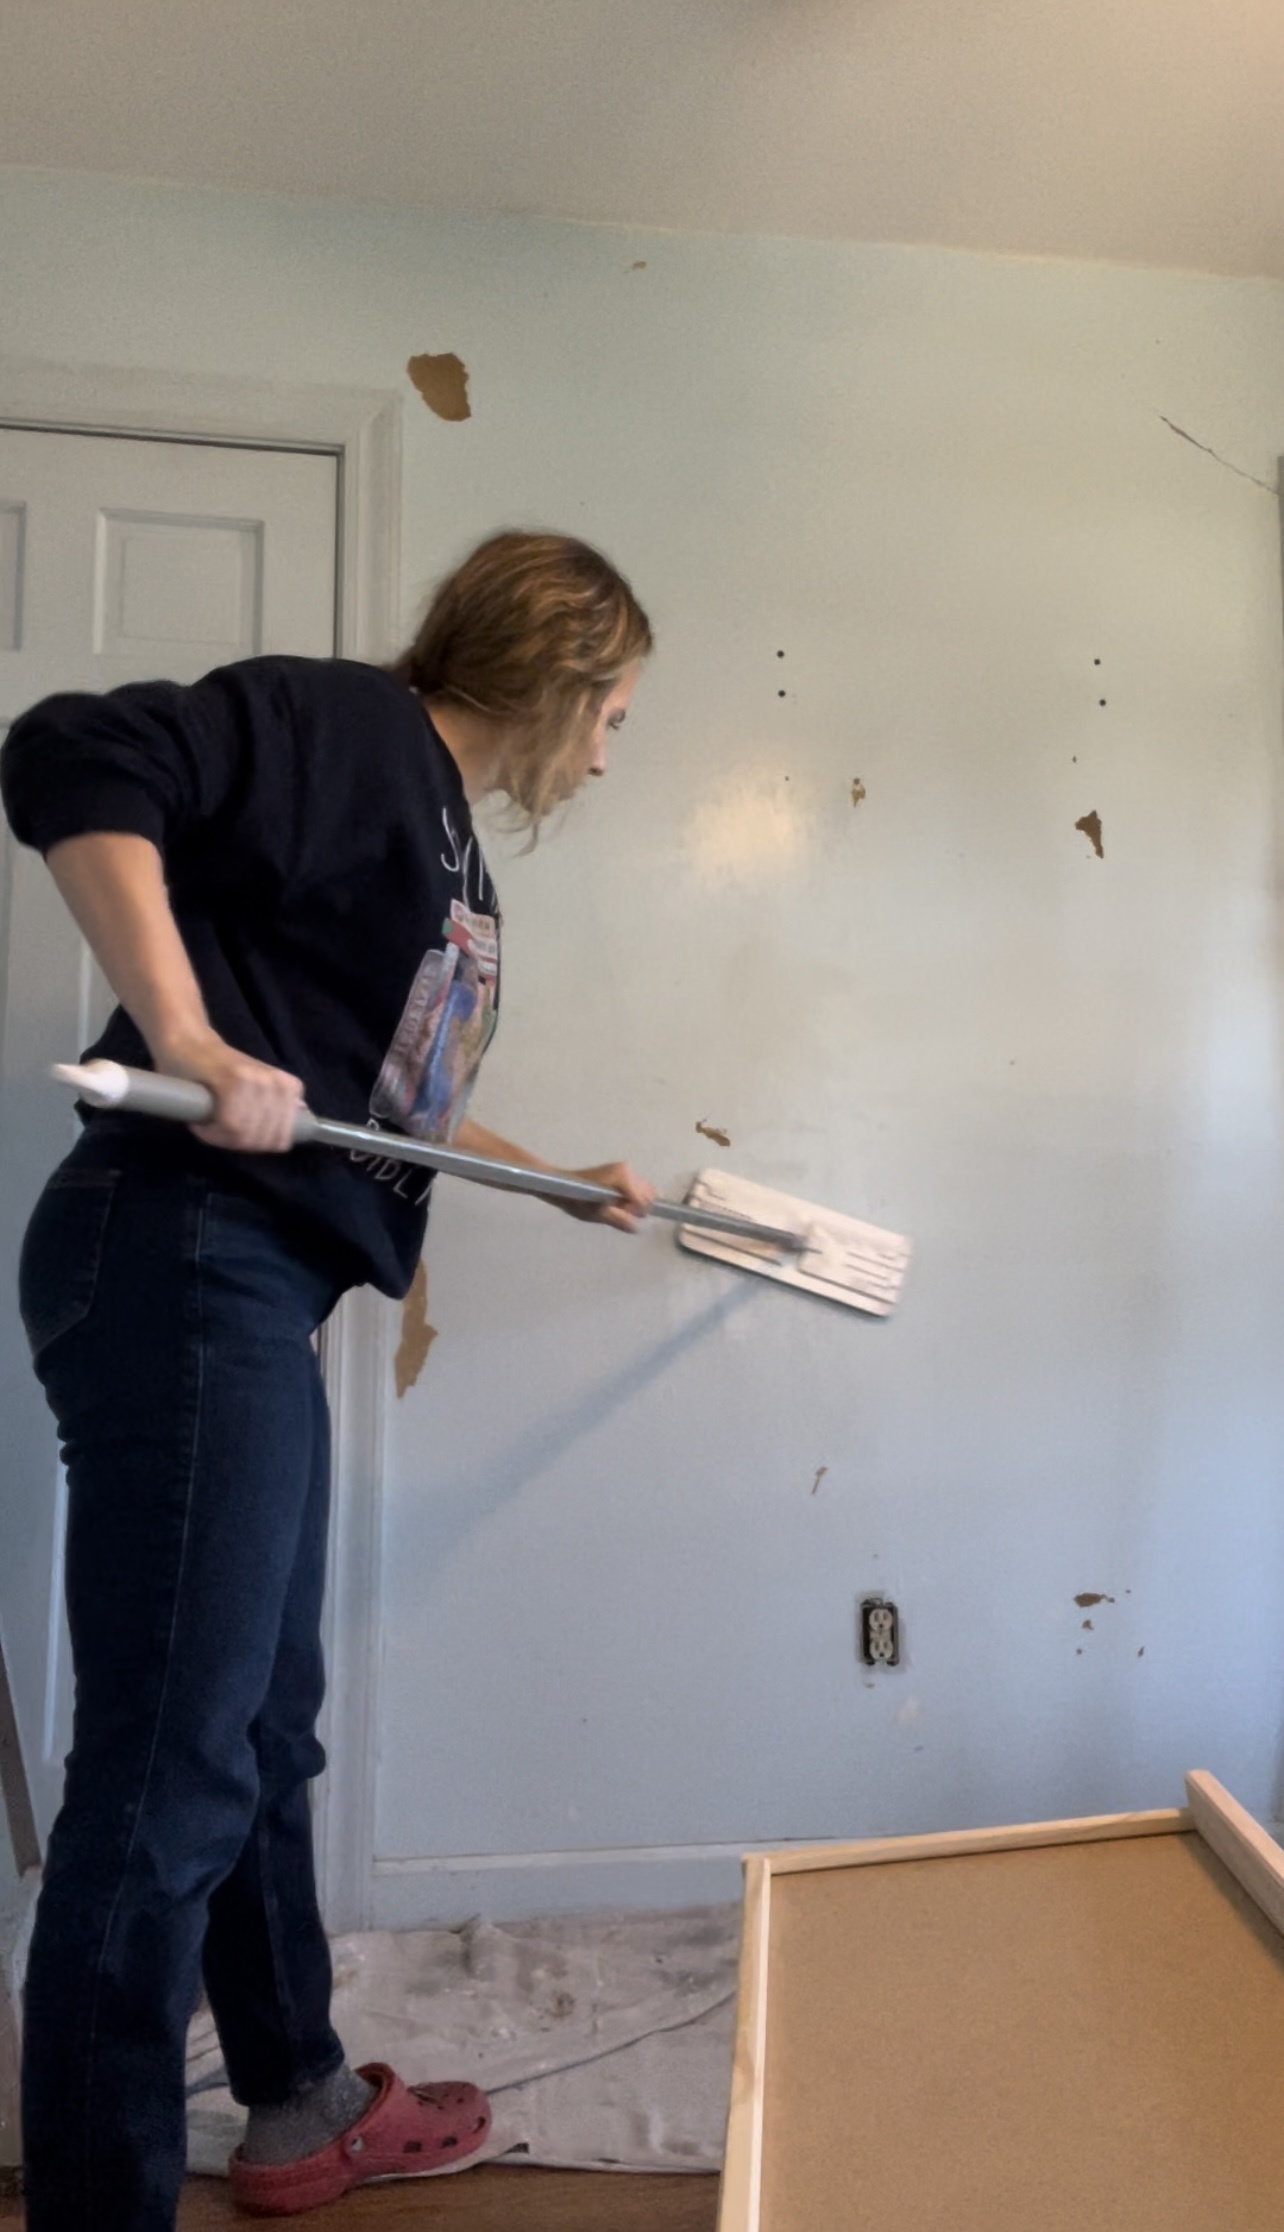
This will leave your walls super clean and ready to spackle, prime (if needed), and paint. There were tons of holes in the walls so that was definitely necessary here but the work was so worth it! Even though the walls were painted with latex, we primed the walls before painting them using this primer just to make sure we didn’t get any flashing through the paint (when the spackled spots show through the paint showing a difference in sheen/texture). The finish on these walls now is SO beautiful!
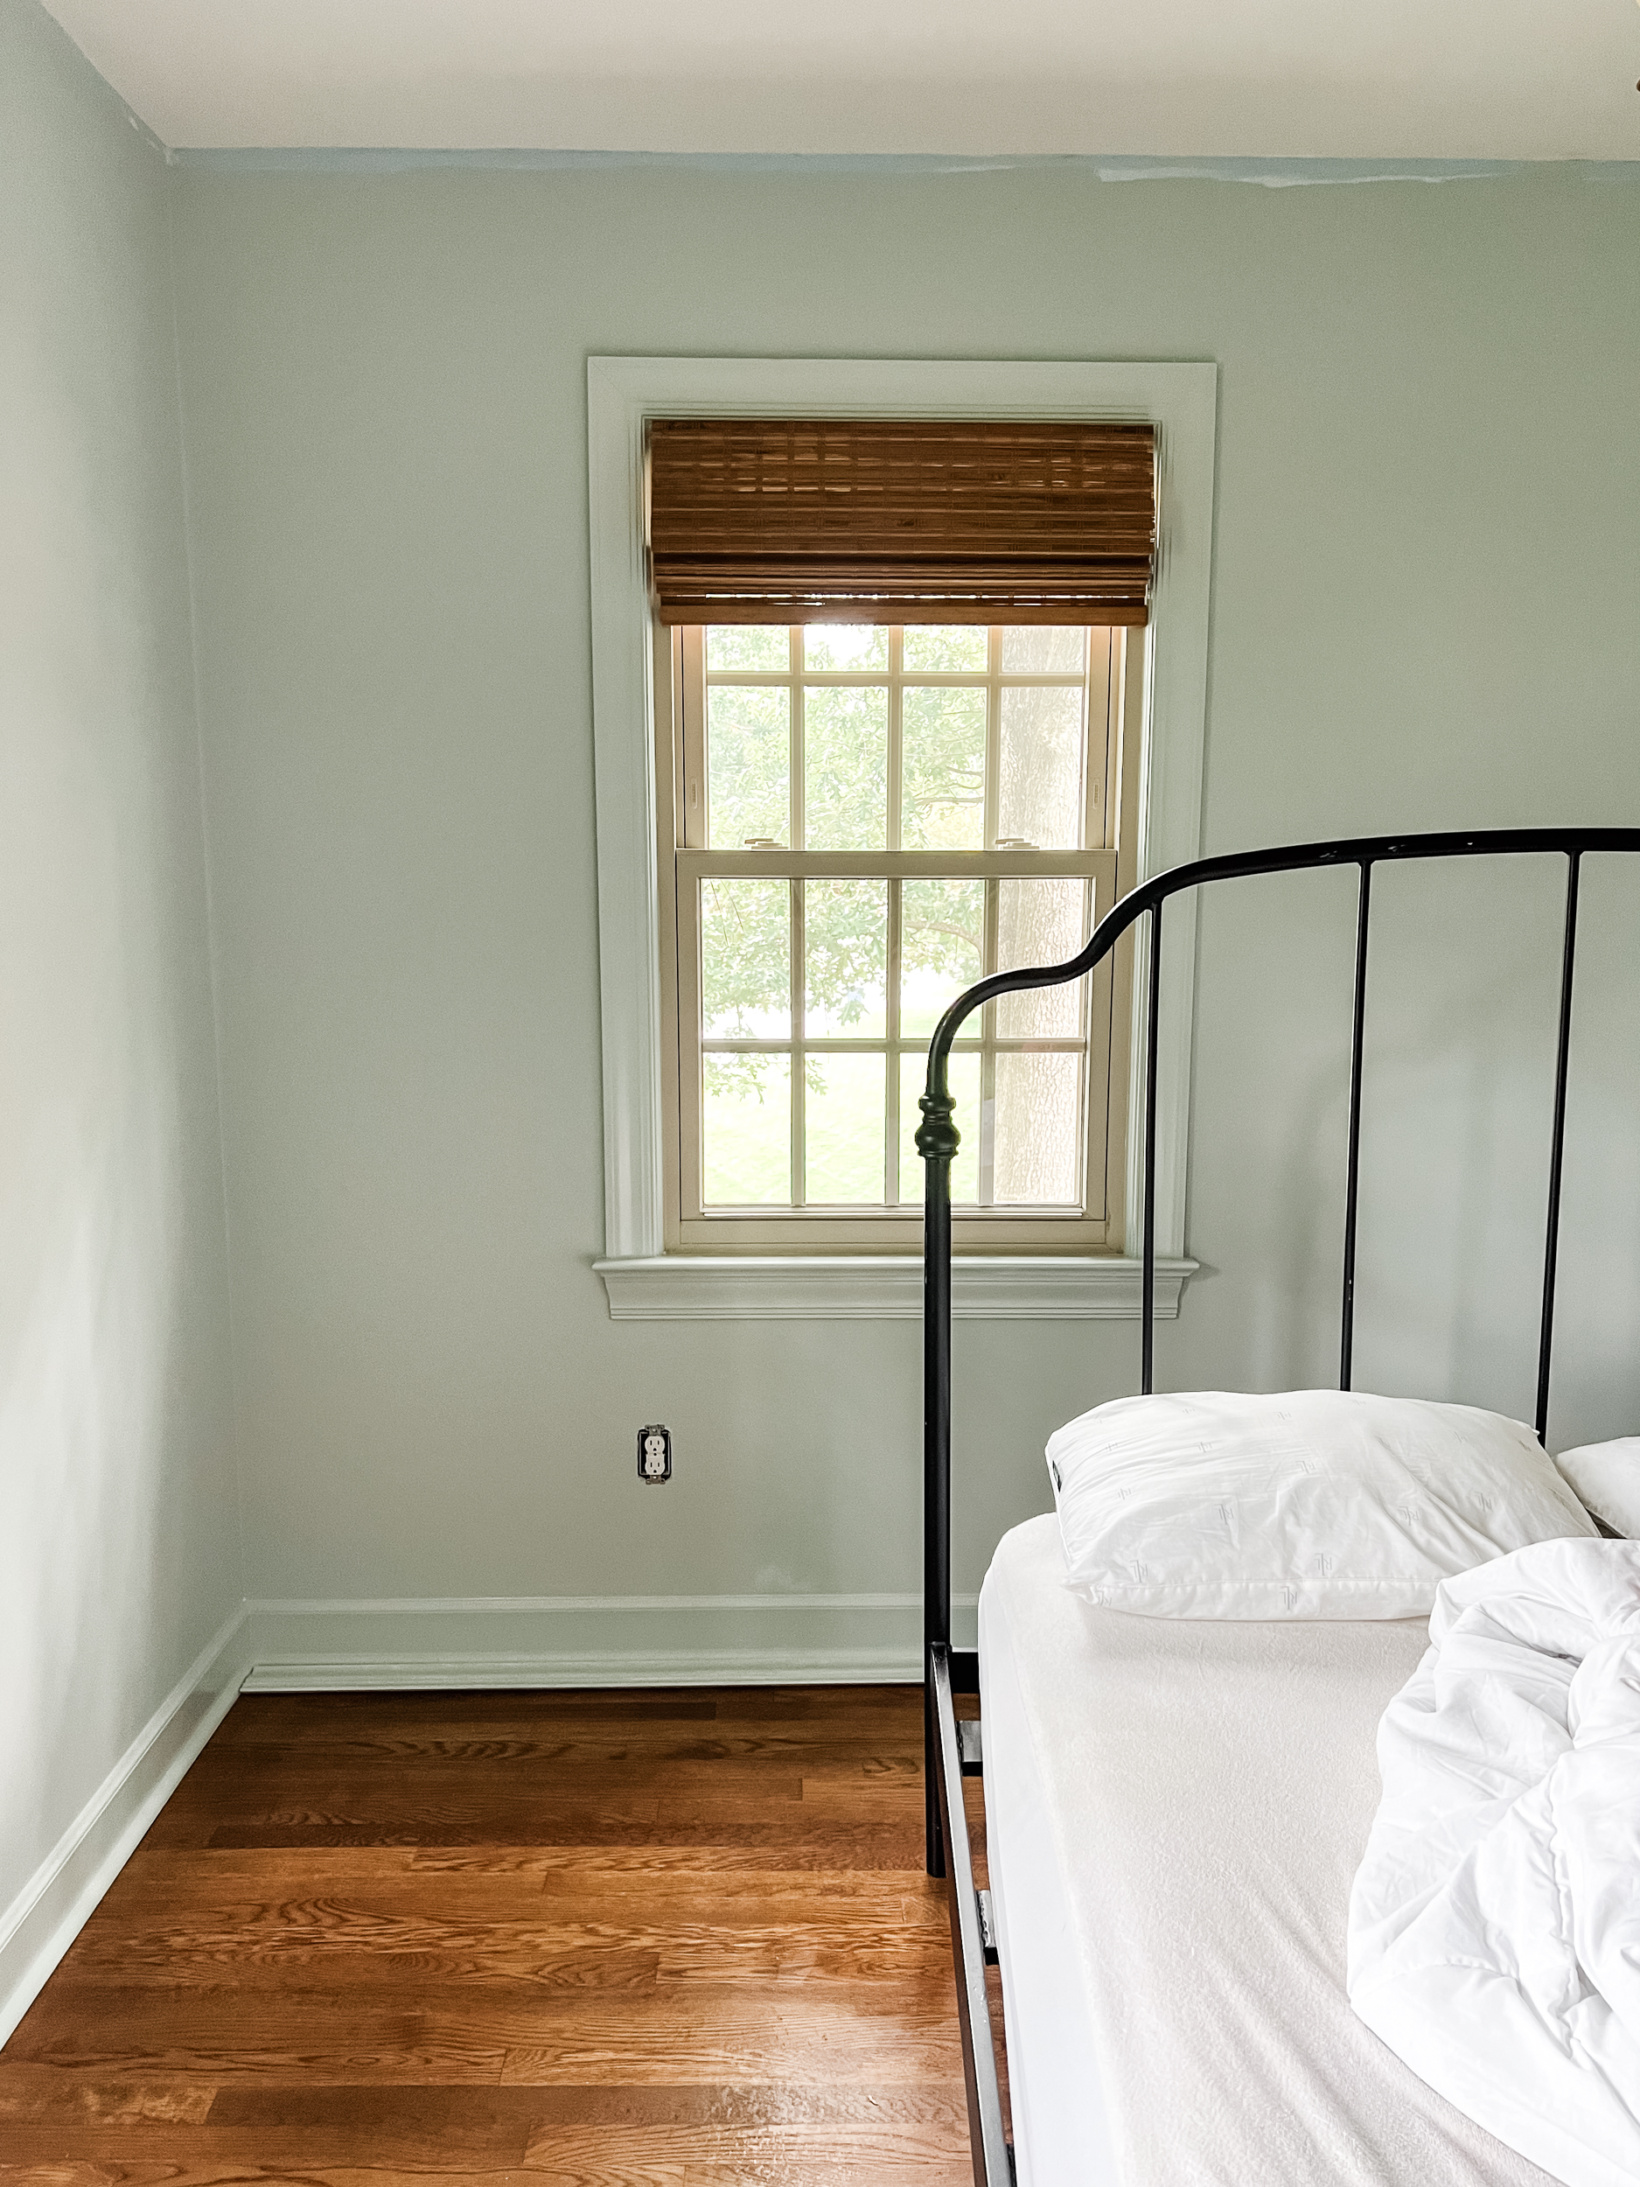
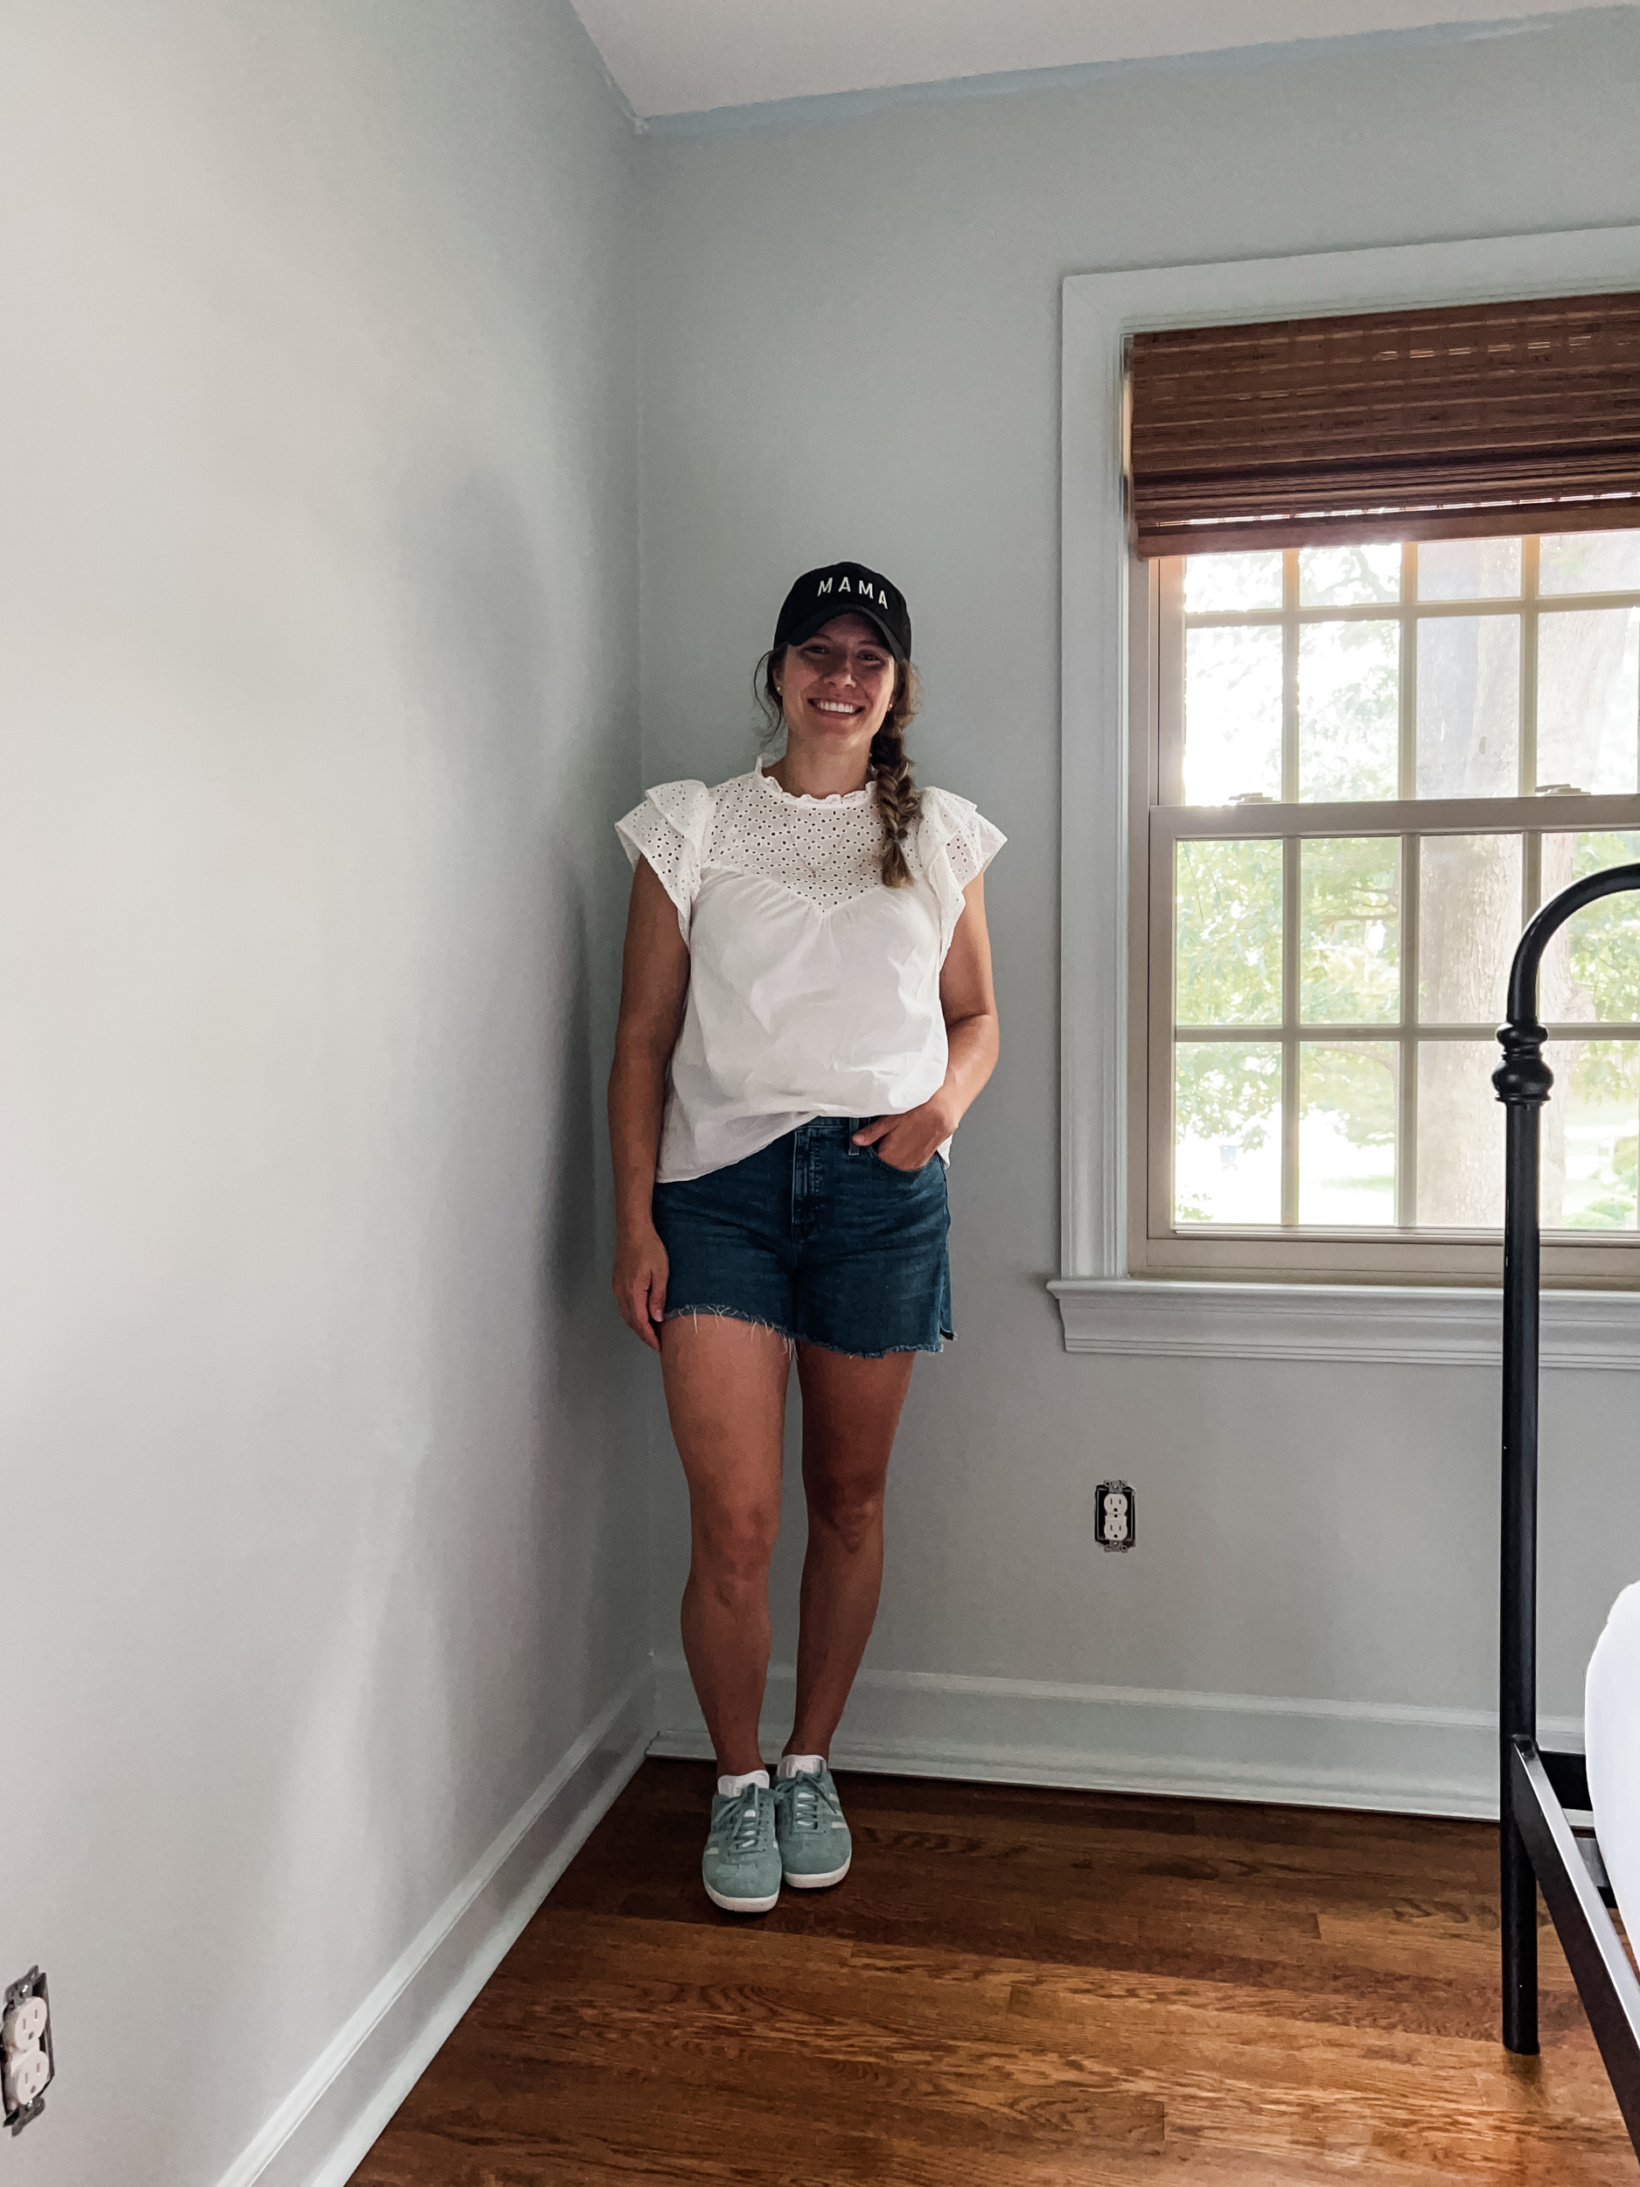
As for the color… I was looking through the Williamsburg collection from Benjamin Moore and the color Nelson Blue immediately caught my eye. It just felt so calming and classic and like it would fit beautifully into our desire for the feel of our home. Then one day as I was doing my frequent browsing of my favorite womens running shoes (if you’ve followed me for a while you know how much I love me a pair of adidas boosts) I happened to come across these cute sneakers from adidas and it sealed the deal. Not only did I want those shoes but I also needed to grab myself a gallon of Nelson Blue and get to work. And well, a solid day of painting with my mom (thanks Lolly!) and here we are.
Do you feel like you dress like your home? I find it so fun to meet new people and imagine what the inside of their home looks like. Then someday if I am welcomed into their home only to find it fits their style and personality so well. Anyone else do that? Just me? It’s SO FUN!
We still have some more fun things planned for in here so stay tuned! Thank you for being here. Until next time…
I sincerely appreciate you all shopping through my affiliate links like the ones included in this post. I make a small commission when you purchase through these links at no extra cost to you. These funds help support my family and allow for us to produce better content for you all. I can’t thank you enough for supporting all that we do!
jordan jean
Leave a Reply


[…] get you up to speed on this makeover, I’d first read this post in which I share about the wallpaper removal process, how we prepped the walls to paint, and the […]
[…] lot about our plans for the garage. Per usual we’re knee deep in a lot of projects, including the guest bedroom still (if you haven’t heard me say it before… Projects take longer the more kids we add to the […]