April 5, 2019
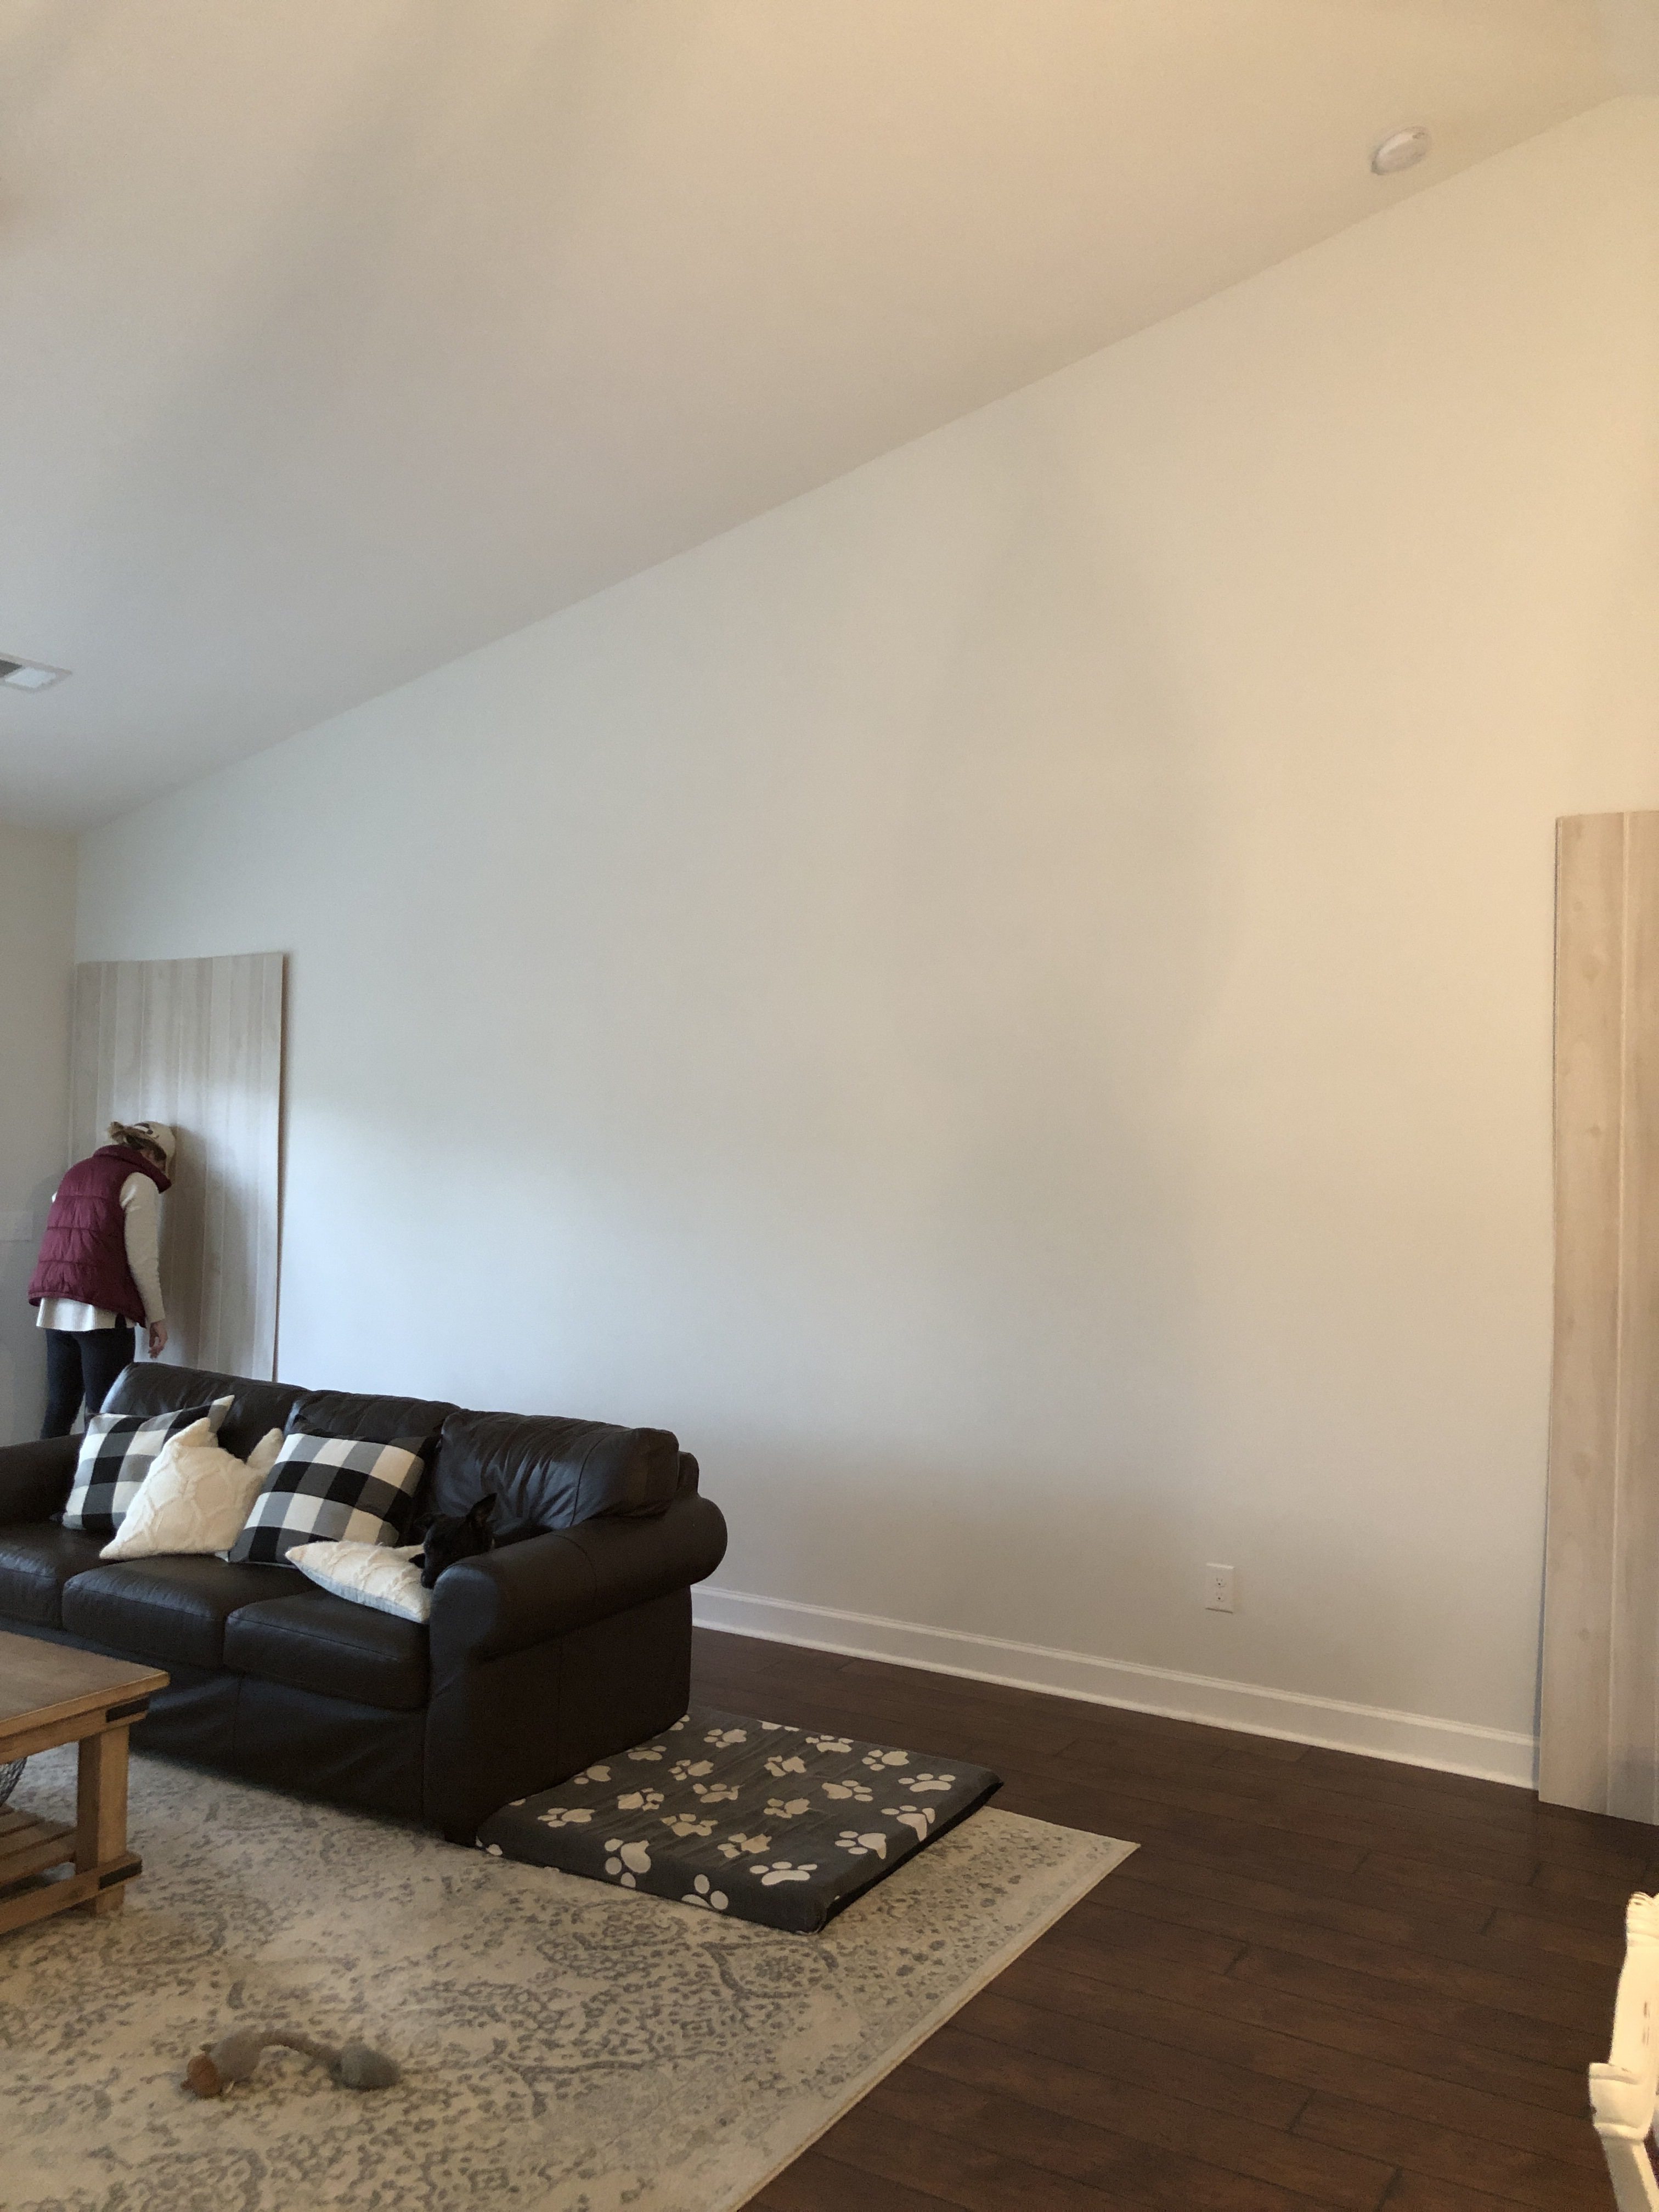
I know that most of you are probably reading this and are thinking, “FINALLY JORDAN!!! It took ya long enough to get this one up!” Yeah yeah… I know. You’ll understand why I’ve been quiet on here this past month or so soon! If you read THIS post, you know that we were close to finishing up the wall paneling in the living room and I’m SO happy to report that we are finally DONE! This project took us way longer than expected, not because of complications or difficulty. It was mainly because of time with our work schedules. If you have the desire to complete something like this in your own home, we believe you can do it too! There’s no need to be a professional carpenter or painter whatsoever. If we don’t answer a specific question you have within this post, let us know and we will do what we can to help!
INSTALL + TRIM WORK
What You’ll Need:
- Wall paneling (the number you need is going to depend on the space!)
- Level
- Saw to cut the panels and trim
- Liquid nails + caulk gun
- Brad nailer + nails – you can learn all about what we suggest using HERE
- Joint compound/spackling putty
- Medium-fine grit sanding block
- Caulk
- Top trim piece 1
- Top trim piece 2
- Outer edge piece of dead end walls
- Trim corner piece
What To Do:
- Cut the panels to your height preference. We did ours 7 feet high in our vaulted ceiling space.
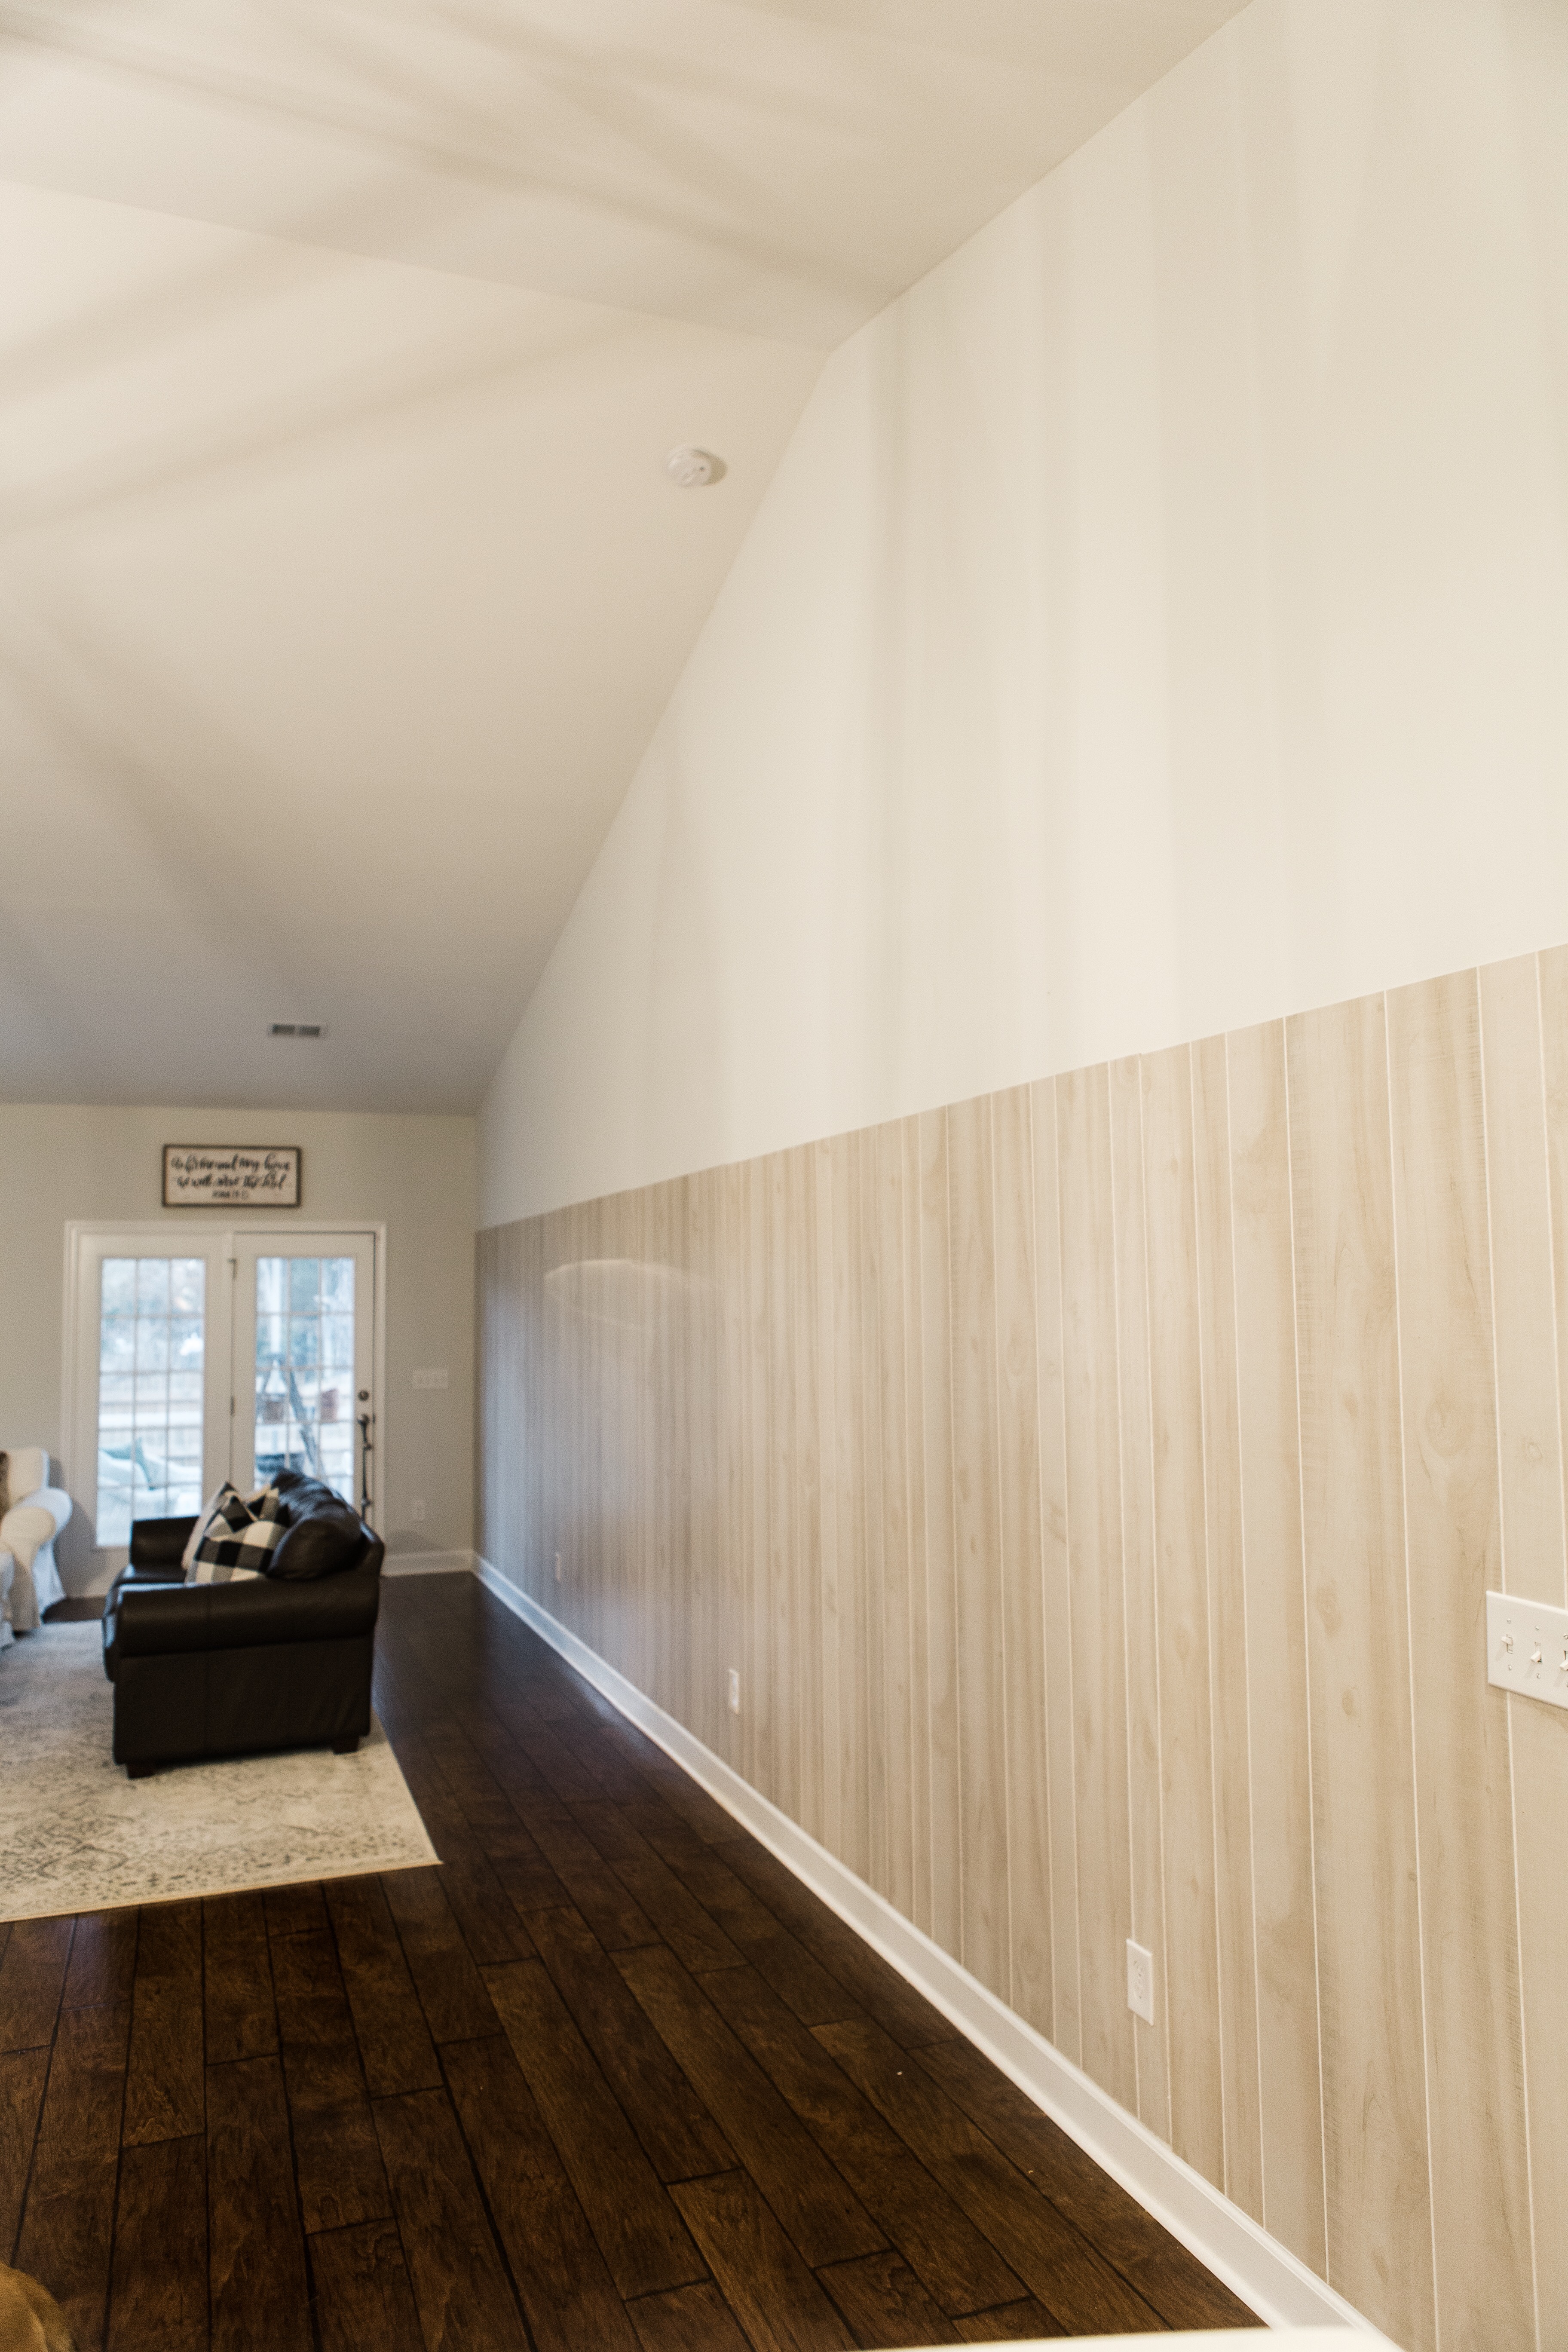
- Attach the paneling to the wall by adding liquid nails to the back of the panel board and then nailing the board into the wall using the brad nailer. Double check that it is level before attaching it to the wall!
- Repeat… Repeat… Repeat… Until all of the paneling is installed.
- Once we had all of the paneling installed, we added the trim. I’m sharing below what we did in case you want to replicate the same look in your own home. There are so many trim options out there to choose from. Do what you love and what fits the style of your own home!
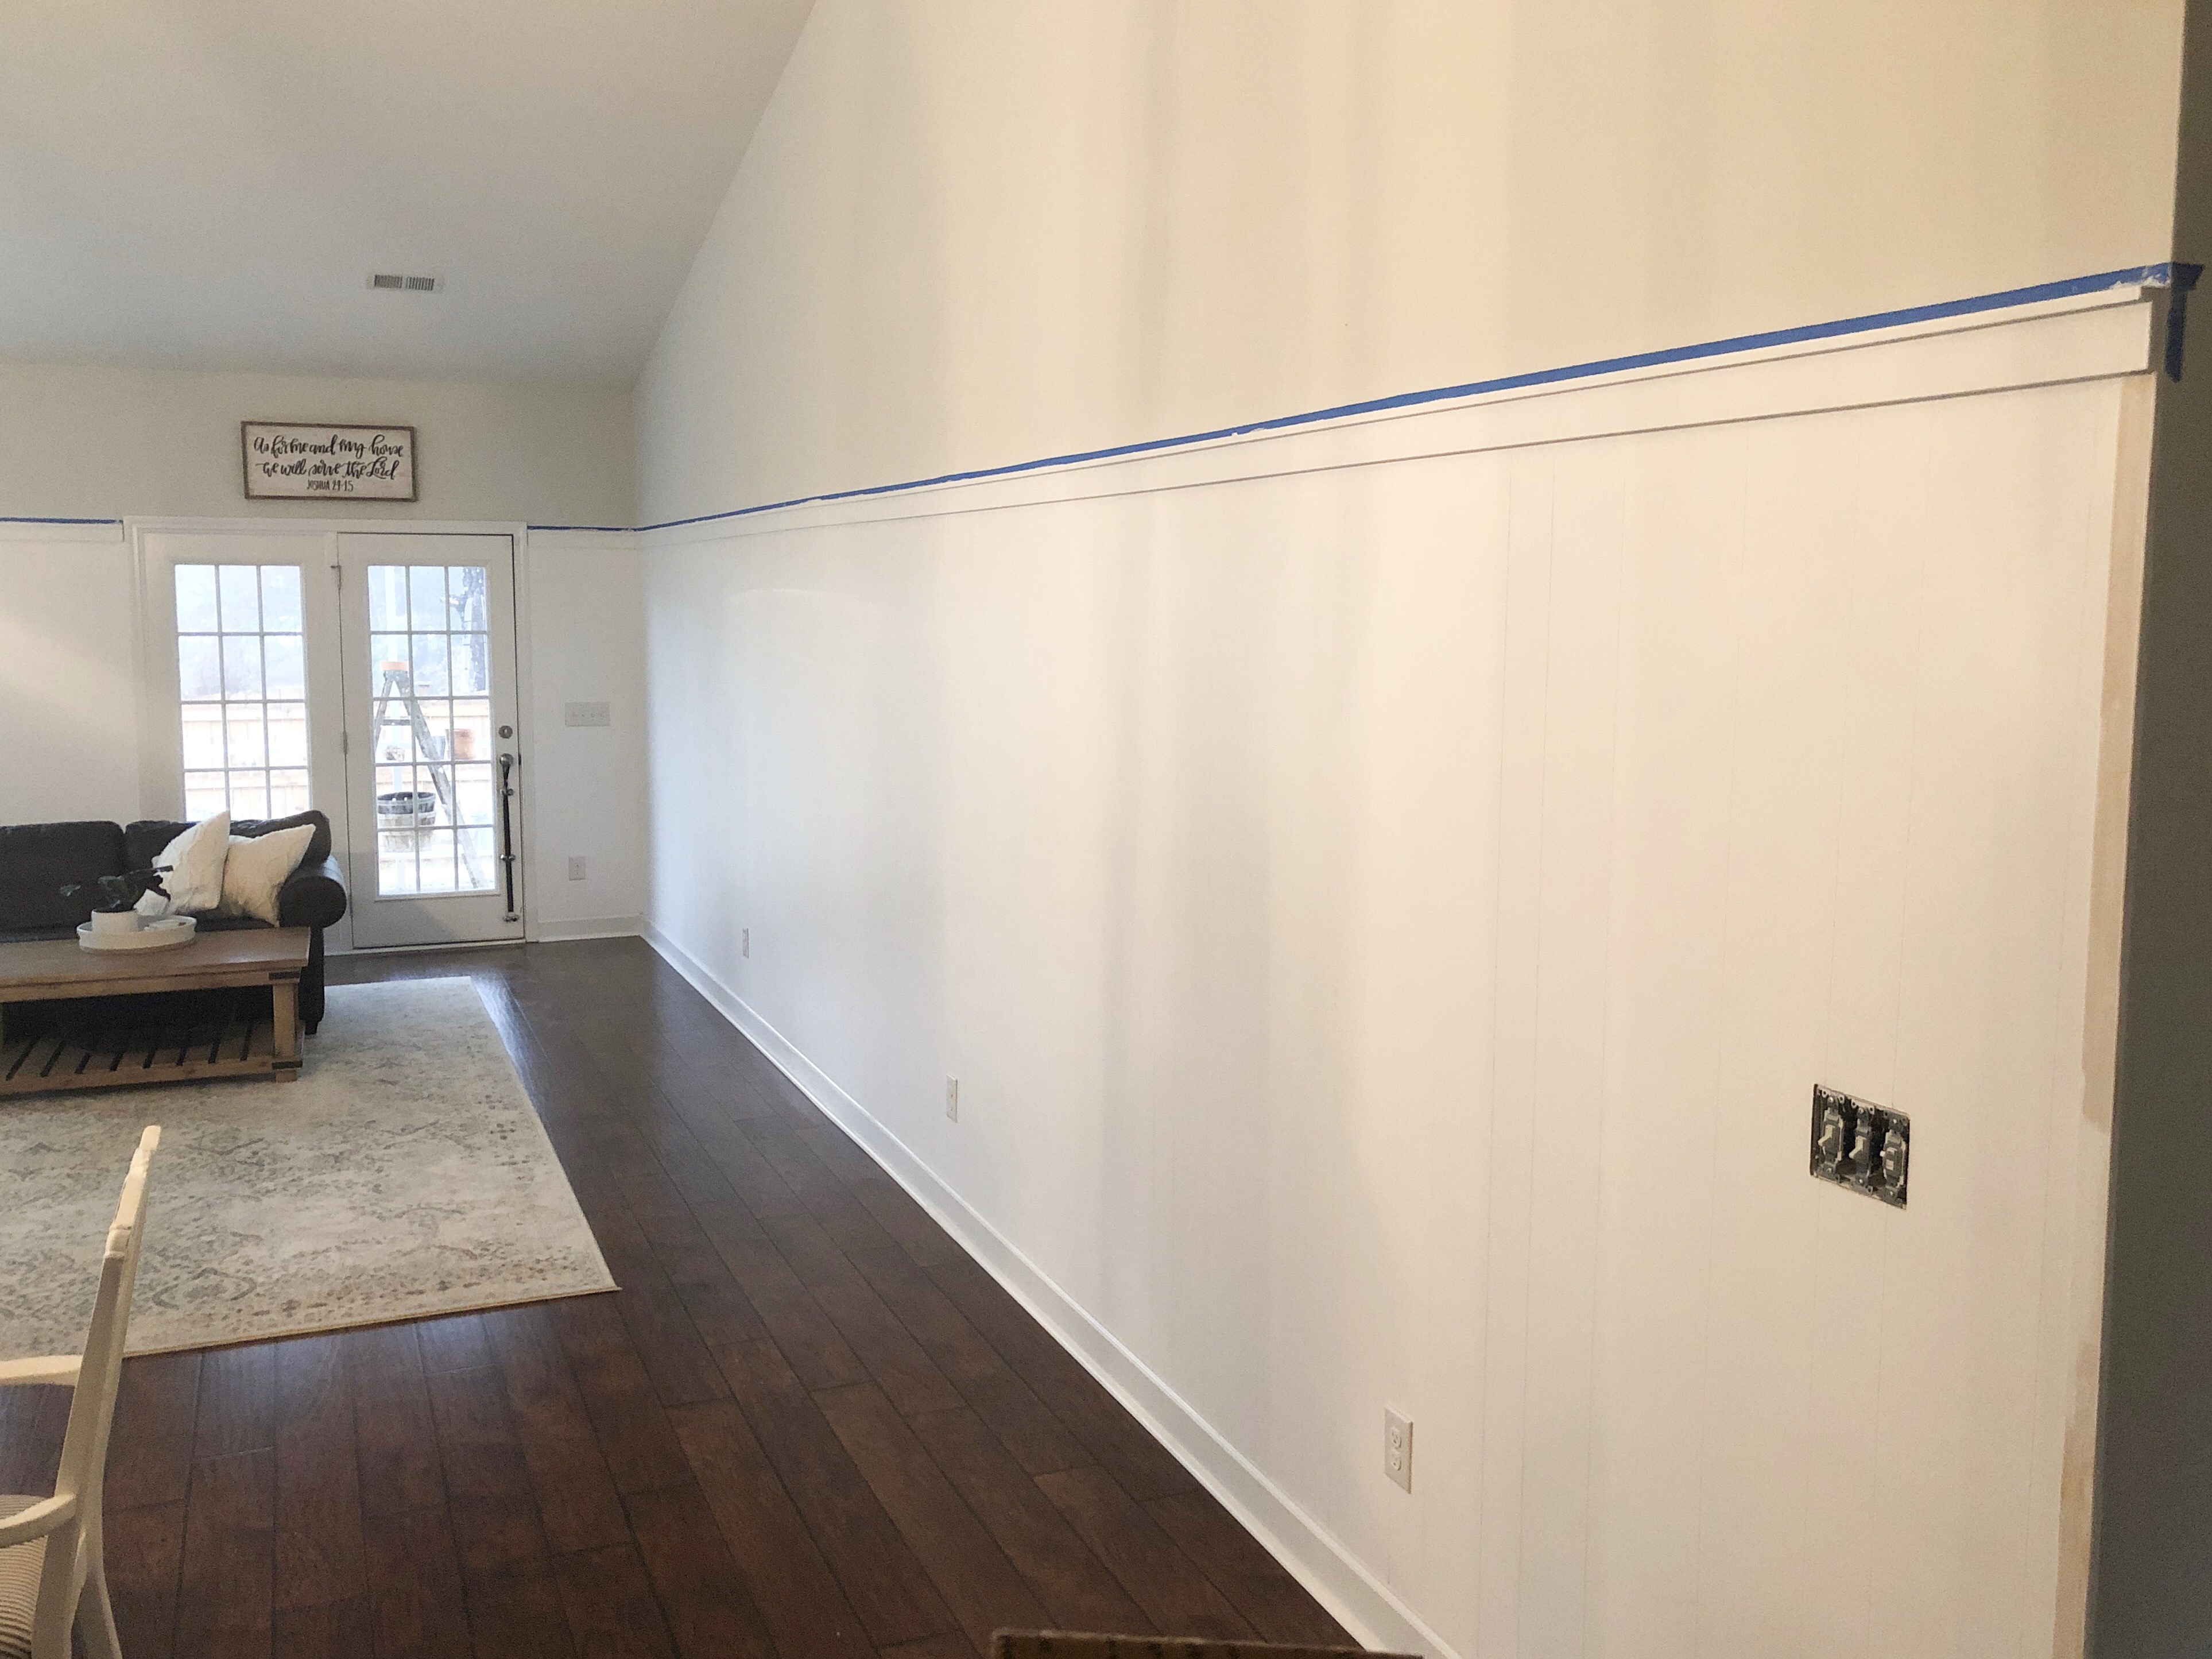
- For our paneling, we installed THIS piece of trim first to give it a bit of character and to create some cohesiveness with our entryway board and batten. Do this by cutting the piece to length and attaching it to the wall using the brad nail gun. If you want more of a farmhouse, simple look, you can use MDF or wood ripped down to whatever width you prefer.
- We then attached THIS piece on top of the trim by nailing downward into the trim that we just attached to the paneling. You could call this the mini “shelf” piece.
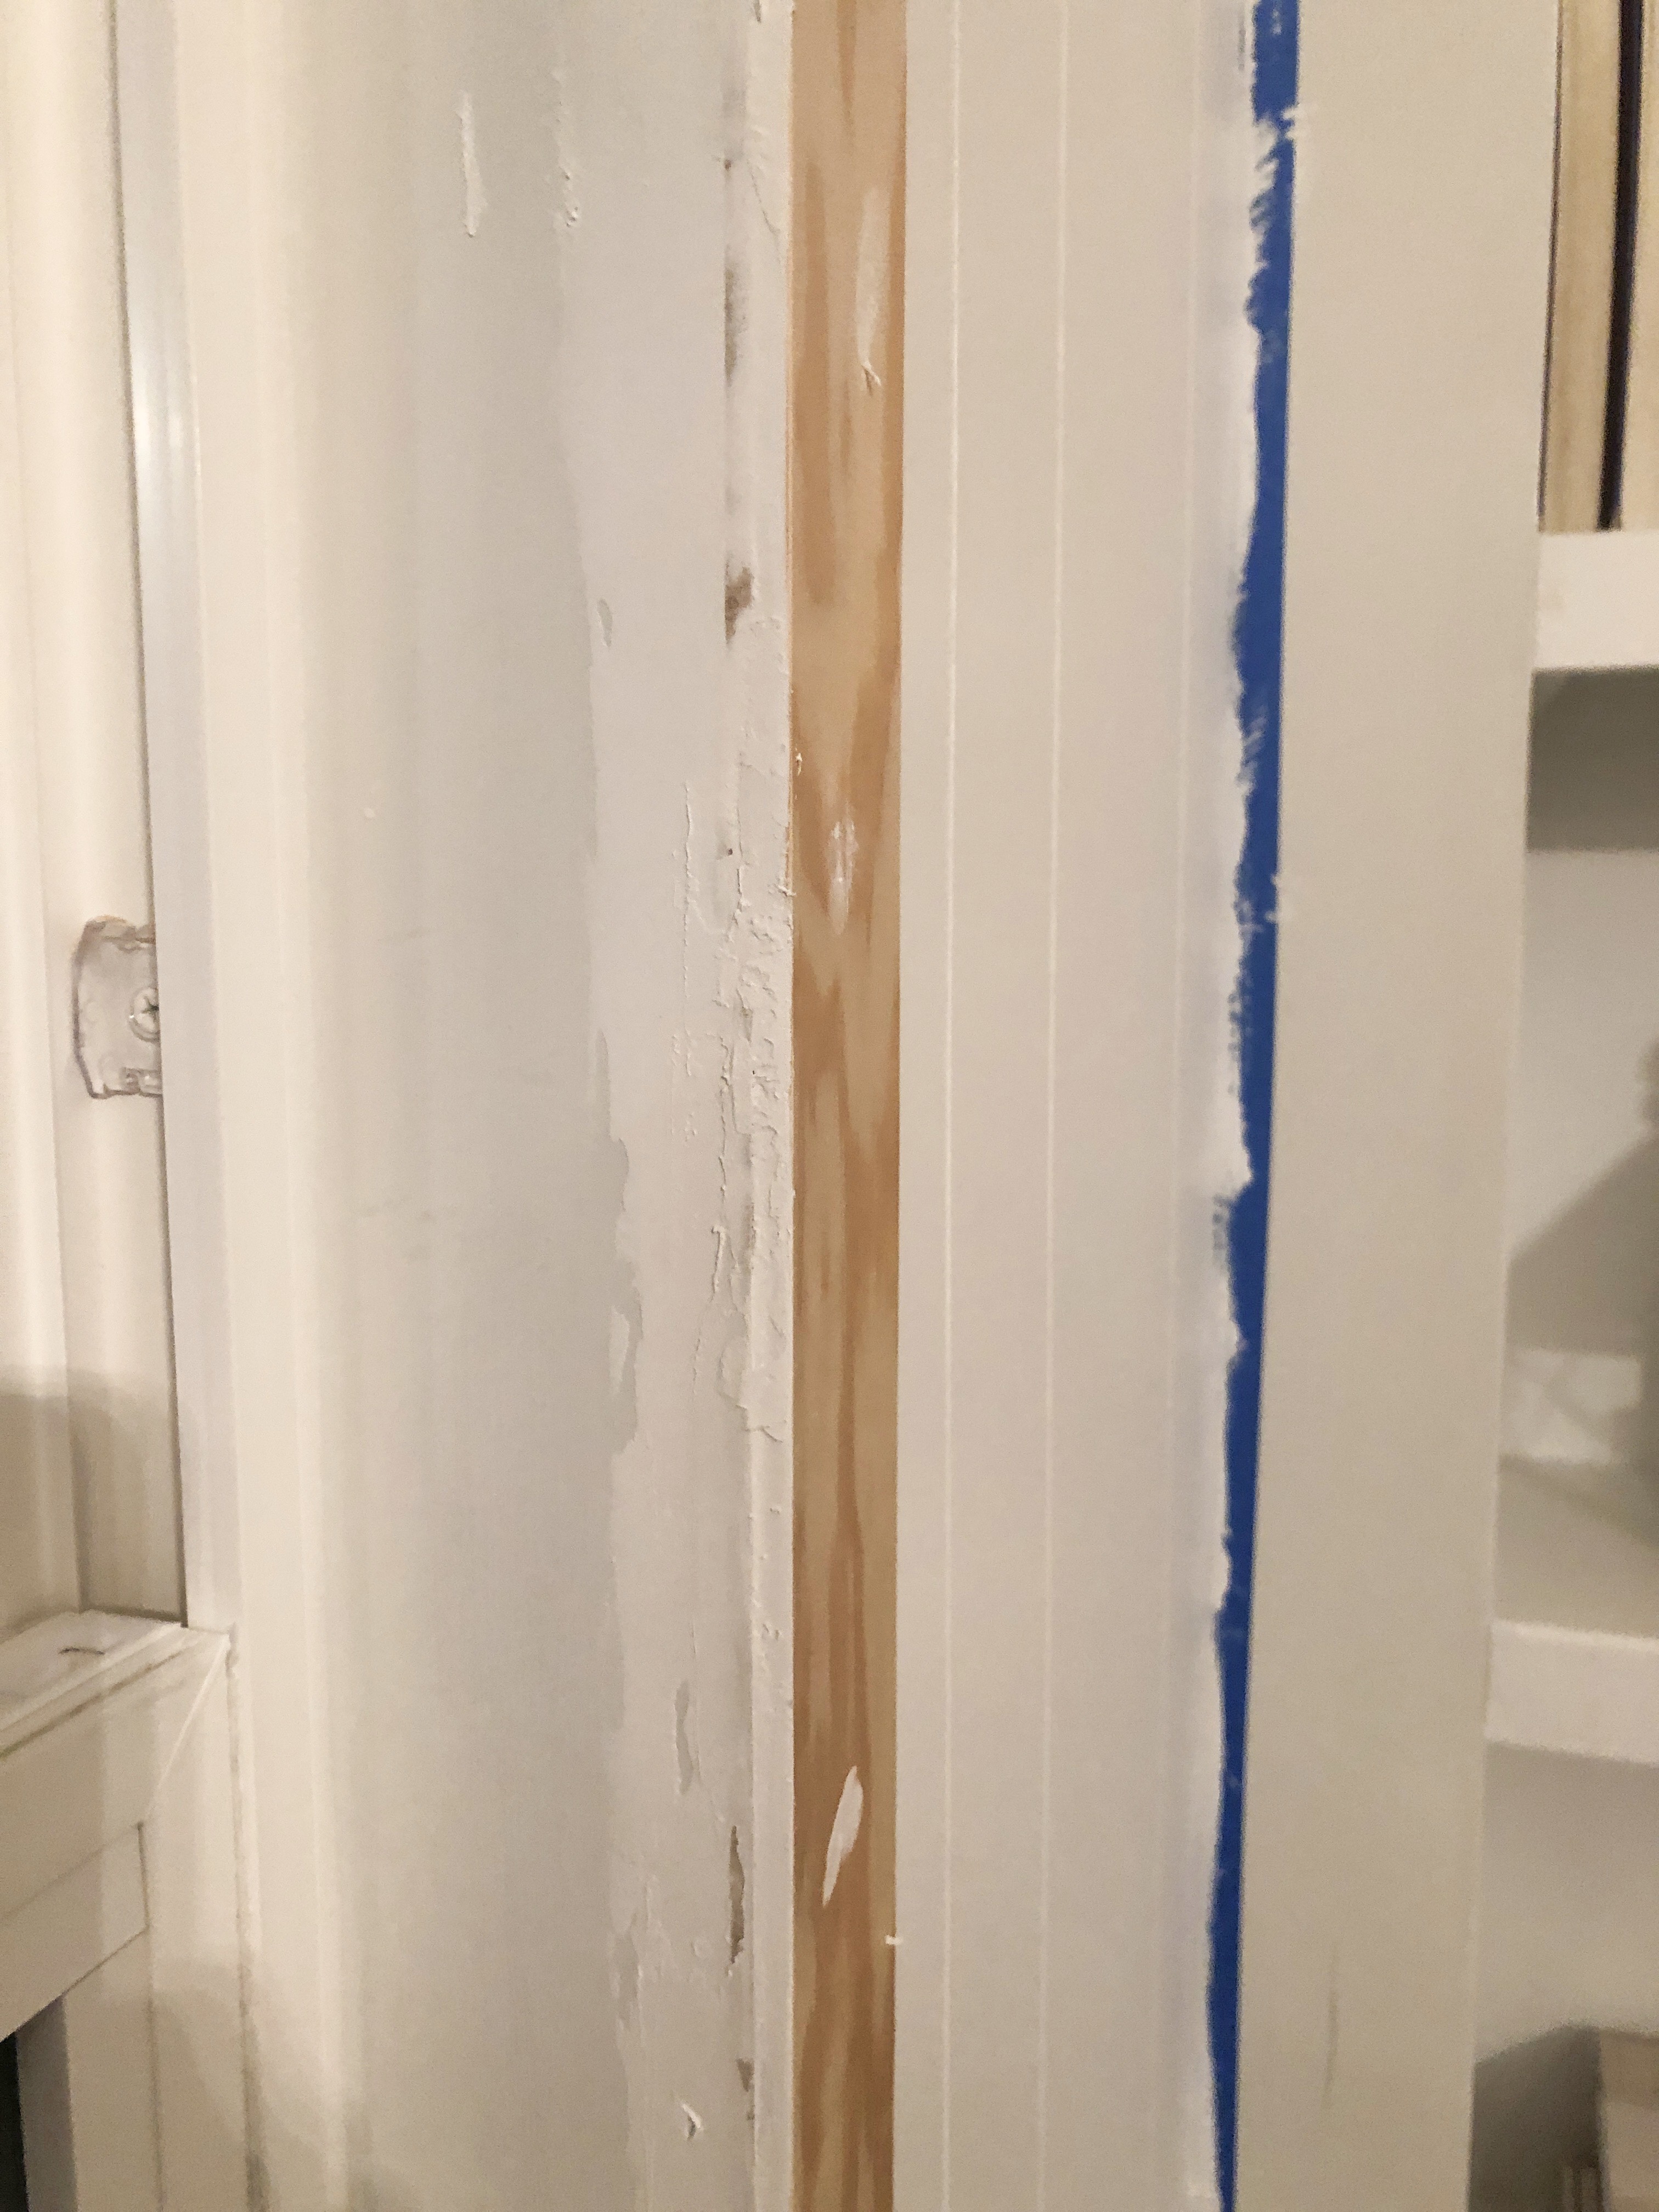
- We had two “dead ends” with our paneling that we had to trim out. Meaning that we had two panels that ended at an outer corner and we didn’t have anything to attach to it. I pondered what to do about those spots for a long time. Not only did I have to consider how it would look from the front but also how it would look from the side. We finally found a solution! We used THIS piece that we attached with the nail gun. For the side view, we filled in the space using joint compound and then using painters tape to create a straight line, we painted over it so it looked like it had been there the whole time.
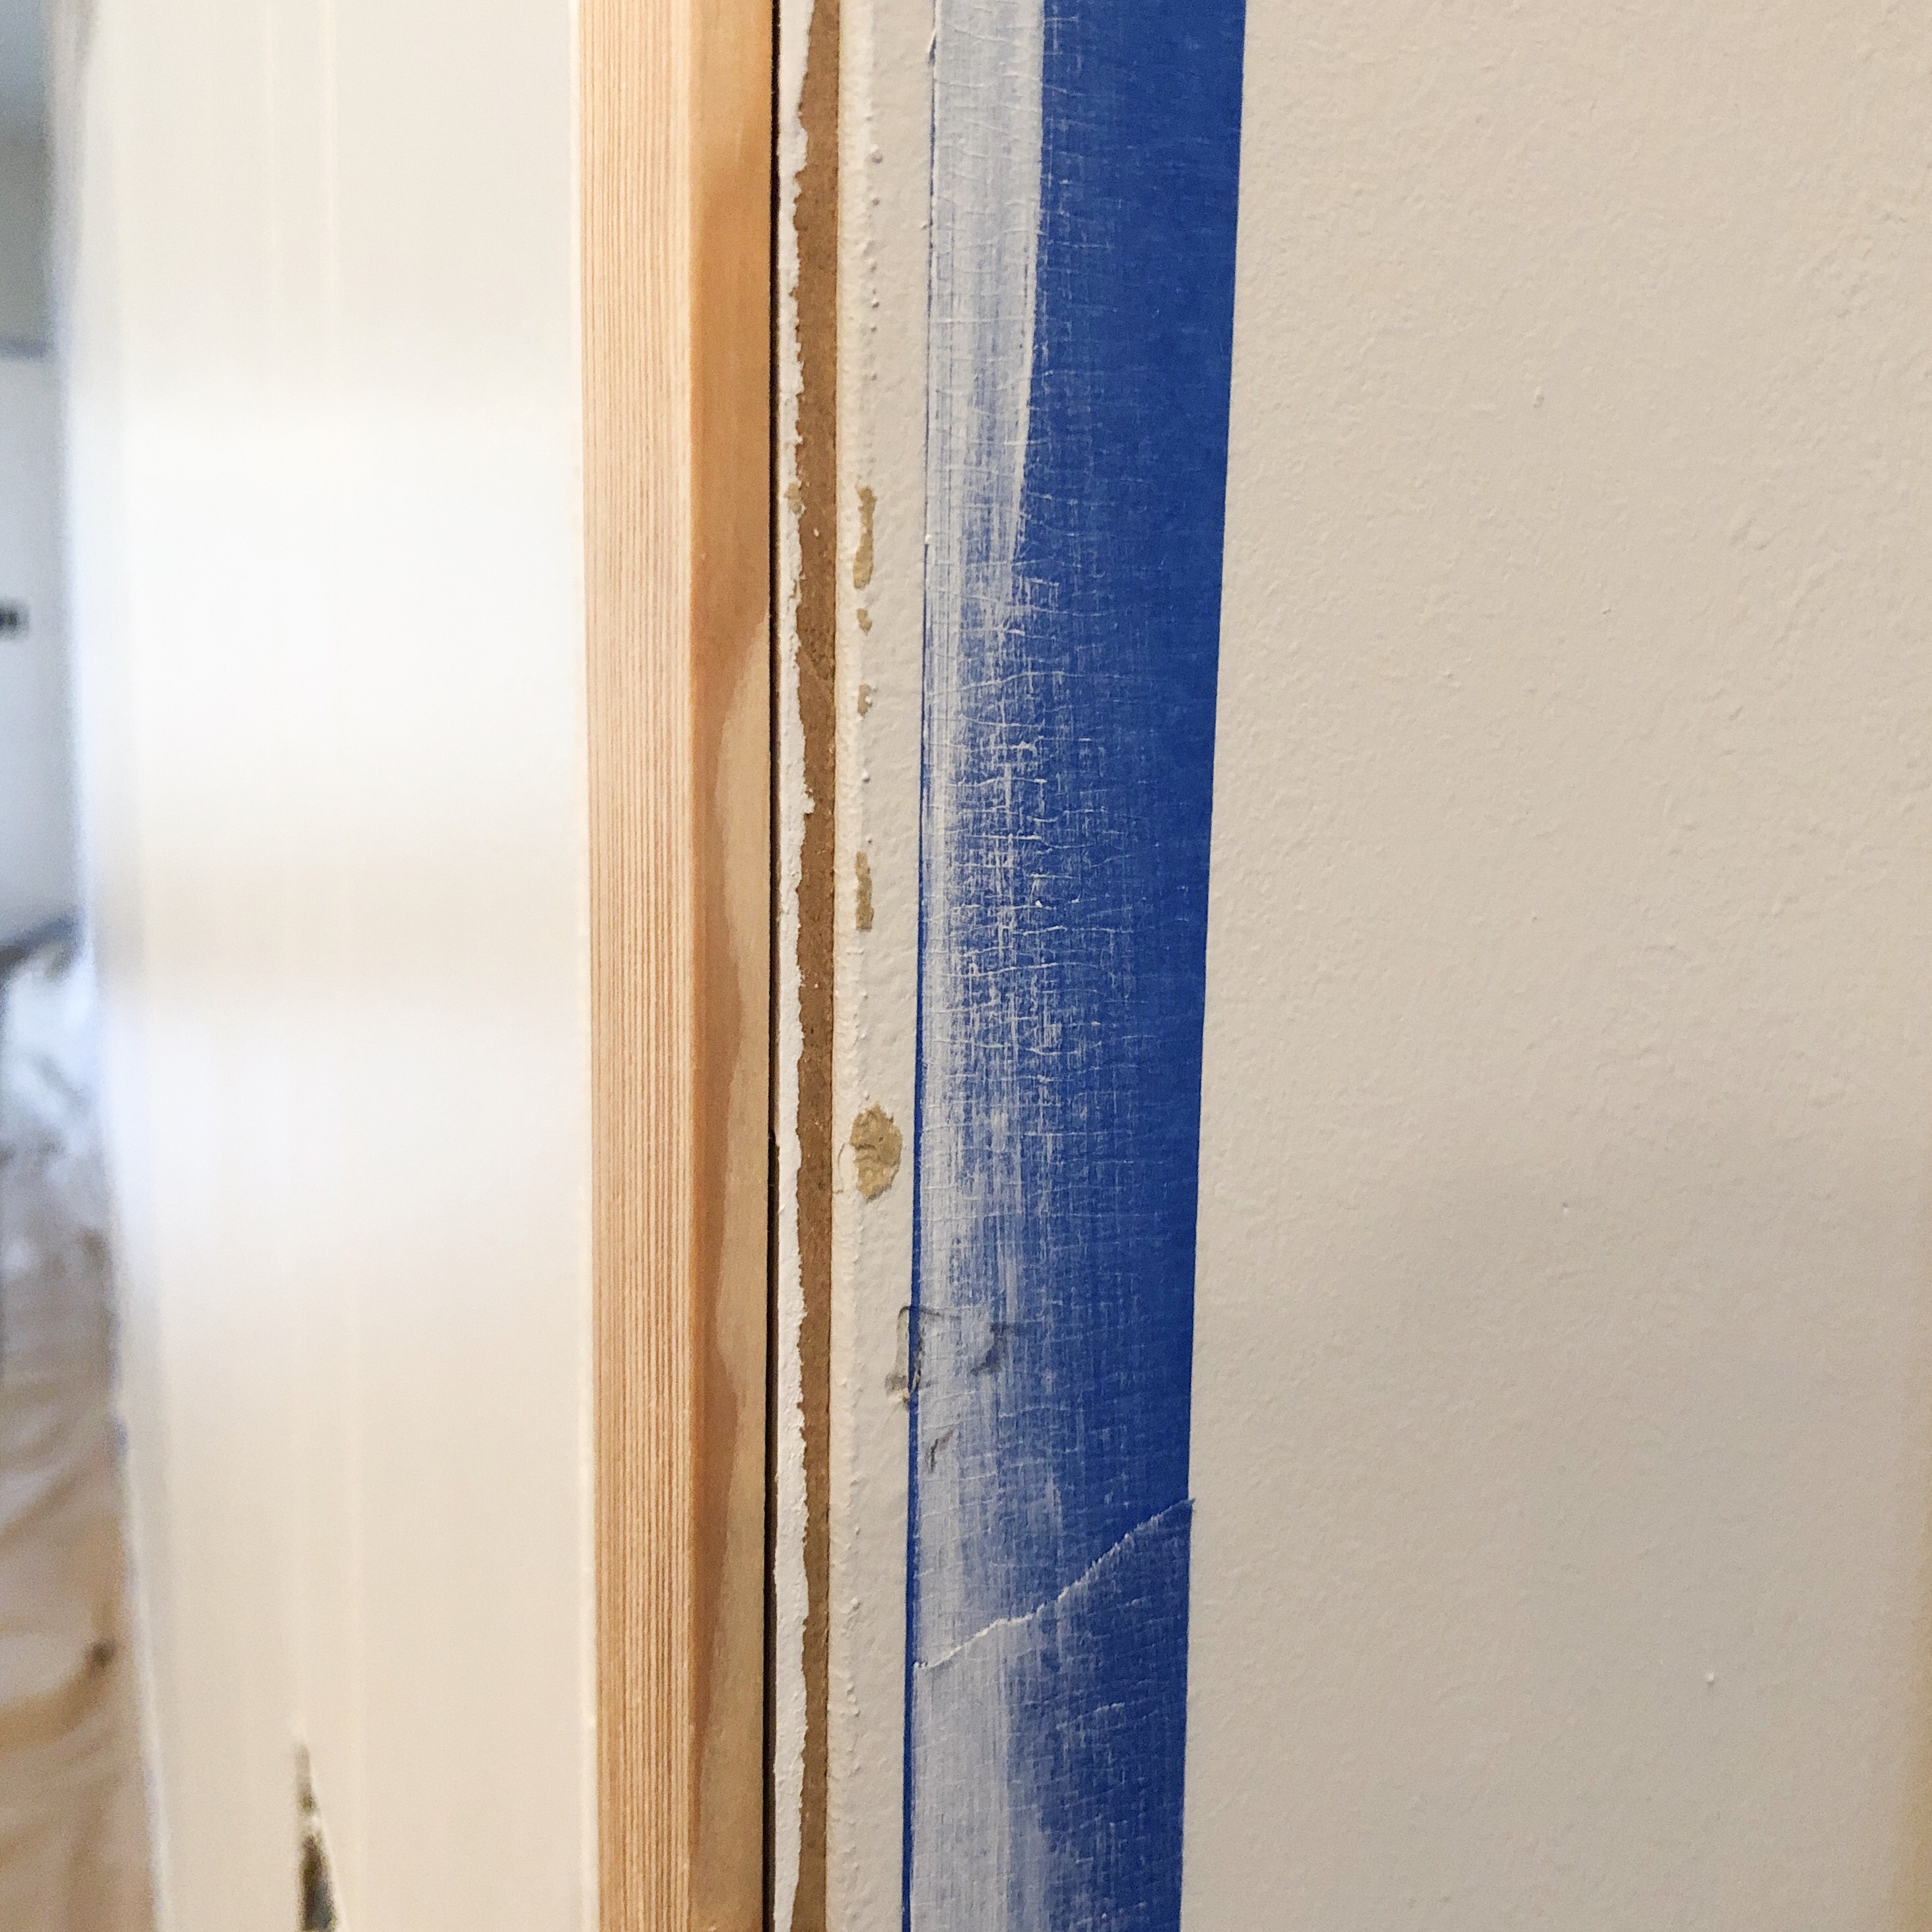
This is the view of the “dead end” trim from the side before using joint compound to smooth it out and fill in the gaps.
- We filled in any corners of the room using THIS piece of trim that we attached to the wall using the nail gun. All of this trim work made it look finished!
- Fill in all of the nail holes on the paneling and trim work using joint compound or spackling putty and a putty knife.
- Fill in the gaps between where two pieces of paneling meet using joint compound/putty. I do this by adding a glob of compound on my finger and running it along the crack. Then I smooth it out using the knife.

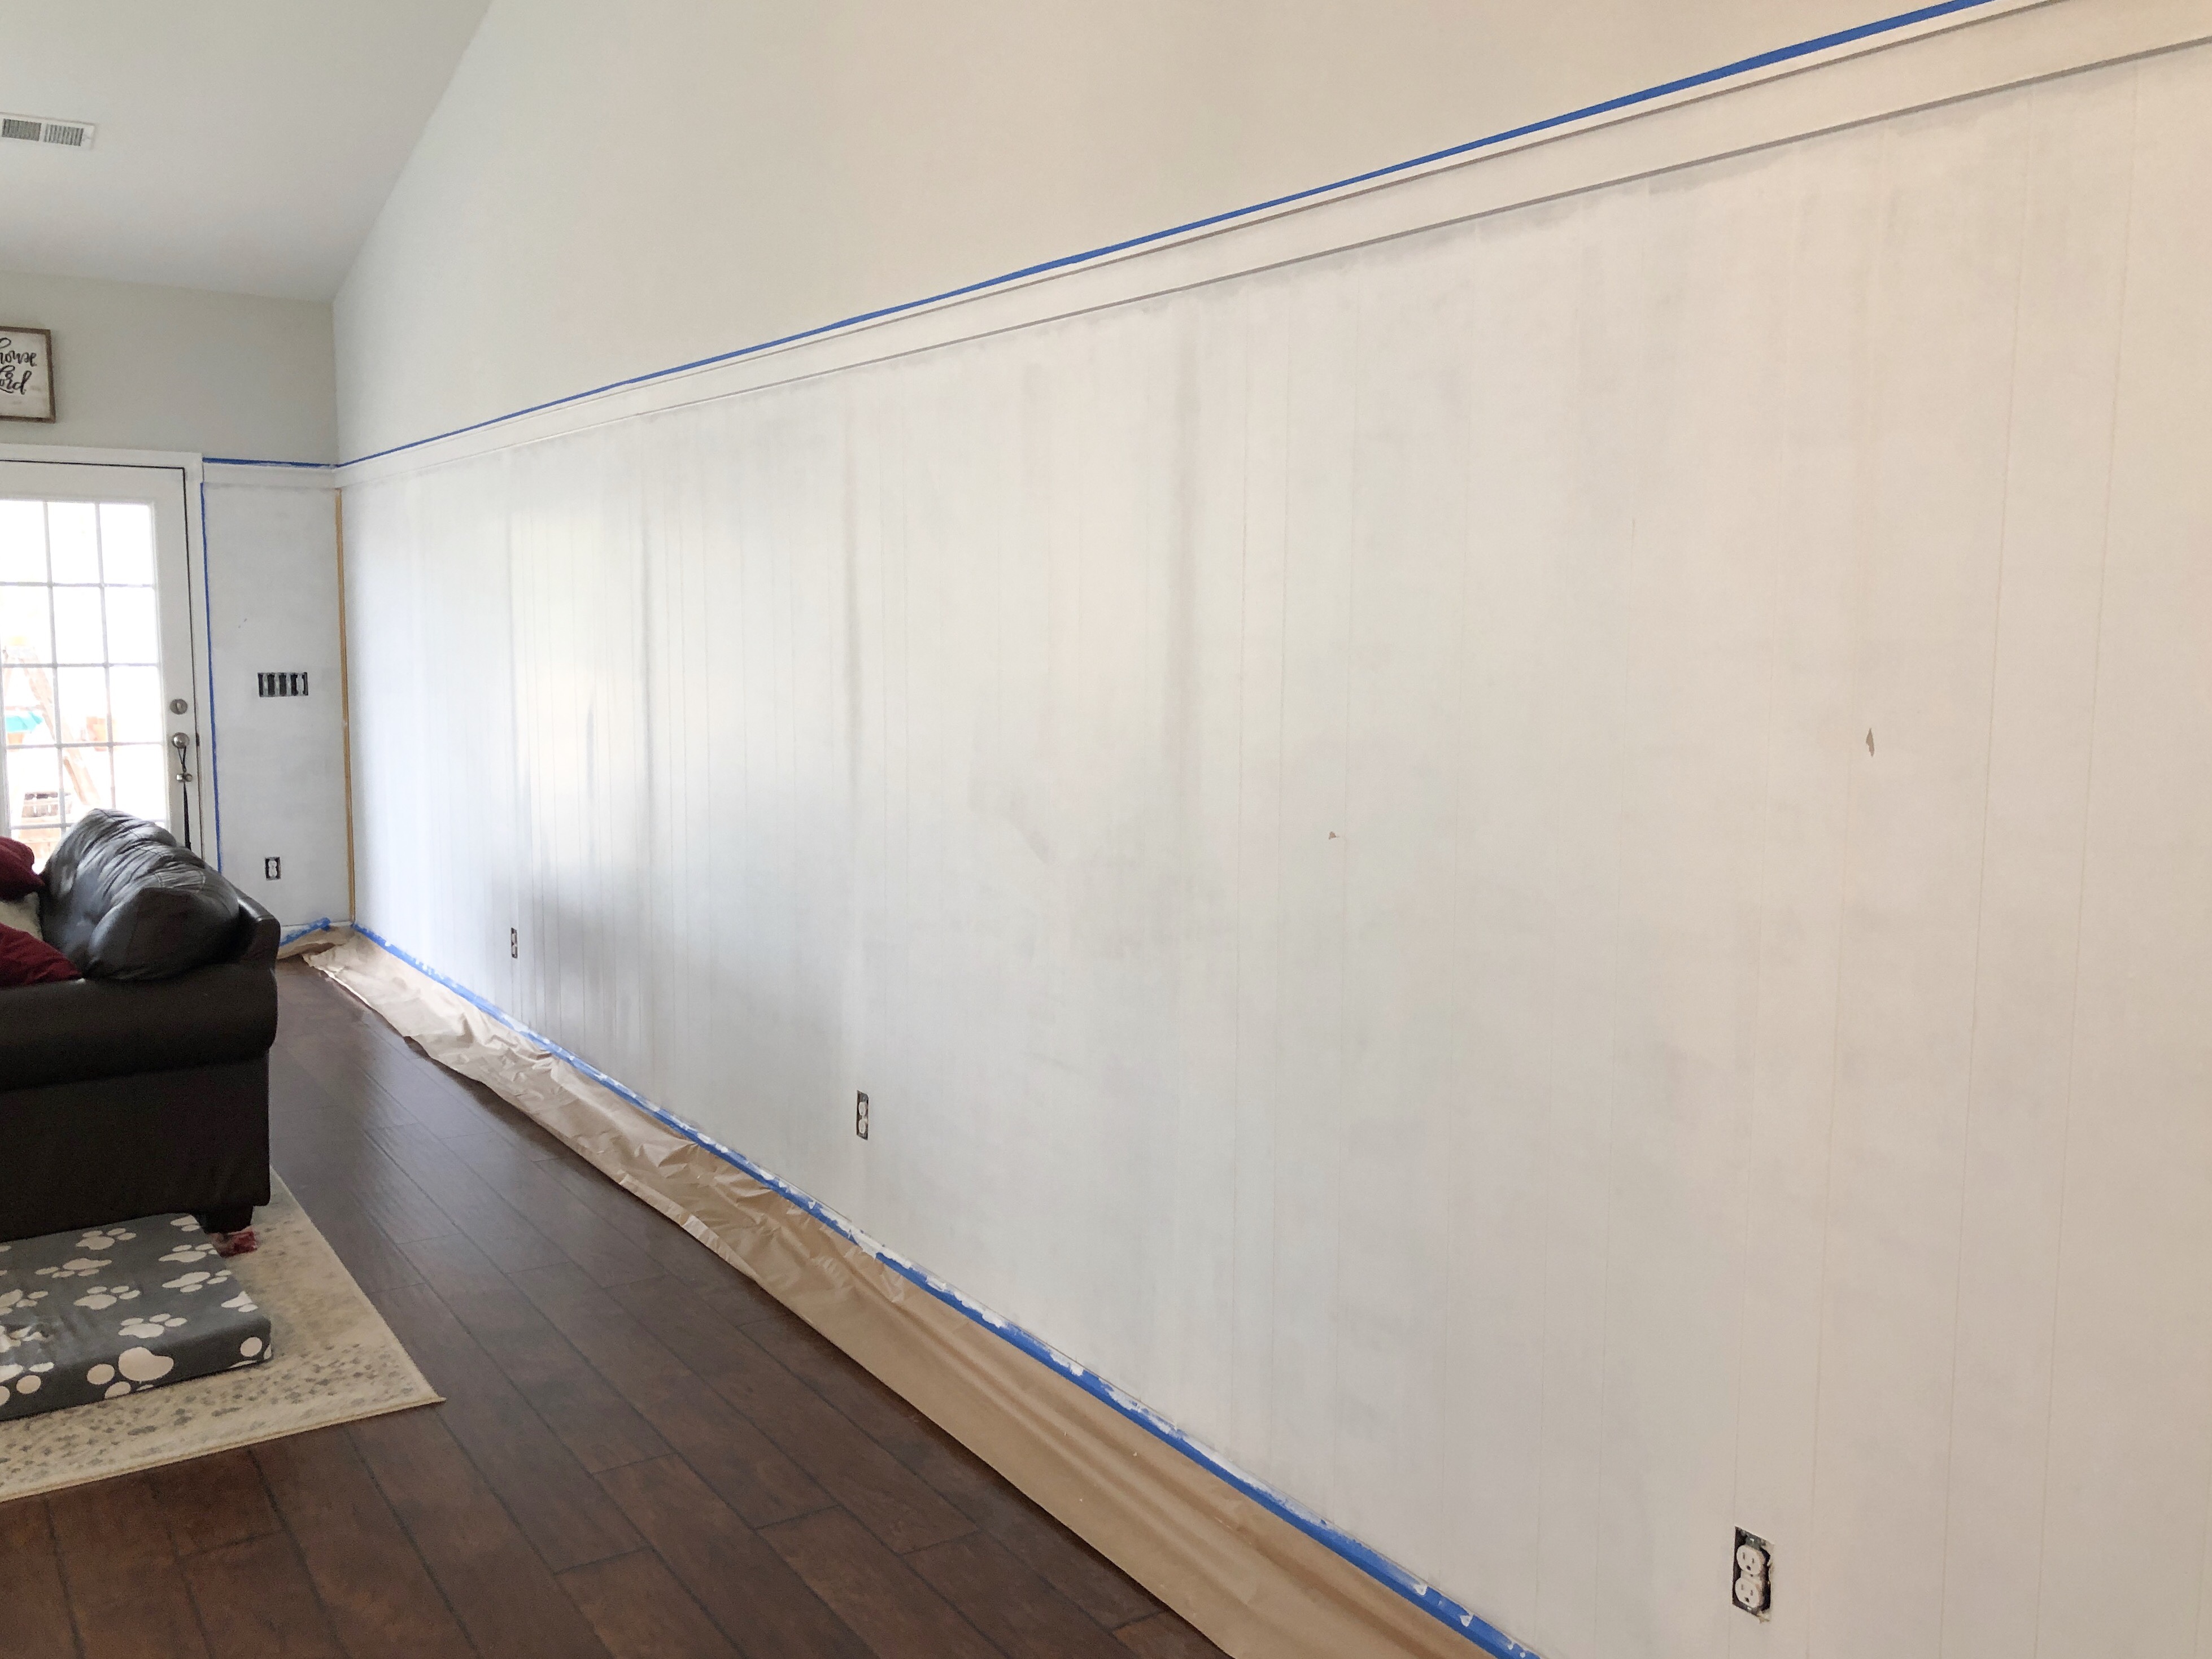
Wall paneling before joint compound to fill the seam.
- Sand down any joint compound remaining using a medium-fine grit sanding block until it’s seamless.
- Lightly sand down the entire wall using 220 grit sand paper.
- Completely wipe down the wall (or vacuum… My preferred method ha!) to remove any dust.
- If you already have baseboards installed, use caulk to fill in any gaps between the base board and the paneling.
- Caulk any gaps around the trim pieces.
EXTRA:
- We noticed in the middle of this project that our windows were lacking trim… We had never noticed it because of the curtains we hung up almost immediately after moving in. We used THIS trim piece around the windows and did the same thing as the “dead end” piece – we nailed up the trim piece on top of the paneling and used joint compound to fill in little space to make it blend right in on the sides (you would’ve been able to see the paneling and trim piece layers from the side if we didn’t do this).
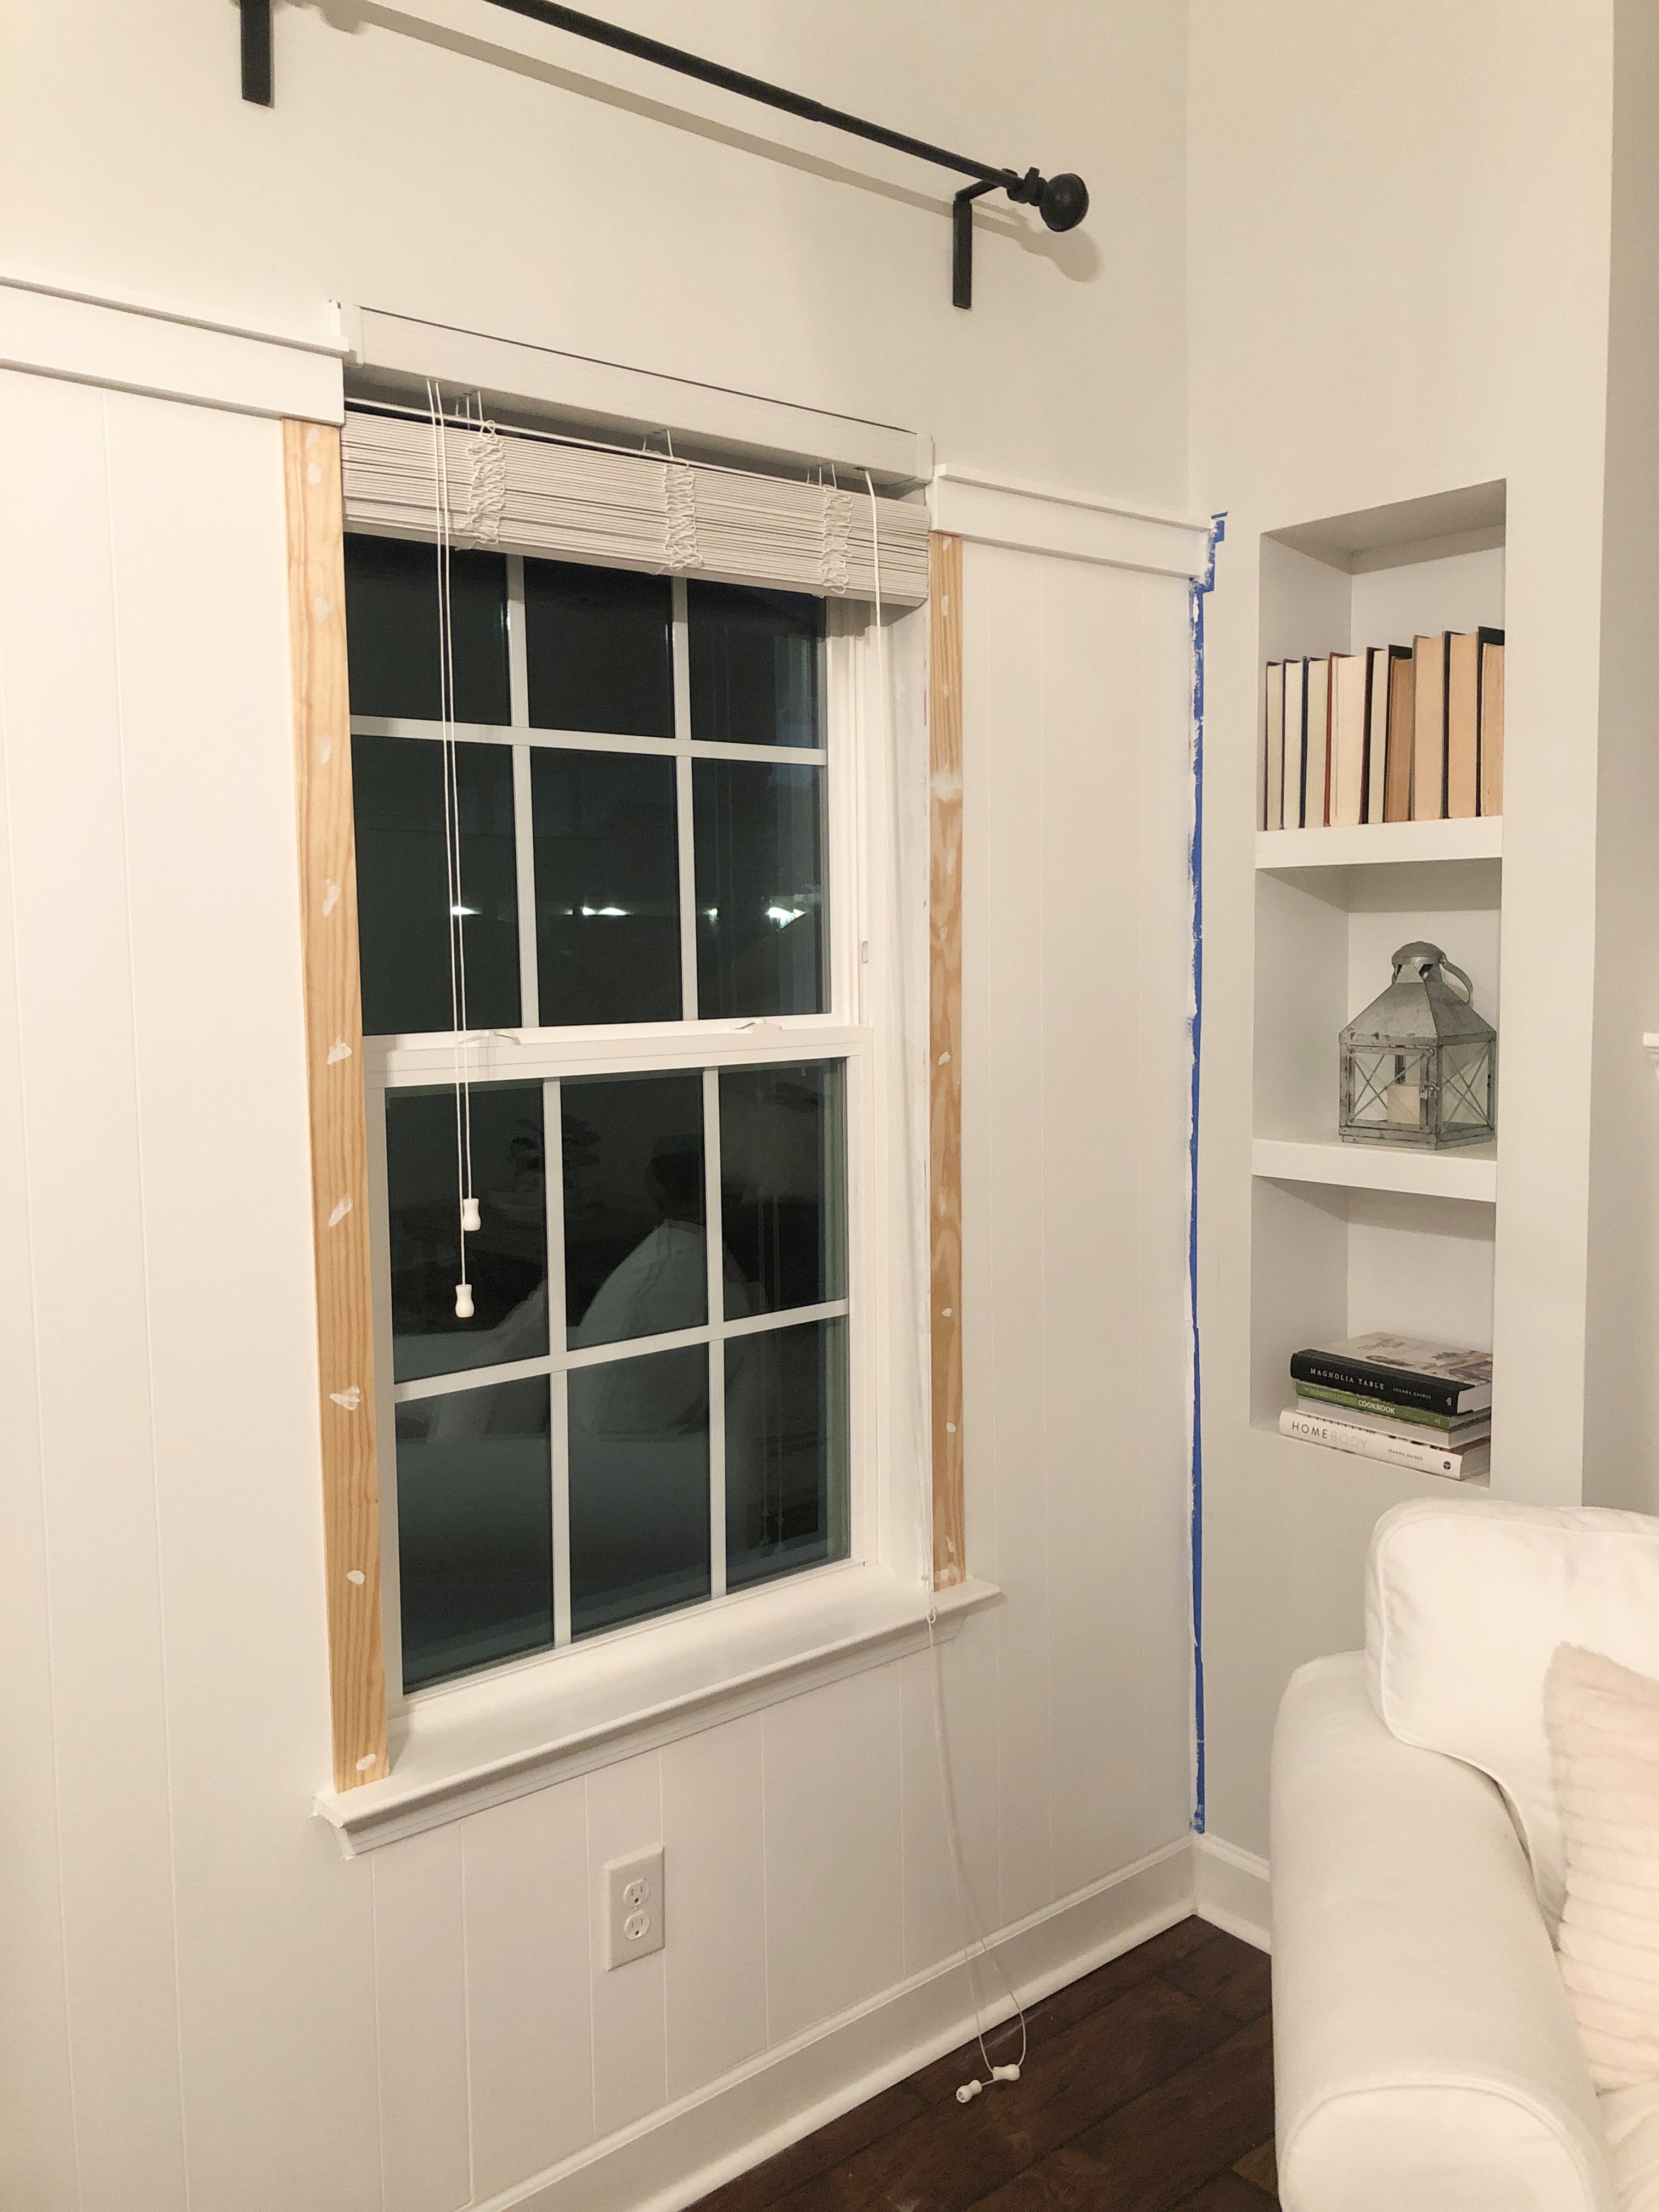
A sideview of the window trim with joint compound before sanding and painting.
PAINTING
Tip number one – don’t start the next steps before finishing everything above. We wasted a lot of time doing that. Lesson learned… Tip number two – the information I’m about to share with you is something I wish I had known before we primed the walls using my go-to Bullseye 3-2-1 primer. This primer has never failed me until now. I should’ve asked my aunt, who’s a professional painter, what to do ahead of time but failed to do that and am now kicking myself for it. Needless to say, take HER ADVICE that I’m sharing below and don’t make the same mistake we did by using a water based primer.
What you’ll need:
- Oil based primer (it is very important you use oil based) THIS is the one that my Aunt swears by!
- Whatever paint you want! We used THIS paint in the eggshell finish.
- Oil based brush (also very important!)
- Oil based roller
- Generic painting supplies – drop cloth, painters tape, pan, etc.
What to do:
Make sure you complete the steps mentioned above (sand, wipe down, etc.) before proceeding with paint.
- Lightly sand the wall with 220 sand paper/block OR use a liquid deglosser by following the instructions on the back of the container.
- Prime the walls with the oil based primer while following the directions on the paint can. You only need to do one coat! *PRAISE HANDS*
- Once you have allowed the primer to dry and “cure”, paint the paneling with whatever color you wish. It doesn’t matter if you want to use water based paint, latex, oil, or chalk! You’ll most likely need 1-2 coats but that all just depends on a number of factors. We did 2.5 on ours (some spots needed some touch ups!). We used a roller for a majority of the paneling and filled in the edges and corners and places the roller couldn’t reach with a brush.
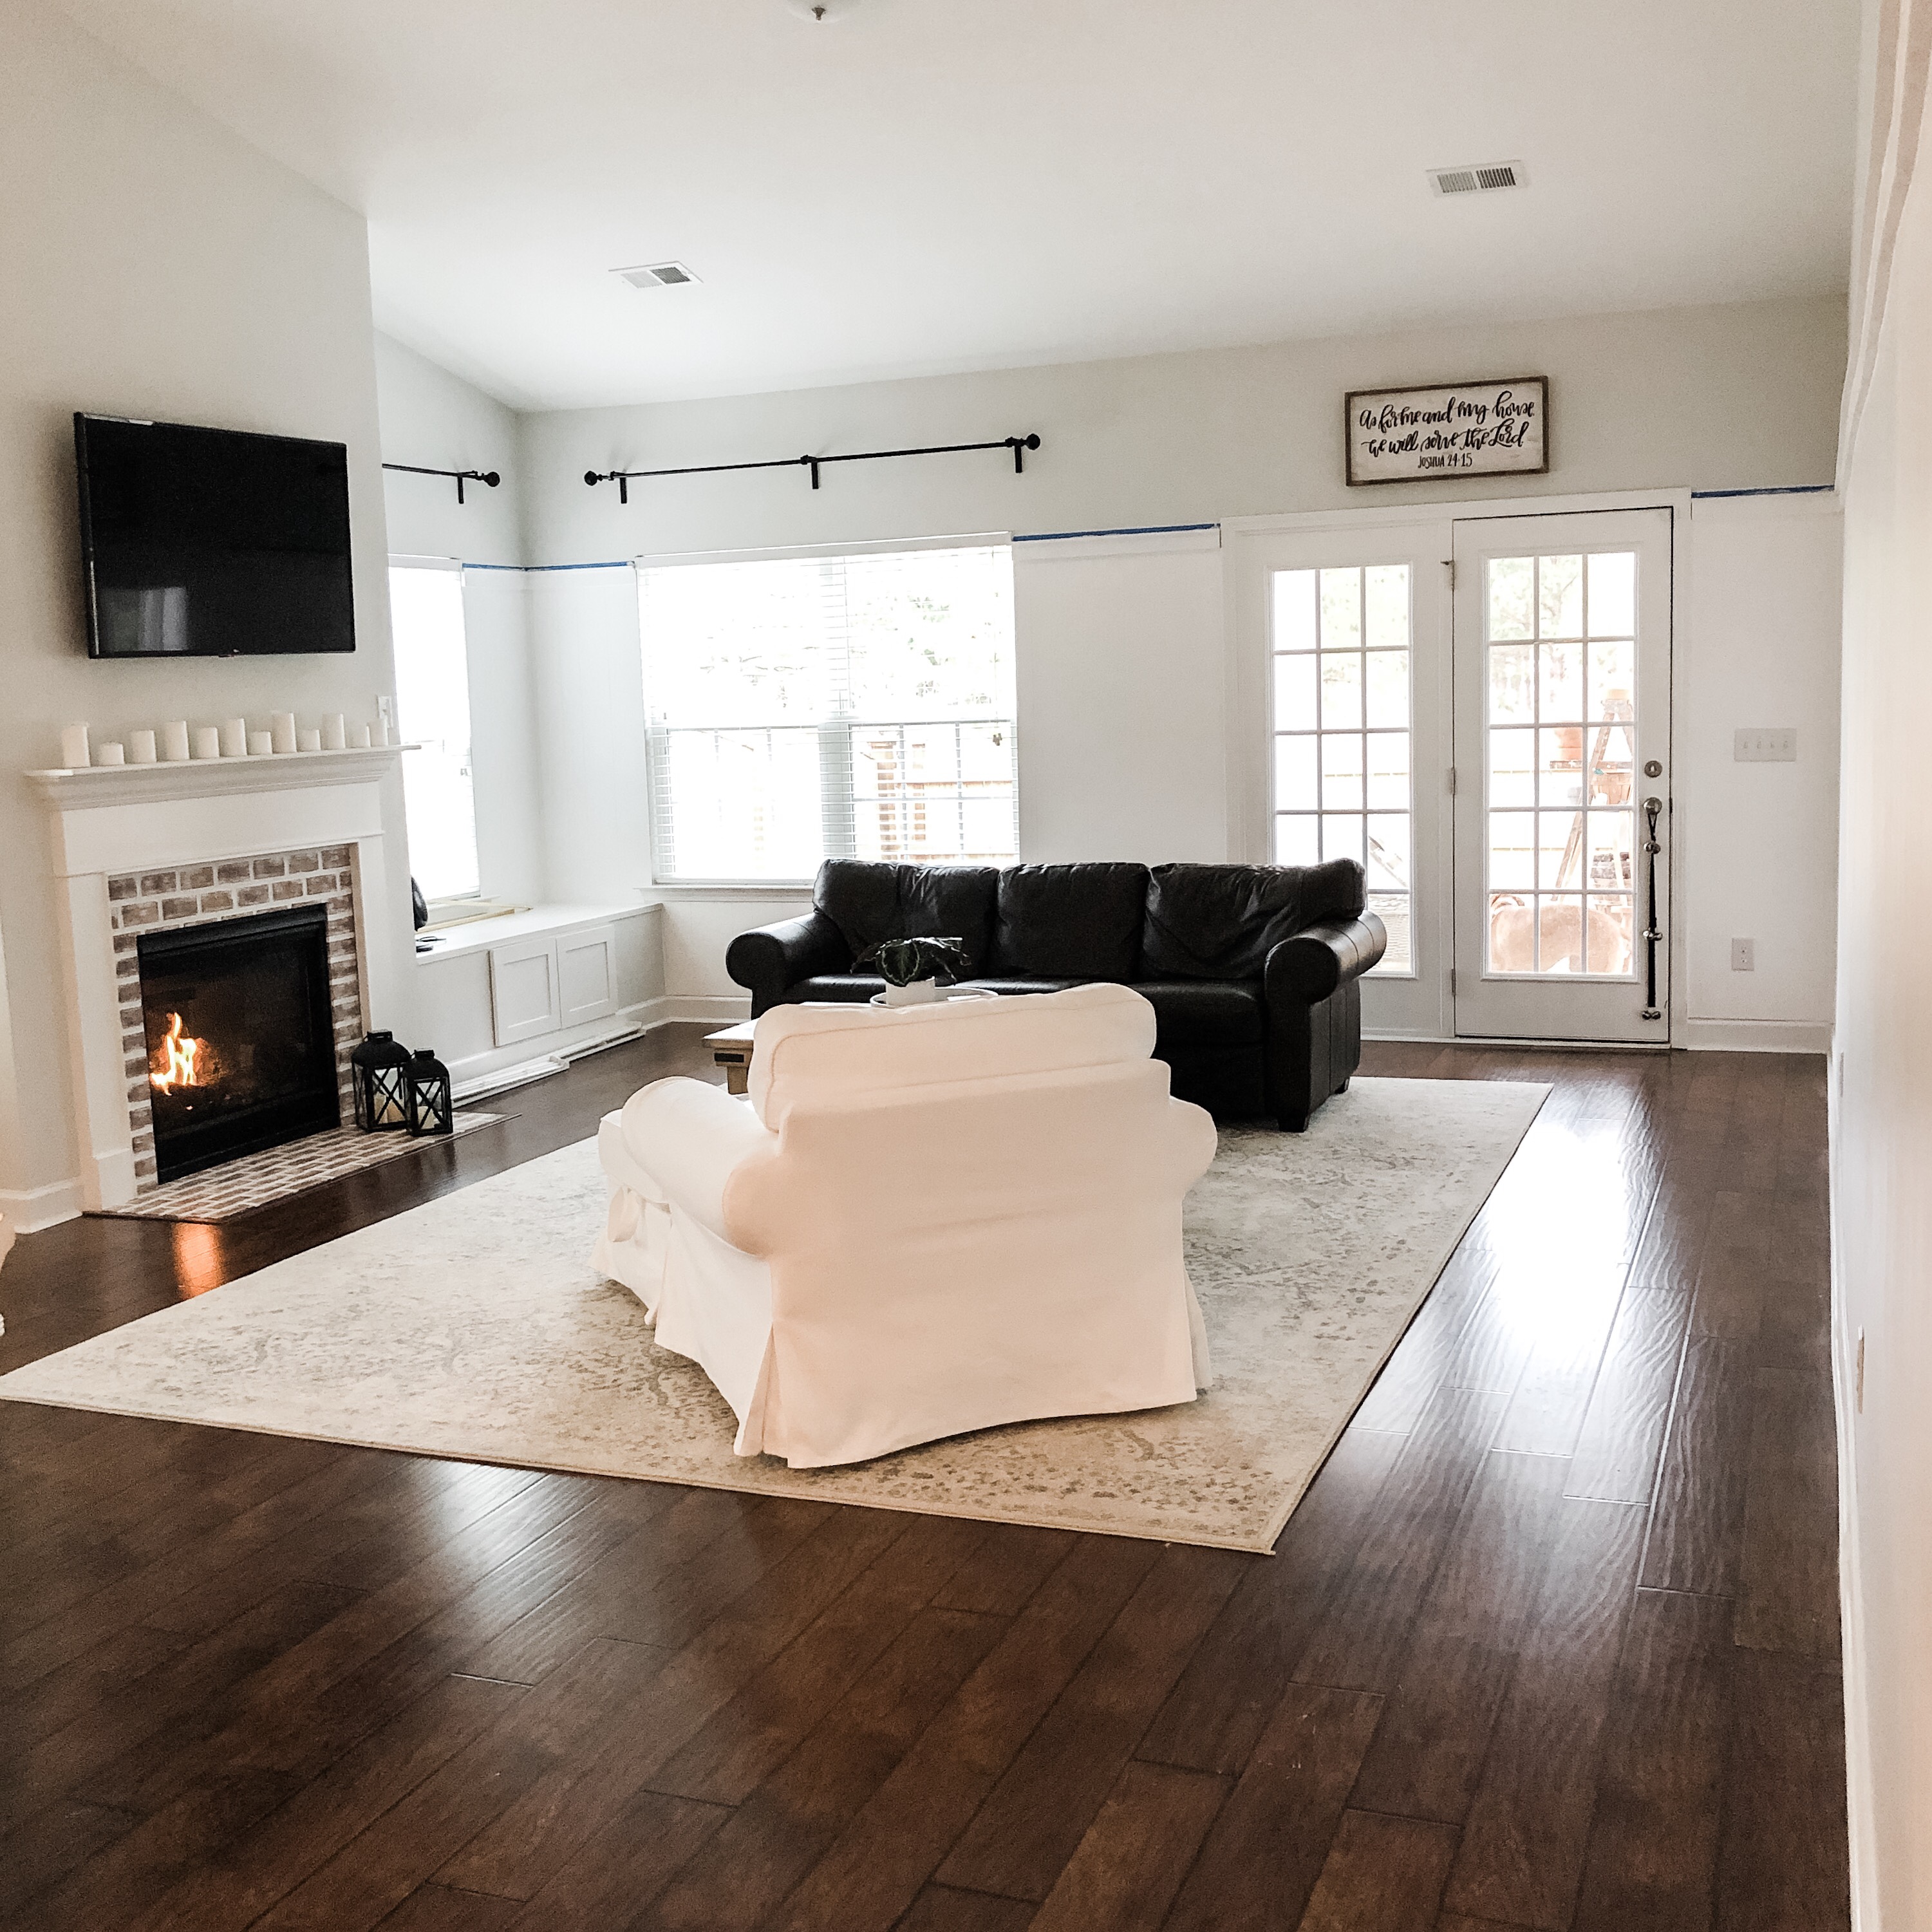
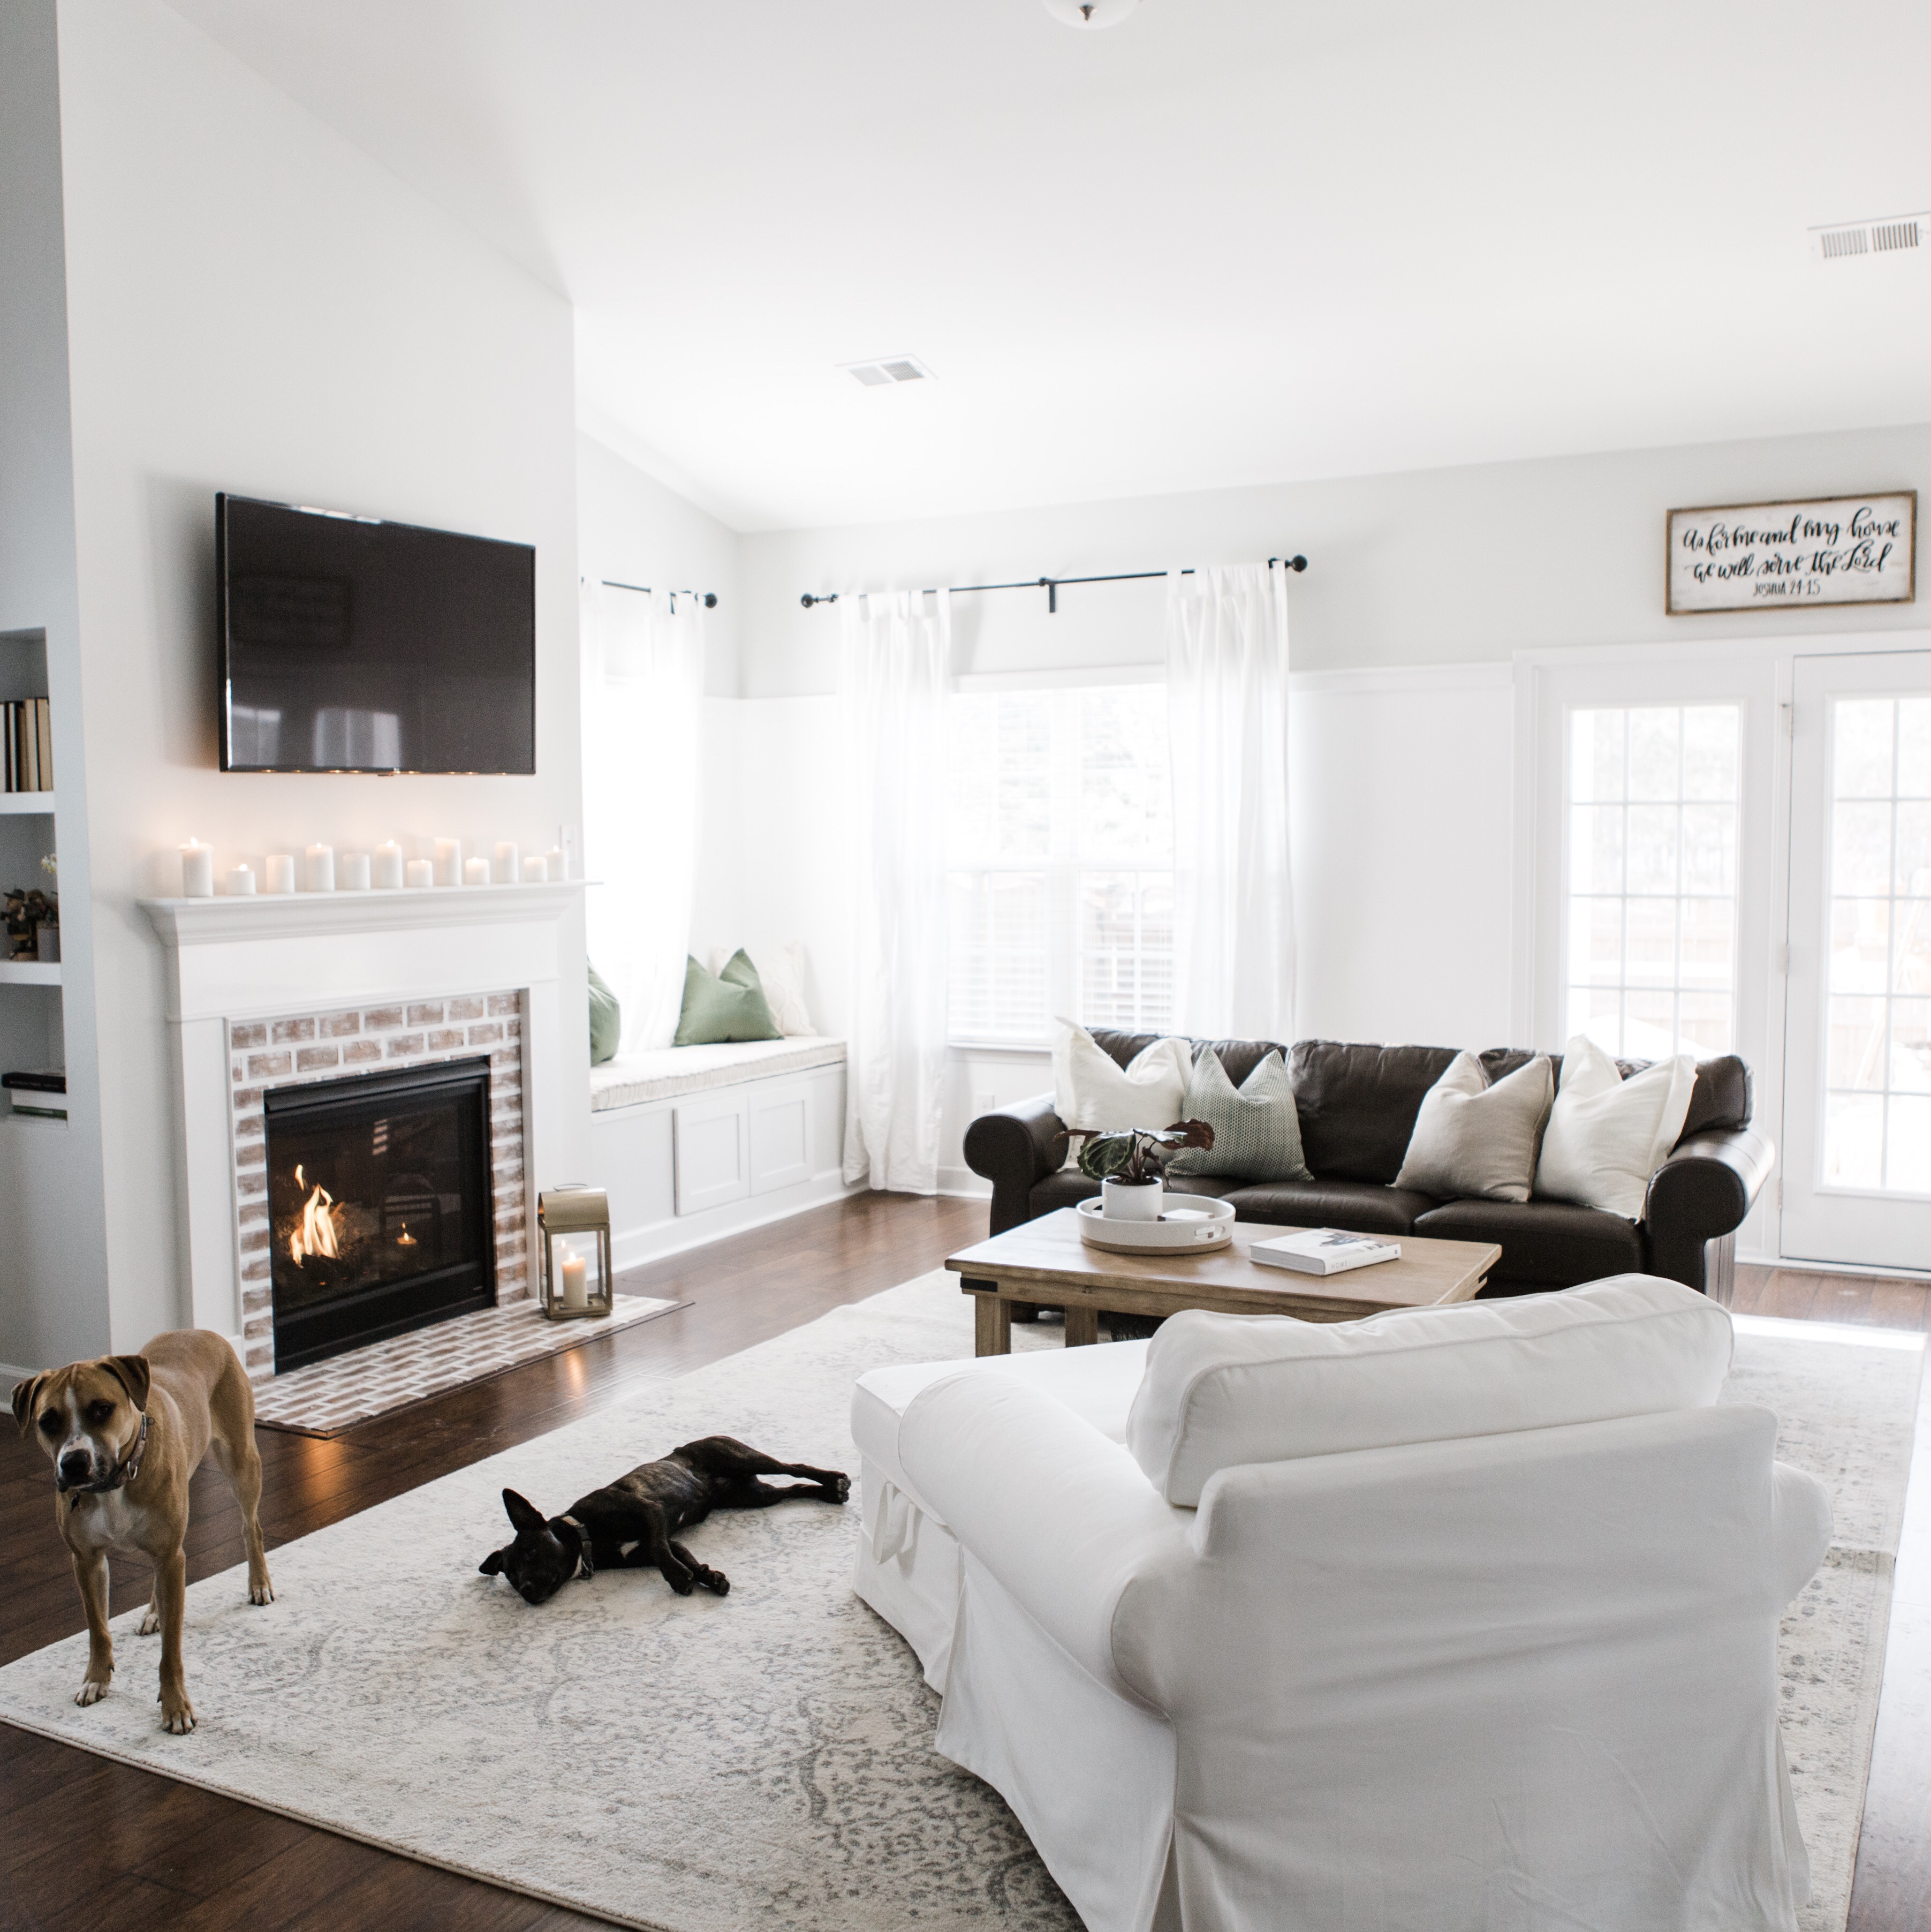
I never thought we’d bring wall paneling back but we did and we love the character it adds to the living and dining room areas. It solves all of the problems we mentioned in THIS post and we love the way it turned out. We have a few more changes we want make in this space that we can’t wait to show you! If you have any questions, don’t hesitate to ask!
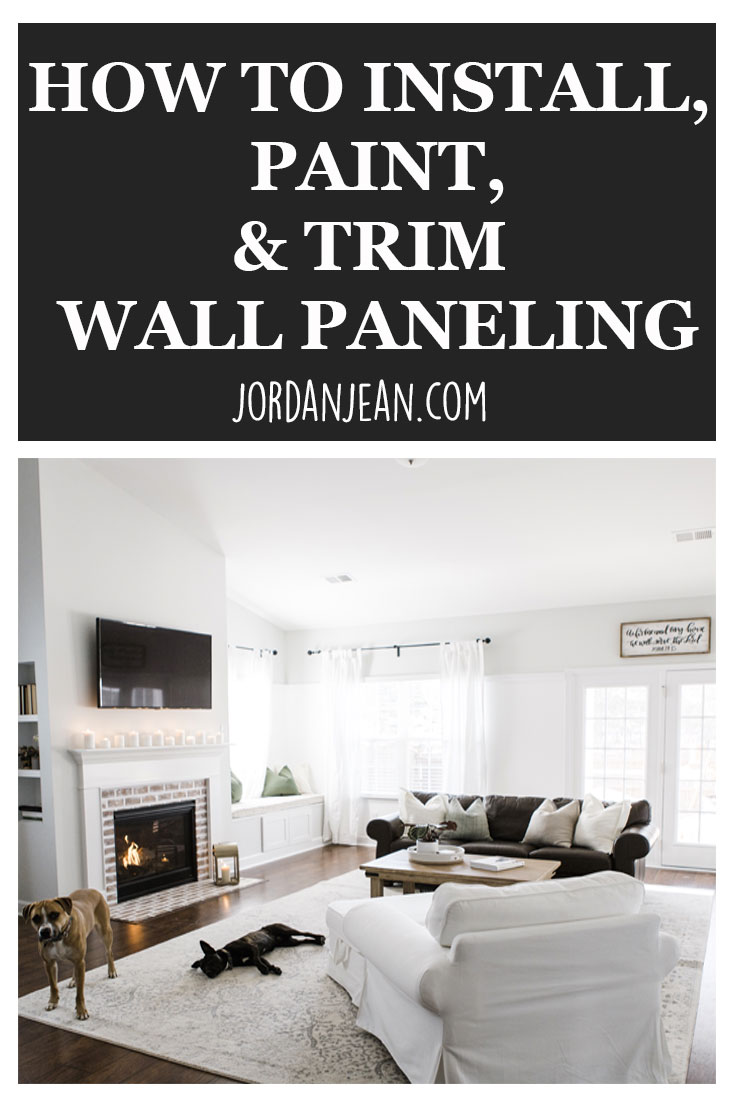
Pin this image to save for later:
jordan jean
Leave a Reply


It’s helpful to know that the very first step is to cut the wall paneling to the desired height for our project. My sister and her husband are planning on installing decorative wood-grain wall paneling in their dining room to give it a more elegant atmosphere. Thanks for sharing this info I can pass along to give them some steps for planning the project!
[…] Now that we’ve finished probably two of the most involved projects of the year (posts HERE and HERE), we’re ready to start tackling other rooms in our home. As a lot of you know, we […]