November 7, 2017
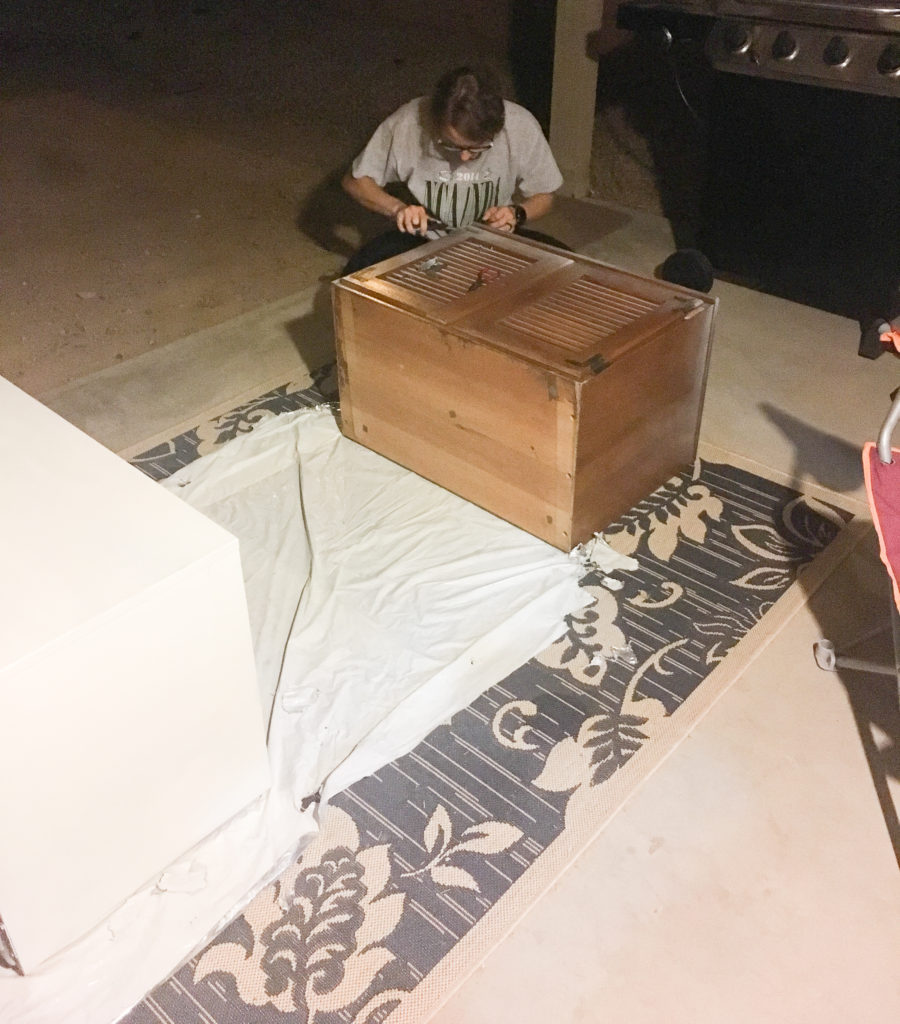
Stephen and I had been on the hunt for nightstands for our guest bedroom for months but couldn’t seem to find anything inexpensive that we liked. One Saturday morning at a thrift shop I saw these cabinets sitting there and had a vision. He couldn’t quite see it but trusted me so we haggled them down to $70 total (sorry the picture is blurry… this one is stolen from my Insta stories. Apparently I was so eager to start I couldn’t even snap a picture!).

This post really should be titled, “What not to do when repurposing nightstands” since it was such a unfortunate disaster. Anyway, we’re going to use this as a very large lesson as to what NOT to do. Learn from my mistakes. You can thank me later. Now, let’s get this party started.
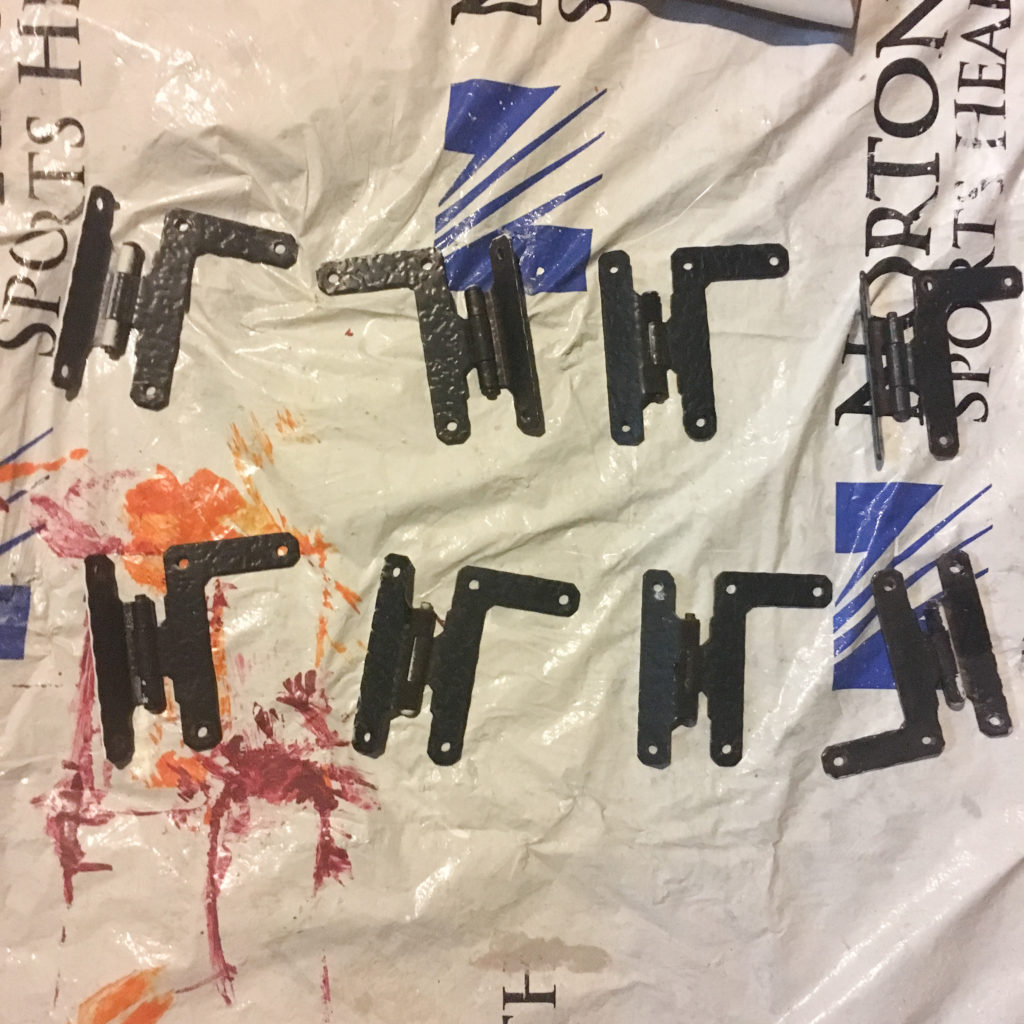
Step #1: Remove any hardware.
Step #2: Sand out any scratches/scuffs off the top. It’s not necessary to sand the entire thing when using chalk paint, that’s the best part about it. It can be a good amount more expensive than normal paint but the time saved, its durability, and the way the finished product looks is worth it in my opinion.
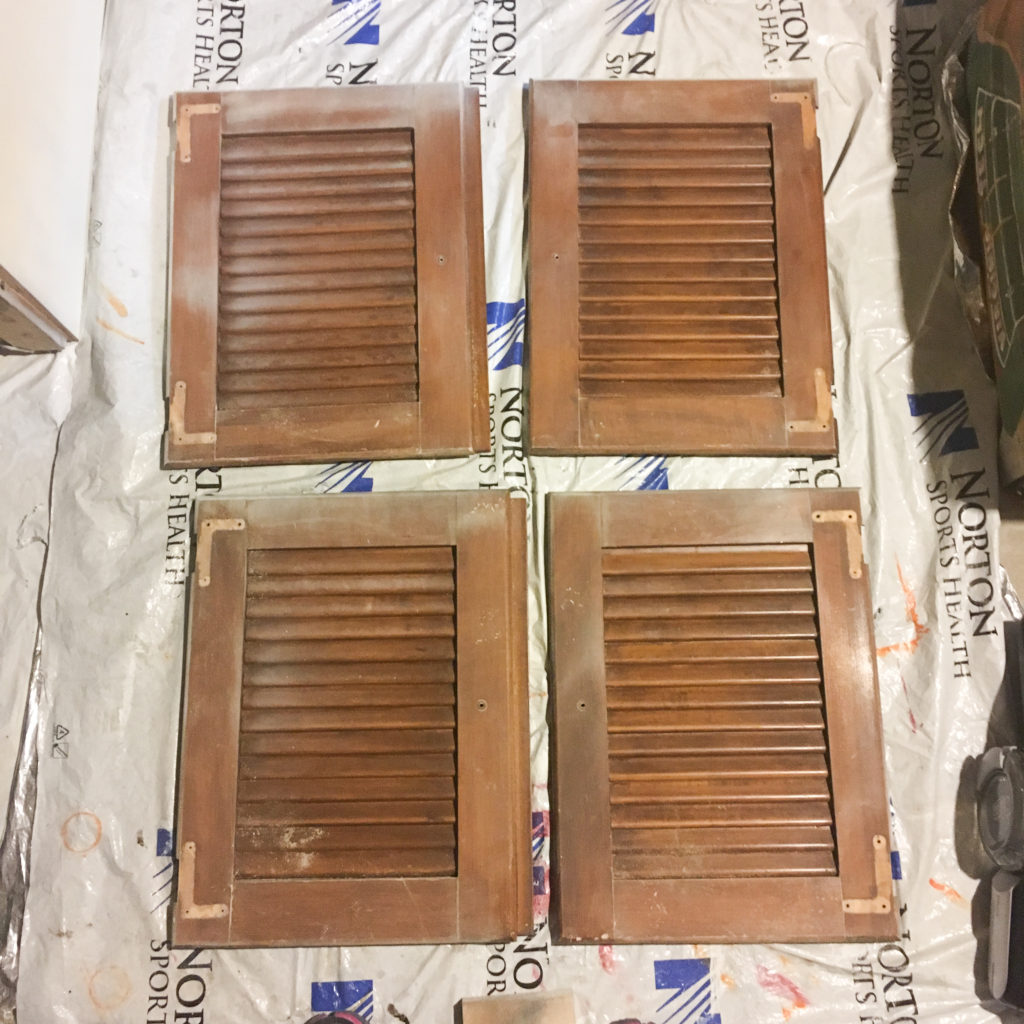
Step #3: Clean off any dust leftover from sanding.
Step #4: Paint using chalk paint and a brush.
Lesson #1: I tried using spray chalk paint to save time. We had family coming into town so I had to get these done quickly. Stop right now if you think this is a good idea and return any cans that you haven’t opened so that you can save your money now. It was such a time and money sucker it makes me upset to think about. Maybe it was just the chalk spray paint that I was using, maybe it wasn’t but it didn’t cover the wood for crap. Chalk paint is known for its ease of use. You normally can do without sanding, paint the piece a couple of times depending on coverage and be done with it. That didn’t happen with this paint. The coverage was TERRIBLE! So terrible.
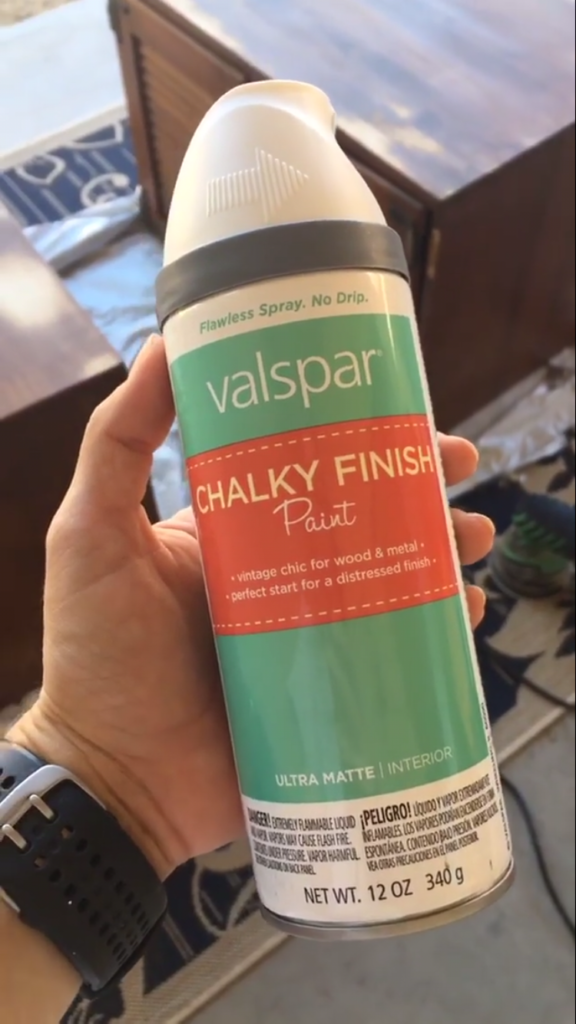
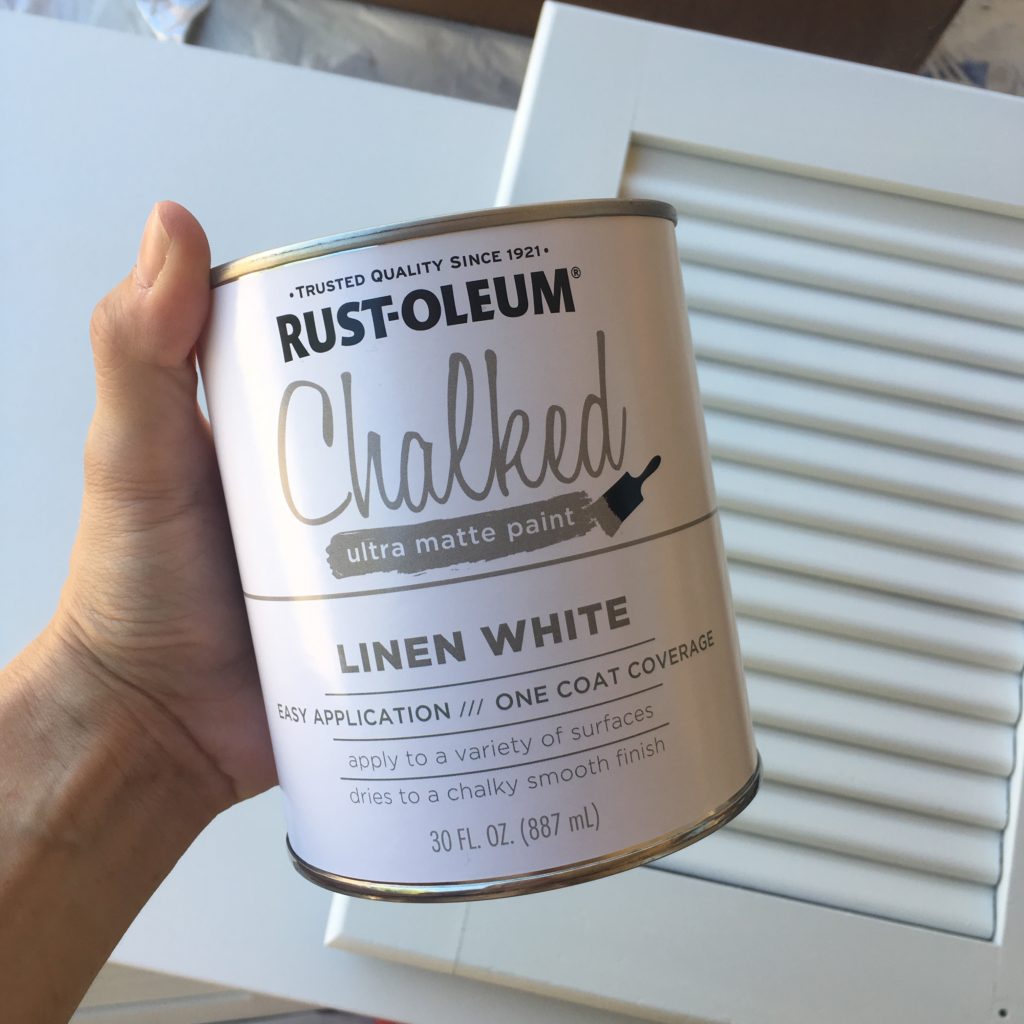
USE THIS instead. It was a great price for chalk paint, had good reviews, and saved so much time compared to spraying. I found it at Home Depot and finished painting both nightstands in 5 hours. That included the drying time in between coats.
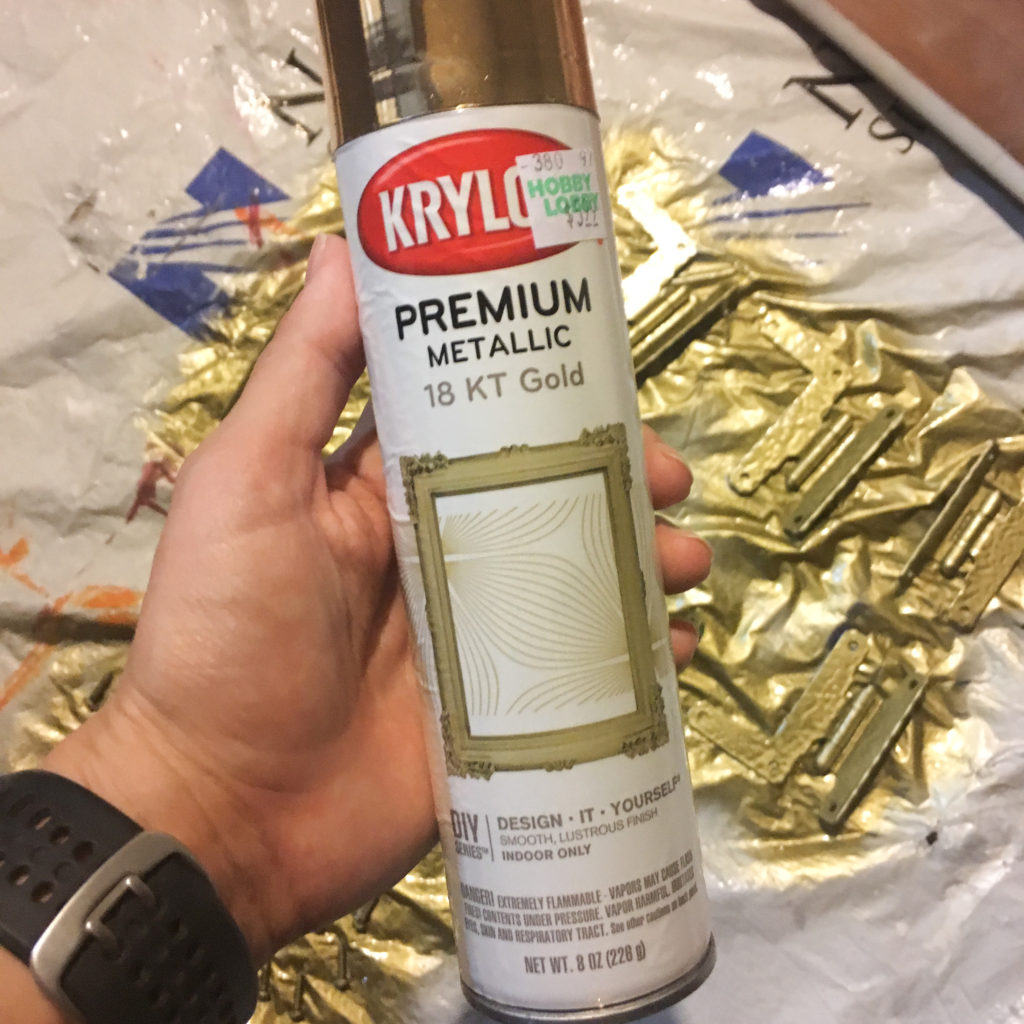
Step #5: Paint hardware. I used this spray paint and it worked really well. With things like screws, if you are worried about ruining them when screwing them back in, spray some paint onto a paper or plastic plate and hand paint them after everything is put back together.
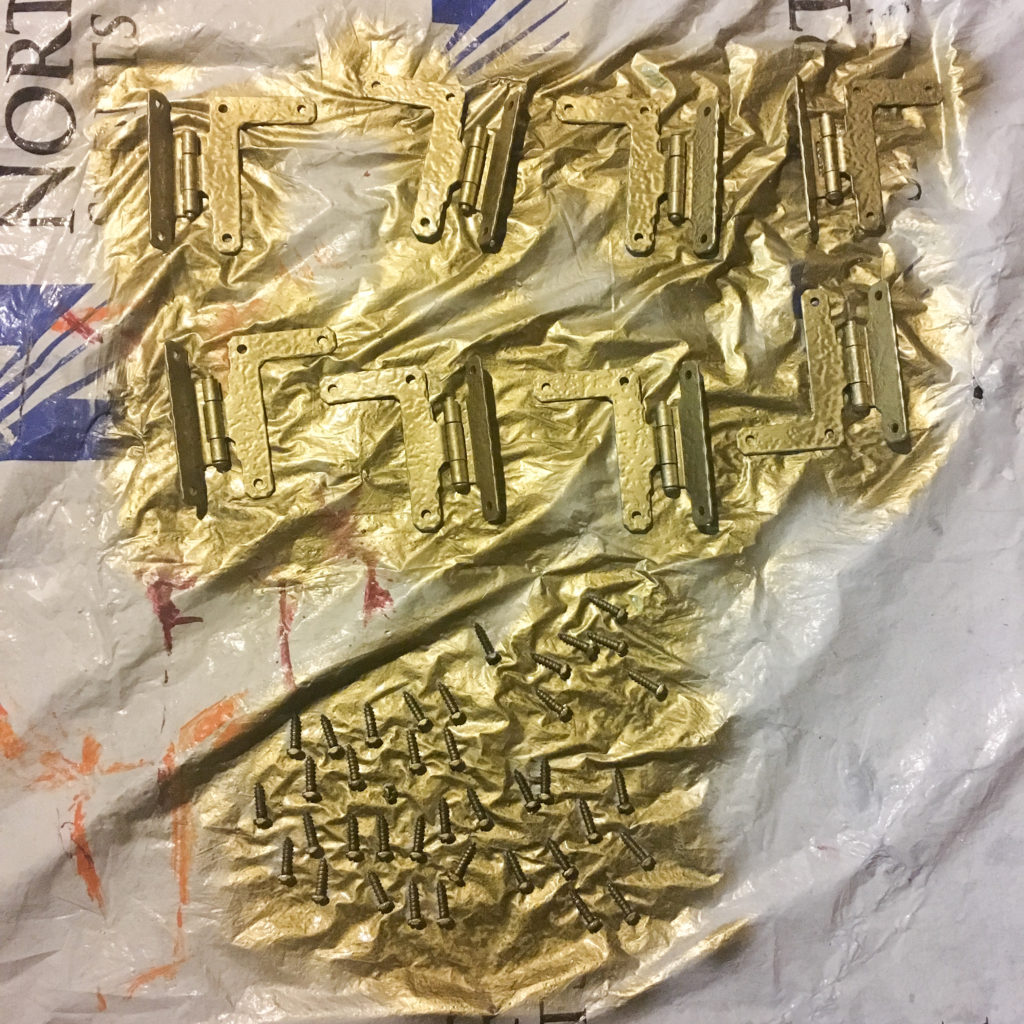
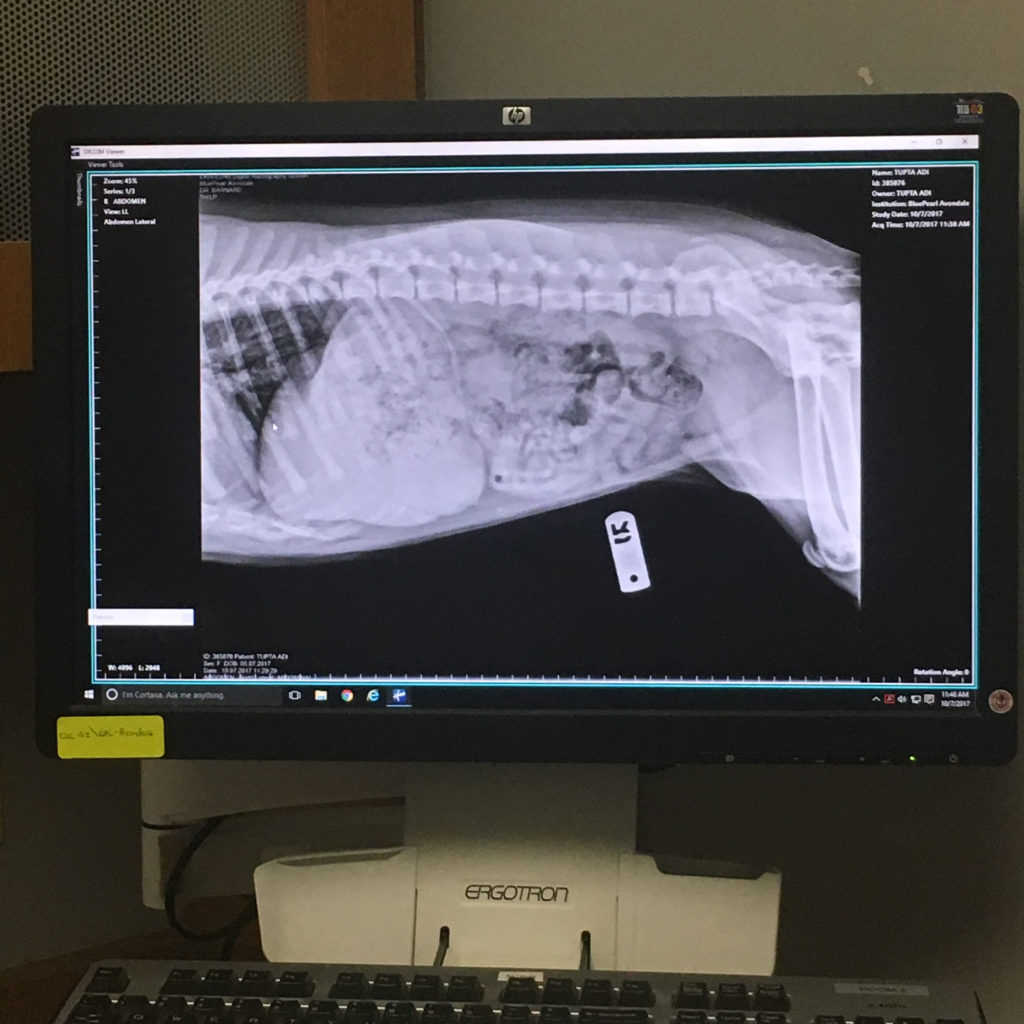
Lesson #2: Don’t put the sprayed hardware into a cup that your dog enjoys chewing on… Hundreds of dollars later, Adi in fact, did not eat the screws. She did, however, dump the gold screws into a straw patch in the backyard. It was so incredibly unfortunate but we’re just glad she’s okay.
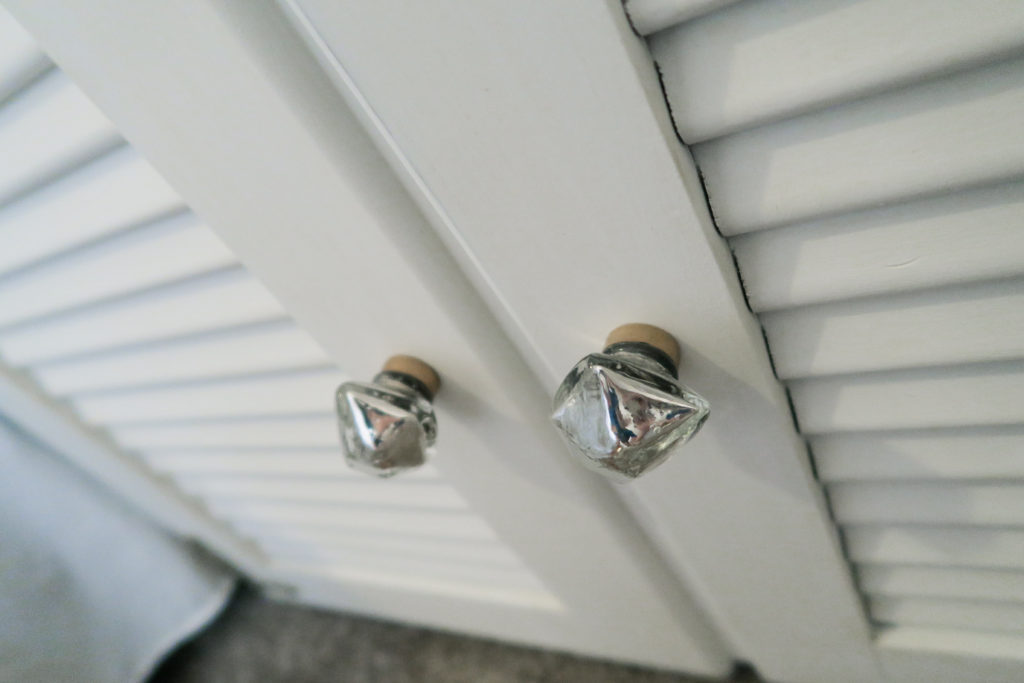
Step #6: Find some cute knobs. My favorite place to look is Hobby Lobby which is where I found these among many other cute options. Target, At Home, Amazon, and D. Lawless Hardware are some other really great places to look!
Step #7: Put everything back together.
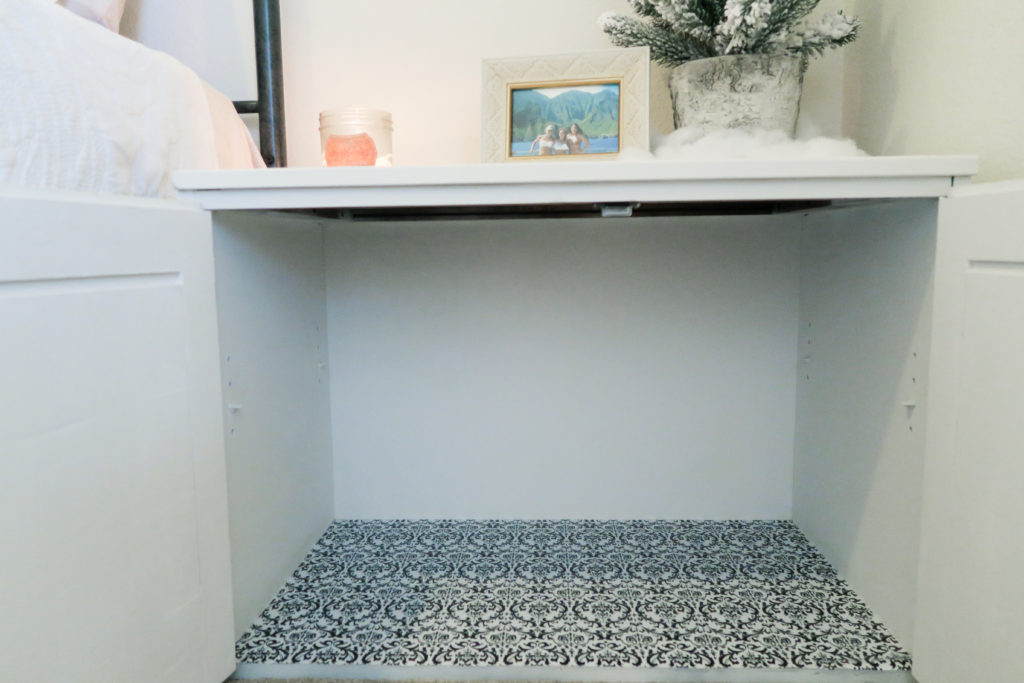
Step #8: I found this drawer liner at Target for about $7. Cut them to size, remove the backing, and stick it to the bottom. Make sure you get rid of any dust first! I’m on the hunt for a black and white buffalo check pattern… Once I find it I’ll be swapping the current lining out for that!
Step #9: Cover with wax. Paint it on lightly and wipe the excess off and then let it rest overnight.
Lesson #3: If your husband is kind enough to offer to finish the project while you’re away on a work trip, make sure to specify to him to wipe the excess wax off (or tell him to read the directions…). Otherwise, your white chalk paint will eventually turn yellow. Since the stands are currently in use right now, I’m not able to work on de-yellowing them. But as soon as they’re free, I will. Don’t worry guys there will be certainly be a “How to Remove Wax From White Furniture” post someday…
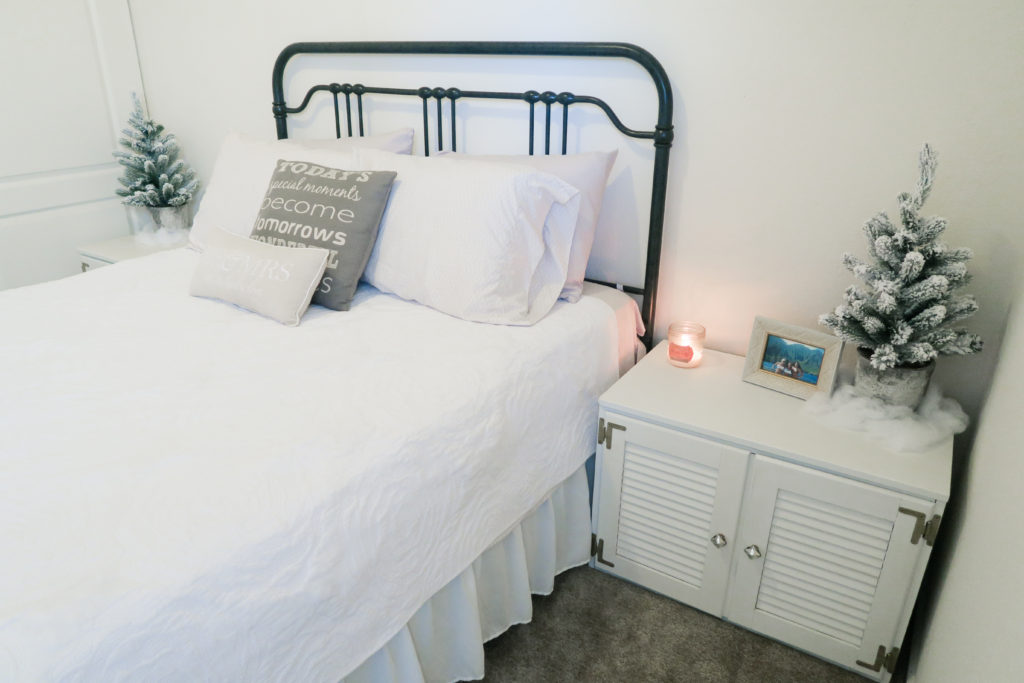
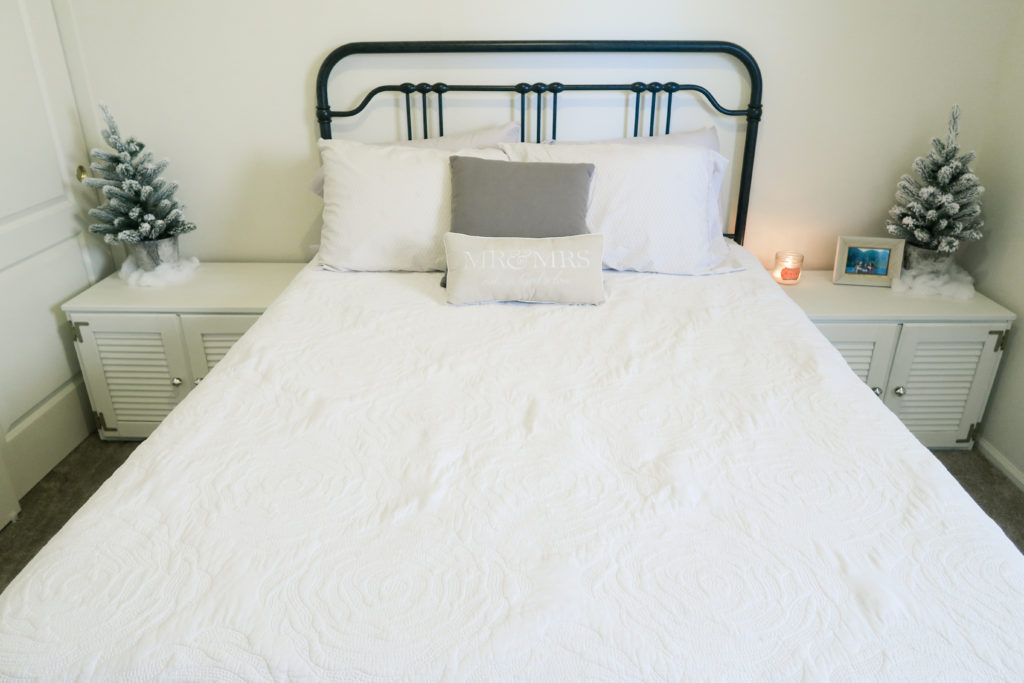
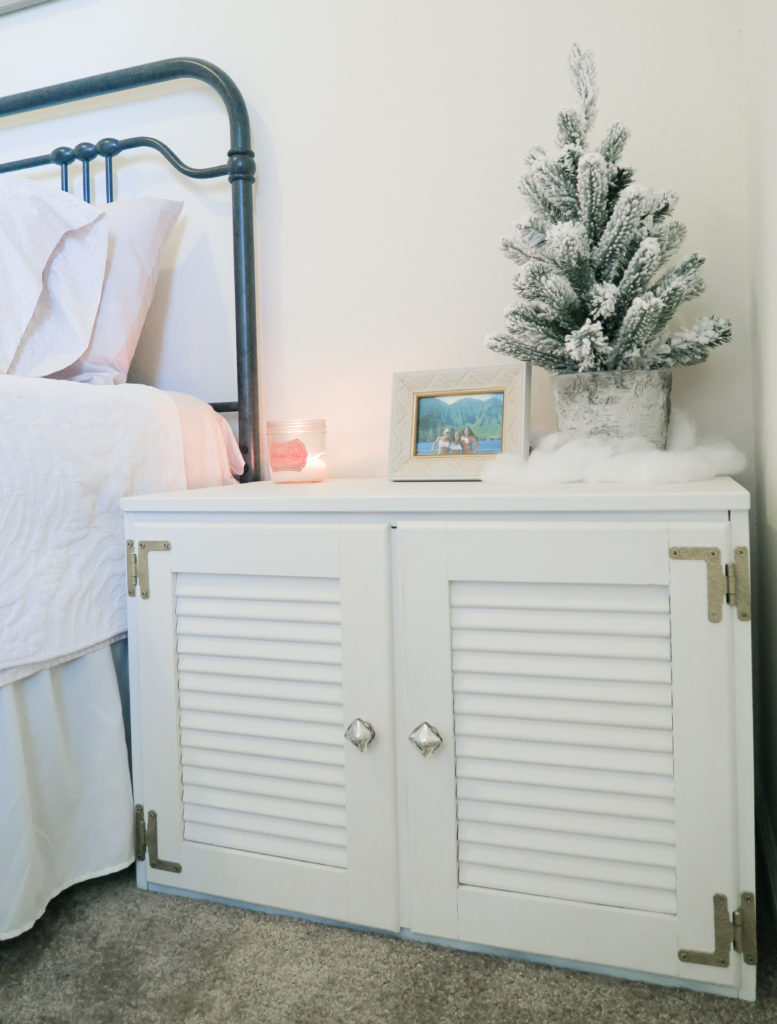
Overall I think they came out alright! I have to admit though, once I get that yellowy wax residue taken care of, I’ll probably go back and paint the hardware black… I don’t know if I like the gold in that space. *monkey emoji covering its eyes* It’s not “rustic” or farmhouse enough for this room. I don’t really know what I was thinking… I can definitely see these in a few different types of spaces but considering our house is more farmhouse esque, I’ll probably change them a tad. As usual, I’ll update you all if I make any changes on here or Instagram stories!
jordan jean
Leave a Reply


[…] over time. The bed was purchased on clearance on whim (because the deal was that good), the nightstands we found at a thrift shop in Arizona, and the TV console was purchased in Arizona when we agreed […]