February 9, 2021
In our South Carolina home, one of the first projects we completed was the board and batten in the entryway. Even though the house was brand spankin’ new and really didn’t need anything, we wanted to add some charm and character to it. Board and batten is an easy way to do that! By the way, Stephen and I had never done anything like that before! We just did some research and put our own noggins together to come up with a plan that would work for us and our home. We’re not experts whatsoever. Here’s your reminder that we all start somewhere! You just have to start. Don’t be afraid to ask questions along the way.

It’s so exciting to receive messages from people that have used our tutorial in their home and love it! We would get so many compliments on it when people visited that house and I have no doubt the new homeowner is experiencing the same. Even though it looked fantastic in there and in so many other homes, we decided to do something different in this one. Something I really wanted with this board and batten is for the vertical slats to be flush with the baseboards. That was not the case with the last tutorial we created. Our baseboards in this house are 0.25″ deep and for budgeting purposes, we plan on salvaging as much trim in this house as we can so we used this 2 1/4″ lattice moulding. Stephen was worried there wouldn’t be enough of a difference in the depth to even tell the board and batten existed but there is! The total cost for the materials was less than $100. It’s a big impact for a relatively inexpensive and easy project!
Let’s get into this…
What We Used:
- 2 1/4″ lattice moulding for the vertical pieces and horizontal top piece
- Top trim piece that runs perpendicular to the horizontal lattice piece aka creates a “mini shelf”
- Nail gun with 18 gauge nails (you can also use a hammer and nails). Someday I hope to get Stephen a cordless nail gun like this one.
- Level
- Caulk
- Joint compound
- Putty knife
- Medium-fine grit sanding block
- Primer
- Paint
- Hooks
- Spray paint
What To Do:
- Before purchasing any materials, use tape to map out where you want your vertical slats to determine how much you need to buy.
- We like to place a vertical piece on each edge of the wall to create a “border”. Then from there, determine how far apart you want each slat to be between those two boards. If you know you want a specific number, for example, 4 boards, then subtract the width of the board x 4 from the total length between the border boards and divide that difference between each board by 4 to determine how far apart they’ll need to be. On our wall with the closet door, we have 16″ between the vertical boards from edge to edge. On the wall with the office opening, there is only 14.5″ between board edges. It’s not noticeable at all! Our vertical pieces from the top of the baseboard to the bottom of the horizontal lattice piece we added are 58″. From the floor they are 61.5″ long (the baseboard is 3.5″). The height of all of the black painted area for our board and batten from the floor is 64″ high. Our ceilings are 8′.
- Measure the length of the wall space you are trying to cover to determine how much lattice you need for the horizontal piece. The lattice comes in 8″ sections so in our case we needed multiple. I will explain below how Stephen cut them to make it look like one giant, seamless piece.
- The length you determine for your horizontal lattice piece will be the same length that you need for your top trim piece to finish off the look with a mini “shelf”.
- NOW buy your materials!
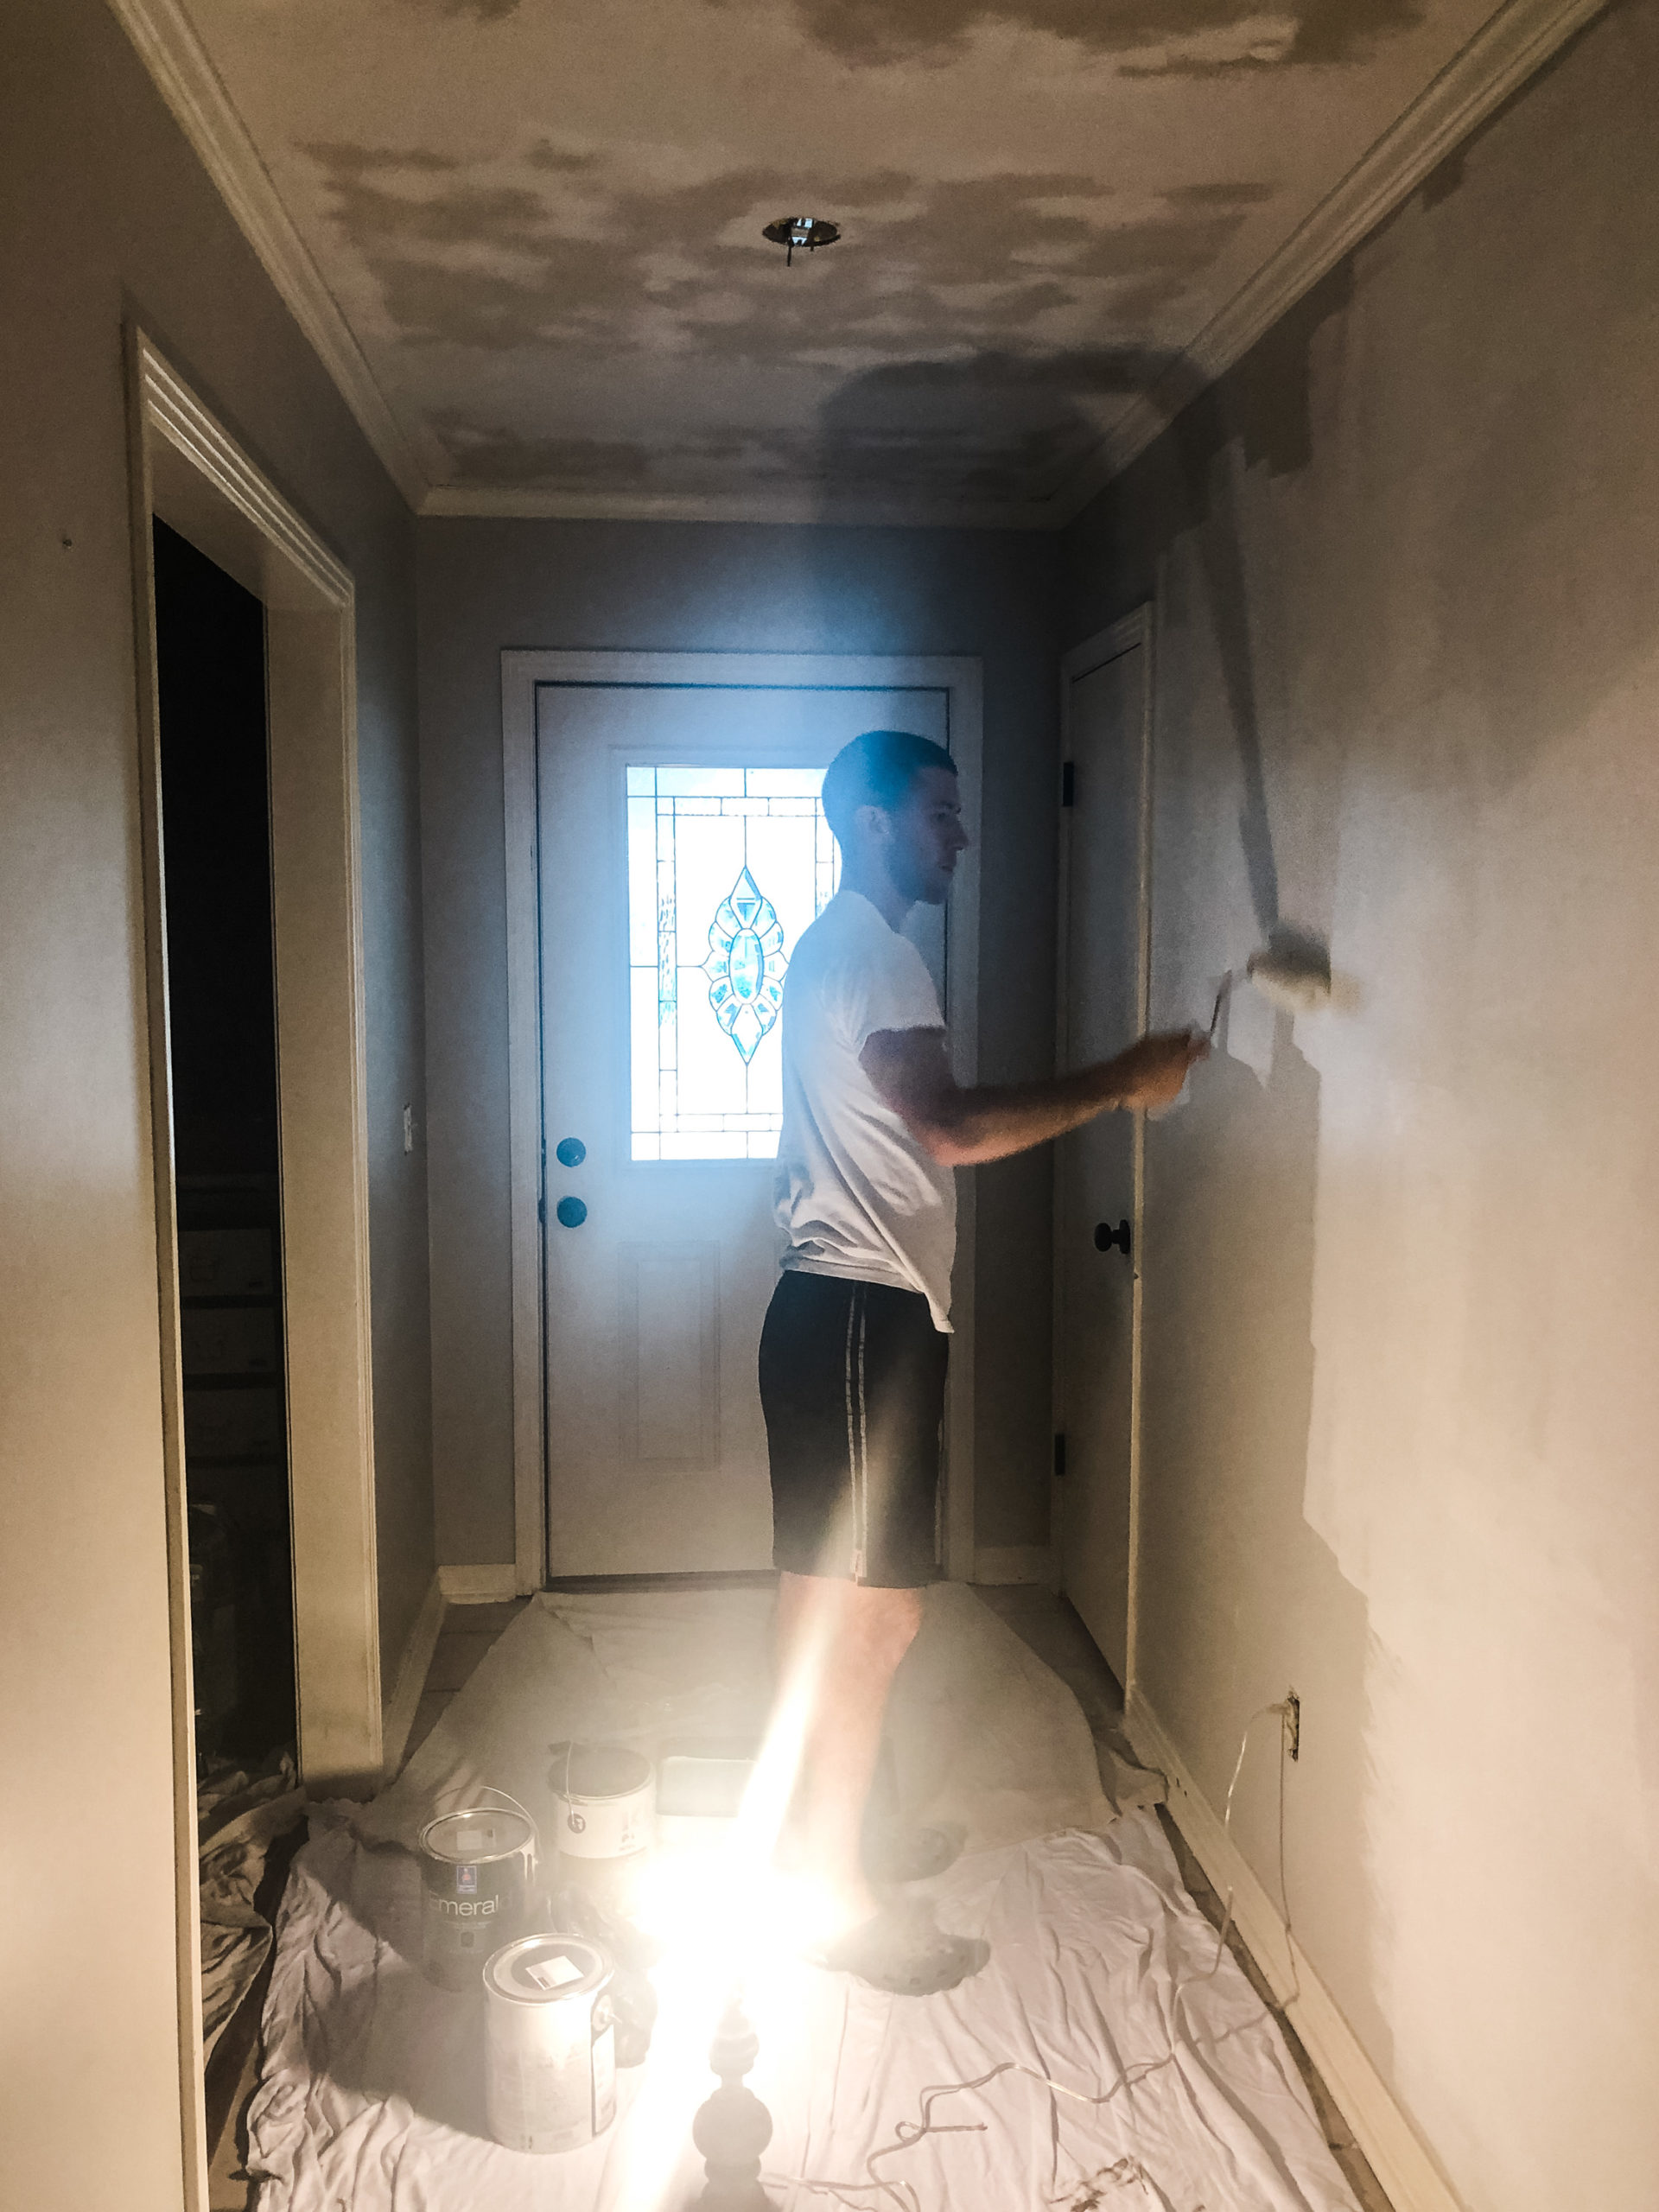
- We started by priming the entire room using this primer – whether or not you need to prime depends on what you are doing above the board and batten, what color the walls are to start and what color you plan on finishing with. When we started this project the wallpaper that we used in our design was not yet in stock so we were going to paint it until it was in stock. Then it came in stock a week later. Needless to say, priming wasn’t necessary. Murphy’s law, I suppose.
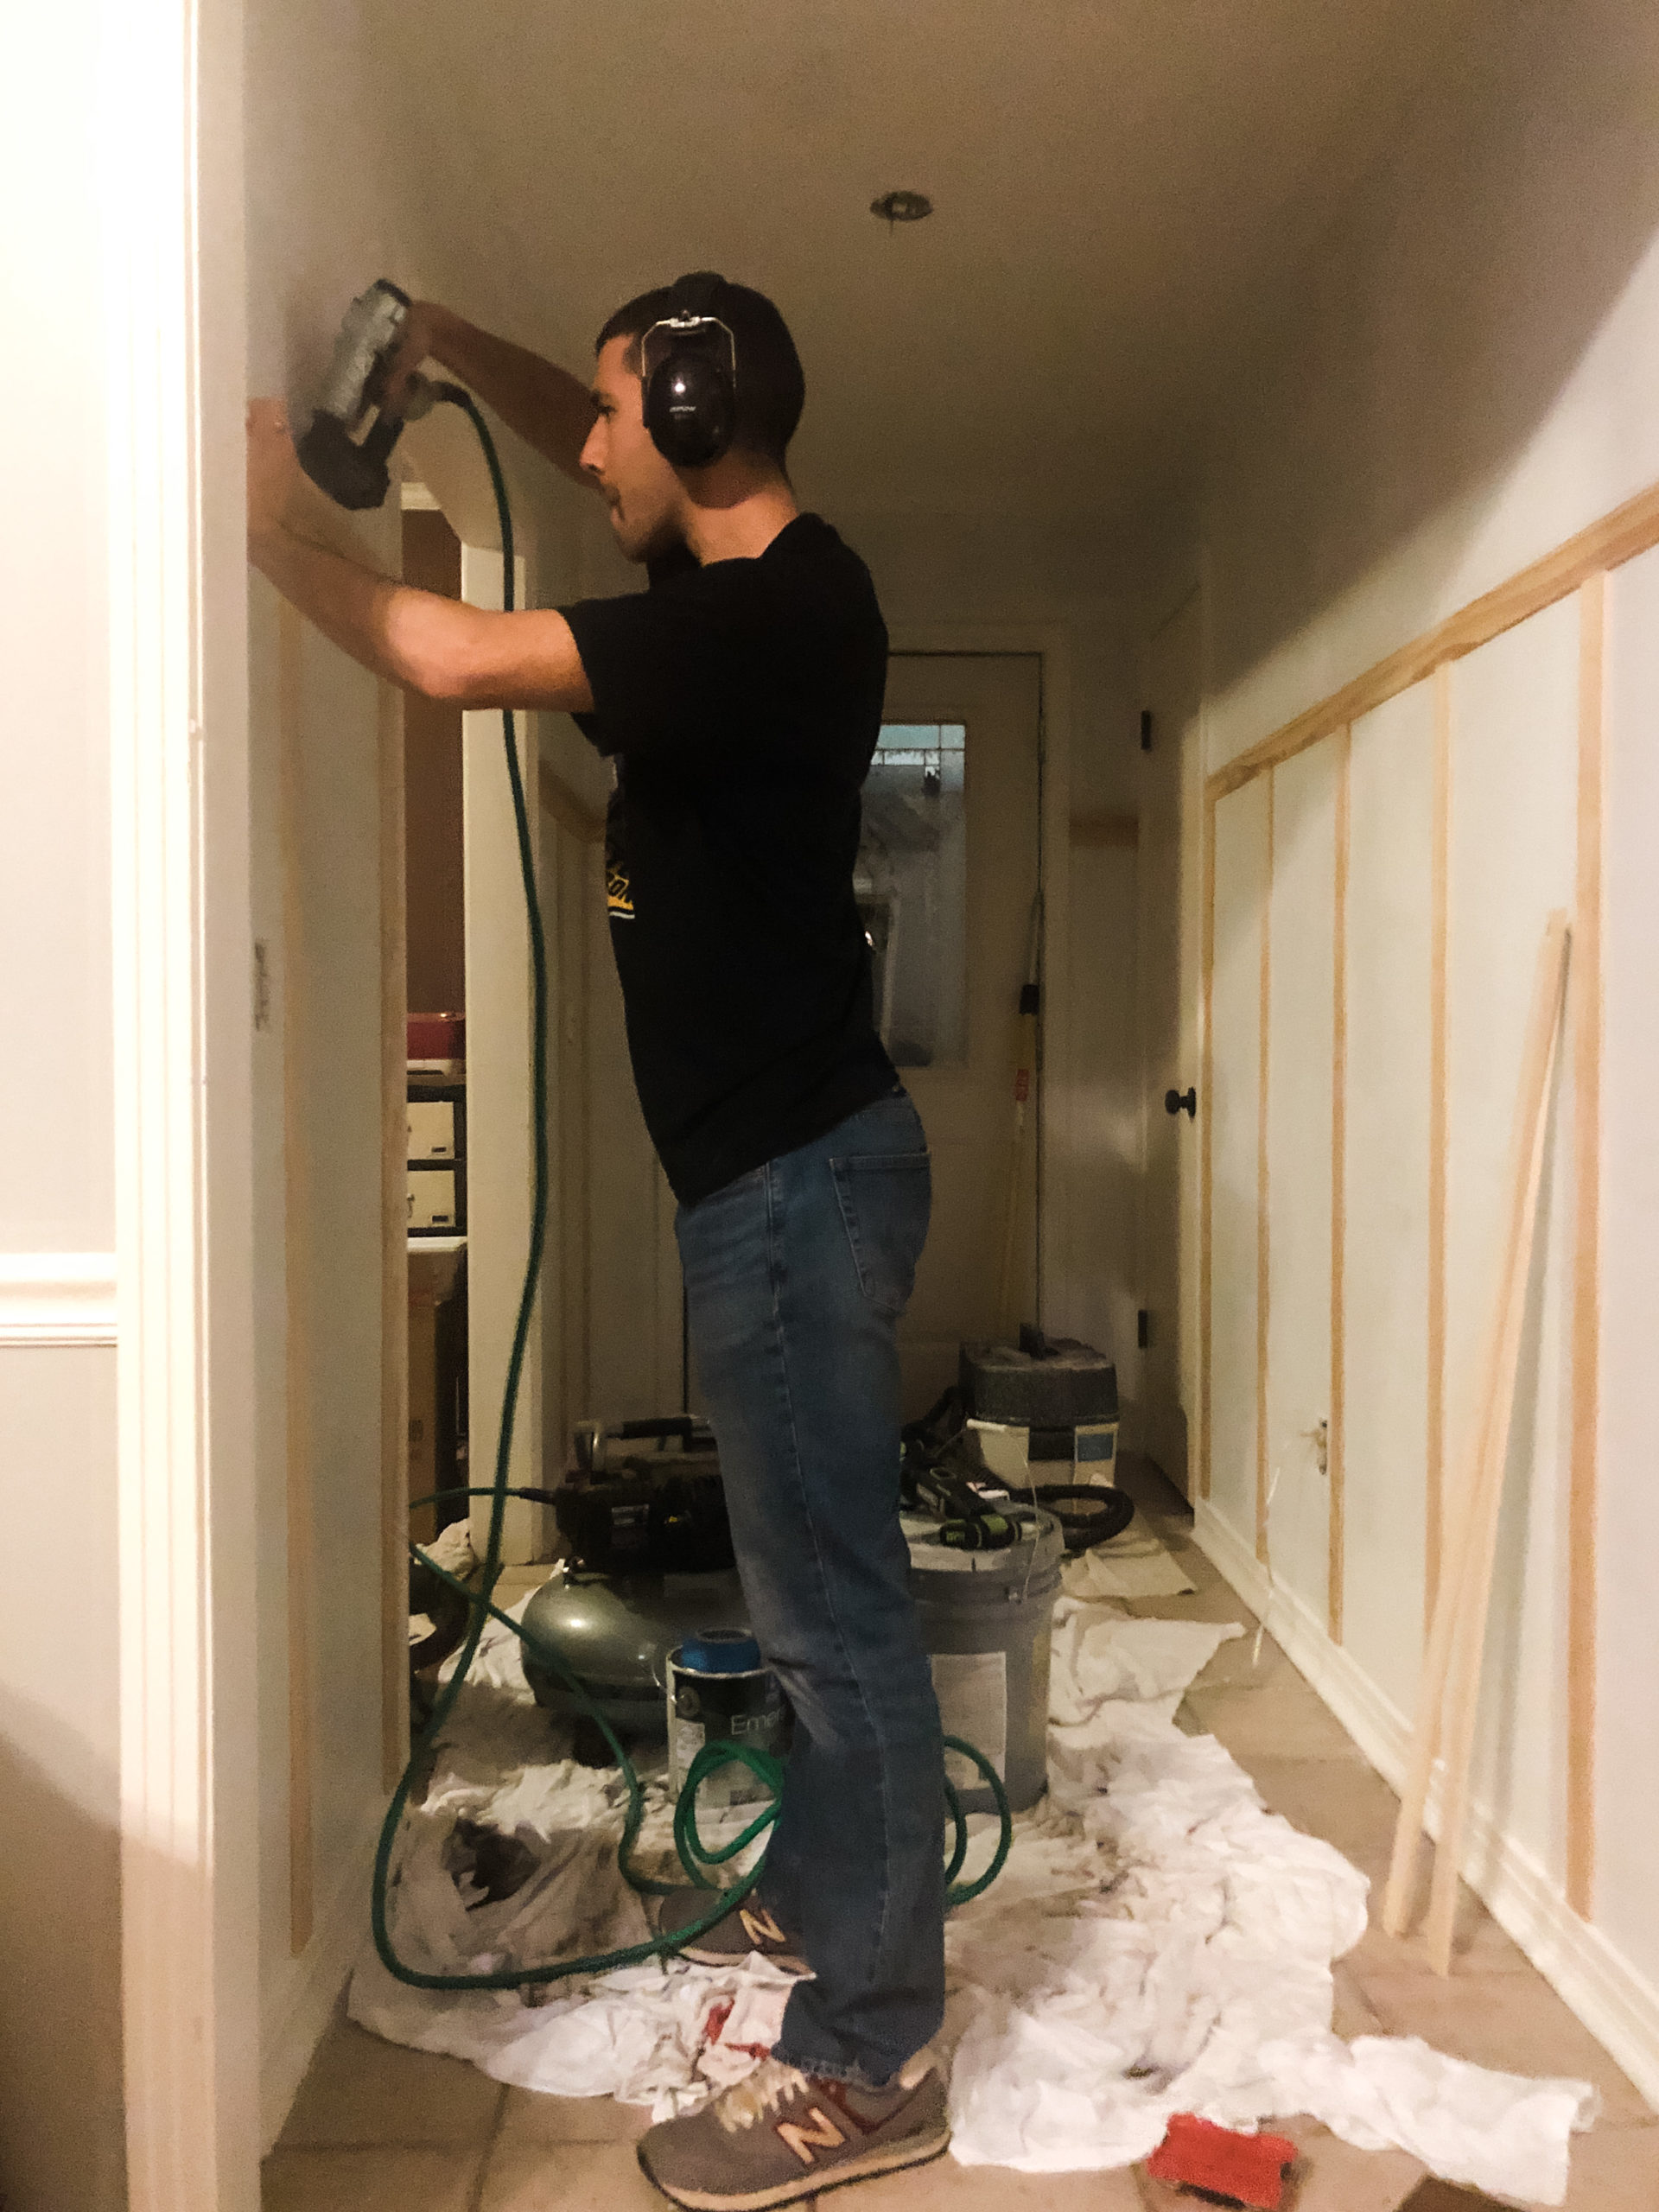
- Start by cutting your lattice pieces to your desired height. Don’t forget that you’re going to add the horizontal piece and trim “shelf” above this vertical piece!
- Using your nail gun or hammer and nails, start by nailing in the boards on the left edge of the wall and on the right edge of the wall. Make sure each board is level before nailing. Double check your measurements for the remaining boards between those two. Nail the remaining boards in, making sure each one is level.
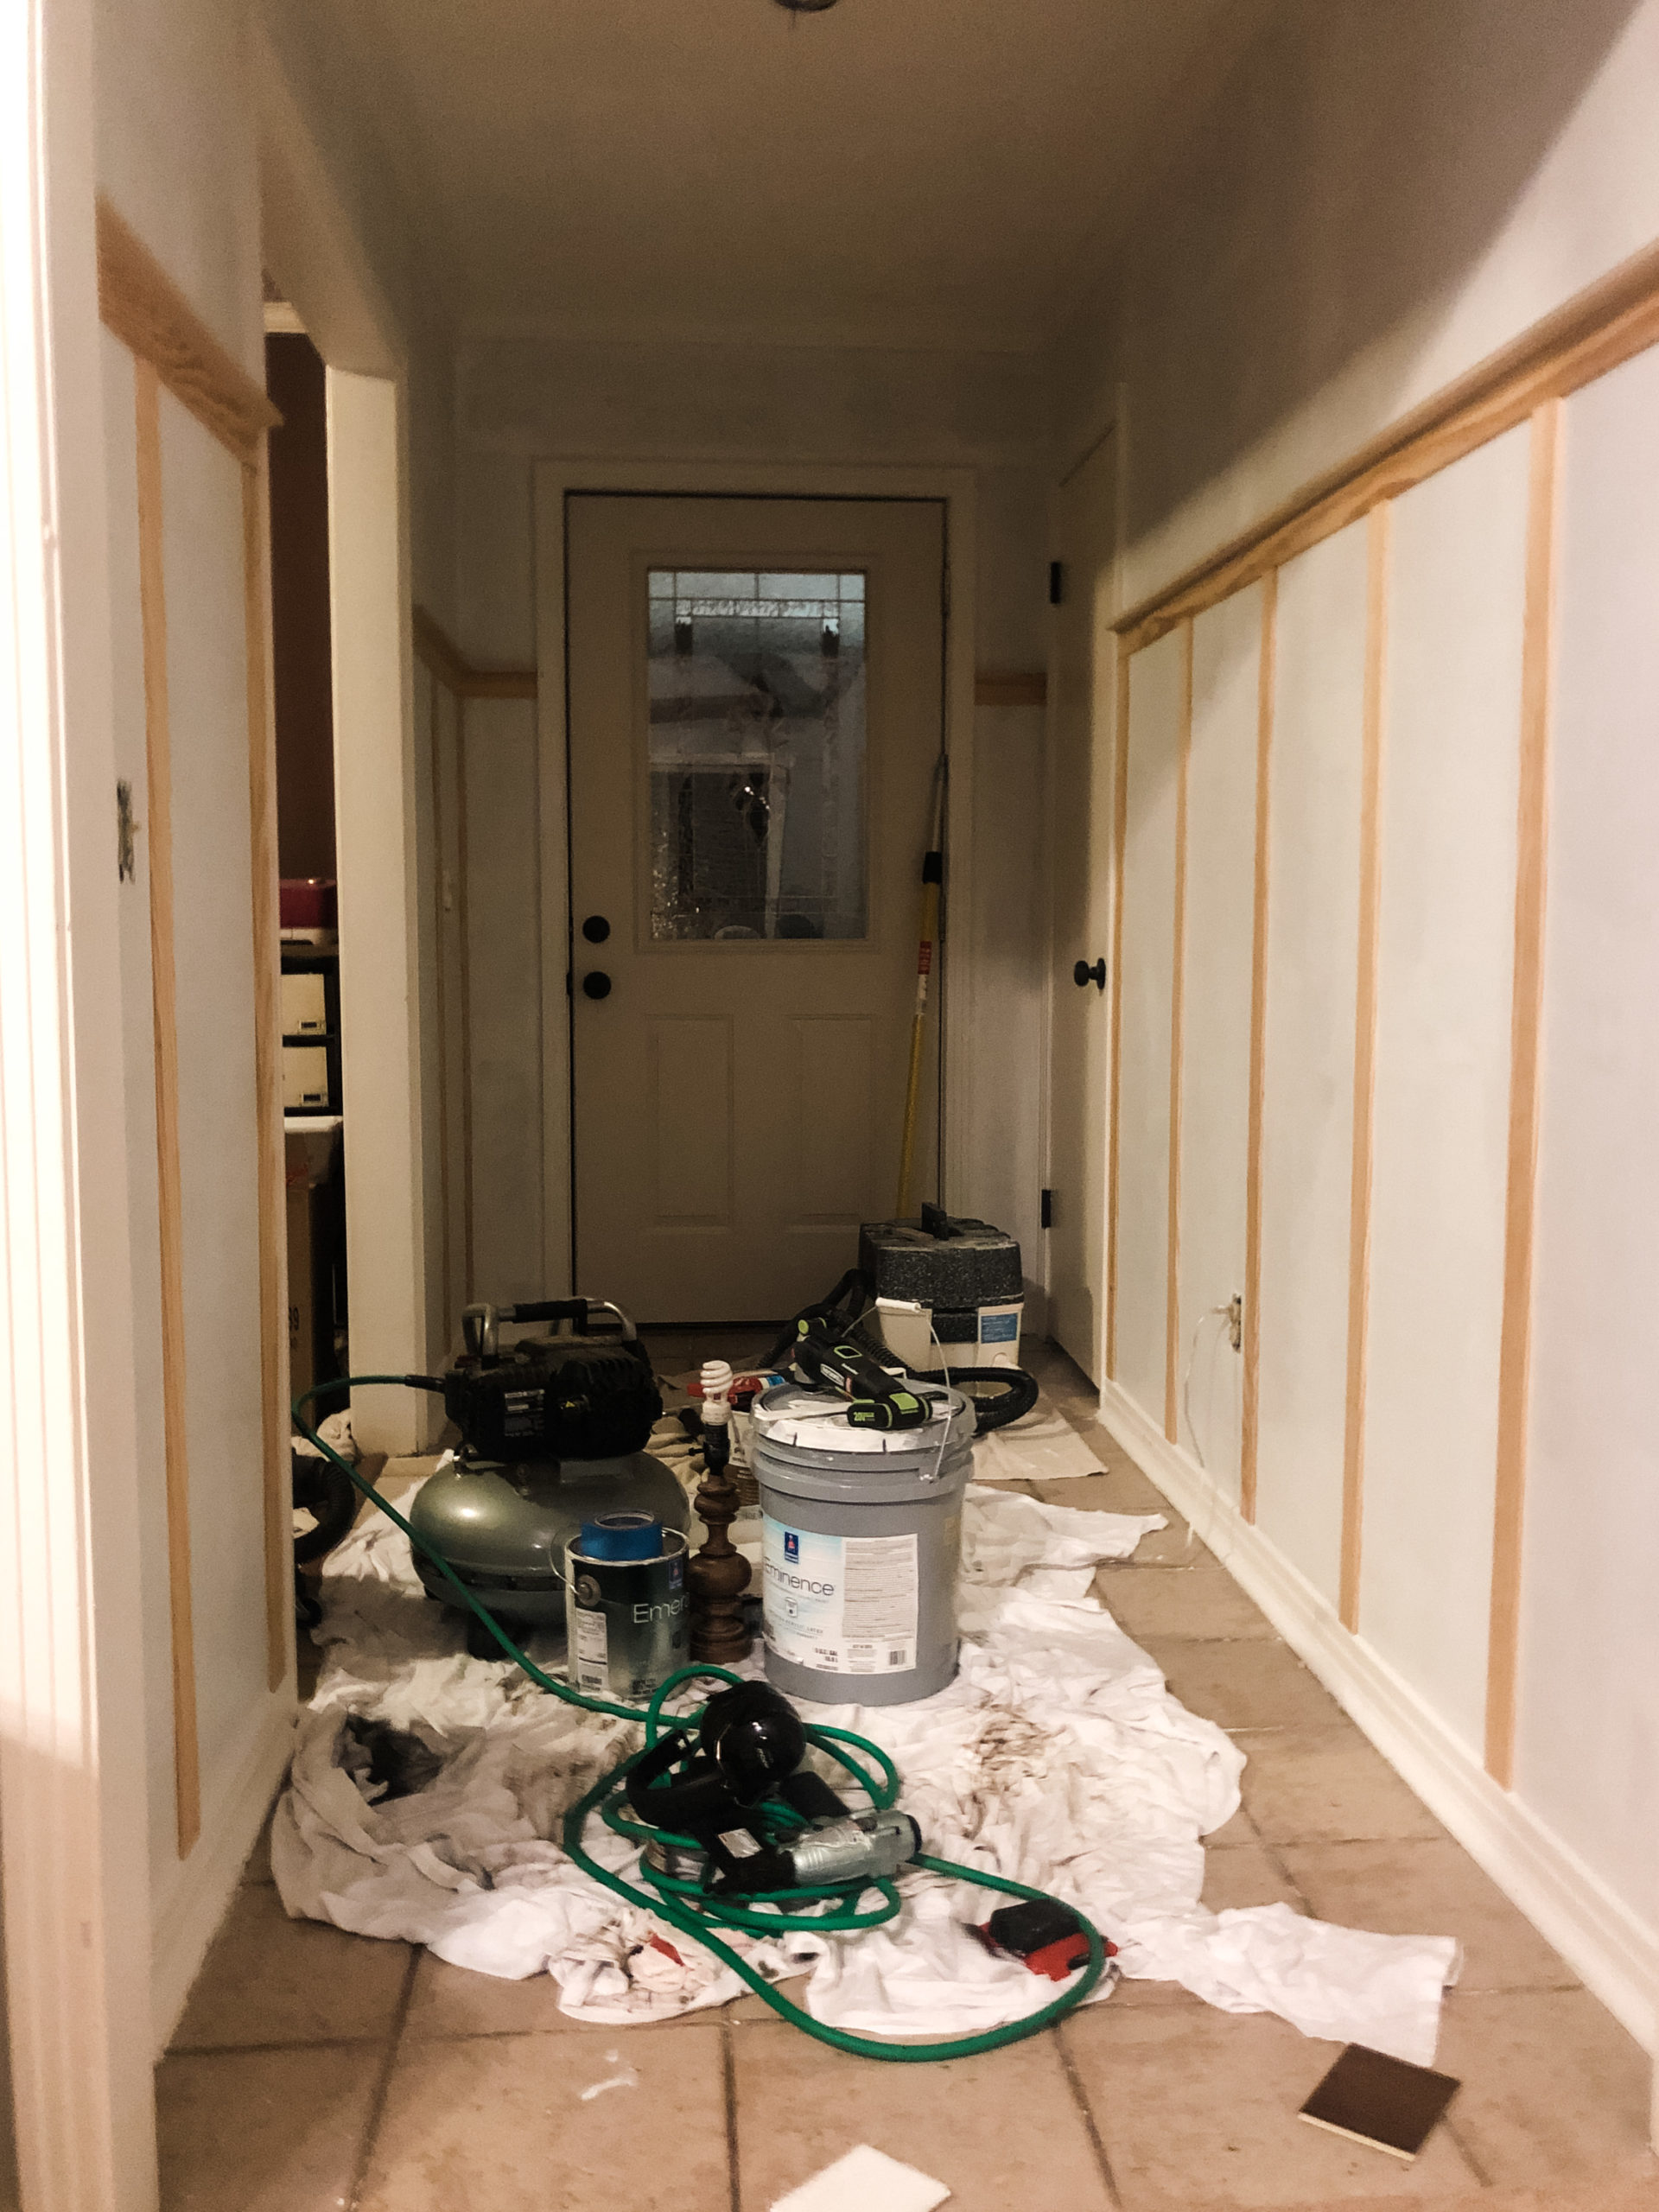
- Add the horizontal piece above the vertical boards, making sure that it’s level. If you need multiple pieces for this, cut the ends of each board at a 45 degree angle so that when you put them together against the wall, there isn’t as noticeable of a gap between the two pieces.
- Add the top trim piece by nailing it downward at an angle towards the wall so that it catches the horizontal lattice piece but that the nail doesn’t show.
- Fill in any nail holes and gaps between pieces using joint compound. I personally prefer this over wood filler or spackling. Let it dry completely.
- Sand down the joint compound until it’s smooth.
- Caulk any gaps between the wall and the boards. Make sure to run a caulk bead where the horizontal lattice piece and top trim piece meet! It makes it look very finished. Let it dry completely.
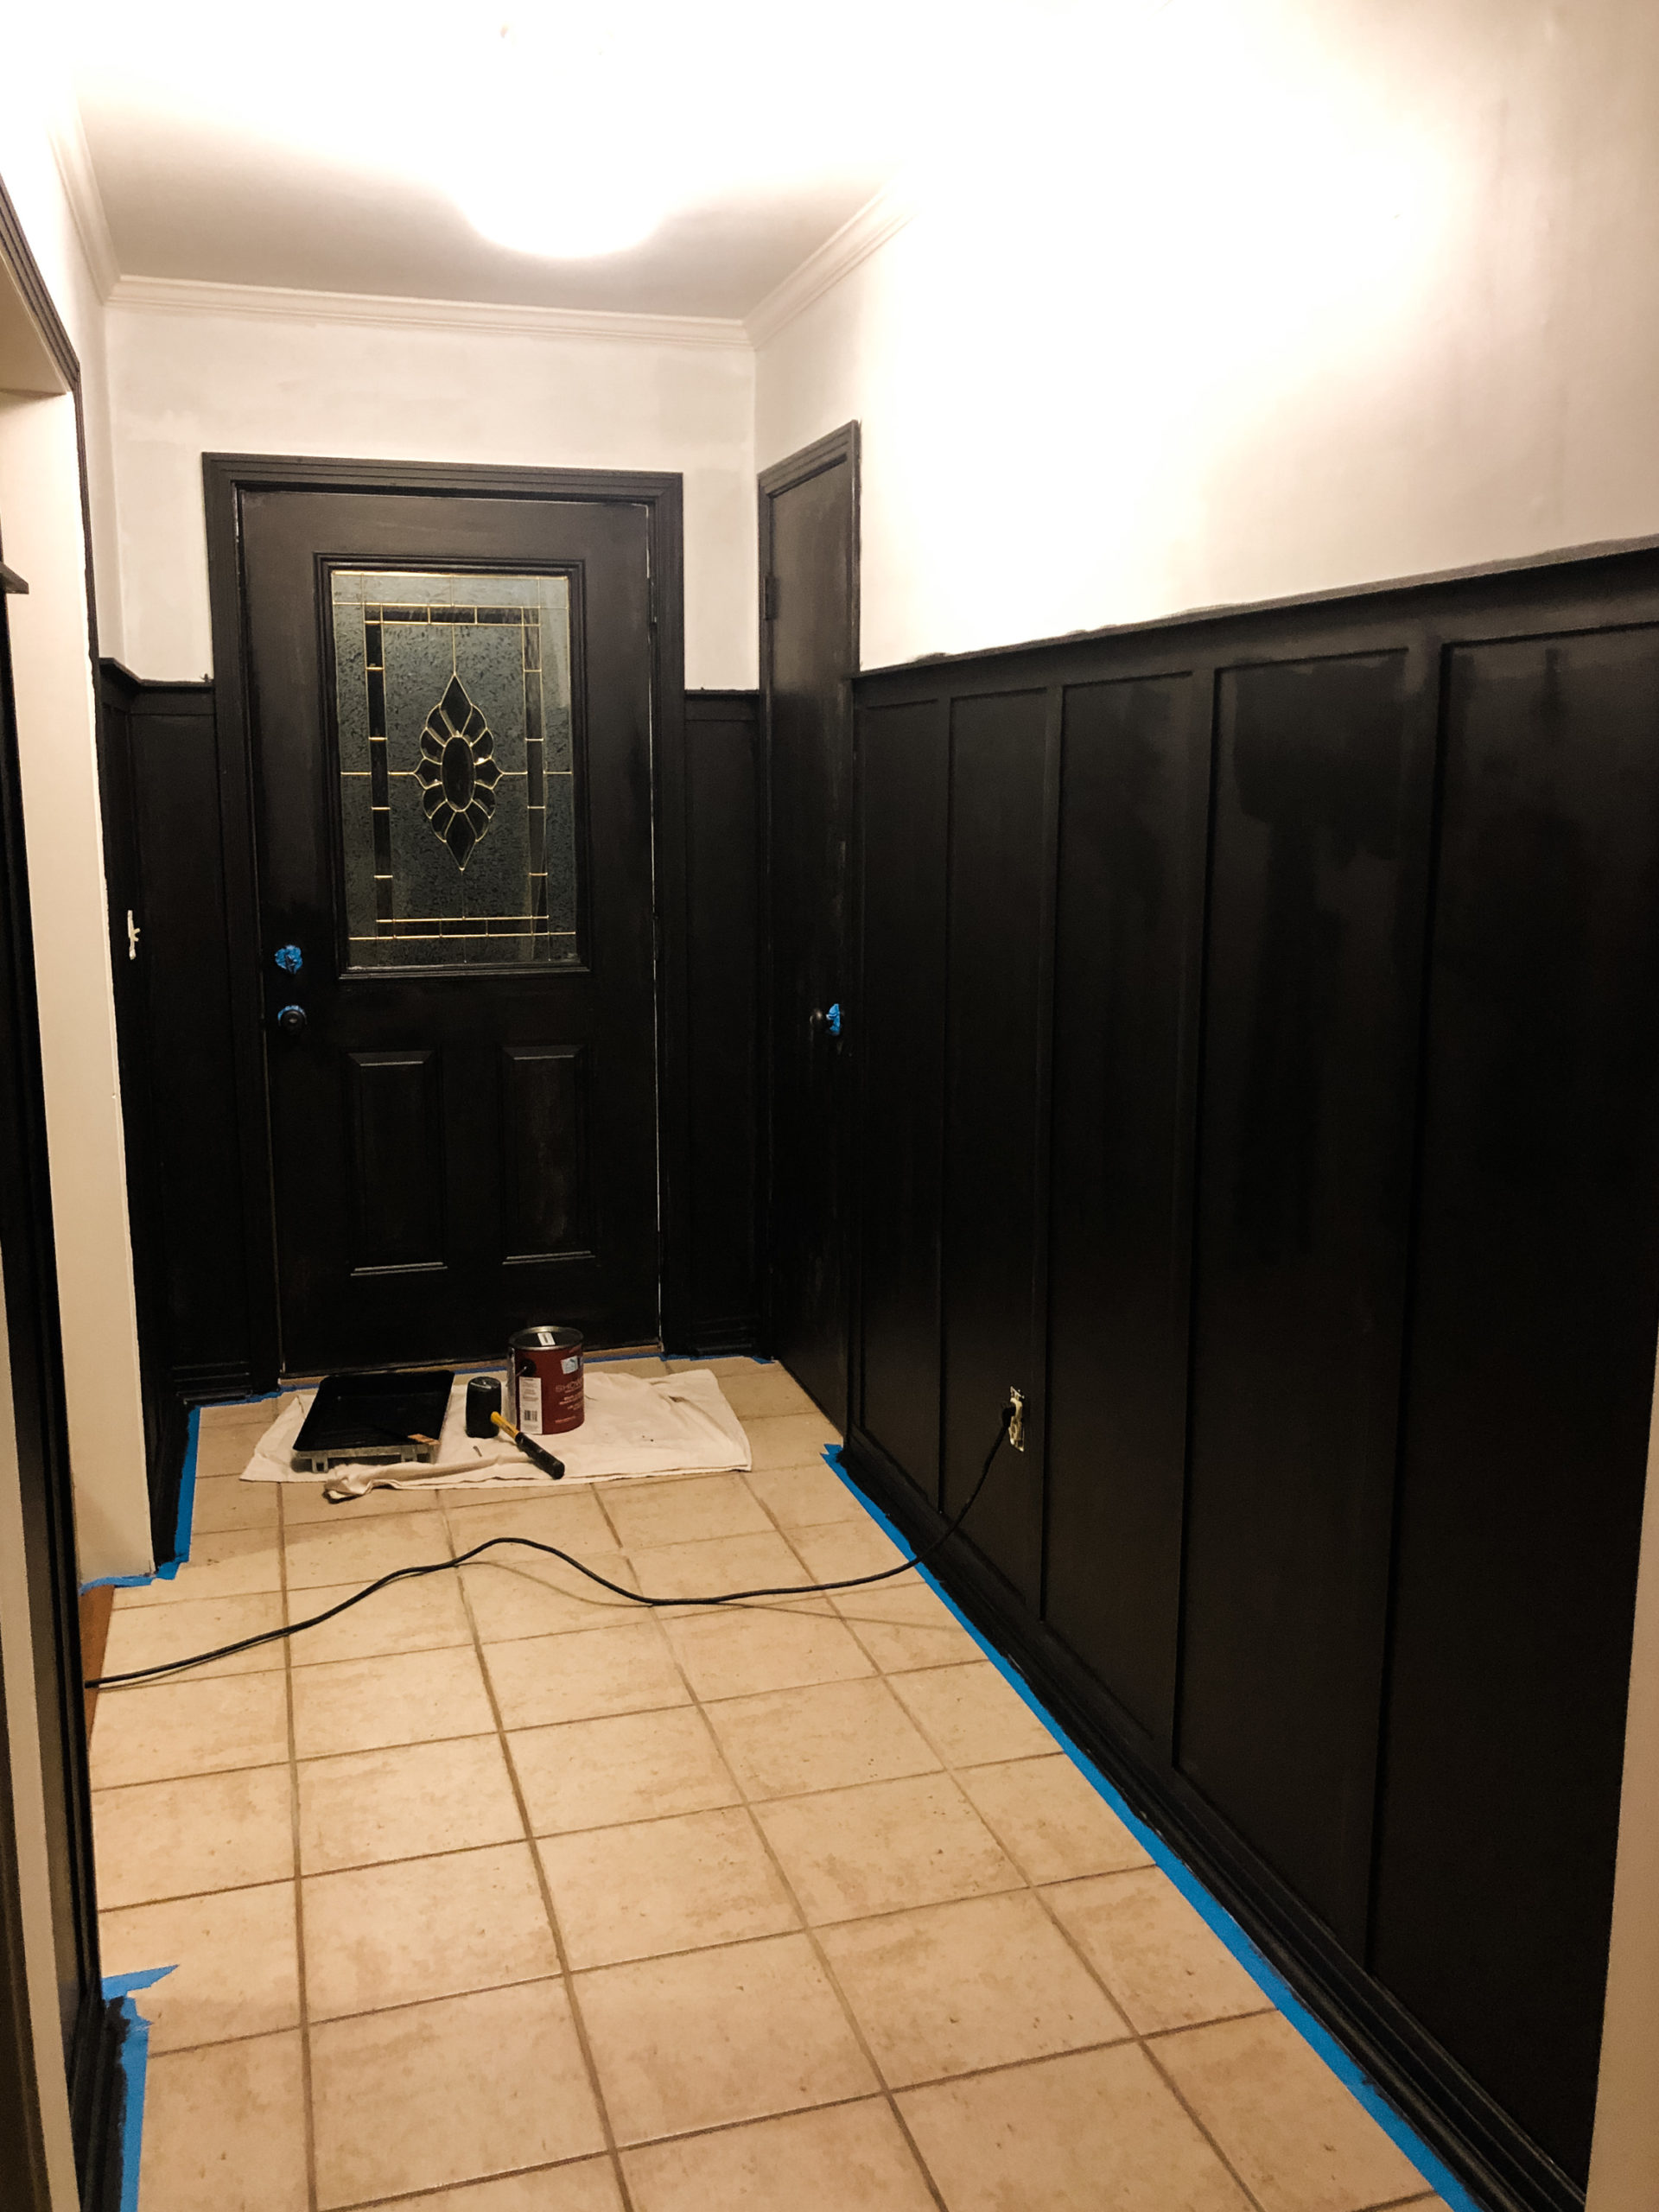
- Now the fun part – paint! We ended up needing 2-3 coats (I forget exactly) of this paint. Black paint can be tricky to work with and the coverage can look different depending on the light. I definitely went back over a few spots that popped out at me days following based on how the light was hitting the room. I can confidently say now that it is all covered. I painted the doors, baseboards, all of it! That way it looked cohesive and like it always belonged in this space.
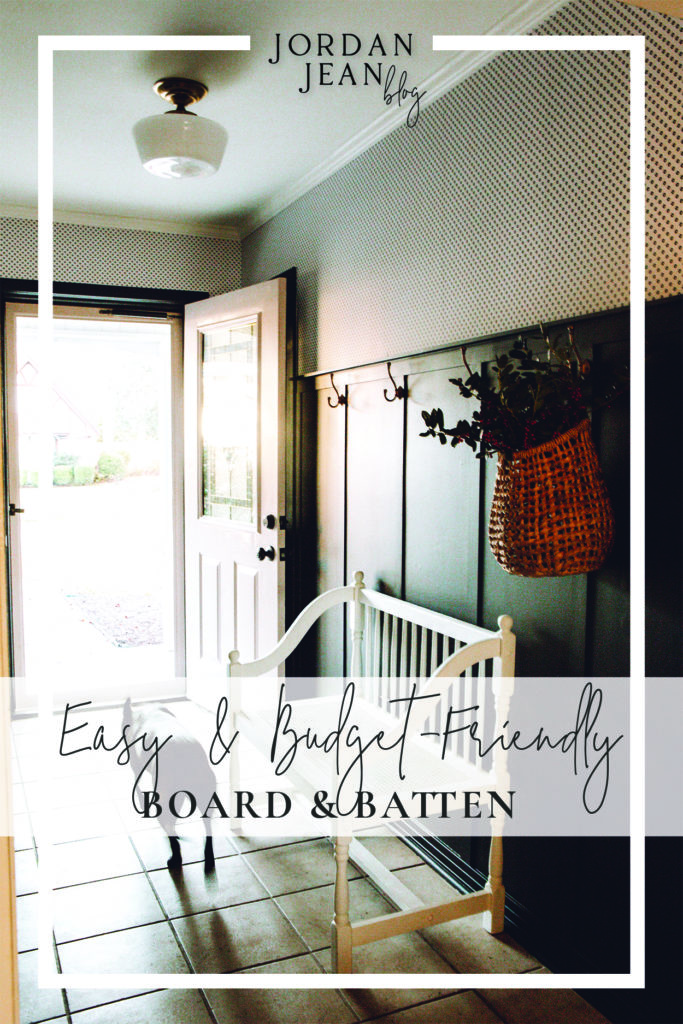
- We ended up spray painting the hooks we used to match our light using this paint but you can find them already matching HERE. We attached the hooks just using the screws that came with them. We believe in functional decor and these hooks are definitely functional. They’re holding outdoor gear 99.9% of the time (the other 0.1% was to snap this photo).
You can find the final entryway reveal and all of the details HERE!
I hope this helps! Let me know if you have any questions. If you decide to do this in your own home, we’d LOVE to see it! Make sure to tag @jordyjean! Stay well, friends.
I sincerely appreciate you all shopping through my affiliate links like the ones included in this post. I make a small commission when you purchase through these links at no extra cost to you. These funds help support my family and allow for us to produce better content for you all. I can’t thank you enough for supporting all that we do!
Pin this image to save the post for later:
jordan jean
Leave a Reply


SHARE