June 5, 2018
Are you all so excited for this one?! I know I am. This DIY is so simple and inexpensive. It doesn’t require any sewing technique. Did you hear that?! NONE! Soon after we moved into the house (and even before then) I was trying to find inexpensive curtains. I think they are one of the easiest ways to cozy up a space. However, everywhere I searched they were so pricey… $20.00 for ONE PANEL!? That means it would be $80 for me to do 2 windows in our office. On top of that, those were the inexpensive ones! Of course I had found some that were $40-60 a panel that I loved but I could never justify spending that much on curtains so I started researching. I spent quite some time doing this, let me tell you, and learned about drop cloth curtains and how inexpensive they were (about $10 a panel or cheaper depending on the size of the window!). I loved how they looked so I figured to try it out for myself.
I shared my experience with you all on Instagram and received so many messages about it. I LOVE it when you guys message me and I love answering your questions! Connecting with you all that way is seriously one of my favorite parts of the Instagram world. I hope this tutorial answers all of your questions! Let me know if not. 😉
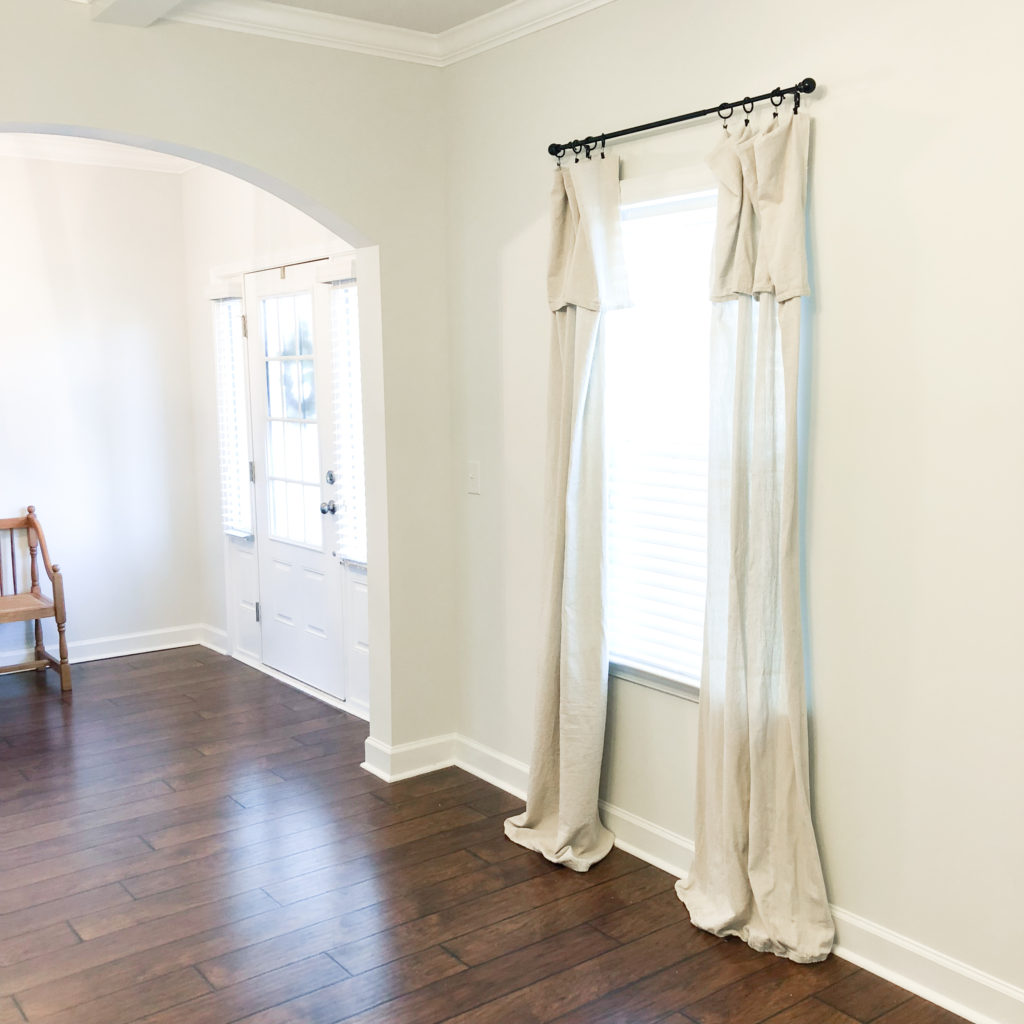
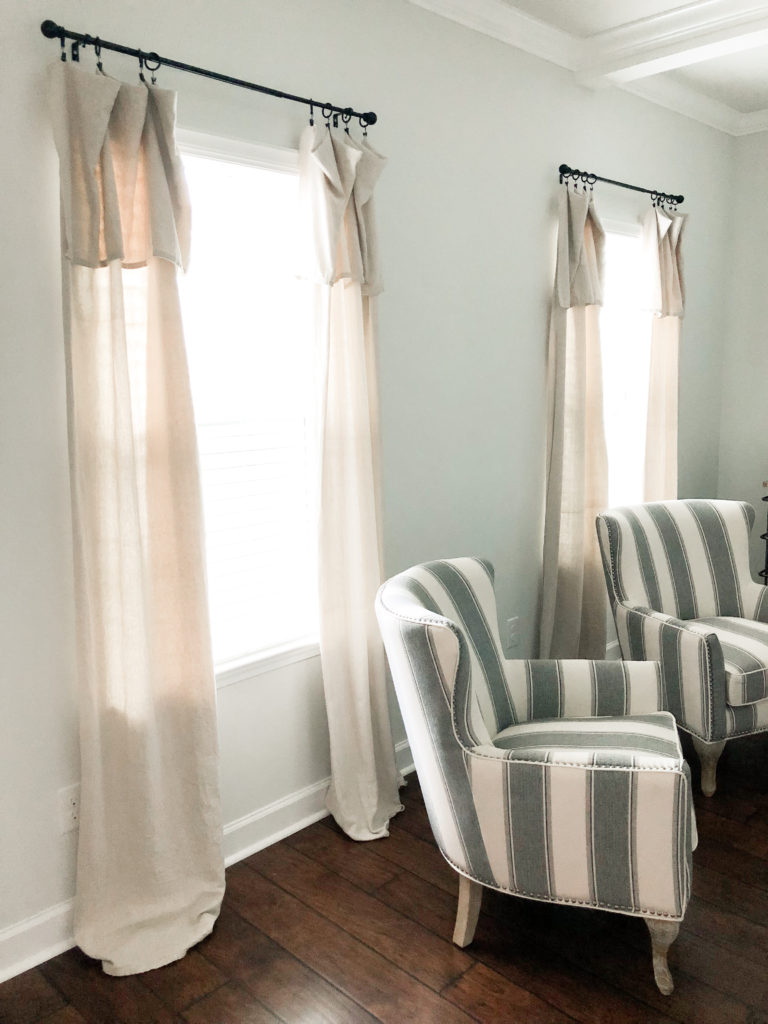
Before I get into the tutorial, here are the specs on the curtains I made for our office:
- Ceiling height: 9 feet
- Drop cloth dimensions: 6 x 9 feet
- Curtain rod height: 12ish inches above window trim
- Fold on the curtain: 16.5ish inches
What you’ll need:
- Scissors/seem ripper
- Drill/screw driver
- Curtain rod (I used this inexpensive one here)
- Curtain hooks (I used these)
- Drop cloth (I used these from Lowe’s and this is the equivalent from Home Depot)
What to do:
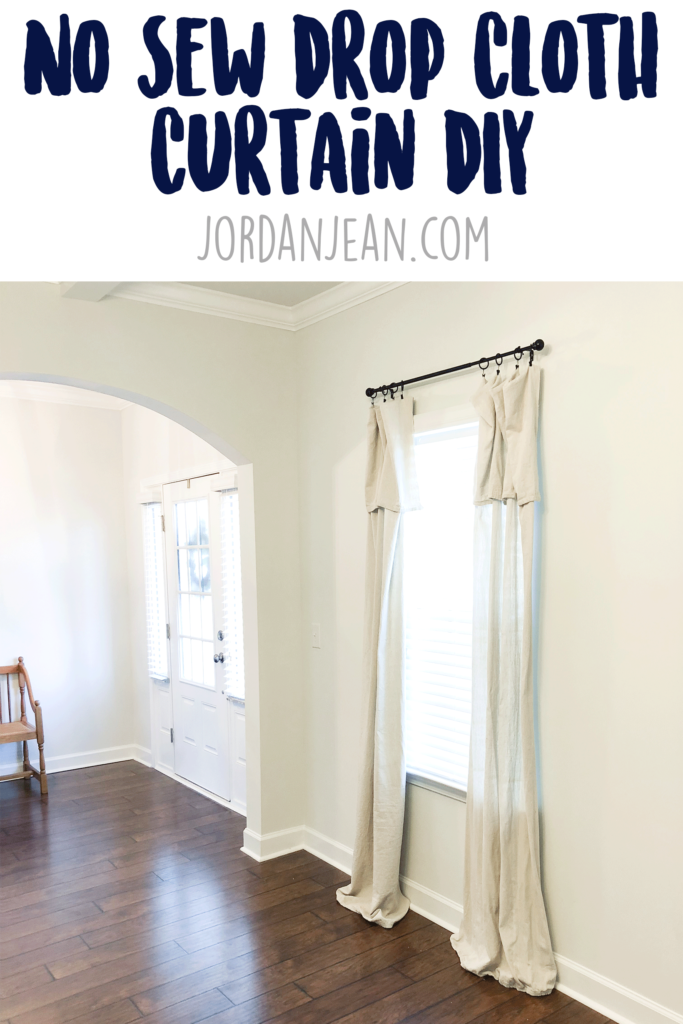
1. Measure. Remove the drop cloth from the packaging. Hold the drop cloth up against your window and fold over the top of the drop cloth to determine where you want the curtain rod to be installed. We made the mistake of attaching them too low the first time so we went through the whole ordeal of removing them, patching the holes, painting etc. If you have the room and length in your drop cloth, I suggest putting them up as high as possible so that the cloth puddles a bit on the floor while also making the room appear larger. Mark off where you want the rod to be hung.
2. Wash. Wash the drop cloth(s) in the washer machine. This isn’t a necessity but I just wanted to do it so that they smelled a little better.
3. Install the curtain rods. While the drop cloth is in the wash, install the curtain rods.
4. Dry. If you washed the drop cloth, throw that bad boy in the dryer. I kept my dryer on low to prevent the clothes from shrinking. If you’re REALLY on top of it, you can get it out of the dryer before any wrinkles have a chance to set in.
5. Cut the seam. I talked about this on my Instagram stories (now in the highlights) but this part is only necessary for ‘smaller’ windows. Basically, if you’re making these curtains for 1 window I would suggest doing this. You COULD use 1 entire drop cloth per panel but that’s way too much material for 1 small window in my opinion. Anything bigger and I would use a full drop cloth per panel though! So, if you are doing this for a bigger area, you can skip this step. If you are doing it for 1 window, however, I suggest cutting down the seam. You could cut straight down the drop cloth and not worry about cutting the seam perfectly but I did that on a test cloth and it frayed like crazy. To combat that, I decided to try cutting down the seam (ideally I’d do this with a seam ripper!) and it worked perfectly for me. Yes, I cut every single little thread to make 1 drop cloth into 2 panels. It took a while but it’s alright! They’re done and up now!
6. Remove any wrinkles. I went through the process of ironing every panel to remove wrinkles. I also tried steaming them to see how that worked and it did just fine. If you want more of a rustic feel, you can always leave the wrinkles as is. It just looks a bit more tailored if they’re removed.
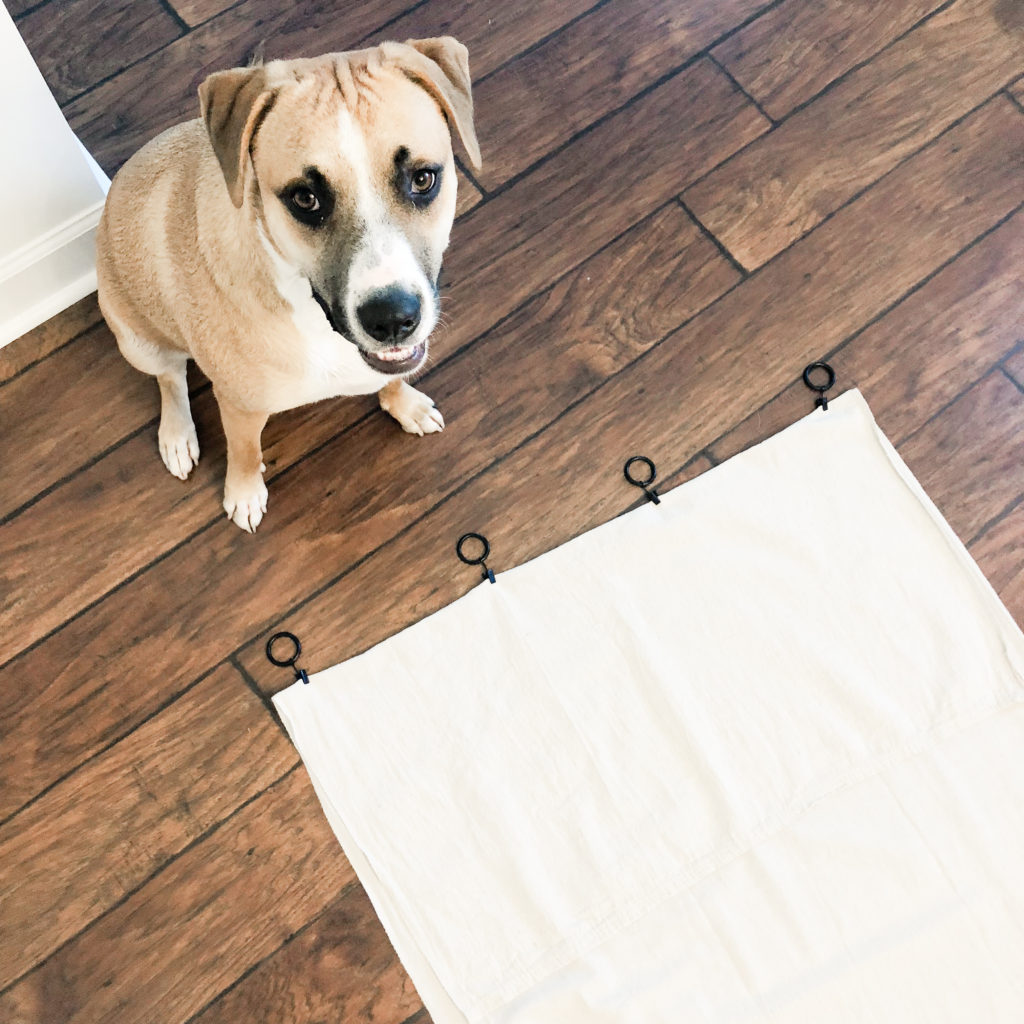
7. Fold each panel. Lay a panel down on a flat surface and fold over the top of the curtain. You might also have to hold the cloth up to your curtain rod to decide how much you want to fold over. The amount you fold it over is going to depend on how high your rod is placed and how much you want to puddle at the bottom. I folded mine over about 16 inches. Make sure the height of the fold is equidistant on both sides by folding one side onto the other side like a hotdog. If it’s not even, adjust until it is!

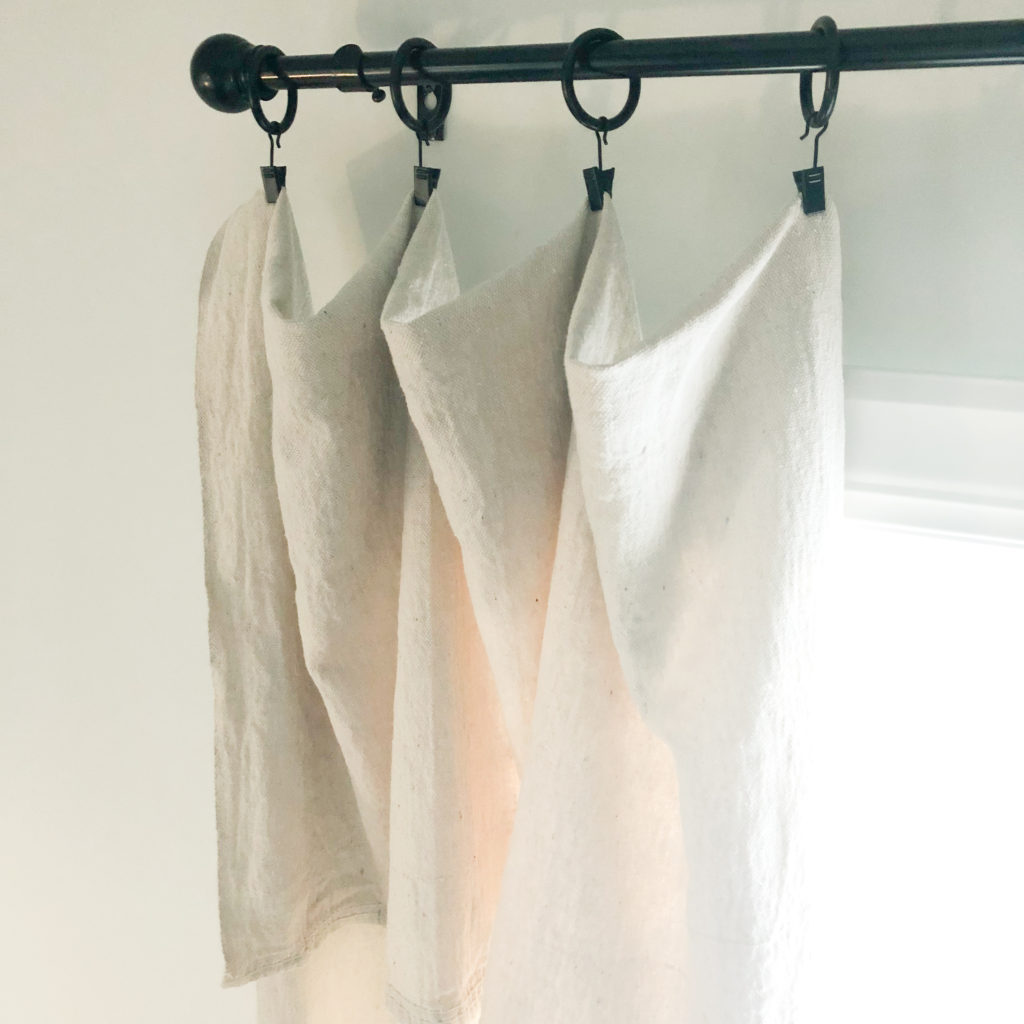
8. Attach the rings. Now that your fold is decided, attach the curtain rings by evenly spacing them on the fold. I used 4 on each panel for my “small” window. If I was using an entire cloth for each panel for a big window/door, I would use an entire pack of rings for each panel.
9. Add the curtains to the rod! Add the rings to the curtain rod, add your finials to each end and you have yourself some drop cloth curtains! You can always adjust once they’re up there if need be.
I still have a ton to do in our office but hey! At least we have some cool chairs and cute curtains, right?!

Pin for later:
jordan jean
Leave a Reply


[…] If you’re able to do this in your home, this is another must! I used to avoid curtains simply because I didn’t want to have to put all of the hardware up and then take it down for the next PCS. Then one day a couple of bases ago I was at a friend’s house and felt so comfortable there. I kept looking around to try to understand what made me feel that way and then it hit me. She had curtains! Don’t get me wrong, her house was cute and all but even though it was just a rental on a training base, those curtains really made it feel like home to me. Ever since then I at least hang curtains in the main living area before focusing on any other décor around the house. They don’t have to be expensive either! I have an easy drop cloth curtain tutorial here. […]
[…] Curtains – DIY you can find here […]
[…] piece of fabric, enough to wrap around the plastic hose cover (I used leftover drop cloth from the little ruffle curtain I made […]