August 21, 2017
I’m so happy to be sharing another one of my favorite recipes with you all! This is a weekly tradition in our house. I try to make this every Sunday or Monday morning in preparation for the work week. After trying multiple recipes, Stephen and I both agreed that this is our favorite by far for sandwiches especially.
Not only is this bread delicious but it’s also so simple! All you need to do is add the ingredients to a bread machine, select the basic white bread setting and light crust and let it do its thing! This recipe is for a 2 lb. loaf so if you want the crust even lighter you can select the 1 lb. option.
Speaking of bread machines, if you don’t own one I highly suggest that you invest in one! They are so simple to operate and can be used to make so many different recipes. My parents still use the same bread machine to make things like cheddar bread, cinnamon raisin bread, pizza dough that they used frequently when we were growing up. Needless to say, they can last a long long time. Oh and did I mention how great the house smells on bread making days?! If only we could blog aromas… Anyway, I tagged Amazon’s top choice for a bread maker below. It might not look the exact same as mine (which was purchased from a thrift shop) but the settings are generally the same for all of them.
Another tool that makes this process so much easier is an electric bread knife. We cut the bread using a “normal knife” for weeks but after dealing with tons of crumbs and uneven, choppy slices, we caved and purchased a cheap electric knife. We let the bread cool completely before using the knife to slice the bread so that it’s ready to use throughout the week. Works like a charm.
Alright let’s get to it! Start by gathering all of the ingredients and then measuring out the milk and pineapple juice. You can either let these sit out for a little while until they reach room temperature or if you’re short on time, put them in the microwave for about 15-20 seconds until they’re warm. It’s important that they are not cold because it will prevent the yeast from activating.
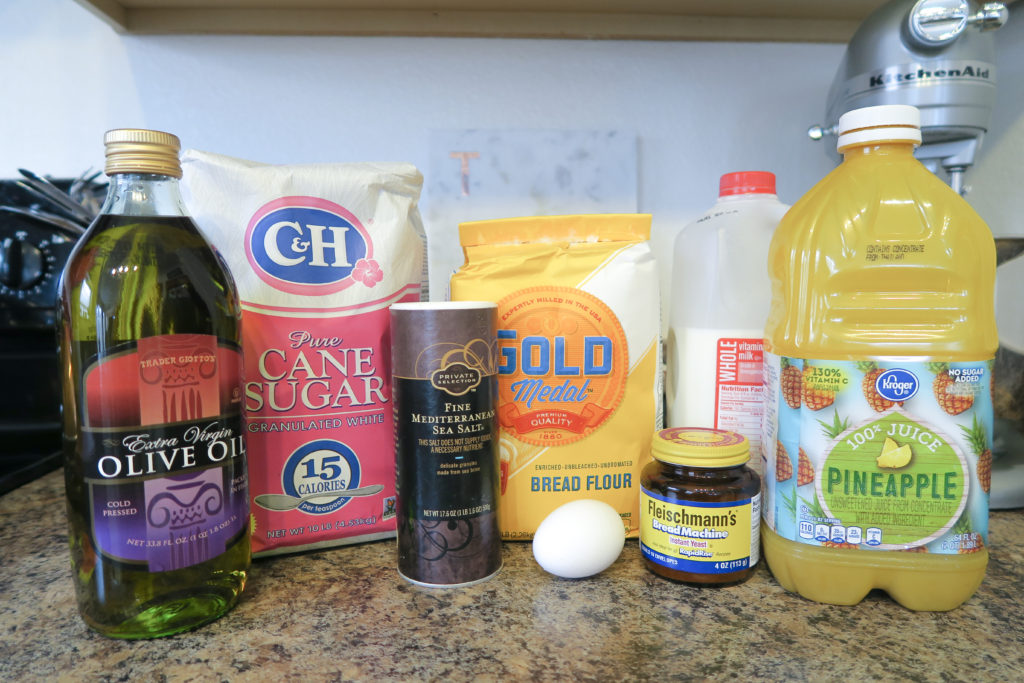
Next, place all of the ingredients into your bread machine pan in the order listed below.
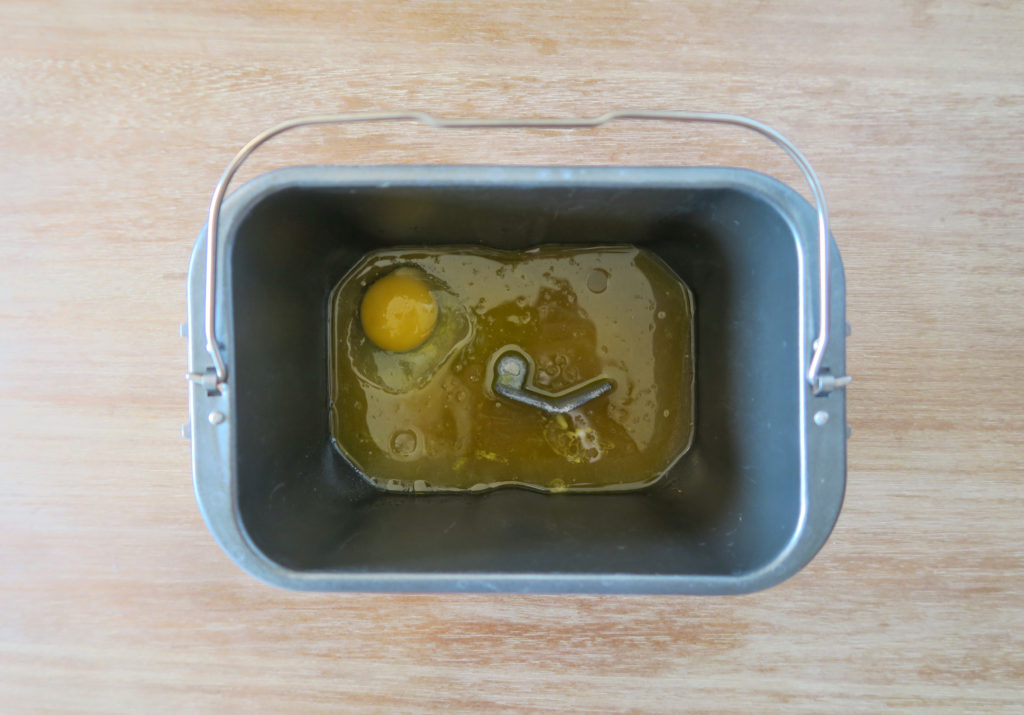
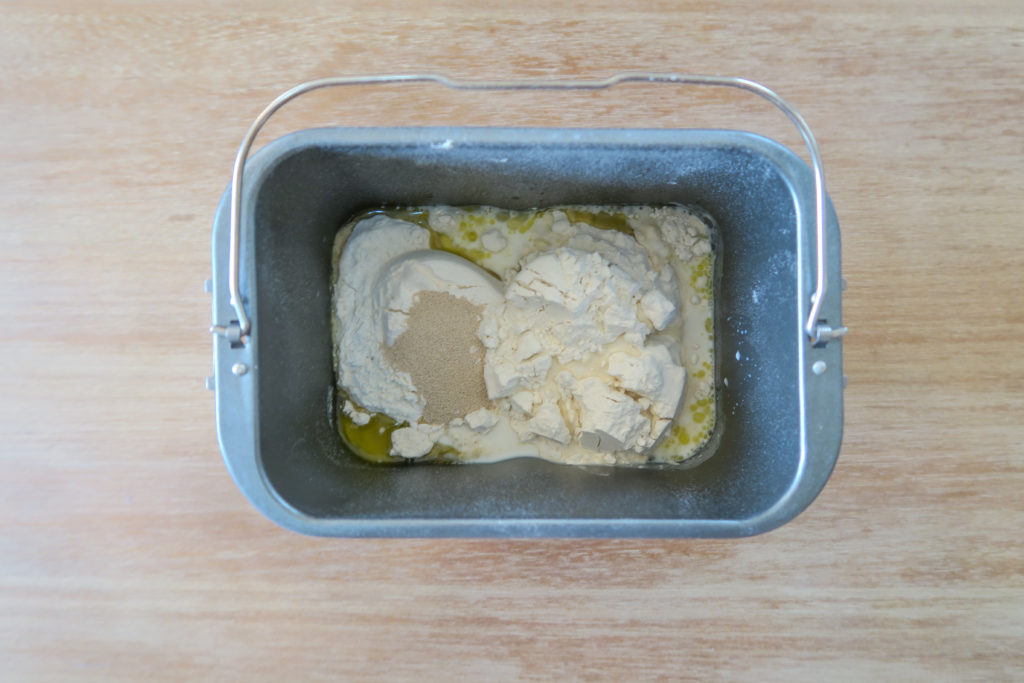
Place the bread pan in the bread machine. Select the “basic” option (usually the first one) and light crust then hit start and let the machine work its magic!
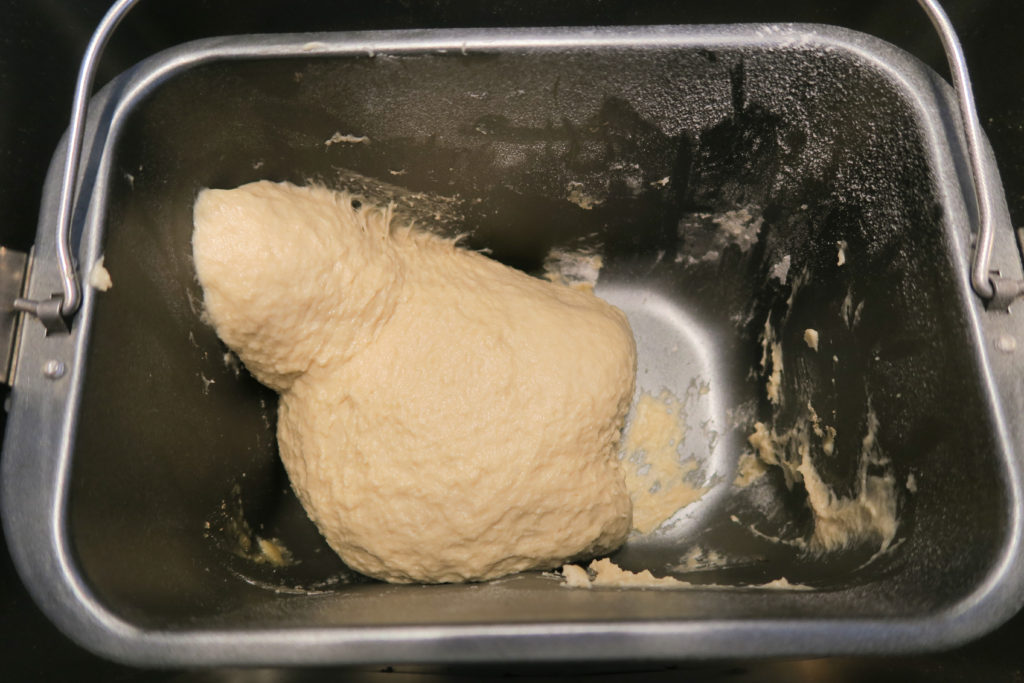
The only other thing I do is scrape down the sides of the pan a few times while it’s kneading. It’s fine if you don’t do this but there tends to be some flour left on the outside of the loaf so to prevent this from happening I just scrape it down with a spatula. If the dough is still very sticky (sticks to the spatula), add in a tablespoon of flour at a time.
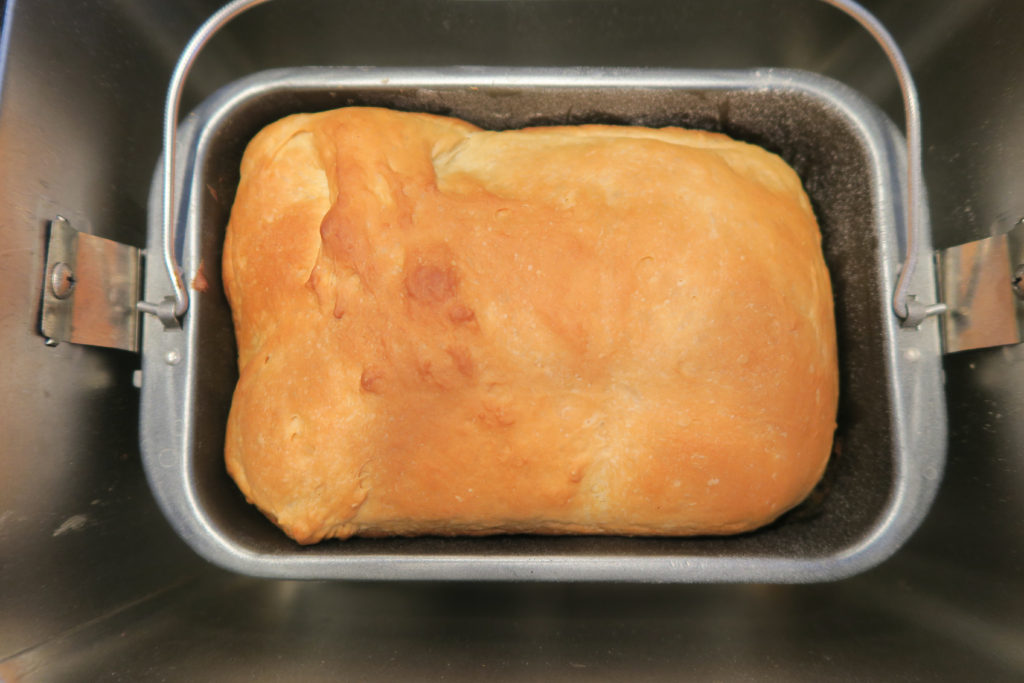
3 hours later you’ve got yourself a beautiful loaf of sweet Hawaiian bread and a really great smelling house!
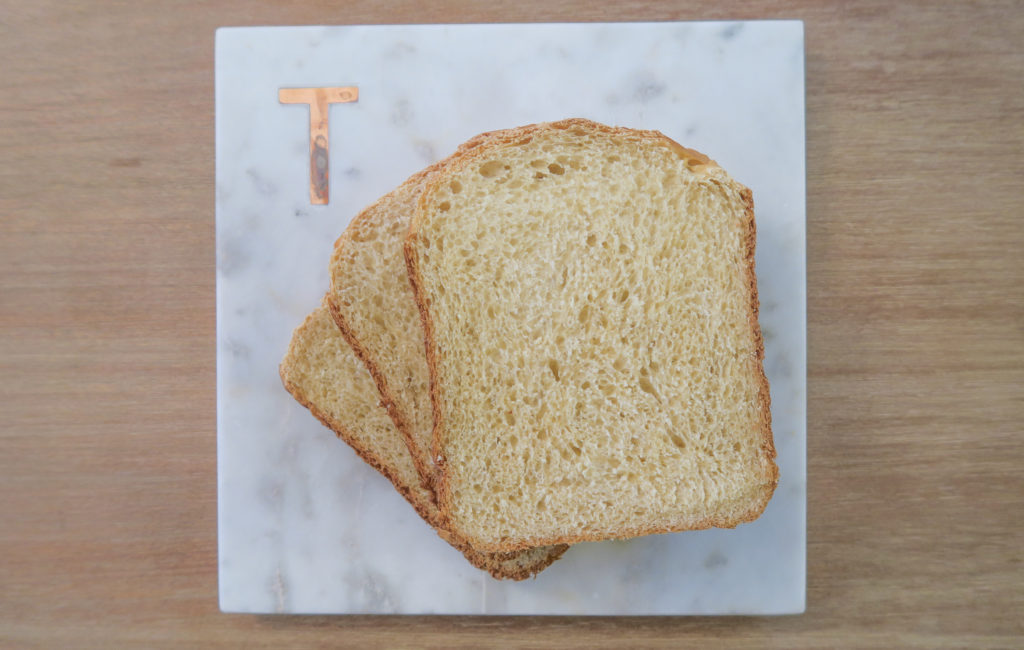
I have yet to try it but I’m sure this recipe would also be great as rolls. I’ll definitely have to try that. In the meantime, I hope you enjoy this one. Let me know what you think!
Homemade Hawaiian Bread
Ingredients
- 3/4 cup Pineapple juice
- 1 Egg
- 2 1/2 tbsp Olive oil
- 4 tbsp Sugar
- 1 tsp Salt
- 3 cup Bread flour
- 1/2 cup Milk
- 2 tsp Yeast
Instructions
-
Add all of the ingredients to the bread maker in the order listed above. Set the machine to white loaf and light crust.
-
During the kneading process, scrape down the sides of the bread pan using a spatula.
-
Once the machine indicates that the bread is done, remove it from the pan and let it cool completely (at least two hours) before slicing.
-
Store in a closed container or plastic bag.
Recipe Notes
All liquid ingredients should be at least room temperature or slightly warm.
[amazon_link asins=’B003GXM0EM,B00004X12T,B004GX4PS0,B01BWM57CK,B00CJ8M2RK,B00WVSO0BY,B00BC3WVNS,B007F1LPM4,B00BOTZTDO,B0005ZV1CQ’ template=’ProductCarousel’ store=’donuteverstop-20′ marketplace=’US’ link_id=’d3d61ff8-86b4-11e7-a557-b55eb80afb3d’]
jordan jean
SHARE