June 15, 2018
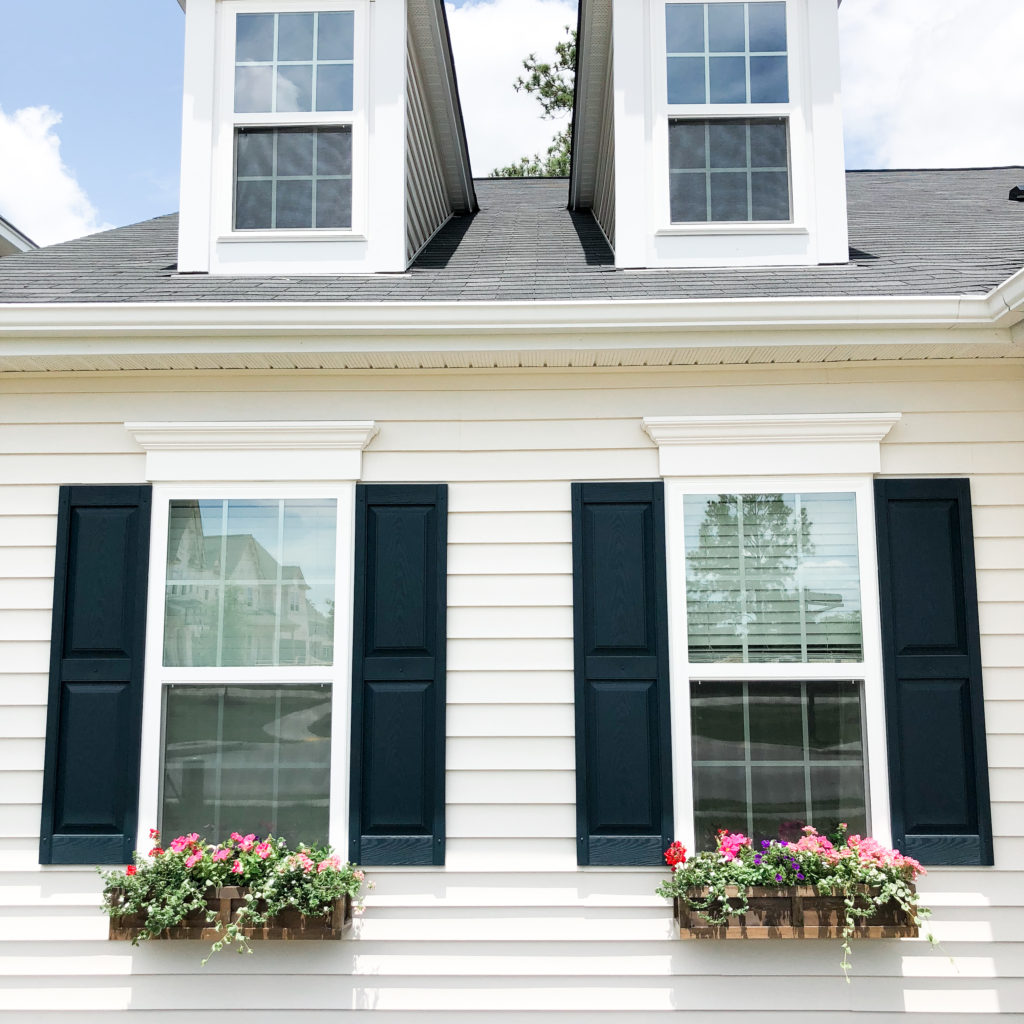
Happy Friday! Woo!! I hope you all had an amazing week! Today I wanted to share exactly what and how I planted our window boxes for the summer in case you want to do the same. I’m so excited to be able to switch these out with the seasons! Can you imagine some mums in there for the fall?! Ah… That’s going to bring me so much joy.
I looked around on Pinterest (of course) for quite some time to figure out what kind of “vibe” I was going for. Don’t get me wrong, I think a window box full of white or light blue hydrangeas would’ve been to die for but I knew that wasn’t realistic because of the sun. The amount of sun your boxes will get is SO important to consider! Try to take note it during the weekend if you’re home from work. The front of our house is in the sun for about 6+ hours during the day so I knew that I needed full-sun flowers that would thrive in that environment. I also knew that I wanted our boxes to be colorful and full for the summer!
With all of that in mind, Stephen and I journeyed to Lowe’s to purchase the plants for our boxes. I warned him ahead of time I didn’t know specifically what I wanted and it was going to take some time to figure out but we actually had a blast in the store putting my vision together. All I knew is that I wanted it to be colorful (despite my usual love of whites and blues) and full. Bless his heart. It probably took us about 30 minutes until we figured we had everything we needed. It wasn’t too difficult once we found all of the full-sun plants and flowers. The criterion we followed were 1. Will it make the box look full/drape over the side? 2. Do we like the color? From there we were able to play with the colors and varieties until we liked the way everything looked together (in the cart).
What:
I really wanted the boxes to look full and drape over the sides so we picked up these to plant on the outsides of the two boxes:
- Betty Bacopa – 2 for each box
- Vinca – 2 for each box
- Voodoo Red Star Verbena – 1 for each box
- Bullseye Cherry Geranium – 1 for each box (we both loved the red in these)
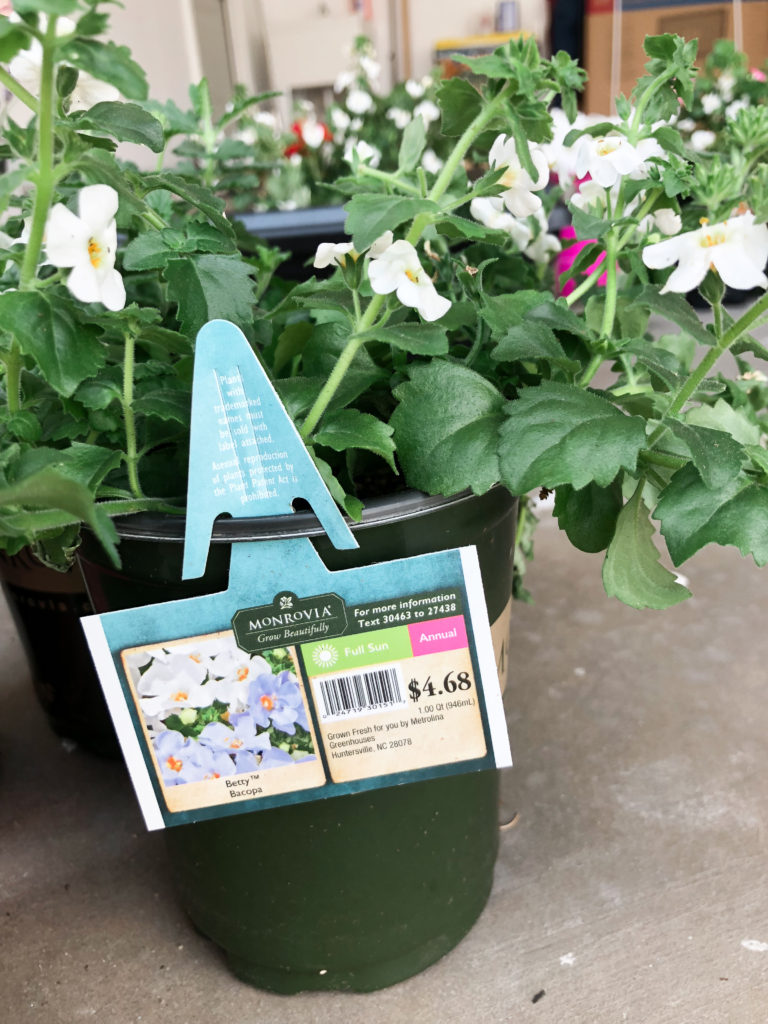
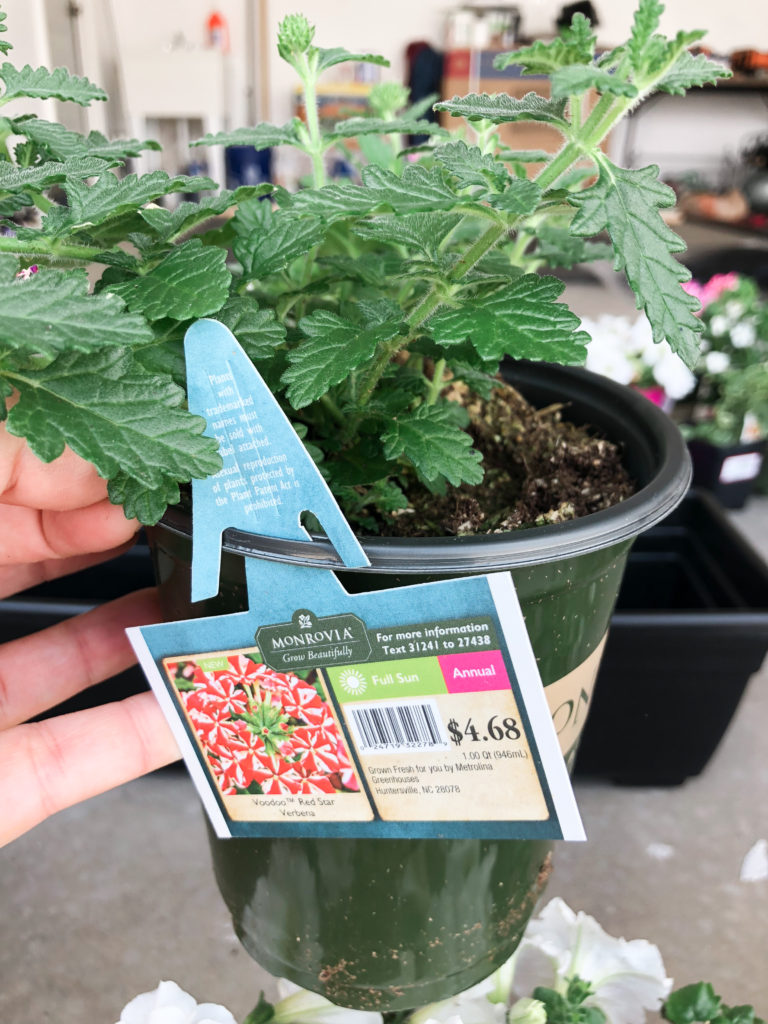
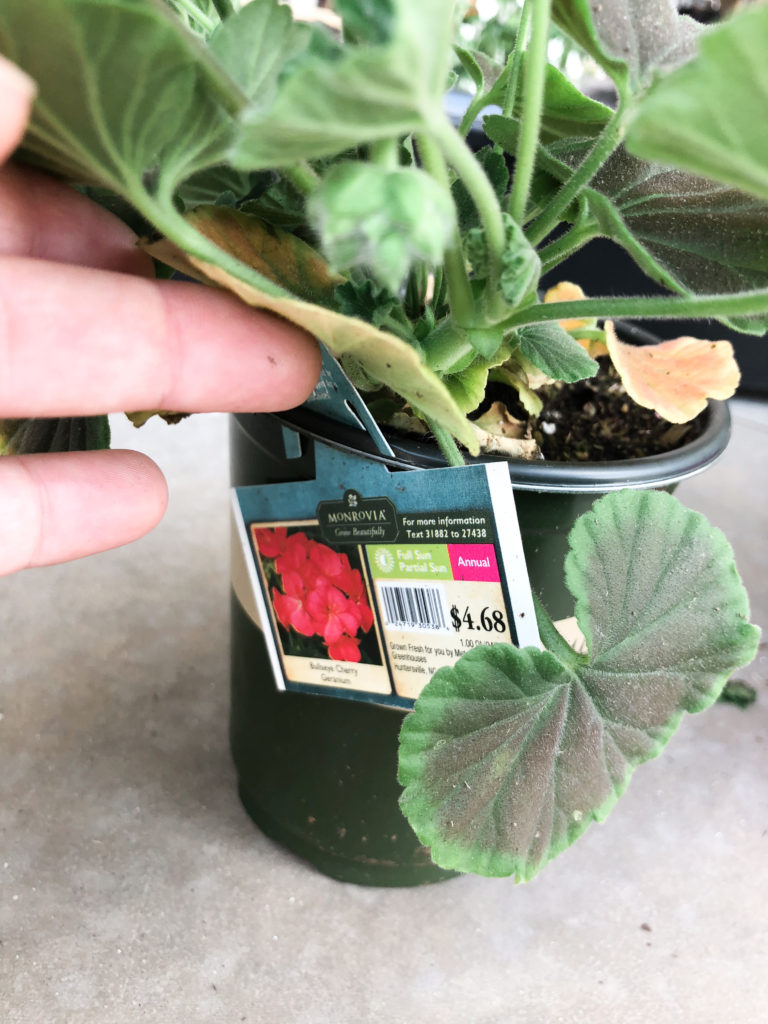
The flowers for the middle of the boxes:
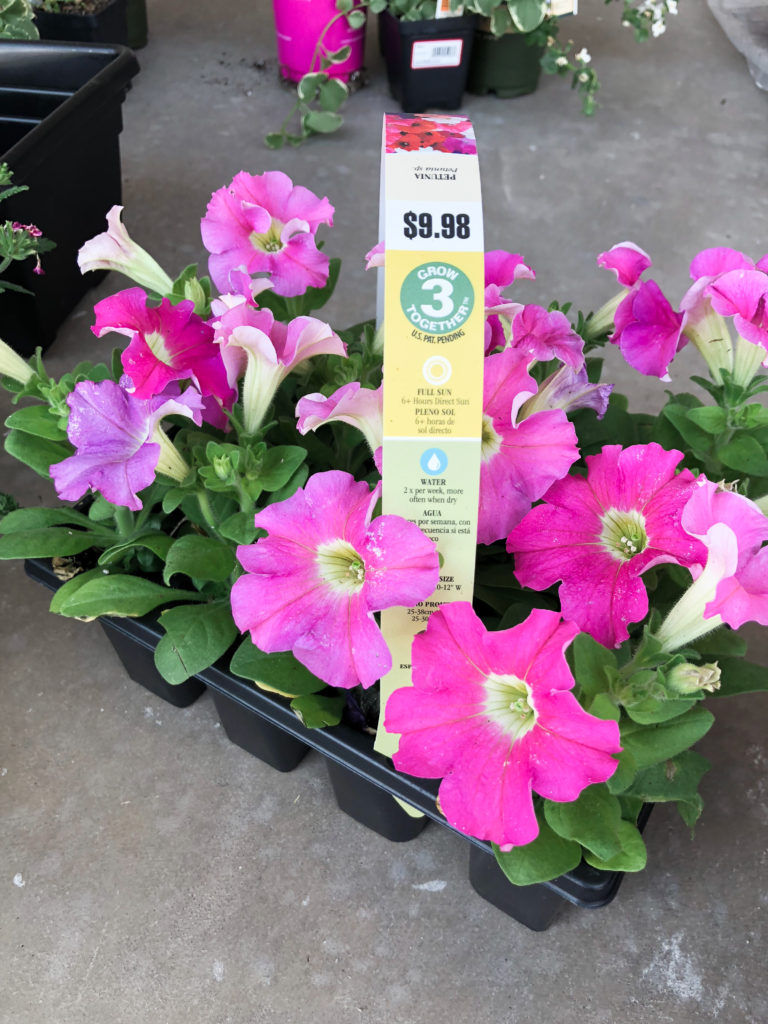
- White Petunias – 1 for each box
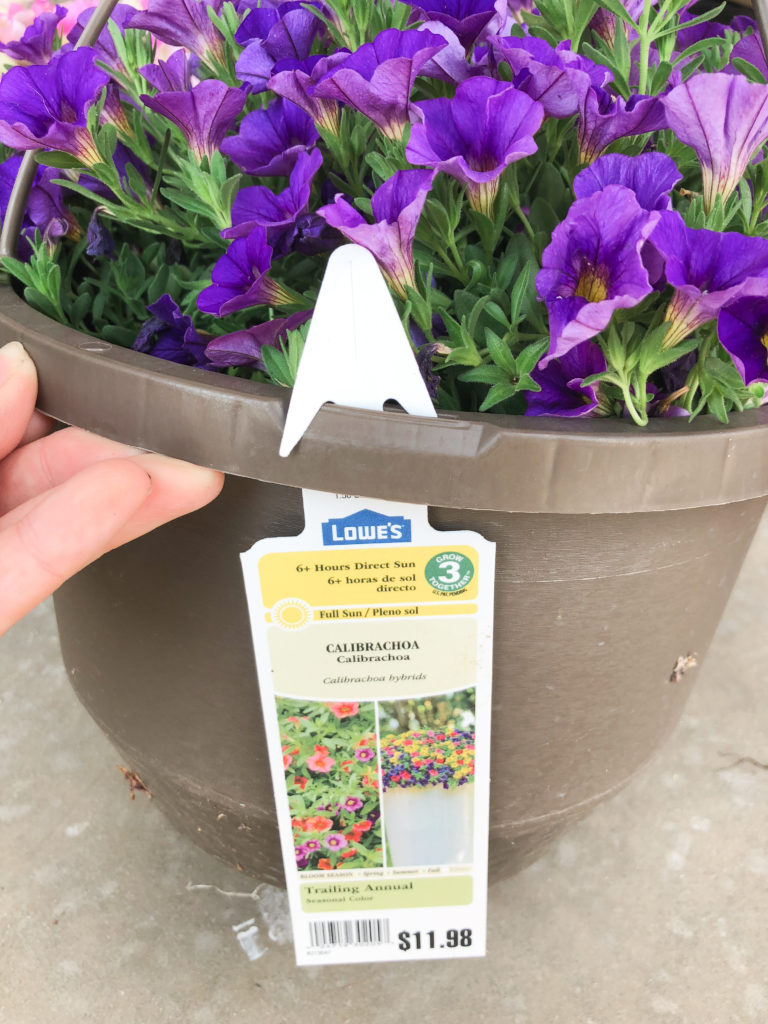
- Purple Calibrachoa – we purchased this as a hanging pot and then I broke it up because it was cheaper
- Pink Petunias – I used about 3 in each box/whatever we necessary to fill in the empty space
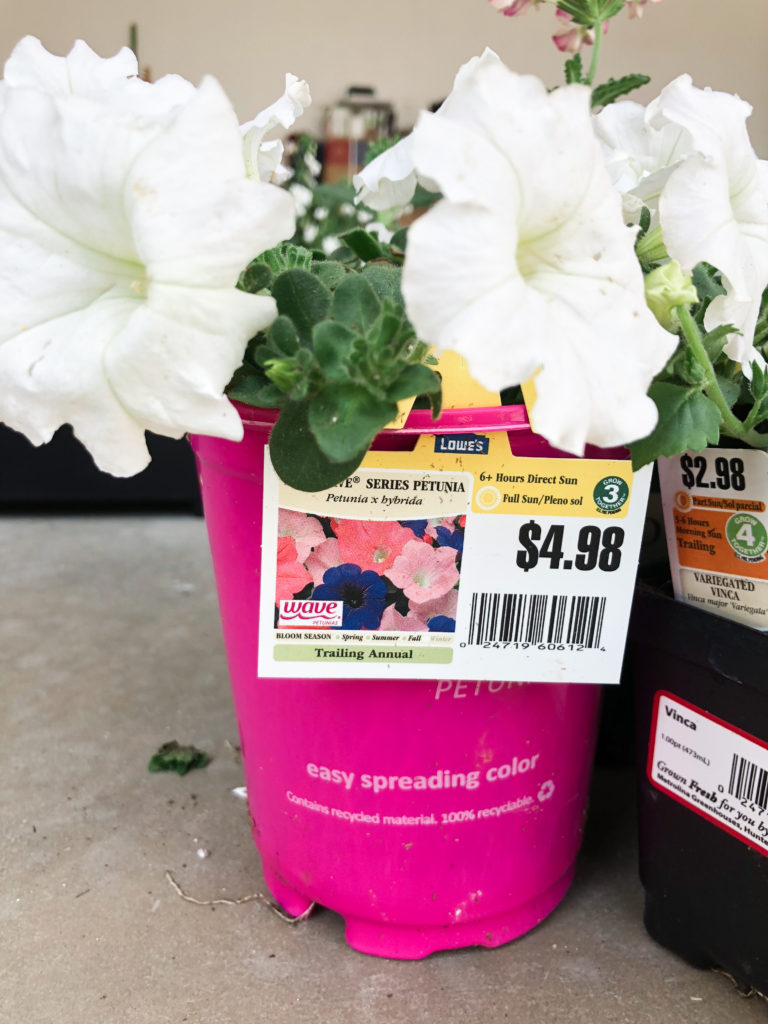
Extras:
- 2 plastic planter boxes – we chose to use these instead of planting directly into the box so that I can easily remove them to change it up whenever I want. It also will prevent the wood from rotting!
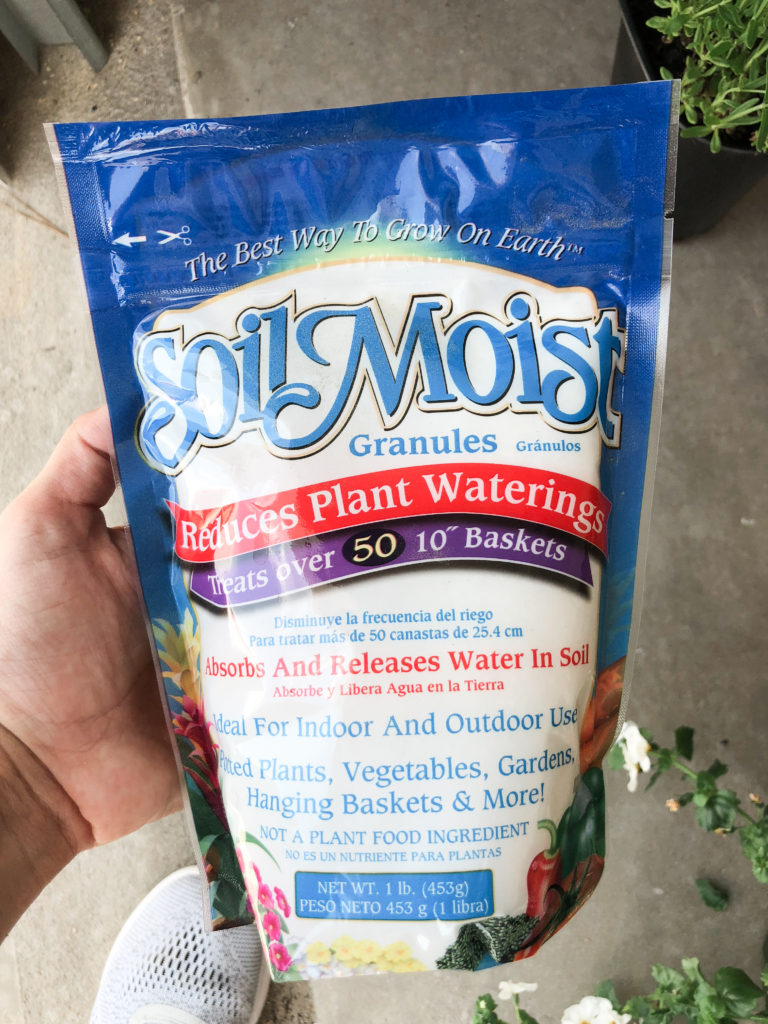
- Soil Moist granules to release water in the soil (this is just what they had at the store but you can use whatever brand you want!)
How:
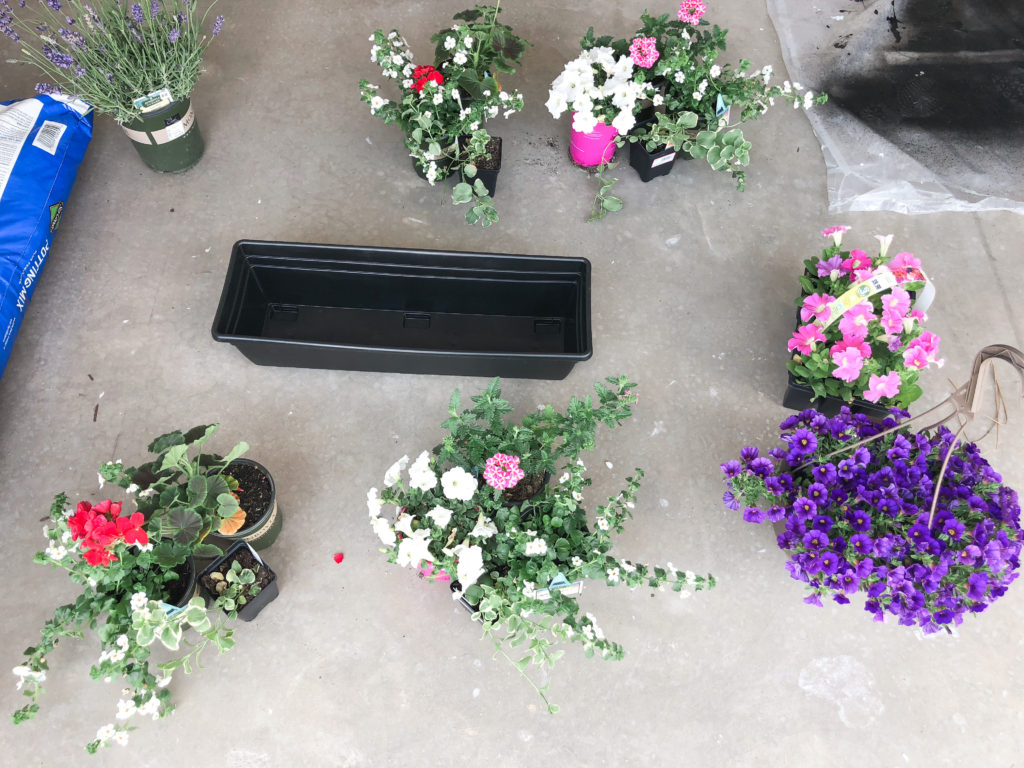
1. Once we got home, I started by arranging the flowers on the floor of the garage.
2. Fill the bottom of the plastic container with potting mix, about 1-2 inches.
3. Add in water release granules by following the directions on the back of the bag.
4. Add and arrange your plants in the boxes, starting with the outsides. Since I wanted the plants to drape over the sides, I added the Betty Bacopa and Verbena to one side and then Betty Bacopa, Verbena, Vinca, and Cherry Geranium to the other side.
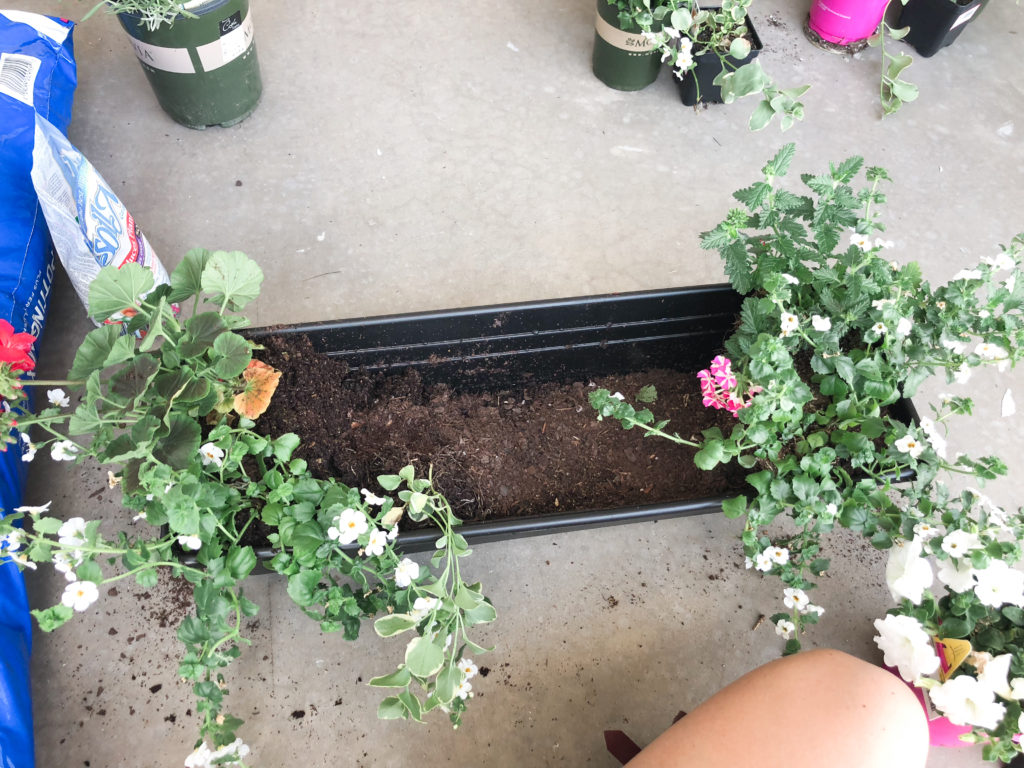
5. Loosen the pot from the plant but squeezing the sides of the pot and remove the plant.
6. Break up the roots slightly by pulling the root ball apart. It’s okay if it feels and sounds like you’re ripping them.
7. Add the plant to the pot where you want it. You might need to add a little bit more potting soil underneath depending on the size of the plant and how high you want it to sit up.
8. Fill in the middle of the box with the petunias and Calibrachoa. Since we purchased a large Calibrachoa, I removed the root ball from the pot and gently separated it using a small shovel. I basically cut it straight down the middle so that the straight edge of the half circle could go against the back of the planter box. Forgive me for not taking pictures during this! My hands were a total mess.
9. Fill in (or should I say stuff in) the empty spaces in the box with the petunias.
10. Add potting soil to the gaps so that there’s an even level of potting soil across the entire box.
11. Add the plastic box to your window box (DIY coming soon!), water the flowers, and admire!
jordan jean
SHARE